Why My iPad Home Button Collapsed After Screen Repaired?
BY kaye | 一月 6th, 2021 | 0 | 1
One of our customers reflects that his iPad Air home button collapsed after the screen tore down and reassembled. It was not as solid as it used to be. He reported to us the situation and asked us if any bracket or screws were missing on the home button inside. We watched his pictures and gave him replies. We told him this was not a big deal and showed him the solutions. Here we would like to share our analysis and solutions on this issue.
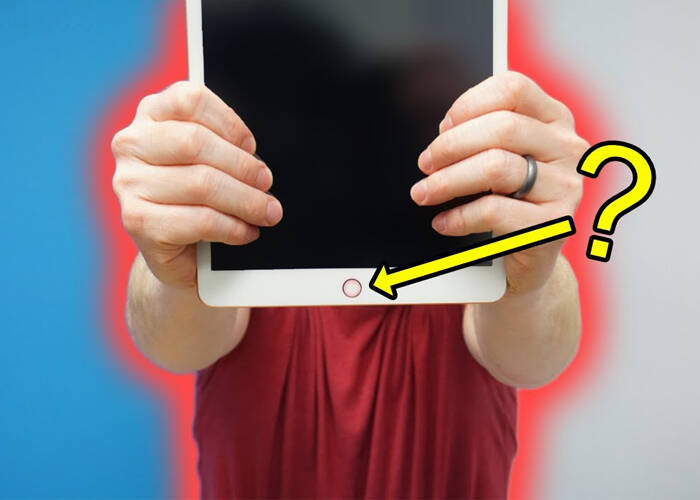
1. Why the iPad or iPhone home button was sunken after screen repaired?
Firstly, we would like to analysis on why the iPad or iPhone home button was falling in after the display screen tore down or replaced. If you have a new iPad or iPhone screen replaced, which is a non-original new screen, you have to confirm the home buttonhole size is exactly the same as the original screen. Some of the third-party manufactured iPad screen and digitizer may have errors on the home buttonhole or other parts. Besides, the iPad home button is a combination with the flex cable ribbon. When you assemble the home button onto the screen digitizer, you need to make sure the home button and the flex cable ribbon closely adhere underneath the digitizer button. It requires us to paste a special glue and adhesive tape on it. On the other hand, if you have to replace the home button at the same time, you’d better choose the original new iPad home button for replacement. Some of the third-party manufactured iPad home buttons are not in the exact size as the iPad screen hole.
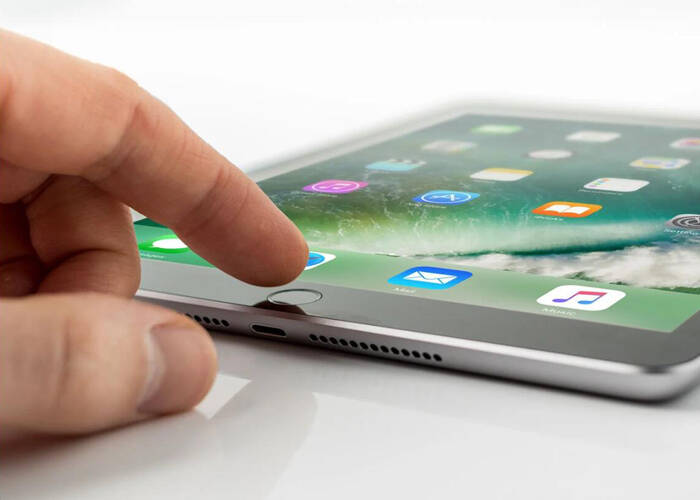
2. How to Fix the iPad or iPhone Home button collapsed problem?
Next, we show you the solution and the advice on iPad home button repair here. When we reassemble the iPad Air screen digitizer, we need to install the home button back on it first. Here we would need to apply some special glue for fixing the home button, and replace the spacer to seal up as well. Tearing down the home button from the screen and digitizer will tear off the old adhesive glue and remove the spacer as well. When the iPad home button with flex cable ribbon is placed in the hole, make sure it is in the exact place it used to be. Here we apply some T7000 glue around the home buttonhole on the digitizer beforehand, place the home button, and adjust the position at the same time. Apply some glue on the position of the flex cable ribbon and past the flex ribbon closely on the digitizer. Push the home button on the back slightly to make sure it is flush on the screen. When the home button is fixing tightly on the screen digitizer, we will need to paste the spacer for fixing the home button. We use 10mm Tesa tape to paste on the spacer, make sure the tape is fully covered on the spacer touching face. Paste the spacer across the home button. Gently press it to make sure it is closely applied on the iPad 10.2 digitizer touch screen. Now we can check the home button by slightly pressing, to see if it is sunken on the hole so that we can readjust its position. We can also press around the home button circle to tighten up the home button. Add some more T7000 glue a little bit around the home button module, just to make sure it is fastened well on the digitizer. After these steps, we can assemble the screen digitizer onto the iPad screen.
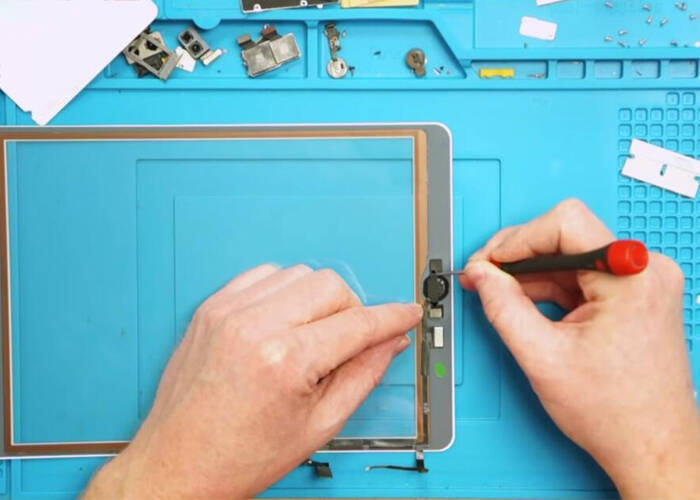
In the end, we suggest our customers choose the original new iPad Air home button for replacement. Some of the non-genuine home buttons may have errors on the size with the hole of the screen and digitizer. Follow our steps above and you will avoid the home button collapsed issue. Besides, you may come to Etrade Supply for our original new iPad Air swappable parts here. All our iPad parts are 100% tested before socked-in, just contact us via email if you have interests.
RECOMMENDED PARTS
POPULAR ARTICLE
- How to Replace iPad Pro 10.5” Touch Screen and Digitizer Assembly
- How to Replace the iPad Pro Home Button-Step by Step Guide
- How to Disassemble iPad Pro For Screen Replacement
- How to Fix the Broken iPhone Home Button
- iPhone X Water Damage Repair Guide (Still Work in 2019)
- How Much Does It Cost To Replace An iPhone XS Display?
- iPhone X Explosion: 7 Small But Important Things To Note
- 7 Ways To Fix Your iPad Not Charging In 2018
- iPhone 7 Screen Replacement | iPhone 7 Repair
- Which Parts of iPhone X and iPhone XS Are Exchangeable?
- iPhone X, XS, XS Max, and XR Battery Comparison
- How To Fix iPhone XS/XS Max, And XR Bluetooth Connection Issue
- Apple Will Fix the iPhone 8/8 Plus/X Auto Brightness Issue in iOS 12
- iPhone got exploded too?! How to protect your phone from battery explosion
- HTC 10 DIY Teardown for screen, charging port, battery replacement
- 6 Quick Tips To Distinguish Between Real And Fake iPhone SE
- Analysis on: Are China made LCDs for iPhone 5S Compatible with iPhone SE?
- How to Replace the Galaxy S7, S7 Edge Battery Replacement
- How to Disassemble the Galaxy S7 LCD Assembly to Replace Screen, Charging Port and Home Button
- How to Repair Samsung Galaxy S7 Edge Cracked Screen
- How to Tear Down/Disassemble the Galaxy S7 for Screen Replacement
- How to Fix Phone Gets Hot and Battery Drains Fast
- Xperia Z5 Premium USB Charging Port Replacement Tutorial
- How to Replace Your Broken Sony Xperia Z5 Premium Screen Step by Step Guide
- 15 Tips to Improve Your Galaxy Note 5’s Battery Life
- How To Replace A Cracked Motorola Droid Turbo 2 Screen
- How To Fix iPhone 6S Auto Shutdown When It Still Has Battery?
- How To Replace A HTC One A9 Cracked Screen
- How to Distinguish the Fake Apple Earpod from the Real One
- How to Replace the LG V10 Screen in 5 Steps
- How To Solder/Replace A Samsung Galaxy or iPhone Charging Port
- The Cost of Repairing a Cracked Galaxy S6, S6 Edge Screen
- How To Fix Cracked Xperia Z5 For Screen Replacement
- What’s Need to Be Prepared As a Startup Cell Phone Repair Shop
- *Update* The Root of Differences among Copy iPhone LCDs: Structure
- Important Info: Pay Attention To Defective Recycled iPhone LCDs
- How to Replace Galaxy Note 5, S6 Edge Plus Battery
- Are The Flood of New High Copy iPhone LCD Screens as Good as The OEM Ones?
- iPhone 6+ and iPhone 6S+ Screen Comparison Report
- How to Recover Photos and Data with Broken Screens
- How To Identify Different LG G4 Model Numbers
- How to Fix Cracked iPhone 6S for Screen Replacement
- Cost of Repairing a Damaged Screen on the LG G4
- How To Fix LG G4 Digitizer Touch Screen Issue
- As a Newbie, What You Should Know About Jailbreaking
- How To Tear Down/Disassemble Galaxy S6 Edge Plus For Screen Replacement
- 90% Of People Don’t Know These Cellphone Battery Information
- Insider Tips to Save Your Water-damaged Device
- How to Set Up ETrade Supply’s Adhesive Dispenser Robot
- Top 10 iPhone 6 Problems and Solutions
- How To Fix Vertical Lines On An iPhone Screen After Replacement
- How to Replace Sony Xperia Z3+ Screen/Screen Replacement Guide
- How To Disassemble/Tear Down Sony Xperia Z3+
- How to Assemble Small Parts on iPhone 6 LCD Screen Assembly
- Reasons Behind & Solutions for iPhone 6 Frame and LCD Separation Issues
- How to Replace The LG G4 Charging Port
- How to Replace the Cracking LG G4 Screen in 10 Minutes
- How To Replace An Oneplus One Cracked Screen
- iPhone 5 LCD Screen Assembly Small Parts List
- How to Replace the HTC One M9 Charging Port
- How to Replace HTC M9 LCD Screen Assembly
- Top 5 Most Common iPhone 6 Issues You May Come Across
- How To Tear Down The Samsung Galaxy S6 In 10 Steps
- The Cost Of Repairing A Cracked Nexus 6 Screen
- How To Repair A Nexus 6 Cracked Screen
- How To Disassemble Nexus 6 In 10 Steps
- The Cost Of Repairing A Broken iPhone 6 Screen
- Five Minutes Work to Replace Your iPhone 6 Plus Broken Screen
- How to Repair a Cracked Samsung Galaxy S5 Screen


 How to Replace iPad Pro 10.5” Touch Screen and Digitizer Assembly
  How to Replace the iPad Pro Home Button-Step by Step Guide
 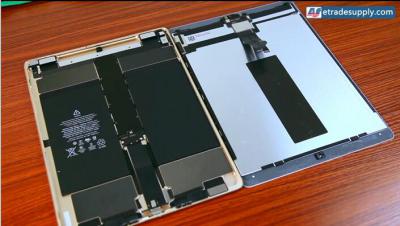 How to Disassemble iPad Pro For Screen Replacement
 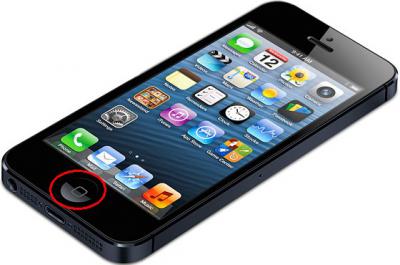 How to Fix the Broken iPhone Home Button
  IOS 17.4 official version pushed to block battery vulnerability
  Is the Chinese-made rear case for the iPhone 15 series going on the market?
  New products coming:USB to MFI Lightning Cable
  Big BUG of iPhone 15
  How Chinese celebrate Christmas?
  Disadvantages of iPhone 15 Standard Edition
  Rumors about the Samsung Galaxy S24 Ultra
  TWS Wireless Bluetooth Headset: Connect Your Wireless World
  iPhone 15 Black Screen Self-Rescue Guide
  Comparison of LCD screens of different mobile phones
  Successfully submitted!