How to Replace iPad Pro 10.5” Touch Screen and Digitizer Assembly
BY kaye | 十月 31st, 2019 | 0 | 1
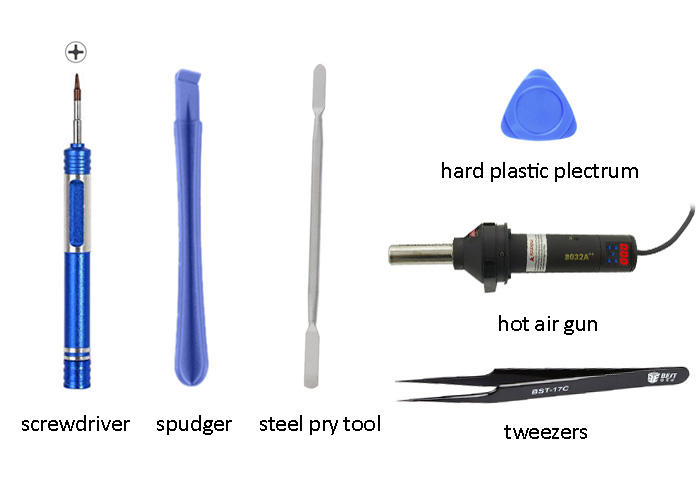
Tools required:
Phillips screwdriver
Hard plastic triangle plectrum
Spudger
Tweezers
Steel pry tool
Hot air gun
Step 1: Tear down and separate the iPad Pro 10.5 touch screen and digitizer assembly
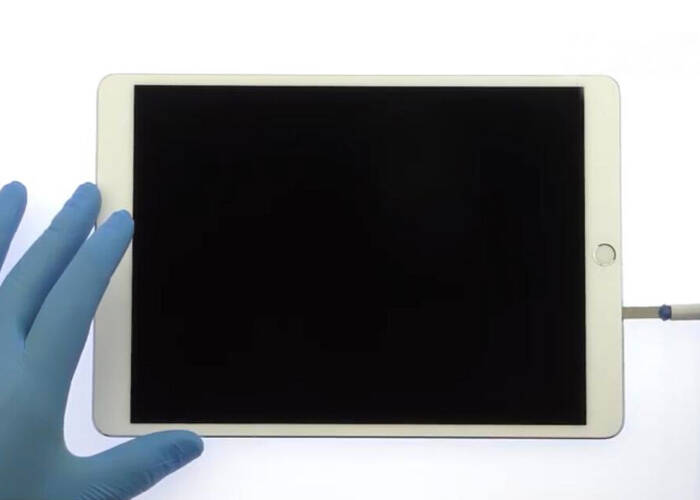
1.1 Turn off the iPad, hot air gun blowing on the screen edge to soften the frame adhesive glue, then use a thin steel pry tool to make a gap between the screen and the frame
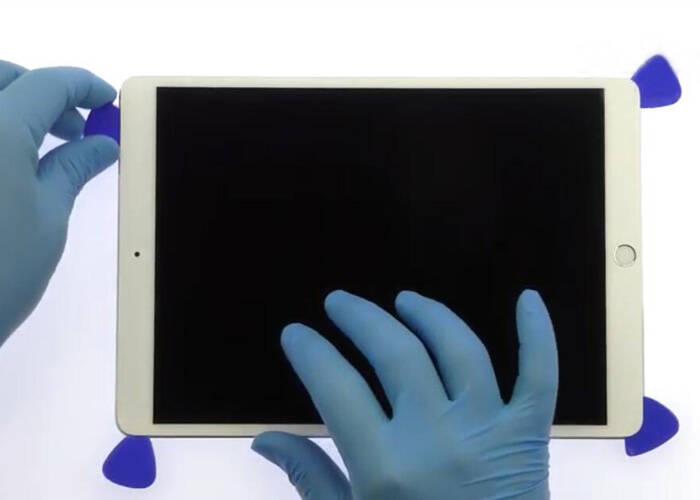
1.2 Use hard plastic triangle plectrum to slice around the gap slowly, you may need three or more plectrums here
1.3 When the display screen is separated, slowly pry up it from the frame on the top side
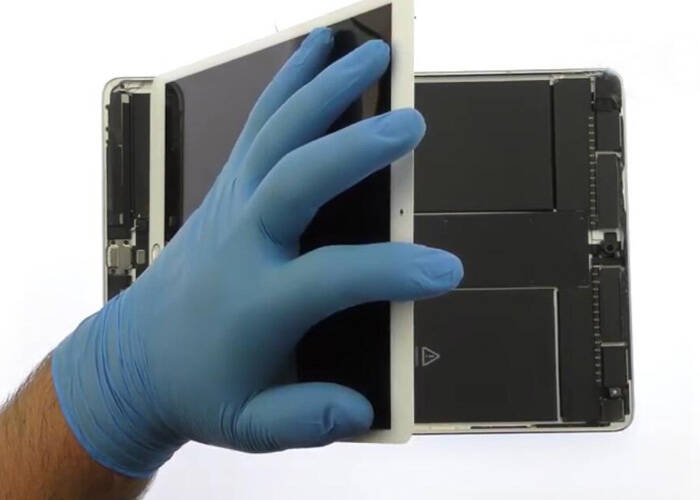
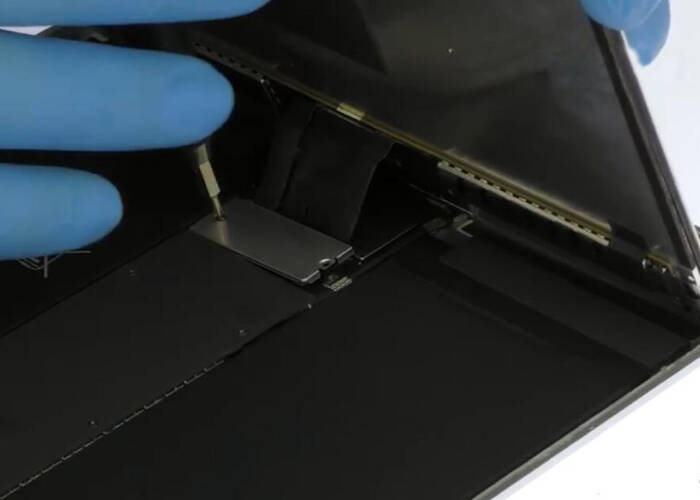
1.4 Hold the screen with a hand, loosen the two screws on the metal bracket, and then remove the metal bracket which covered on the flex cables with tweezers
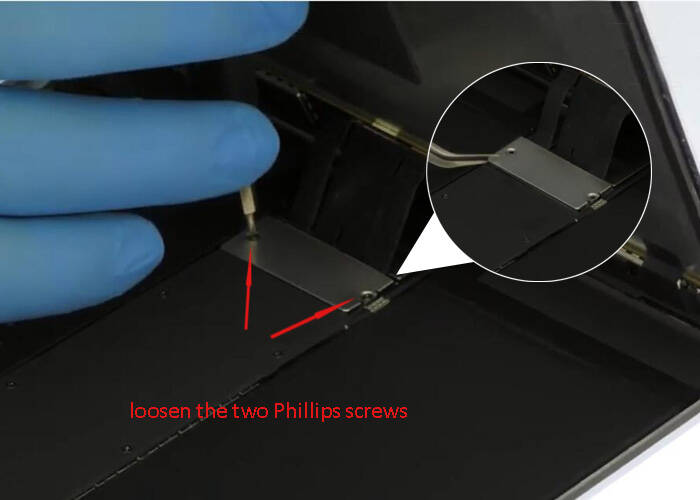
1.5 Disconnect the four flex cables when the bracket is away, and then you may take down the display screen assembly
![]()
Step 2: Replace iPad Pro 10.5 LCD touch screen and digitizer assembly
2.1 Take down the home button from the old display screen
2.11 Tear up the small piece of black tape on the home button with tweezers
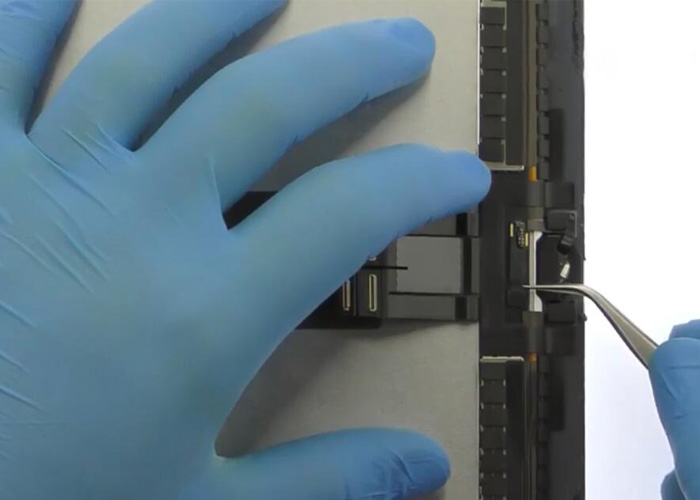
2.12 Release the connector by slicing out the flex cable with spudger
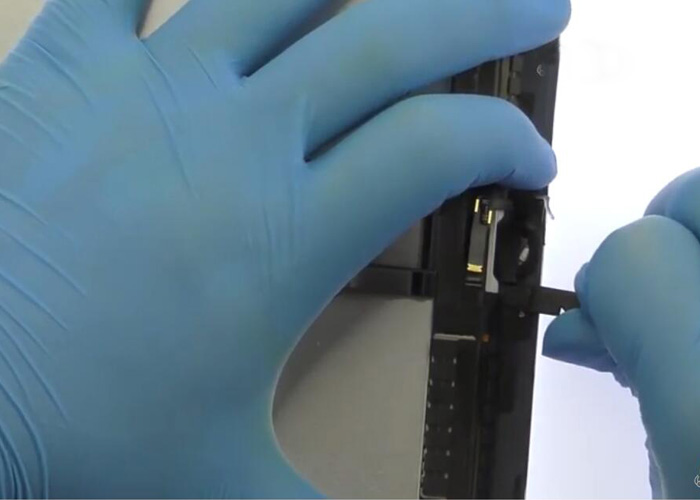
2.13 Disconnect the two adhesive gobs with spudger which is for holding the home button and touch ID, pry it up from the front panel. Be careful and don’t damage the flex
2.14 Remove the home button and the touch ID assembly from the screen with spudger
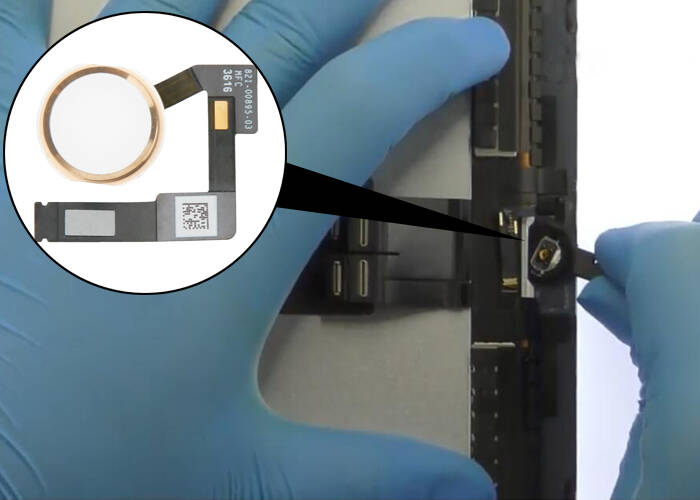
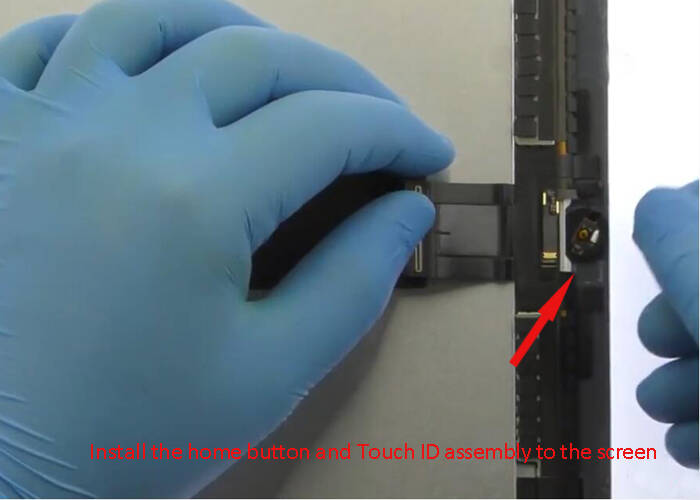
2.2 Install the home button and Touch ID assembly to the new screen, connect the bracket back to fix the home button
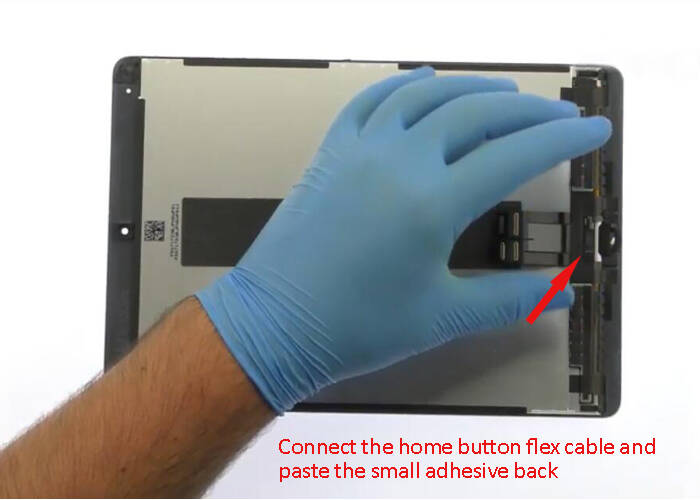
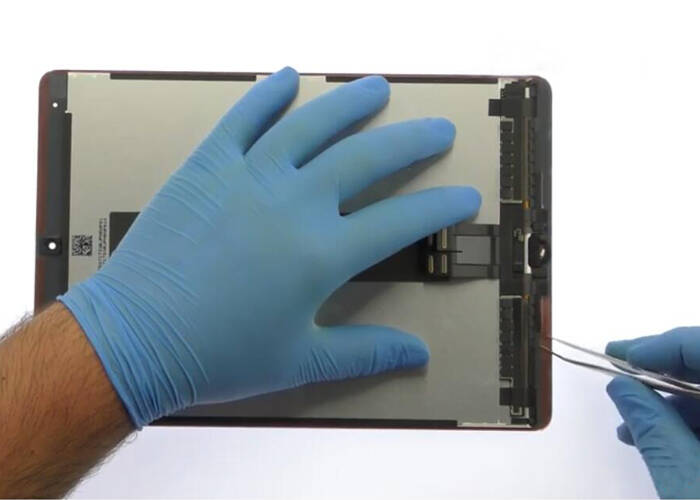
2.3 Connect back the home button flex cable with tweezers and paste the small piece of black adhesive back
Step 3: Reinstall the iPad Pro 10.5 screen and reassemble the device
3.1 Attach a new adhesive frame sticker around the edge of new iPad screen and digitizer assembly
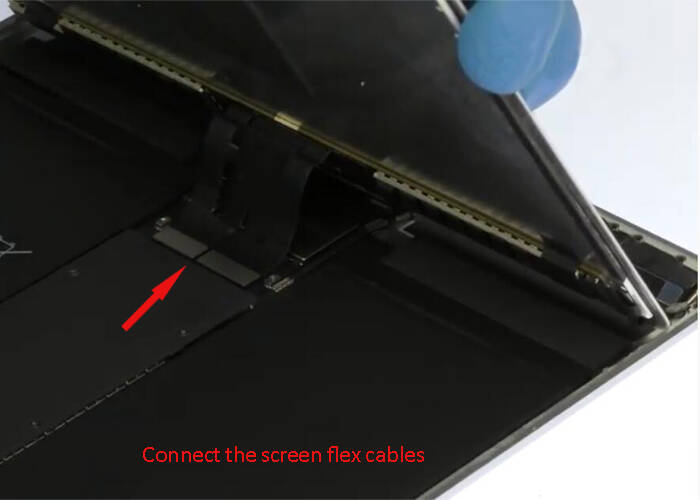
3.2 Connect the four screen flex cables back
3.3 Cover the metal bracket back for fixing the flex cables and screw back the two Phillips screws
3.4 Gently and slowly attach the display screen on the frame, slightly press each corner and the edge, and make sure there are no gaps
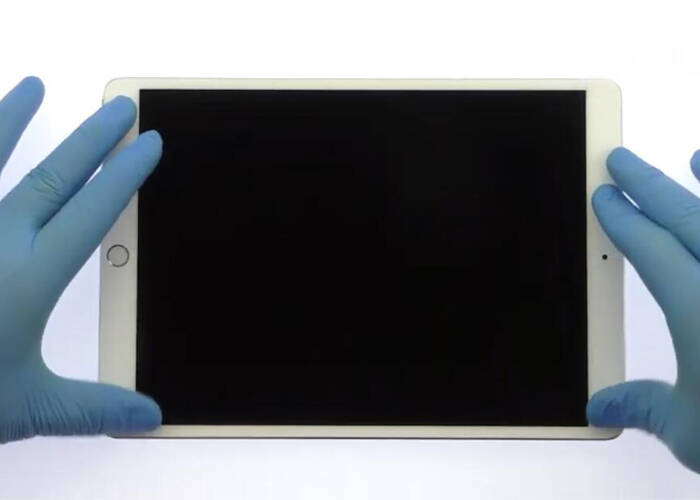
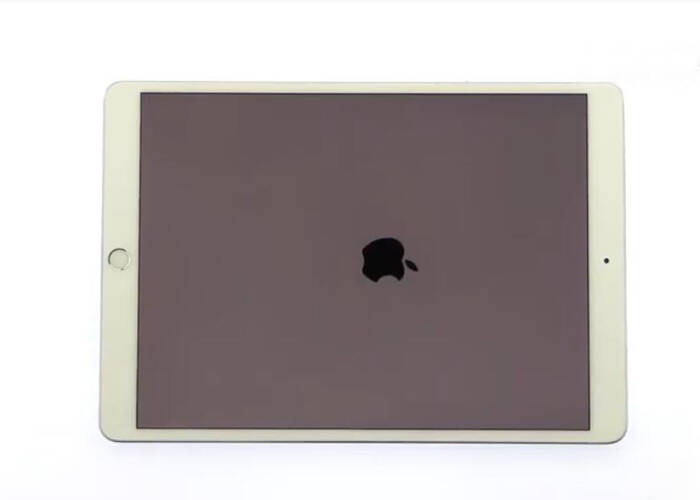
3.5 Turn on the device and check the new-replaced screen about the touch sensitiveness and App response. All process is done!
Note: the whole process will be a little complicated for someone who not familiar with mobile device repair. We suggest you go to the Apple authorized service center or the repair shop if you are not confident about yourself. Just be patient and careful if you are taking the process on it.
You may also be looking for:
For iPad Pro 10.5 LCD screen and digitizer assembly replacement
For iPad Pro 10.5 home button and Touch ID assembly replacement
iPad 10.5 Pro glass screen protector
Disclaimer: All contents above originated from YouTube video. If it infringes the copyright of the author's, kindly advise us and we shall delete it as soon as possible. Thanks for understanding.


