How To Replace A Cracked Motorola Droid Turbo 2 Screen
BY May | 一月 23rd, 2016 | 0 | 1
The Motorola Droid Turbo 2 was released in October, 2015, features an AMOLED capacitive touchscreen and is known for its super shatterproof screen. It’s really amazing that Droid Turbo 2 display can only be destroyed in a few extreme tests. To know what makes Droid Turbo 2 screen so durable, please check our post “Why the Moto Droid Turbo 2 Has the Best Shatter Proof Screen”. Well, if you’re unfortunately one of the few that cracked a Motorola Droid Turbo 2 screen, this tutorial guide might be of help.
Tools Needed:
- 1. Case Opening Tools
- 2. Ejector Pin Tool
- 3. Screwdriver
- 4. Spudger
- 5. Heat Gun/Hair Drier
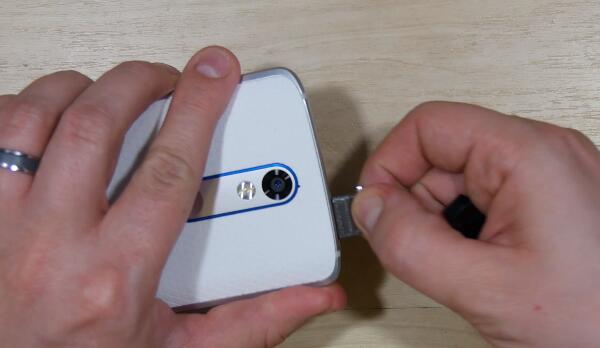
1. Power off the Motorola Droid Turbo 2 and remove the SIM card tray with the help of an ejector tool.
2. Heat up on the edges of Droid Turbo 2 back cover, insert a case opening tool in between and running it around, pull off it carefully so as not to damage the wireless charging coil underneath.
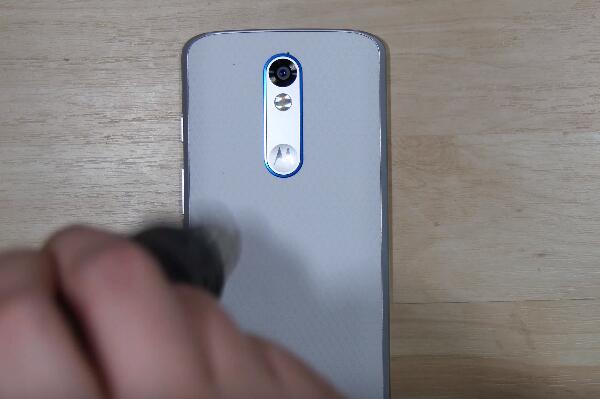
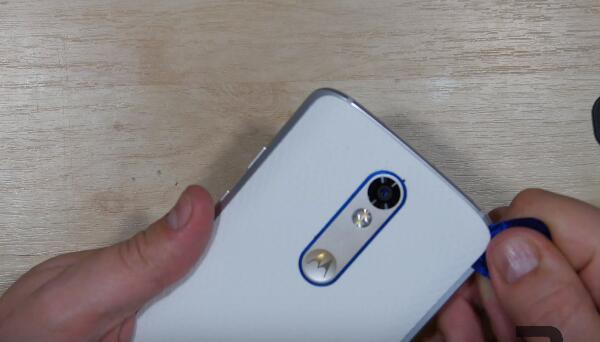
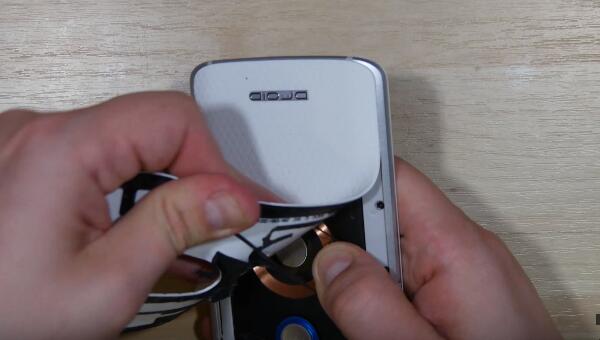
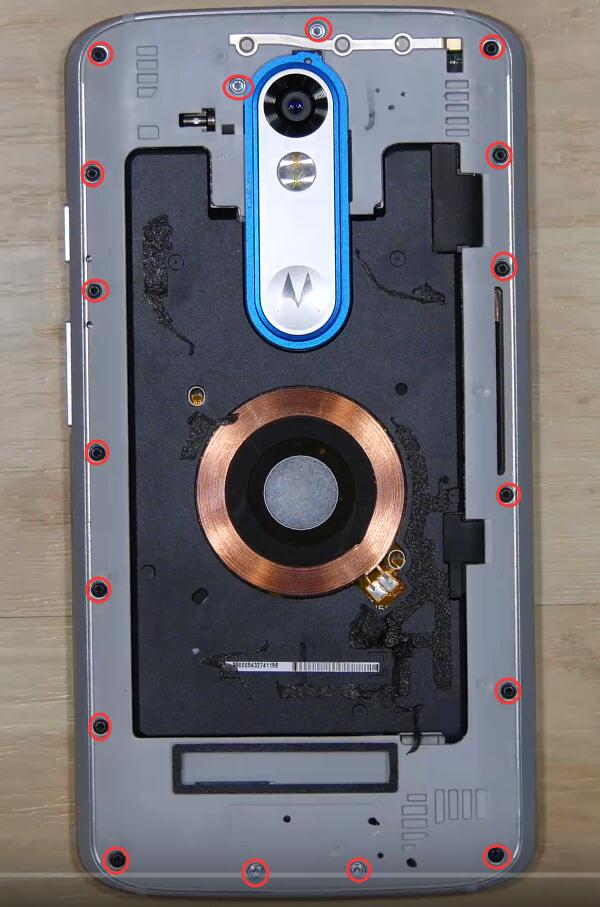
3. Undo the 17 screws in the Droid Turbo 2 rear housing.
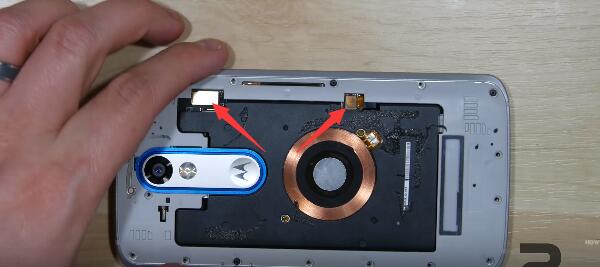
4. Pry up the 2 rubber caps and then pry up the connectors underneath.
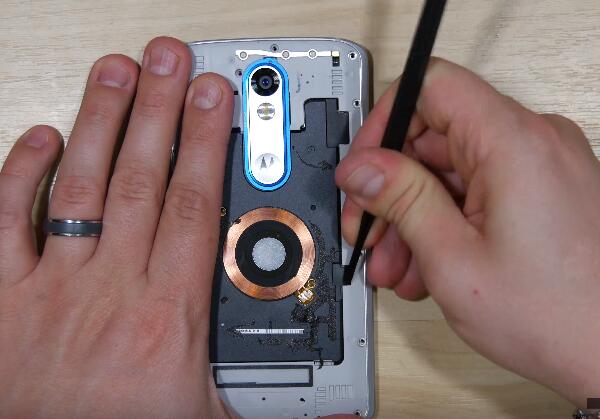
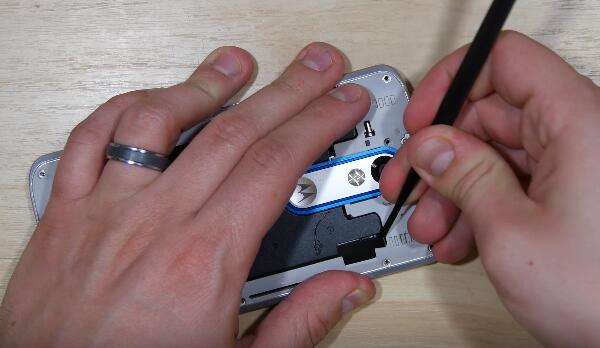
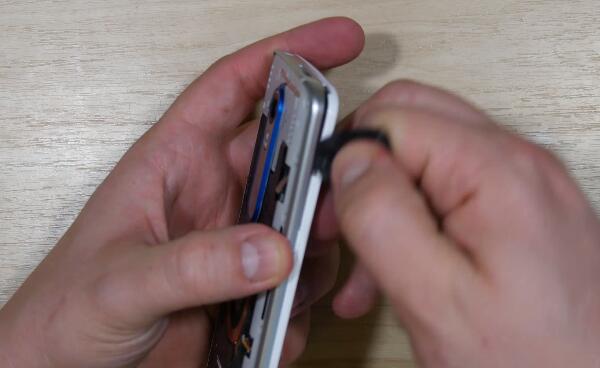
5. Insert the case opening tool and run it around to separate the rear housing assembly.
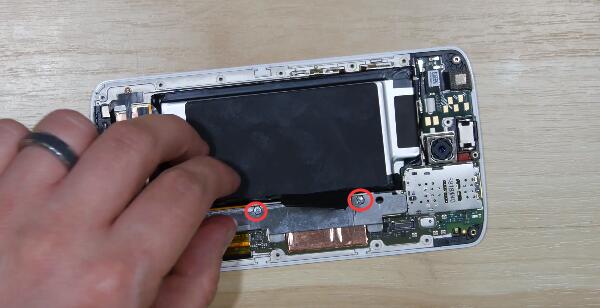
6. Peel off the black tape, undo the 2 screws to release the metal bracket.
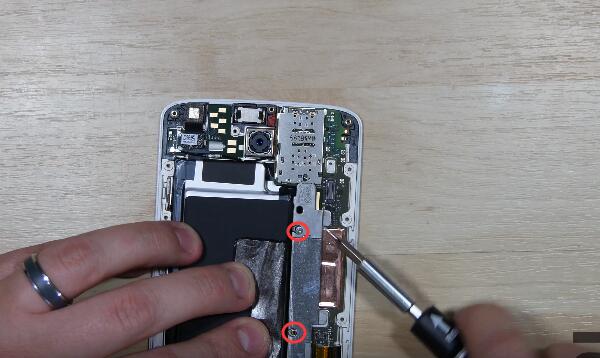
7. Pry up the connectors as shown below to release the Droid Turbo 2 motherboard, 2 connectors are covered by the yellow tape caps, remove the tapes before prying up the connectors.
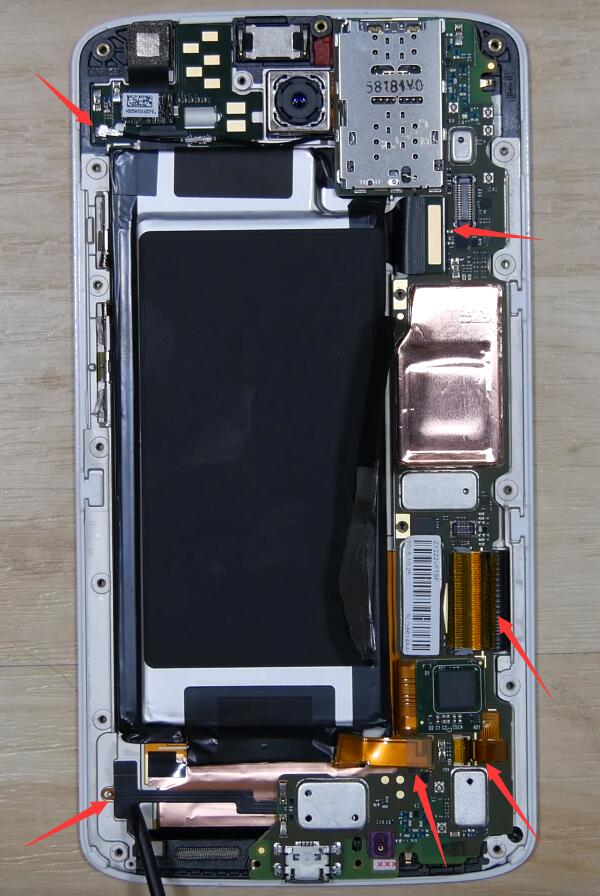
8. Remove the Droid Turbo 2 front facing camera.
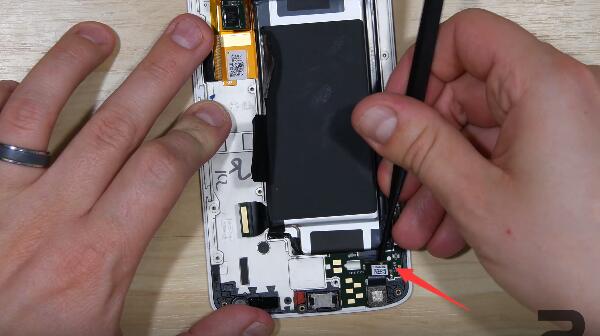
9. Pry up to remove the Droid Turbo 2 battery. Be careful and patient on this step so as not to bend the battery.
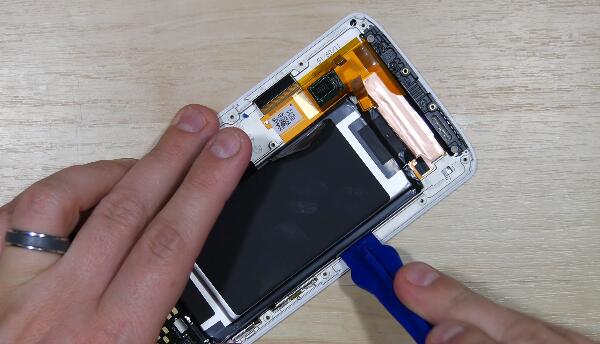
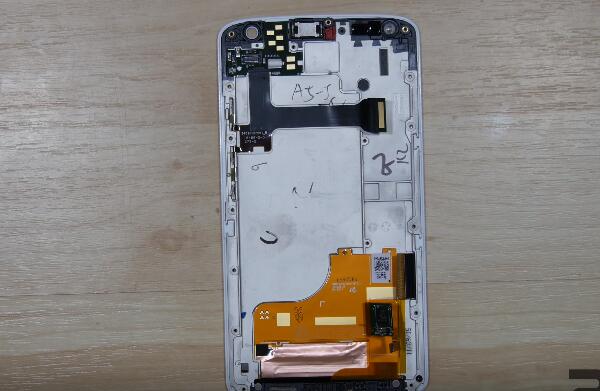
Now the Motorola Droid Trubo 2 LCD assembly with frame was left, reassemble all the parts together to finish the screen replacement work.
10. Reassemble the Motorola Droid Turbo 2 battery.
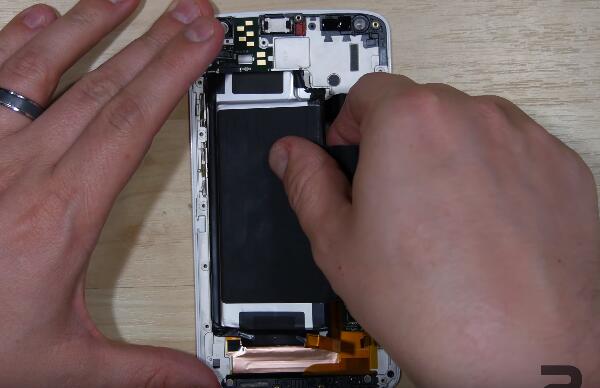
11. Reassemble the Motorola Droid Turbo 2 front facing camera.
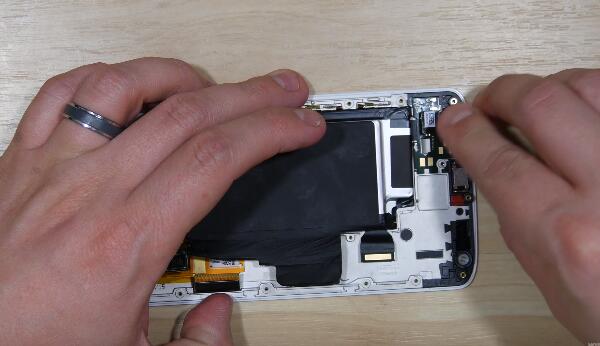
12. Put the Droid Turbo 2 motherboard right in the slot and reconnect the connectors.
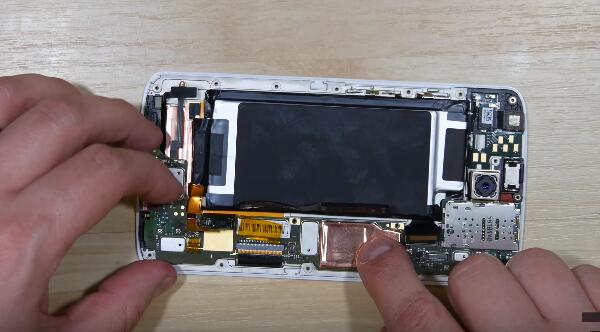
13. Reassemble the metal bracket, fasten the 2 screws and then recover the black tape.
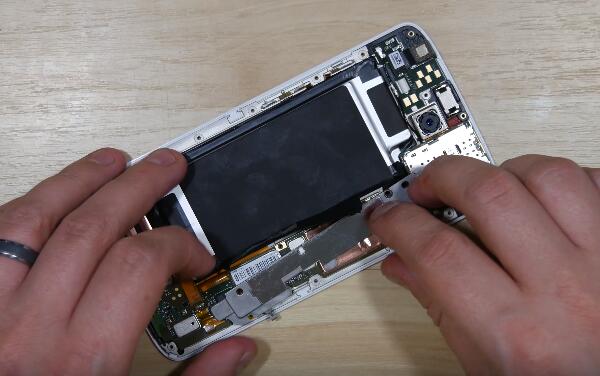
14. Put the rear housing in the slot, reassemble the Motorola Droid Turbo 2 power button and volume button before fastening the 17 screws in the rear housing.
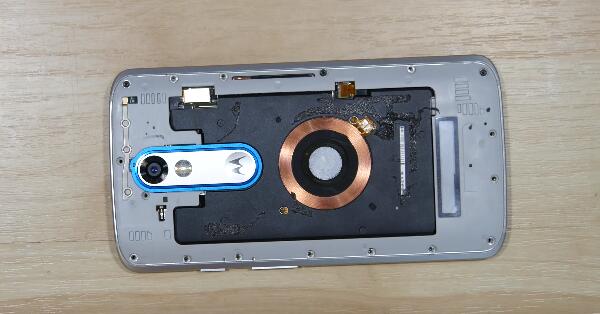
15. Reconnect the 2 connectors and then cover them with the black rubber caps.
16. Paste the double-sided adhesive on the rear housing if you don't have the Motorola Droid Turbo 2 back cover adhesive, then peel off the covering film.
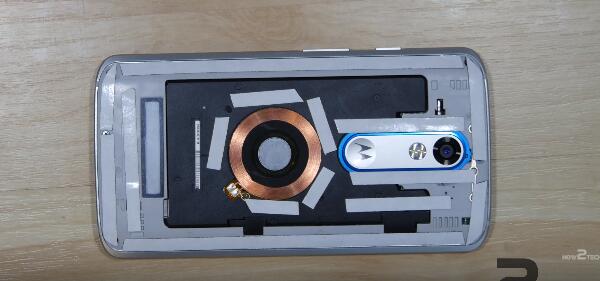
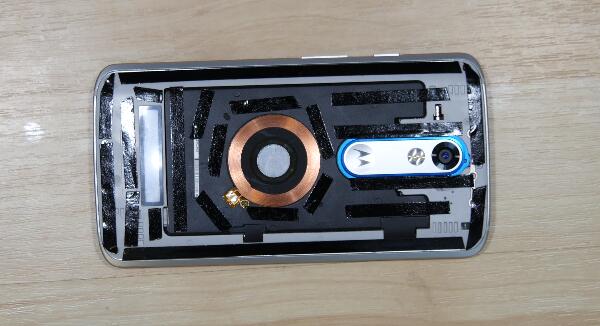
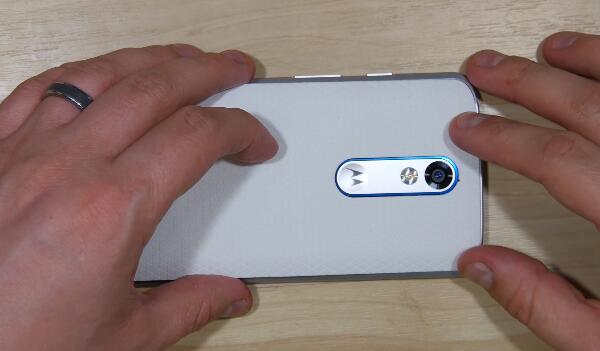
17. Place the Motorola Droid Turbo 2 back cover on the rear housing.
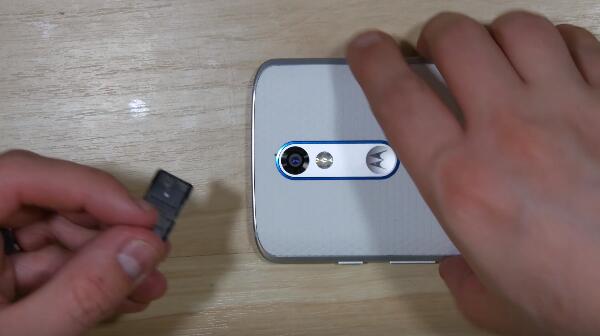
18. Insert the Motorola Droid Turbo 2 SIM card tray.
(Pictures' source: How2Tech)
You may also like:
- How to teardown Moto Z to replace Screen and battery
- How to Fix Cracked Motorola X Style for Screen Replacement
- How to Repair a Cracked Screen on Motorola Moto G
|
|

|

|

|

|

|
|---|


