HTC 10 DIY Teardown for screen, charging port, battery replacement
BY alina | 五月 12th, 2016 | 3 | 18
Have you got the New HTC 10 in your hand? Unconsciously broke the screen? Accidents do happen. The official price for replacing the HTC 10 screen is up to 140 USD and the deal time is around 7-10 business days which is quite long and expensive. If you want to save money and TAT, DIY repair would be your choice. Today we’re going to teardown this controversial smart phone to see how difficult it is to repair it by yourself?
Tools needed:
- Guitar pick
- Phillips screwdriver
- T5 Torx screwdriver
- Metal opening spudger
- Tweezers
- Slim playing cards
Step 1 Power off the phone
Always power off the phone and take out the SIM & SD card tray before disassembling.
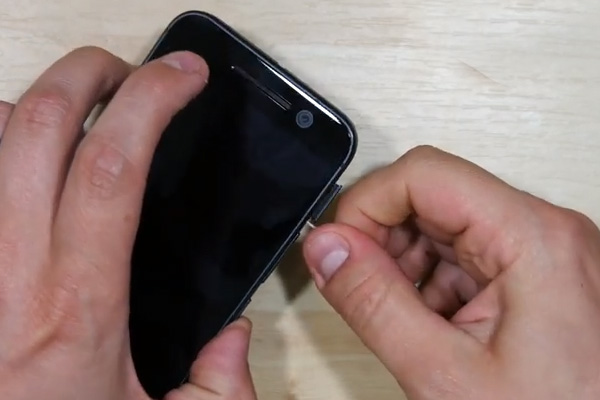
Step 2 Disassemble the screen
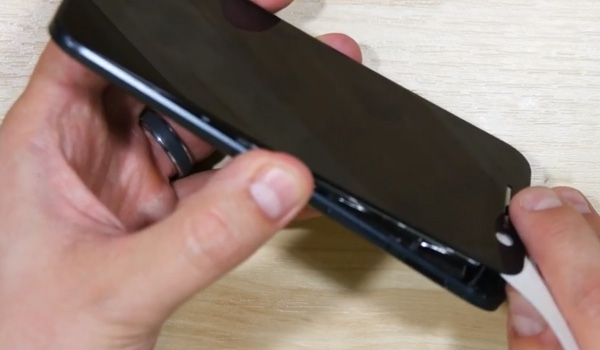
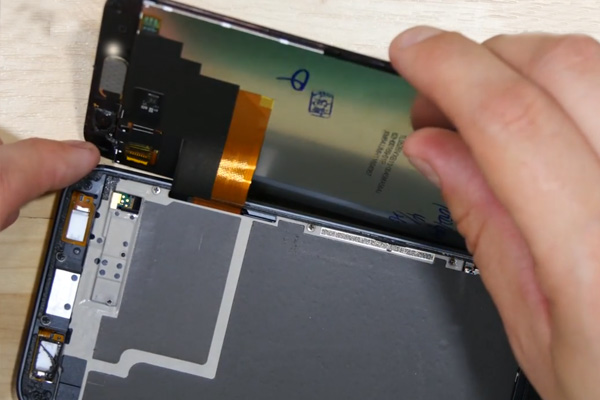
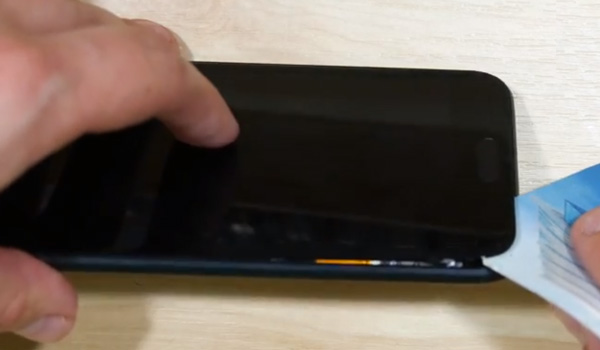
Heat up the LCD screen edges to melt the adhesives, then insert the playing card and slide along the edges to cut the LCD screen adhesives (Note: don’t slide too deep into the bottom left side, because there is a flex cable), here you may need to warm up the screen edges repeatedly.
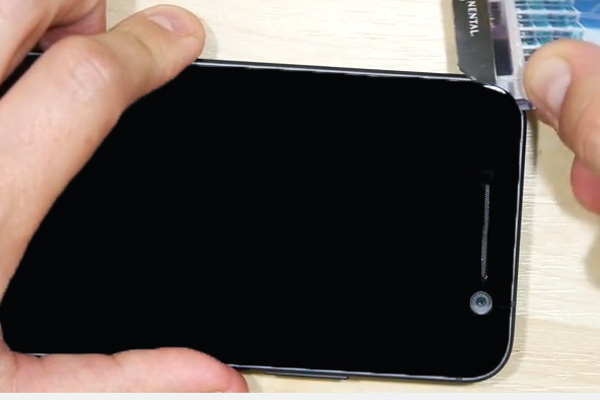
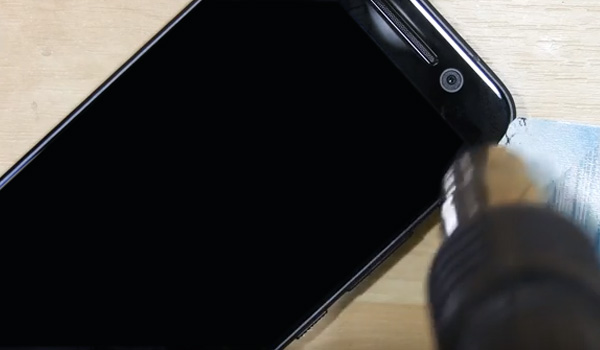
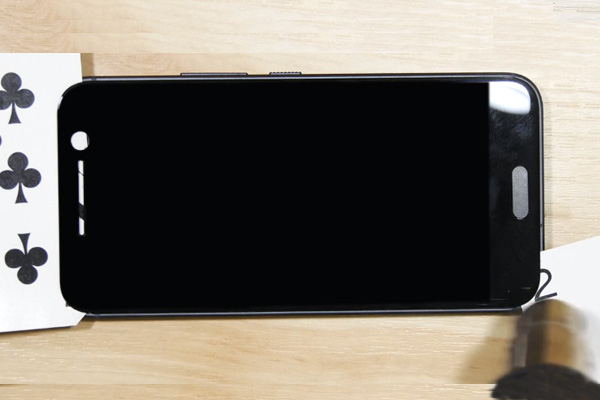
After loosening adhesives, you can pry up the LCD screen.
Step 3 Disassemble the middle plate
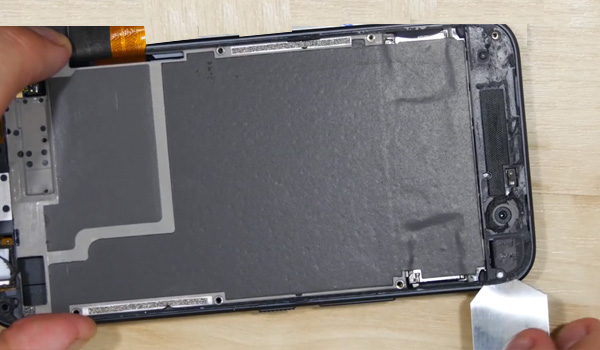
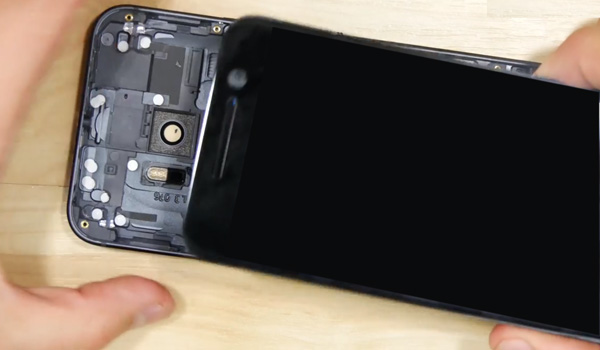
Don't think you can remove the screen right now, 12 screws are there waiting!
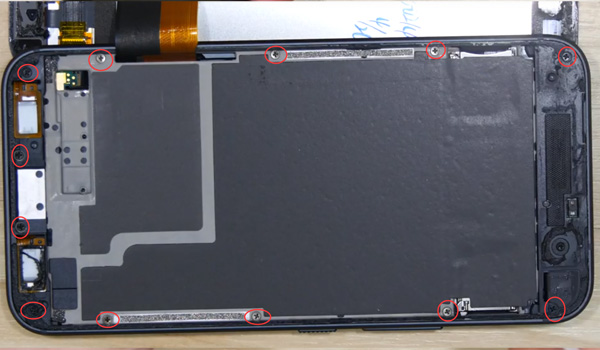
Pry up and remove the middle plate with LCD screen assembly from the rear housing now.
Step 4 Remove loudspeaker
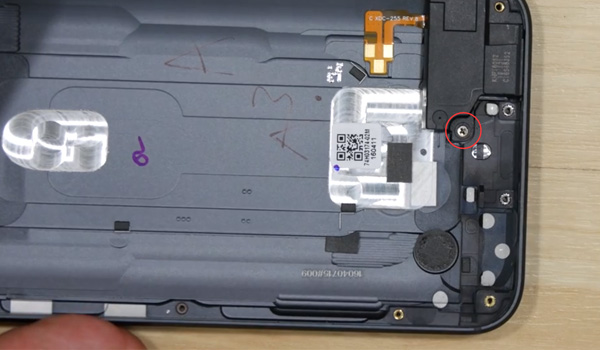
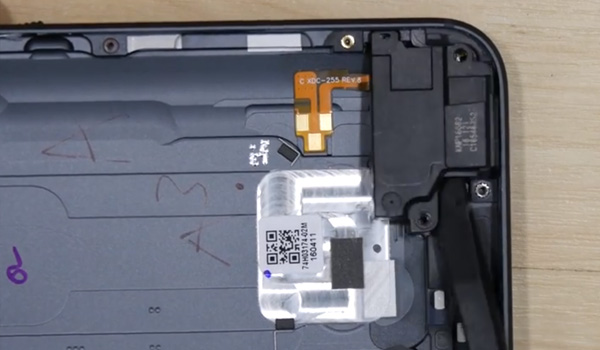
By the way, we can remove the loudspeaker since the rear housing is right in front of us. Undo the screw and you can pry it up.
Step 5 Remove the LCD screen
Moving to the front housing assembly, still the HTC-style, looks complicated inside with so many adhesive tapes!
Remove 2 screws holding the battery first before pulling out the battery connector.
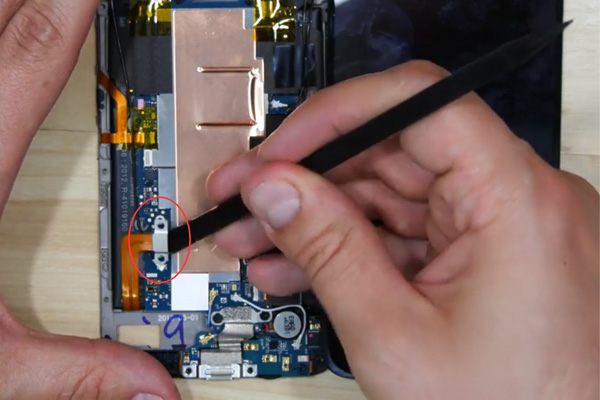
Then pull out the charge port flex connect to the main board and peel off the tape covering the LCD screen and digitizer flex cable, you can disconnect the signal cable now.
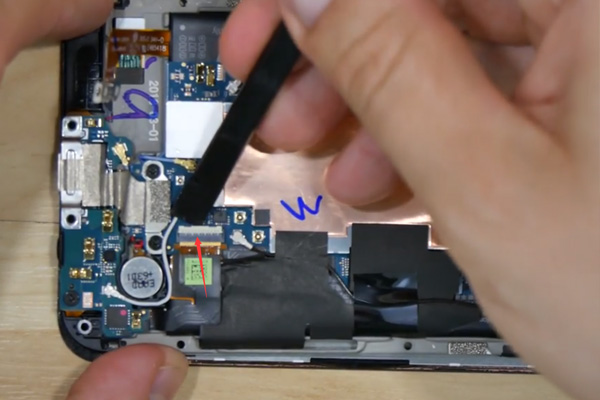
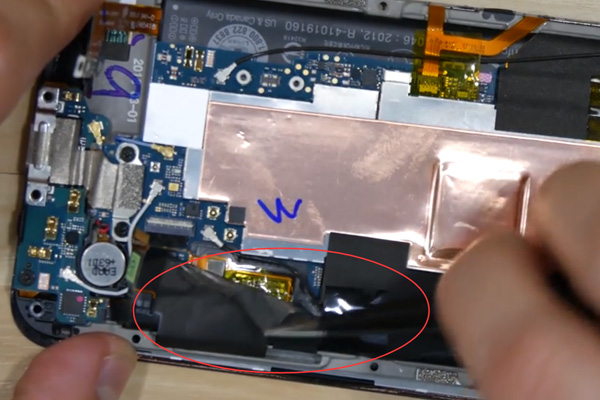
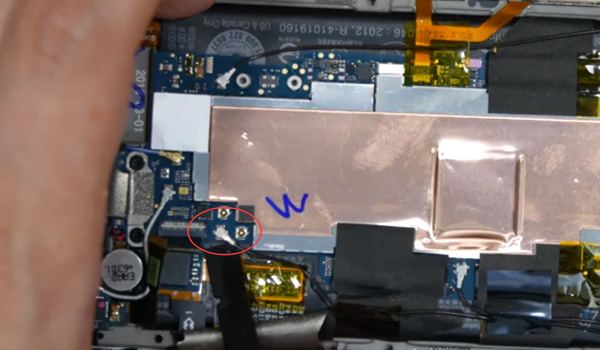
Disconnect the LCD screen flex cable connector.
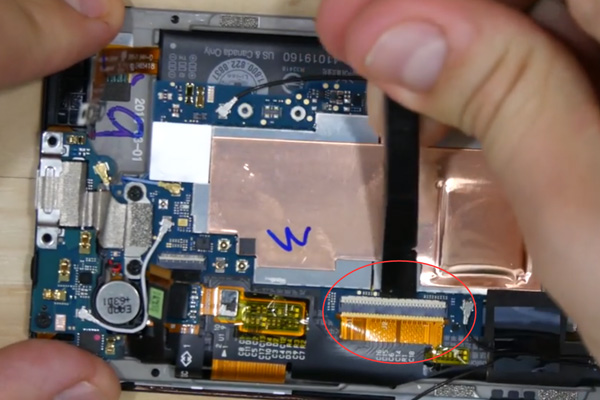
Pry up the whole LCD screen and digitizer flex cable and put it down through the slot, now we're done with separating the LCD touch screen from the middle plate assembly.
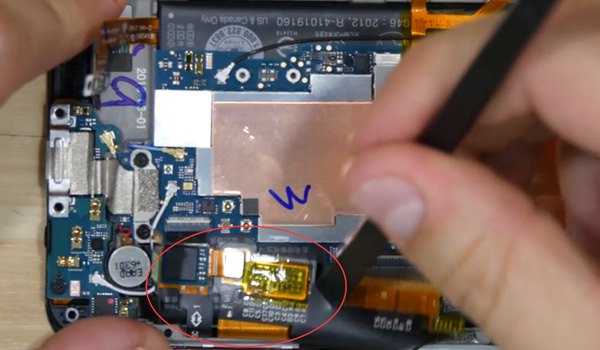
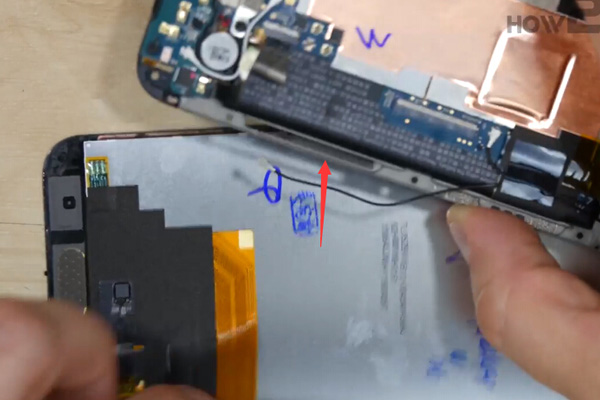
Left the middle plate assembly now.
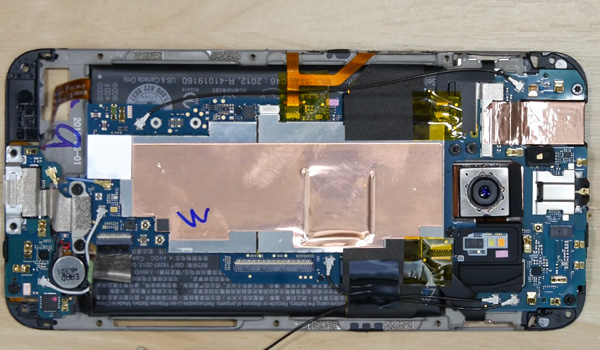
Step 6 Remove charging port flex cable.
Undo the 2 T5 Torx screws holding the charging port flex.
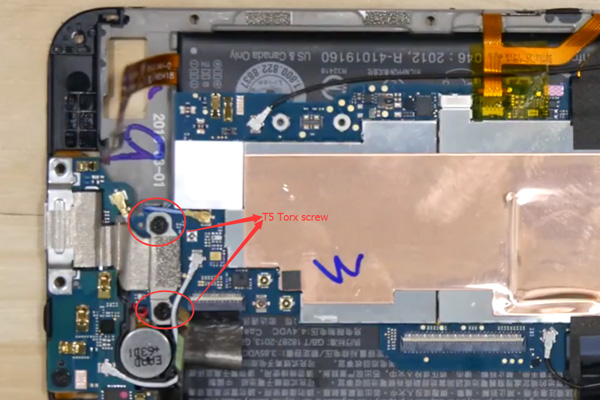
Disconnect the charging port connector.
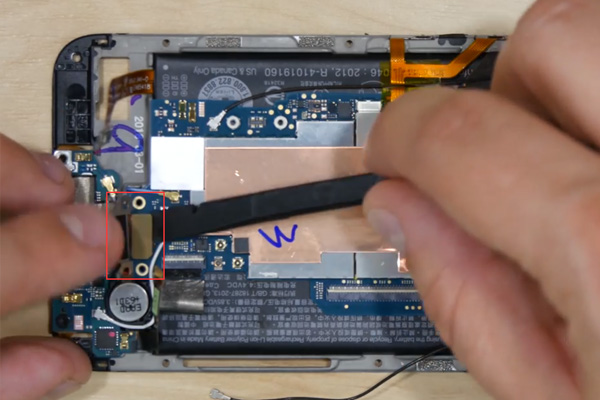
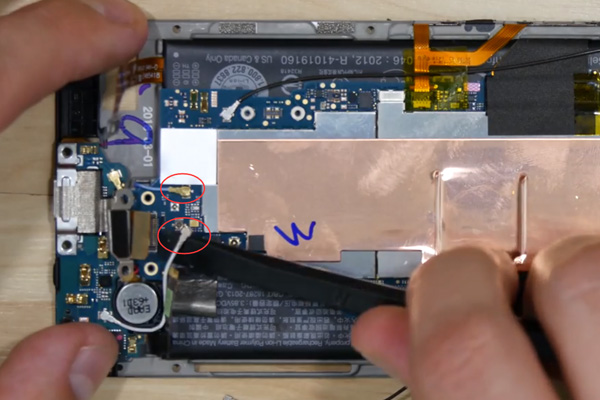
Disconnect the 2 signal cable connectors then.
And one more screw in the corner.
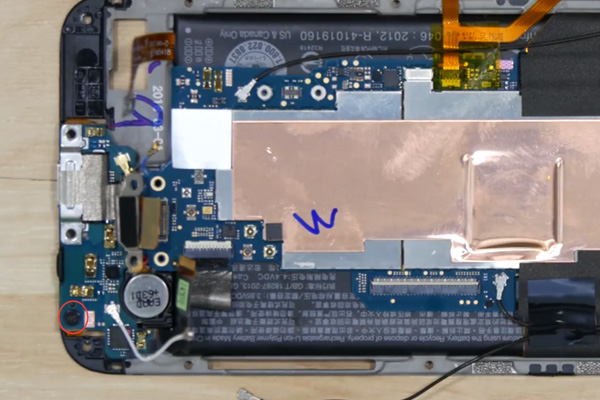
Then go back and forth to pull off the touch button pads.
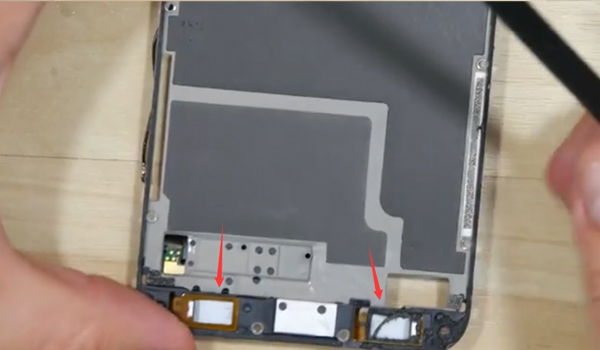
Now pry up charging port flex cable very carefully and slowly.
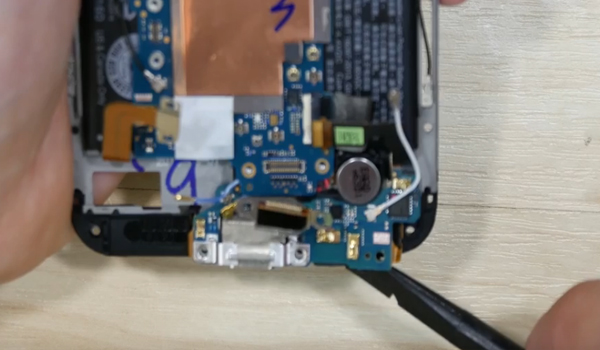
Step 7 Remove main board with rear camera
Peel off the yellow and black tape covering the connectors.
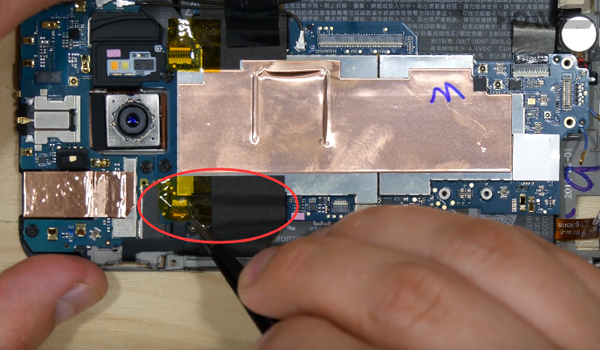
Release 2 connectors.
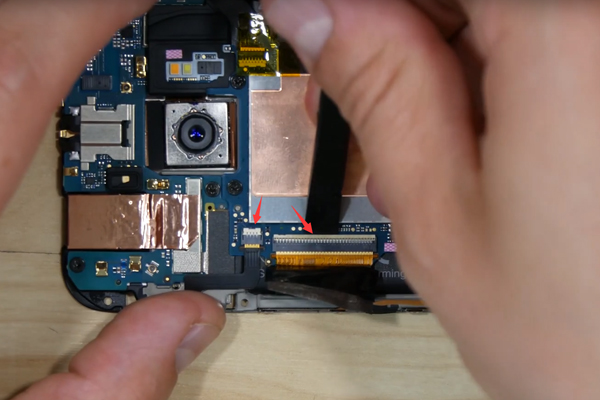
Also do the same to the other side after releasing one signal cable connector here.
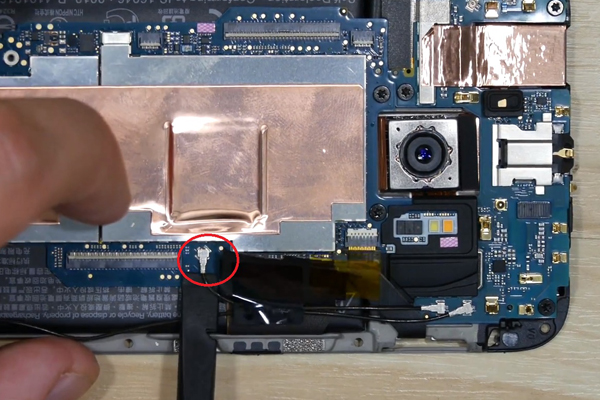
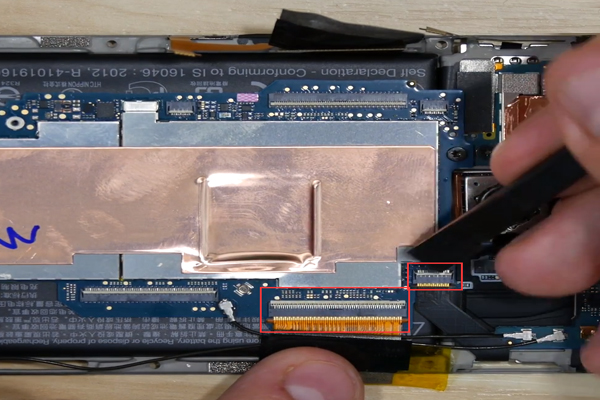
Undo 2 screws on the main board.
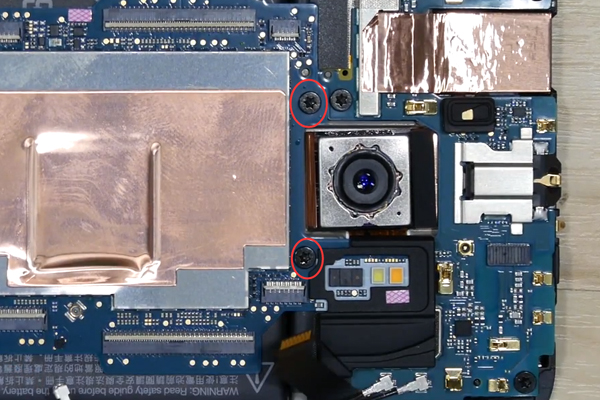
Pry up the main board with the rear facing camera now.
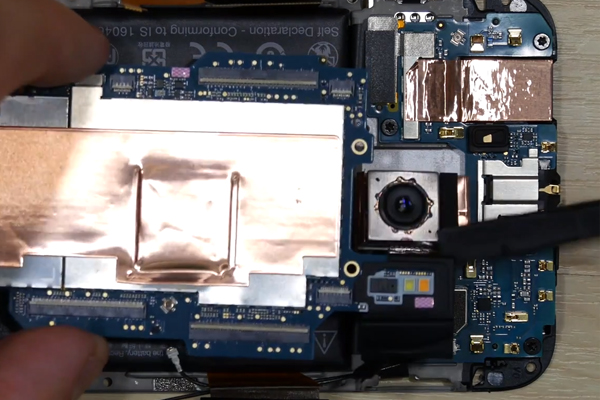
Be Careful! The vibrate motor is soldered to the main board. Remove it together.
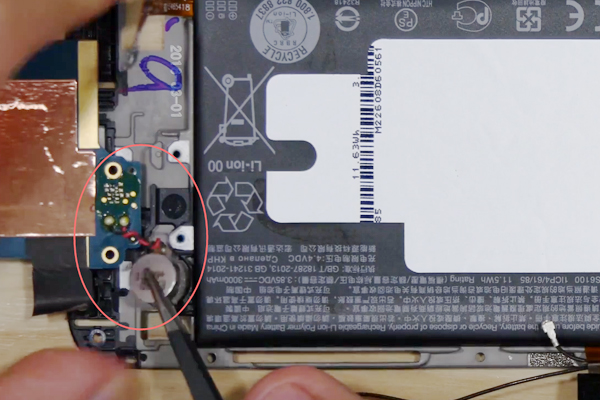
Step 8 Remove the other logic board
Undo 3 screws first.
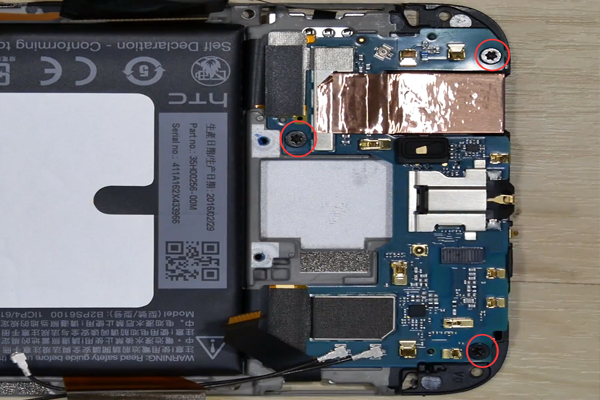
Remove front facing camera covering by the protective tape.
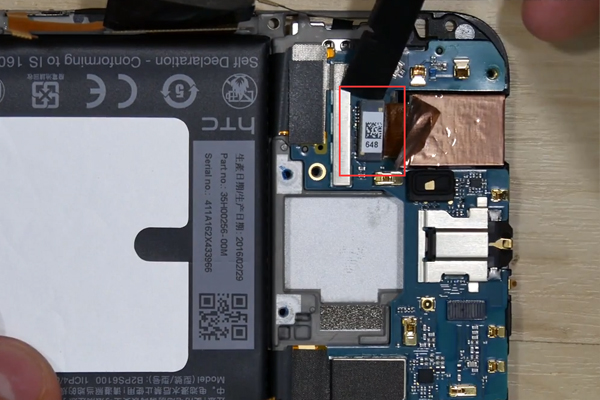
Thought of removing the logic board now. Oops, the battery covered the flex cable underneath.
Need to take out the battery first, prepare for the strong adhesive underneath battery.
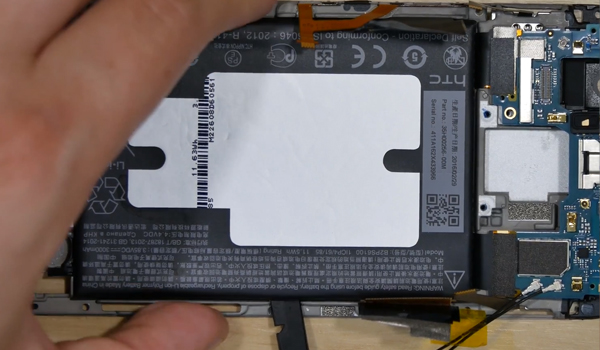
Now loosen cables adhered to the middle plate. Then the logic board can be removed finally.
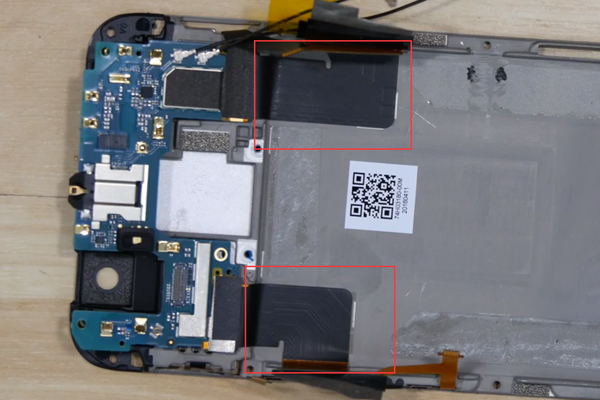
Left the middle plate with the ear speaker now.
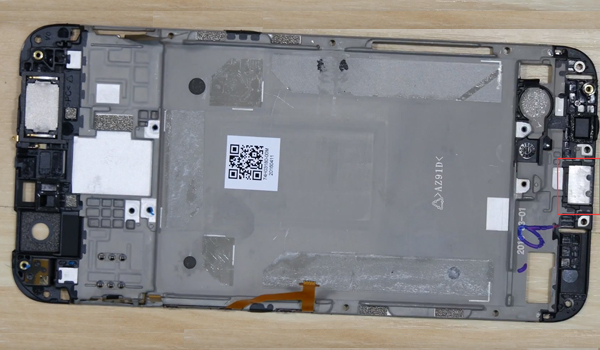
After the whole teardown, do you have any thoughts for this so HTC-styled HTC 10? If you are interested in fixing your phone by DIY work, Etrade Supply will provide you the most cost-effective replacements and repair tools. Any problems and ideas, leave a comment below to share with us!
(Picture source: how2tech)
You may also like:
- How To Replace HTC U11 Cracked Screen, Charging Port And Battery
- 10 HTC One M8 Tips and Tricks You Should Know
- How To Disassemble/Tear Down HTC One M9
- How To Replace A HTC One A9 Cracked Screen
|
|

|

|

|

|

|
|---|


