


How To Disassemble/Tear Down Sony Xperia Z3+
BY May | 七月 2nd, 2015 | 1 | 2
The Xperia Z3+, also known as the Xperia Z4 was released in May as Sony’s latest flagship phone. Endless leaks of this new generation Xperia from the inner structure to outer design were explored not long after the Xperia Z3 was released in September of 2014. Well, now let’s have a closer look at what’s inside the Xperia Z3+.
Tools Needed:
- Hair drier/Heat gun
- Case opening tool
- Suction cup tool
- Spudger
- Tweezers
1. Power off the Xperia Z3+, open the SIM card cap and remove the SIM card tray.

2. Then heat up the edges to soften the battery door adhesive, insert the case opening tool to separate the Xperia Z3+ battery door.

3. Pry up the connectors as shown below to release the Xperia Z3+ battery. Be careful on this step as the battery is adhered to the front housing with some strong adhesive and there’re flex ribbons underneath.


4. Undo the 4 screws and pry up the Xperia Z3+ signal cable connector to release the motherboard.


Pry up to remove the shielding from the motherboard if needed.

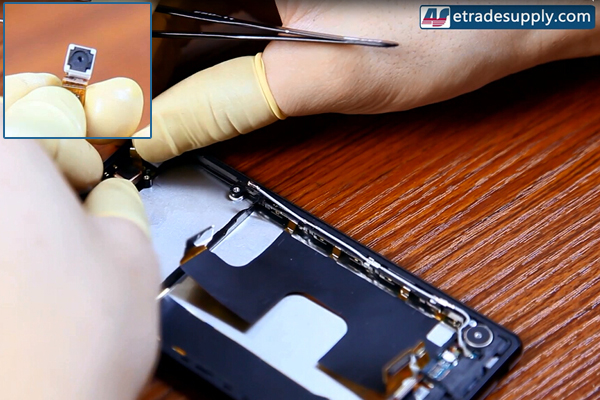
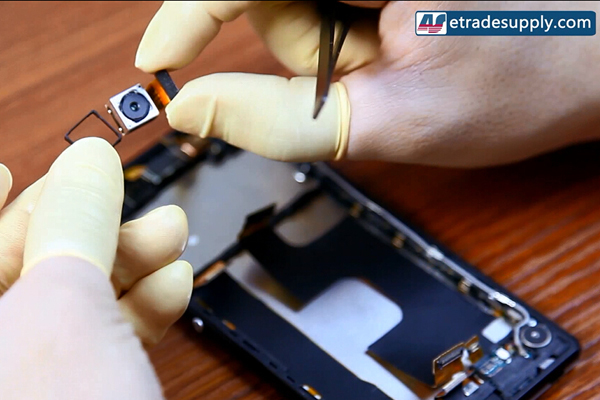
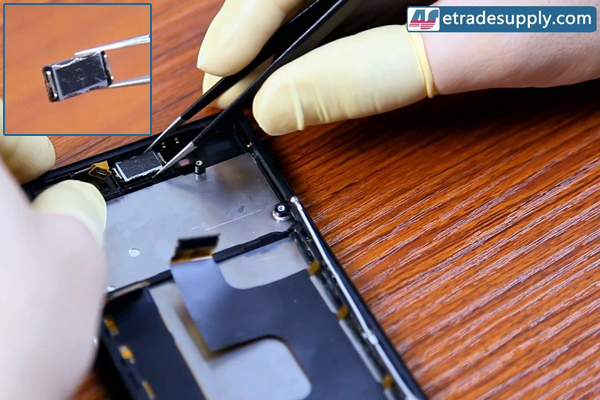
5. Remove the smaller parts set into the upper front housing: front facing camera, rear facing camera, ear speaker, earphone jack and the retaining brackets.
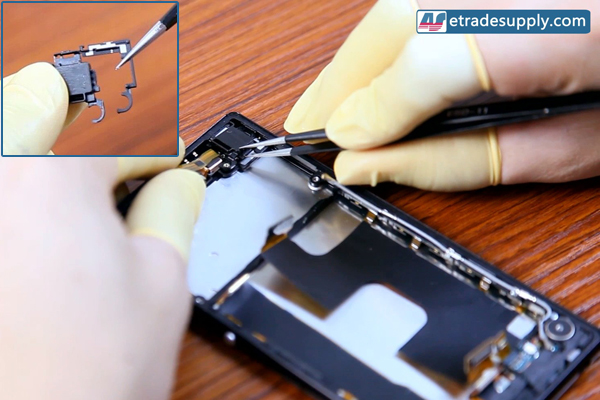

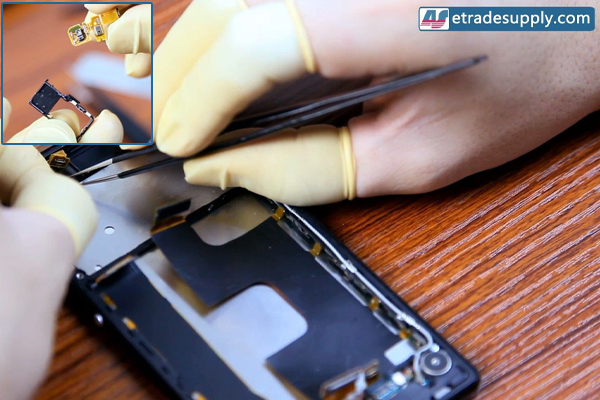
6. Gently remove the motherboard flex ribbon, side key flex, vibrating motor, and the retaining brackets.


7. Heat up the edges of Xperia Z3+ LCD assembly evenly, pull up the screen with the help of suction cup tool then insert a case opening tool into the gap. Remember to pry up the flex cables at the top before fully removing the screen.


Now, the Xperia Z3+ is completely disassembled.

|
|

|
|
|
|
|
|---|


