How To Fix Cracked Xperia Z5 For Screen Replacement
BY May | 十二月 10th, 2015 | 2 | 4
As the successor to Xperia Z3+ (aka Xperia Z4), the Xperia Z5 was unveiled in September, 2015, along with the Xperia Z5 Premium and Xperia Z5 Compact. Similar to its predecessor though, Xperia Z5 is Sony’s first device featuring with fingerprint sensor. What about the repairability? Here is a tutorial guide showing how to disassemble Xperia Z5 for screen replacement.
Tools Needed:
- Hair drier/Heat gun
- Case opening tool
- Suction cup tool
- Spudger
- Tweezers
1. Power off the Xperia Z5. Heat up around the edges of back cover to soften the battery door adhesive underneath, gently pull up the back cover until a gap then insert the opening tool and guitar picks in between, running around the edges to release the Xperia Z5 back cover.
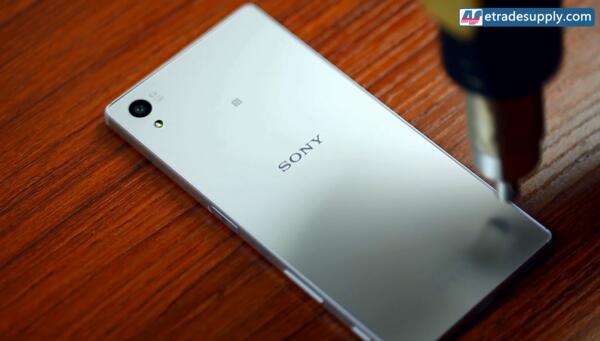
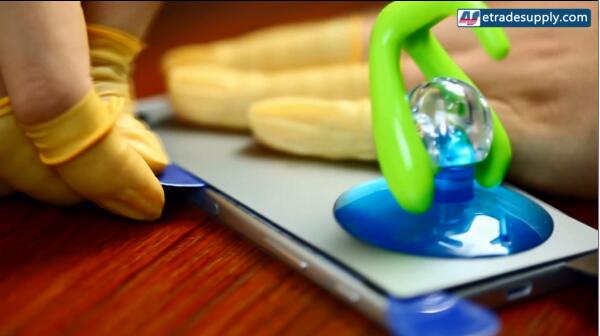
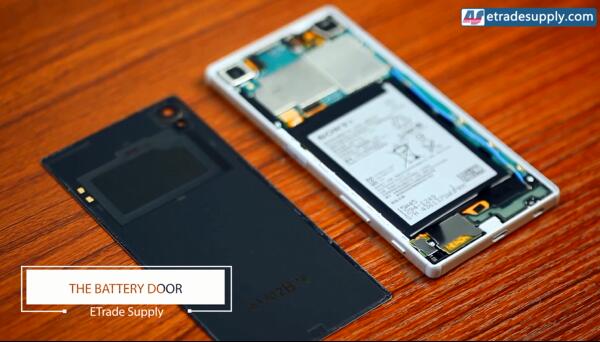
2. Pry up the battery flex ribbon connector, pull up the 2 battery adhesive and then gently pry up to release the Xperia Z5 battery.
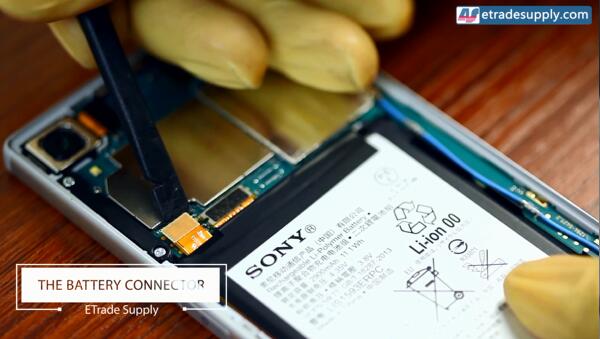
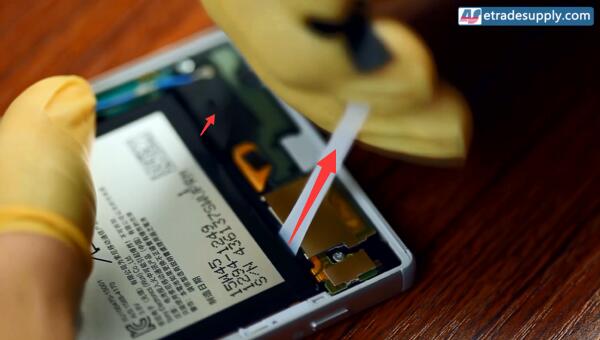
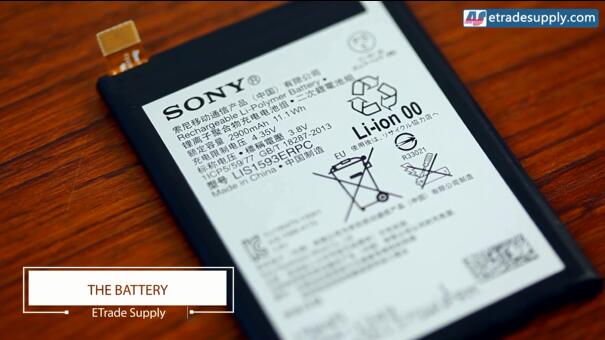
3. Pry up the motherboard flex ribbon connector, undo the 2 screws and then remove the black plastic bracket.
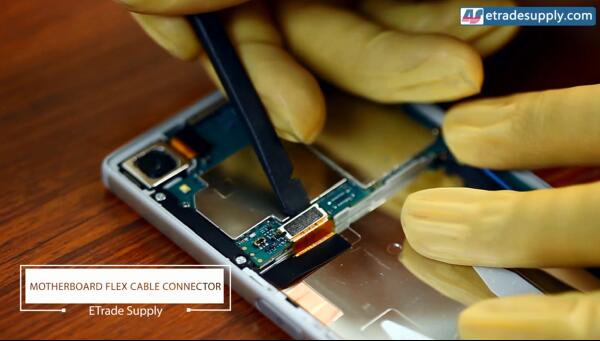
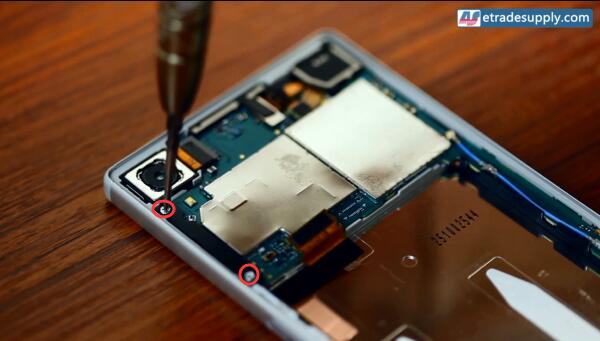
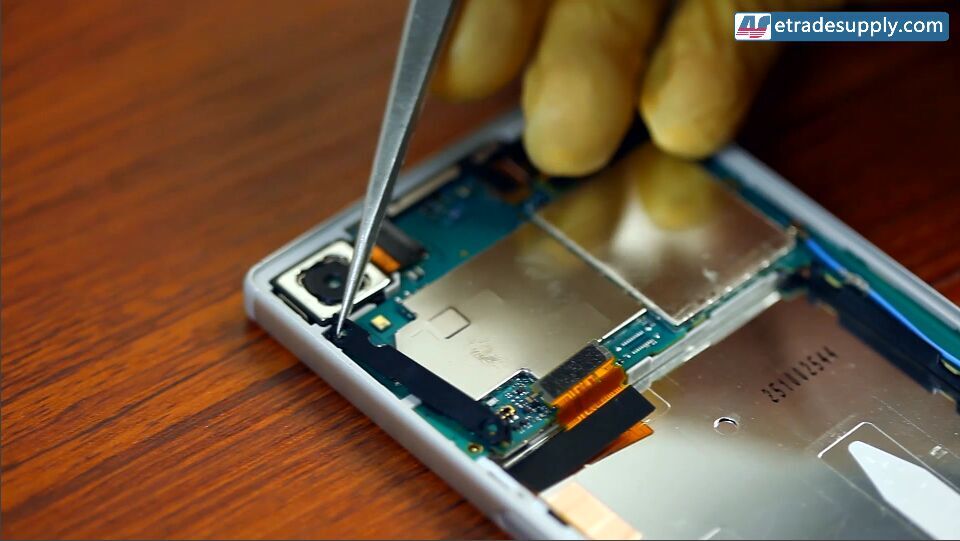
4. Undo the 2 screws, pry up the two adhesive ends, remove the metal bracket covering the loudspeaker, then gently remove the logic board flex and loudspeaker module. Be careful not to damage the fragile flex cable ribbon.
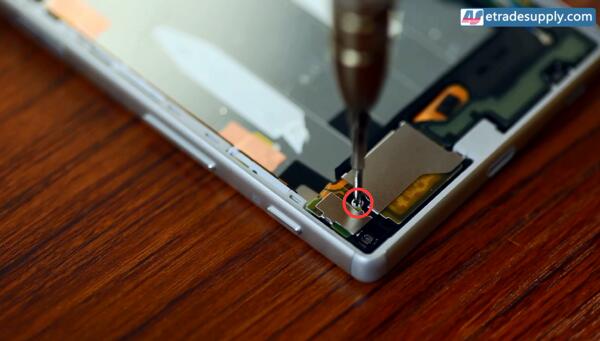
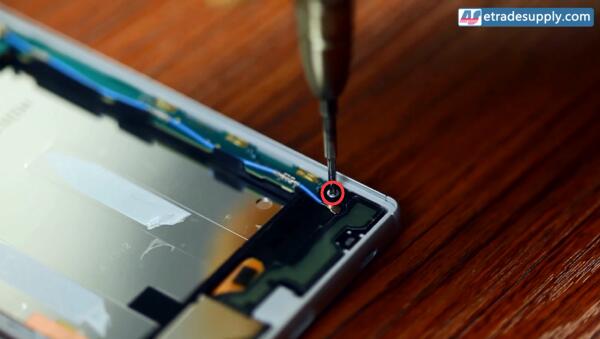
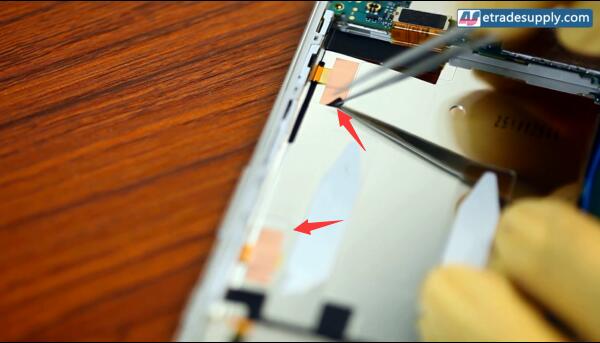
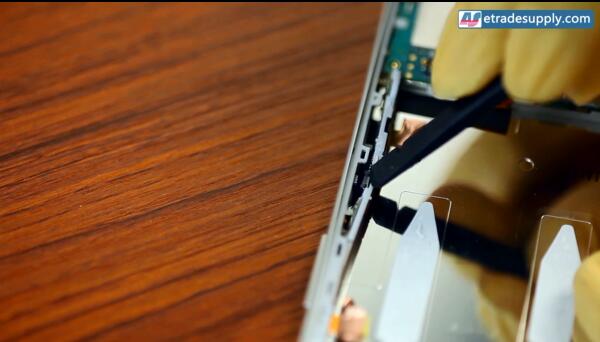
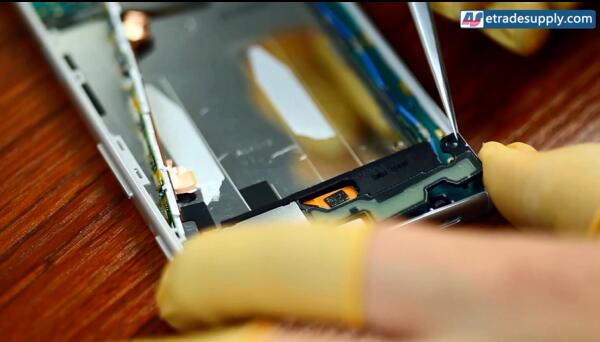
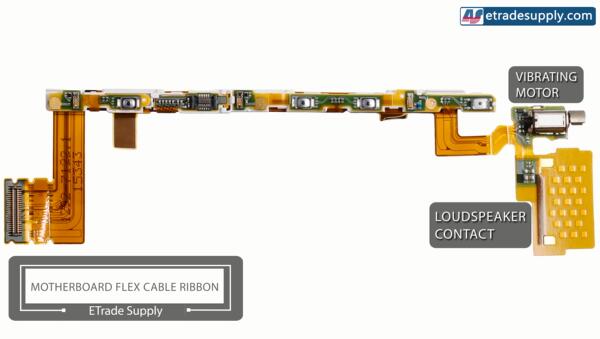
5. Remove the two metal brackets covering motherboard flex ribbon, heat up to soften the adhesive underneath and then gently remove to release the Xperia Z5 motherboard flex cable ribbon.
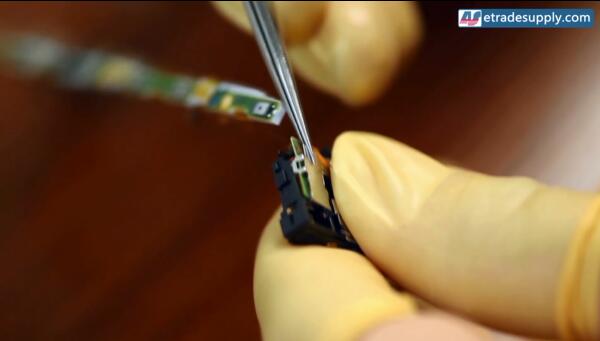
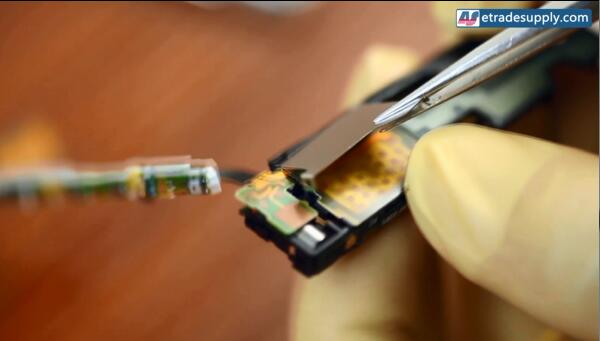
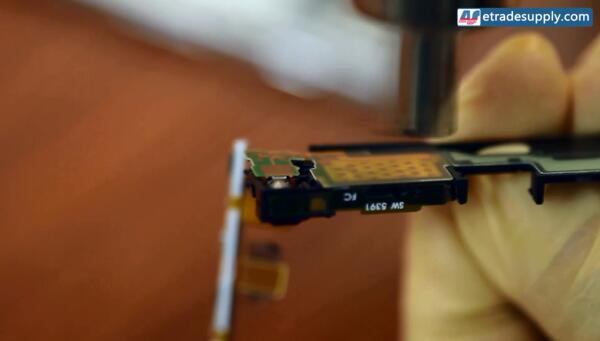
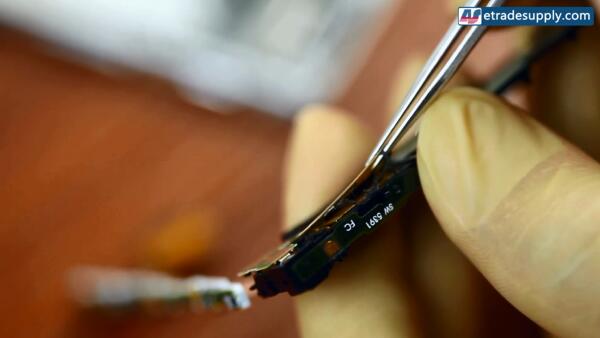
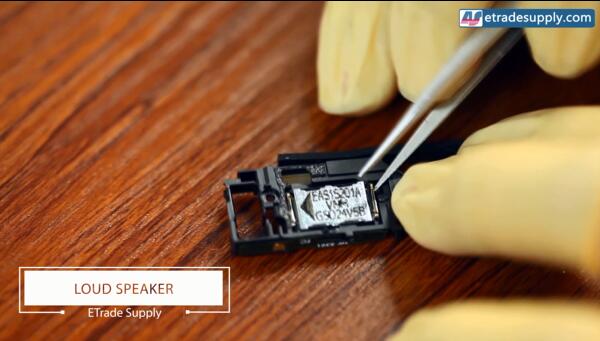
6. Heat up the loudspeaker to soften the adhesive underneath, then gently to release it from the loudspeaker module.
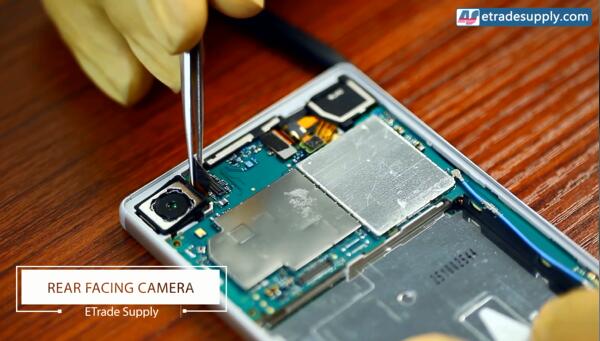
7. Remove the Xperia Z5 rear facing camera.
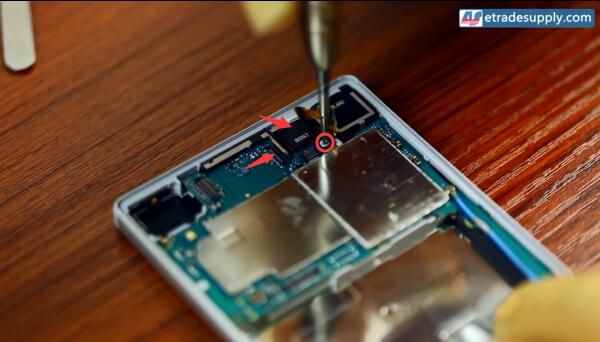
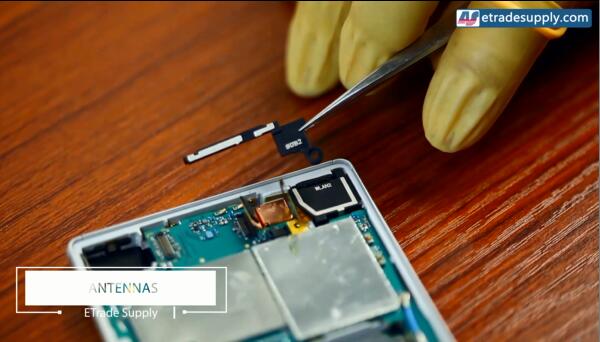
8. Pry up the two connectors, undo the screw to release the antenna.
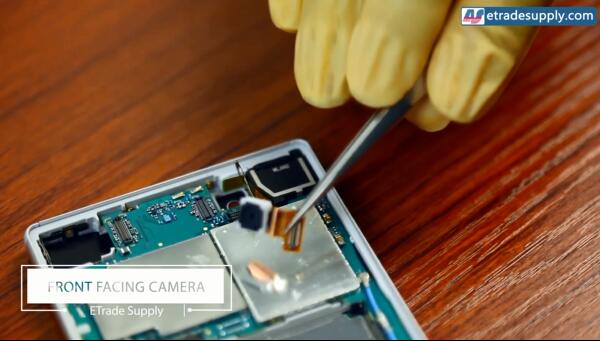
9. Remove the Xperia Z5 front facing camera.
10. Pry up the charging port flex connector, LCD display flex connector and microphone connecotor.
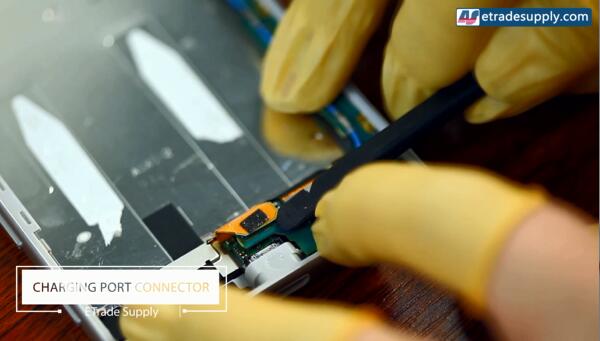
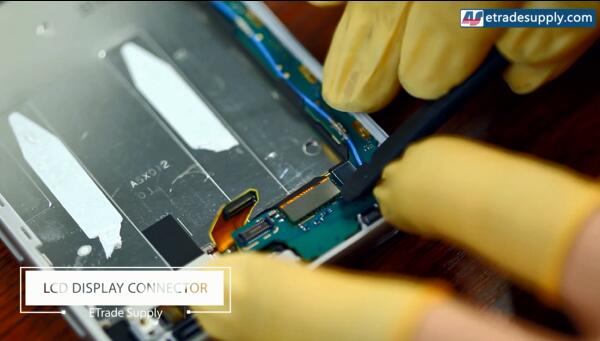
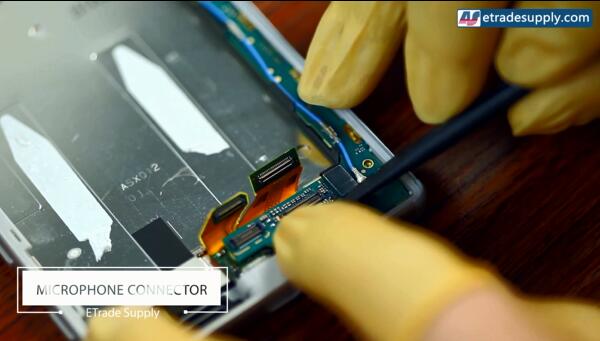
11. Open the SIM card cap and then remove the SIM card tray.
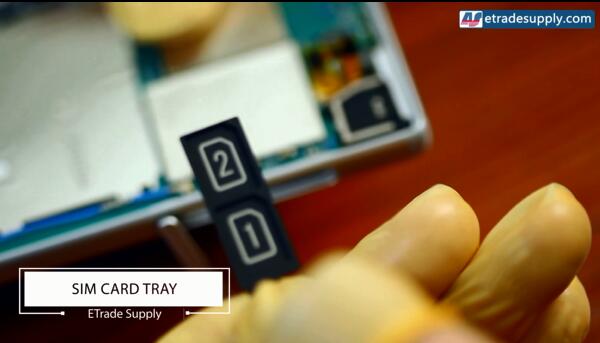
12. Release the Xperia Z5 logic board.
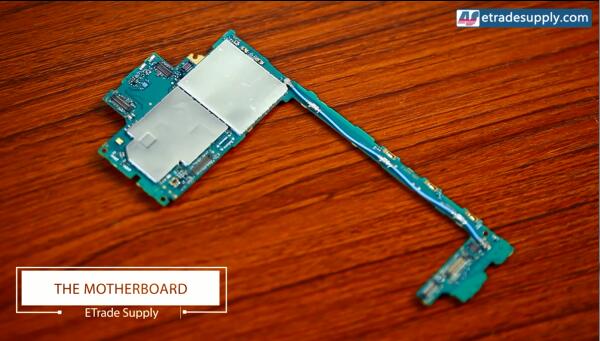
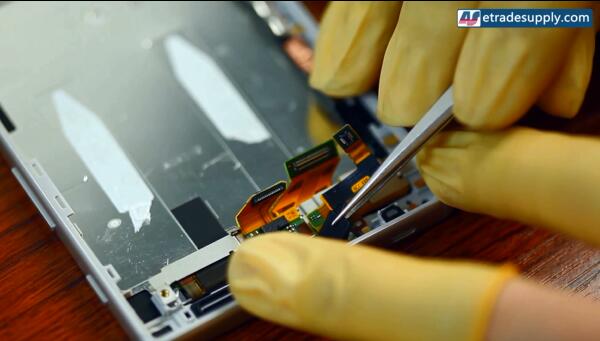
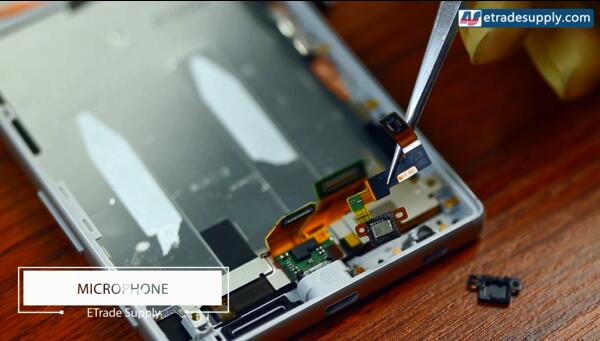
13. Heat up and the gently remove the microphone retaining bracket, then remove the microphone flex cable ribbon.
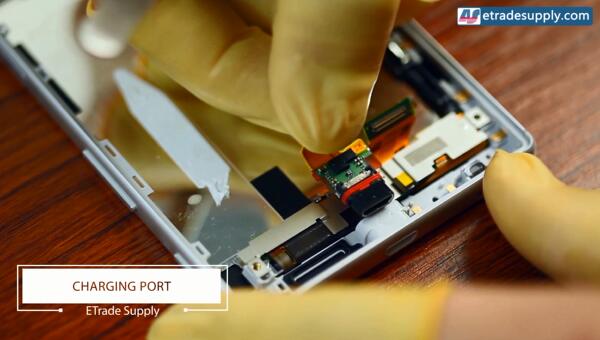
14. Heat up and gently remove the Xperia Z5 charging port with flex from the slot.
15. Remove the metal bracket covering the screen flex ribbons and then pry up the adhesive tape.
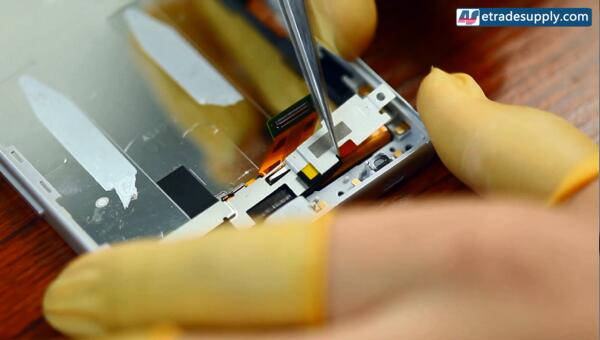
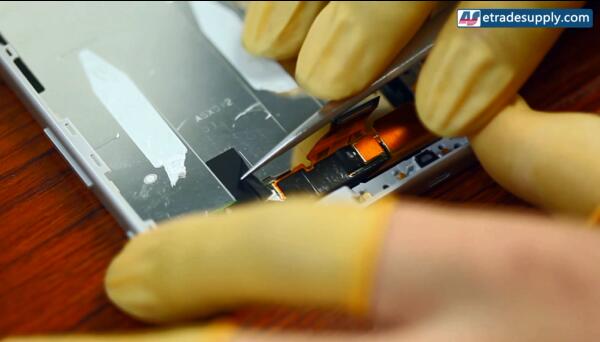
16. Remove the WLAN antenna, pry up the microphone connector. Heat up and then gently remove the Xperia Z5 earphone jack with flex cable ribbon.
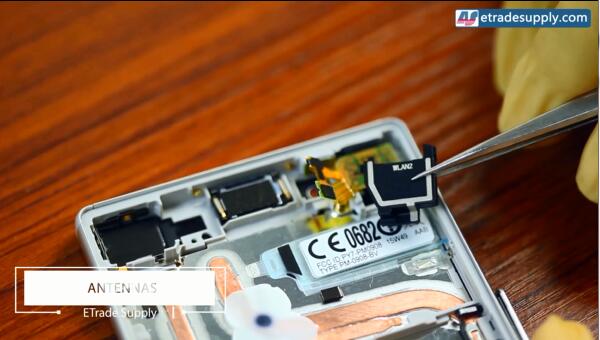
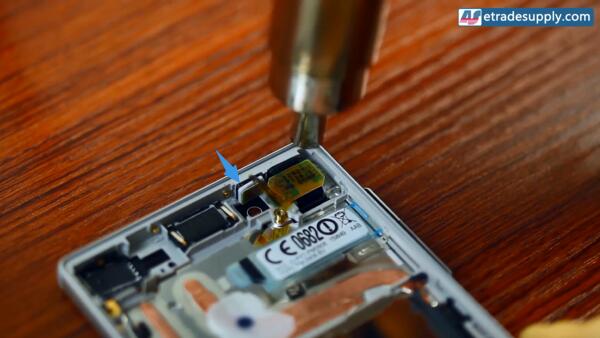
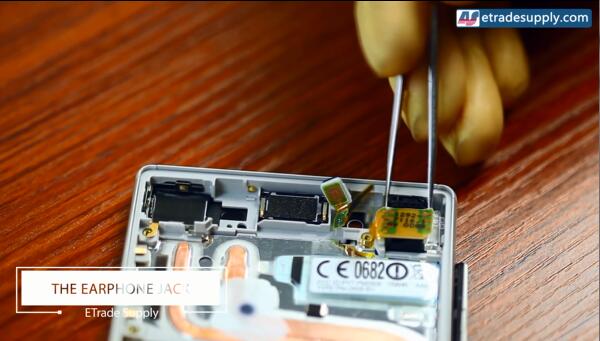
17. Heat up and remove the Xperia Z5 ear speaker.
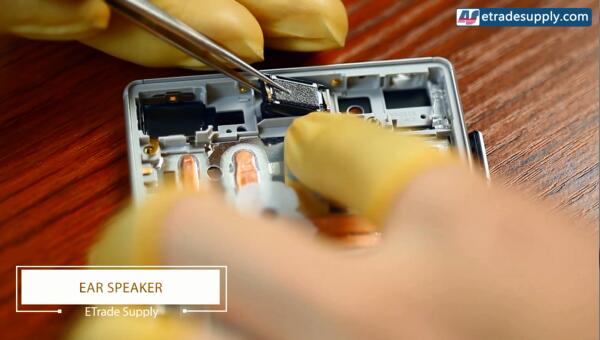
18. Remember to remove the transparent plastic piece.
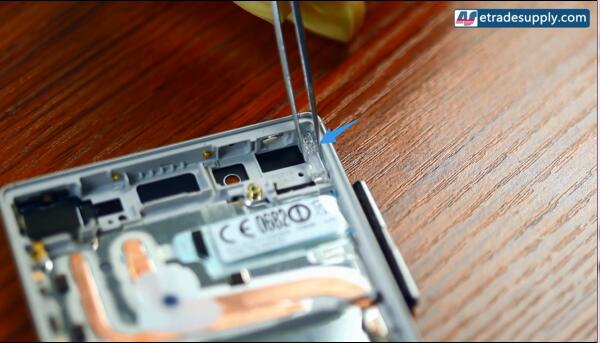
19. Heat up around the LCD assembly edges, gently pull it up until a gap appears, insert the case opening tools in between to remove the LCD assembly.
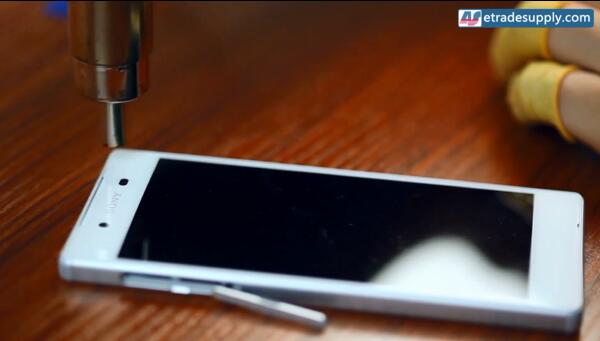
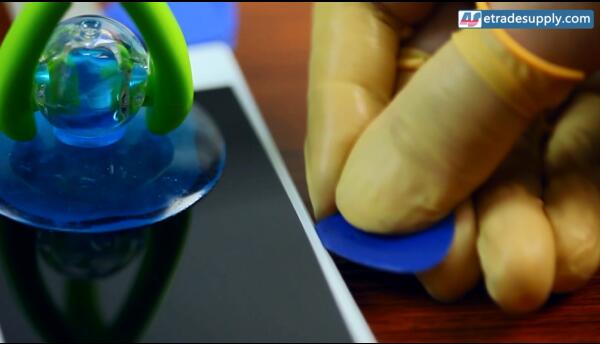
Now, the Xperia Z5 was disassembled, replace it with a new Xperia Z5 LCD and digitizer replacement in reverse orders.
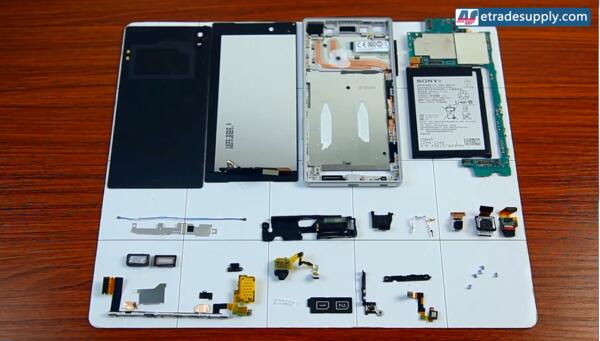
Watch below Xperia Z5 tutorial video to get more details:
You may also like:
- How to Replace the Sony Xperia Z5 Premium Camera Lens
- How to Replace Broken Sony Xperia Z5 Premium Screen Step by Step
- Xperia Z5 Premium USB Charging Port Replacement Tutorial
|
|

|

|

|

|

|
|---|


