


How to Replace the Huawei Honor 8 Broken Screen
BY kaye | 七月 16th, 2016 | 12 | 12
Huawei Honor 8, which is recognized as the most beautiful Huawei smartphone ever, was unveiled in July 11, 2016 in China and will release in Aug 18 in the US according to the media reports. Here we take a simple teardown guide to pre-show you how it looks like the internal work and how to do a DIY repair your own.
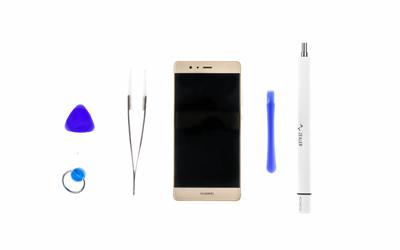
Repair Tools Needed:
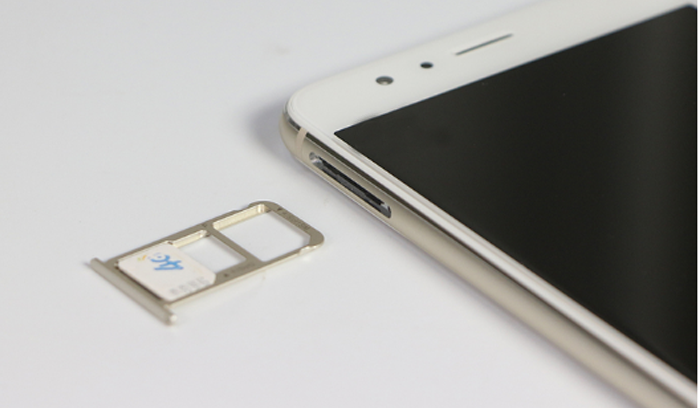
Step 1 Power off the phone and remove the SIM card tray.
(Tips: in order to protect your screen, you’d better put a protective film on screen surface.)
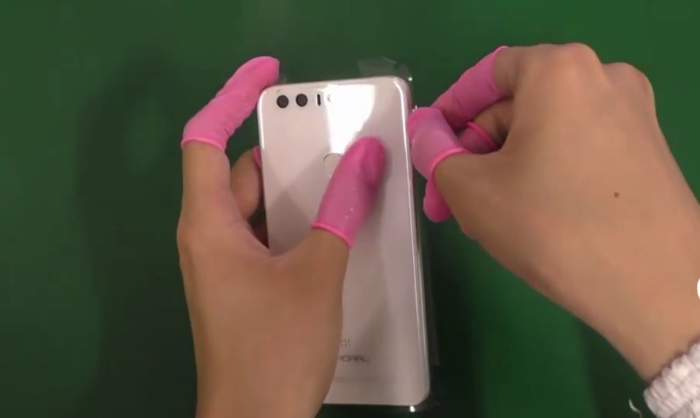
Step 2 Remove battery cover
This Huawei Honor 8 battery cover is made from glass, and it is sticked tightly to the middle frame with lots of adhesives, which needs to be heated up for about 2minutes to melt the back cover sticker. Then use a suction cup separator to pull off the battery cover glass.
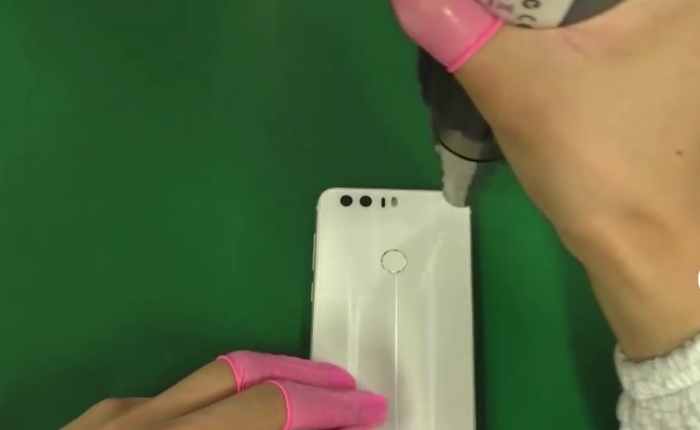
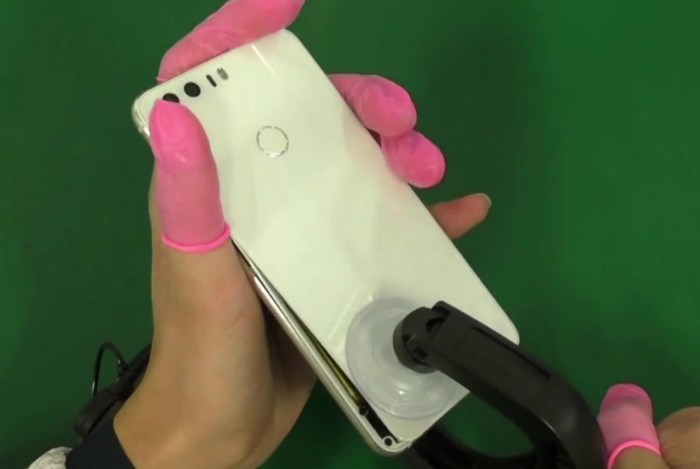
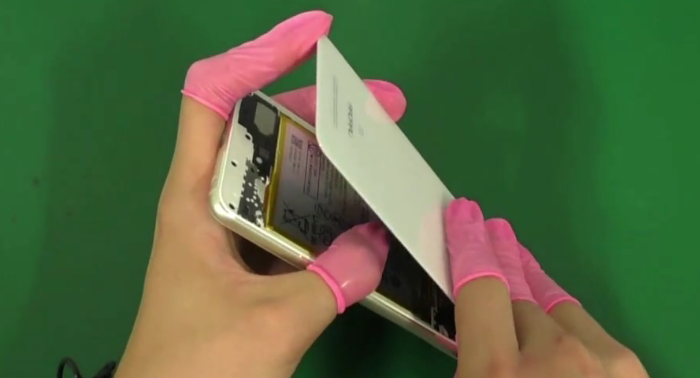 Note:The back cover glass is connected to the motherboard with the fingerprint sensor flex cable, you’d better pry up the cover from the bottom in case you broken the flex cable.
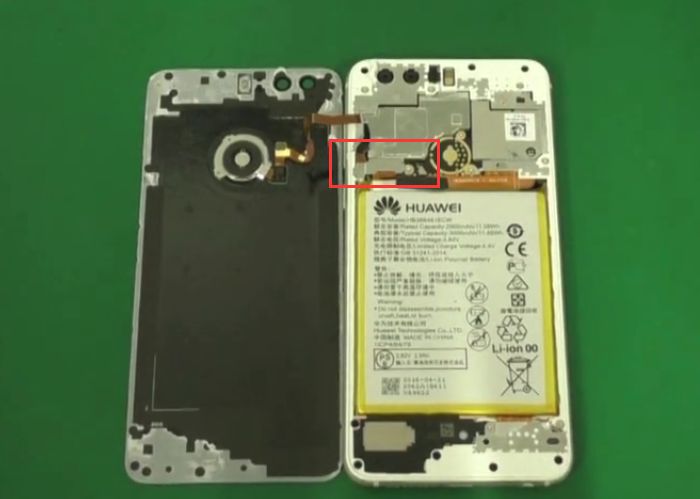
Undo the Phillips screw and remove the metal bracket then you can disconnect the flex cable, so you can remove back cover glass now.
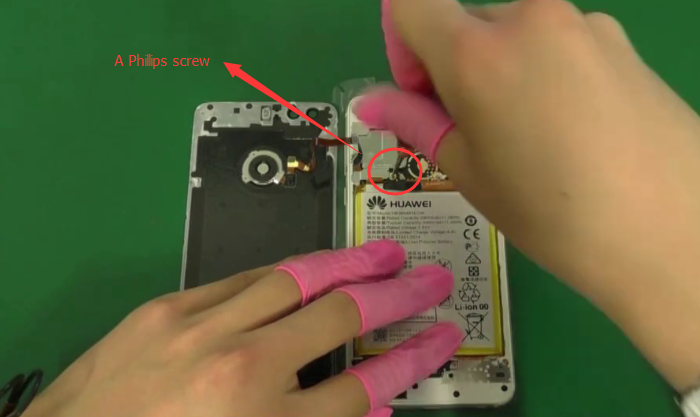
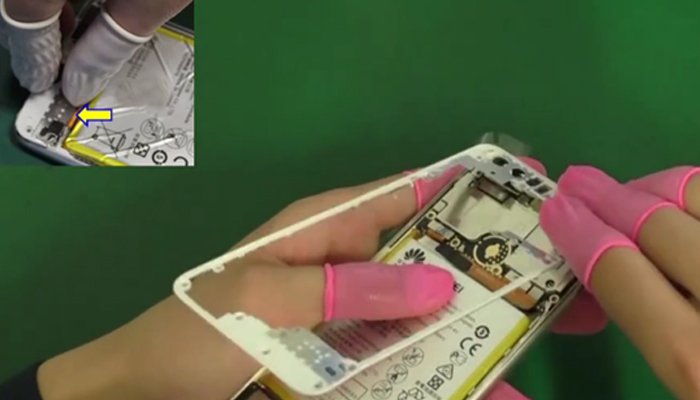
Take a closer look at the fingerprint sensor flex cable. 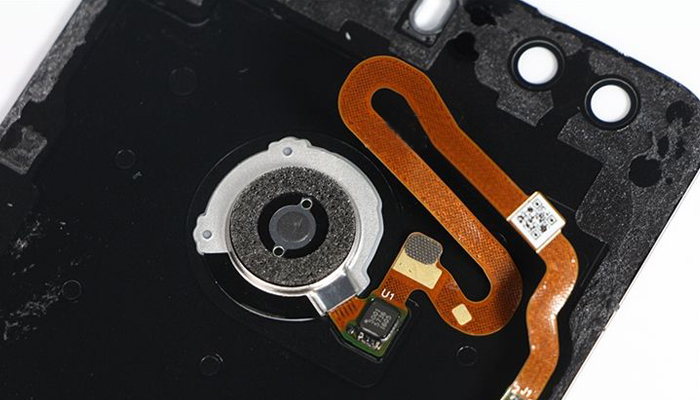
Step 3 Remove plastic back frame
First undo 16 screws on the plastic back frame as showed in following picture position.

Then you can remove the back frame now. (Start from the bottom side position as showed in the picture below will much easier.)
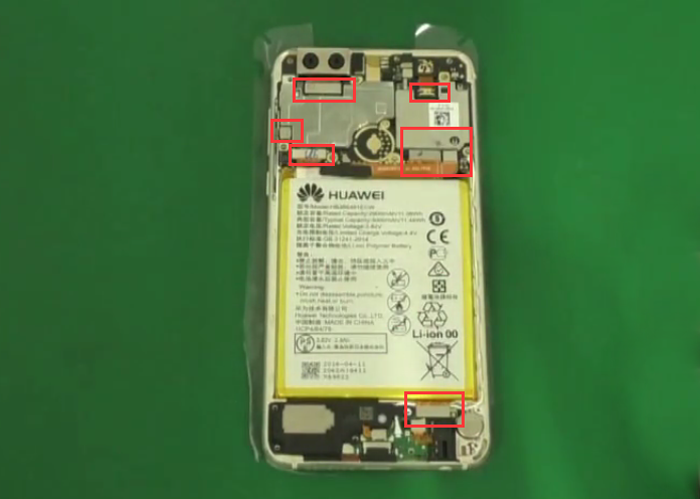
Step 4 Remove motherboard and small parts
After removing the back frame, disconnect the rear facing camera connector, front facing camera connector, PCB board connector, LCD screen connector, side keys connector by the spudger.
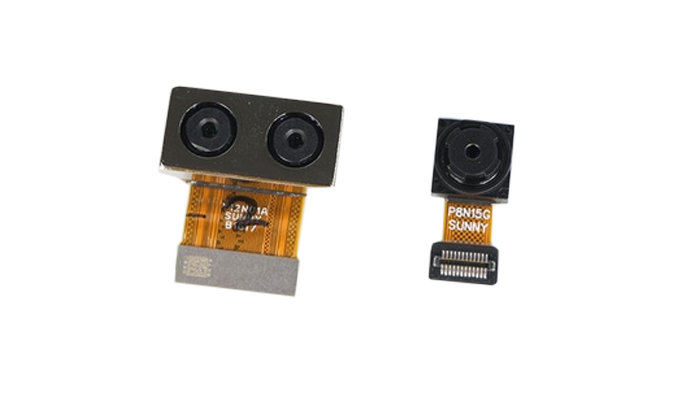
Now you can remove the rear facing camera and front facing camera.
Honor 8 Dual rear camera with 12MP.
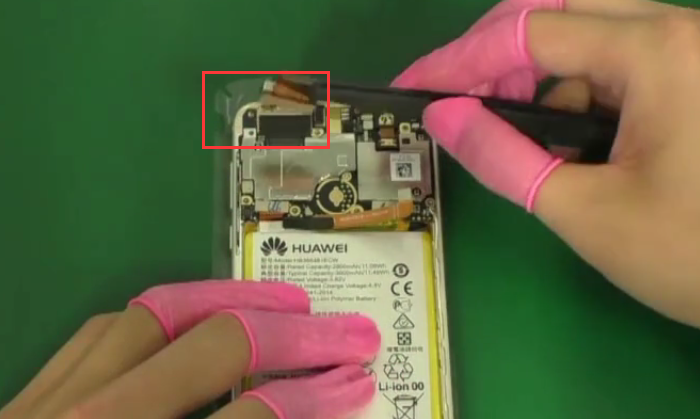
Don’t forget one Phillips screw here before removing the motherboard. 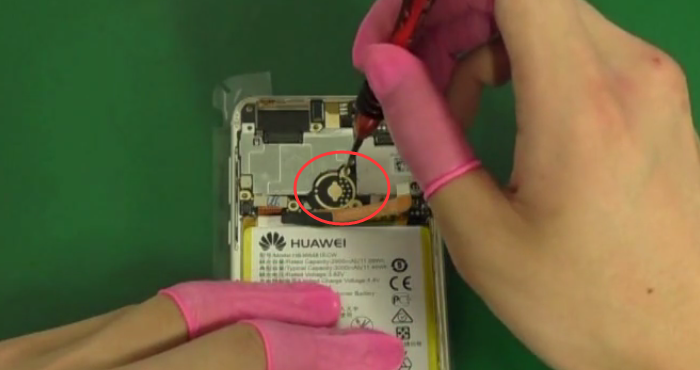
Now you can remove the motherboard. (Pry up the motherboard from the rear camera area will be easier)
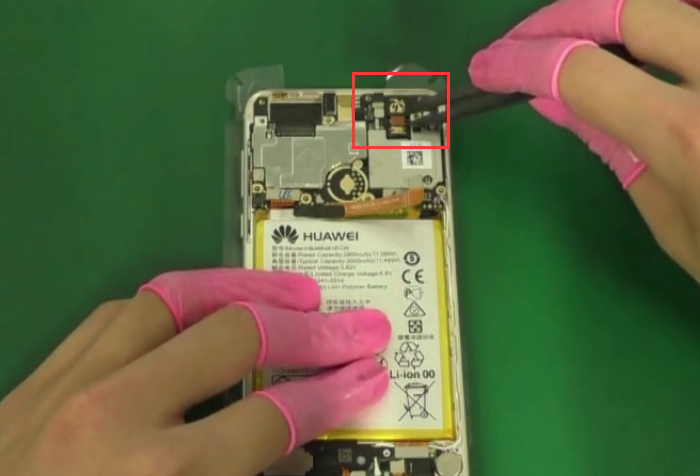
Move to the bottom side, you can pry out the loudspeaker with no effort.
Next to the loudspeaker, disconnect the signal cable now.
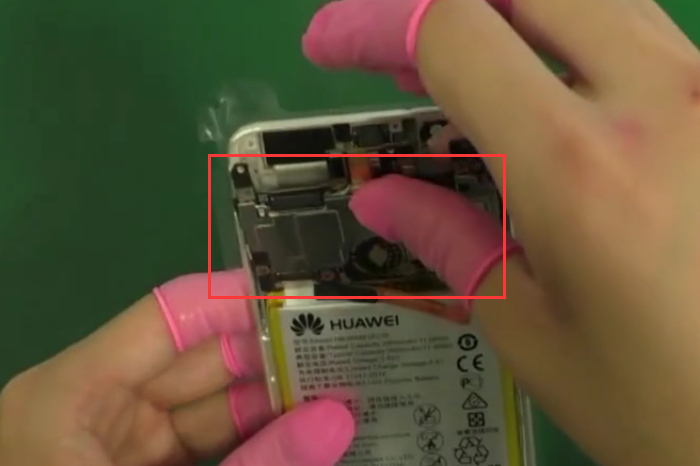
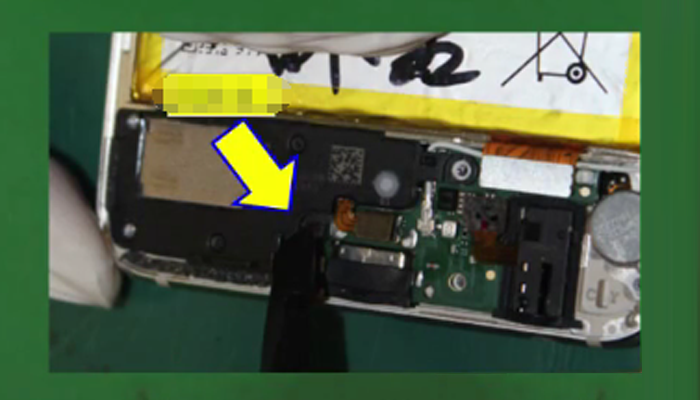
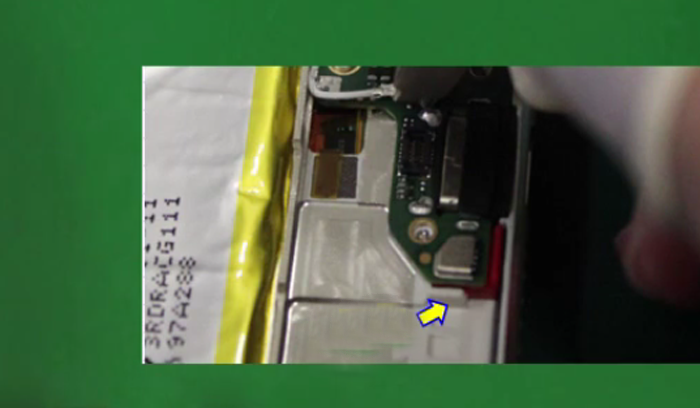
Then you can remove the headphone jack. Use a plastic tweezers to loosen the headphone jack and pick it out.
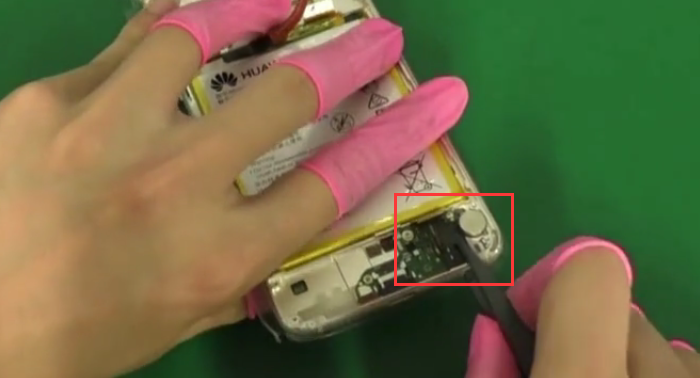
After removing the earphone jack, it’s time to remove the daughter board now.
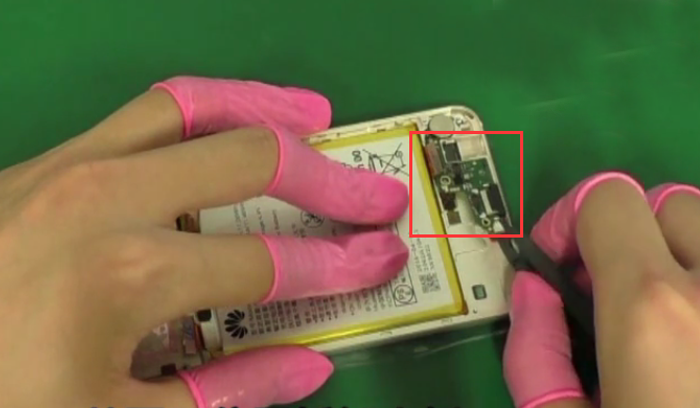
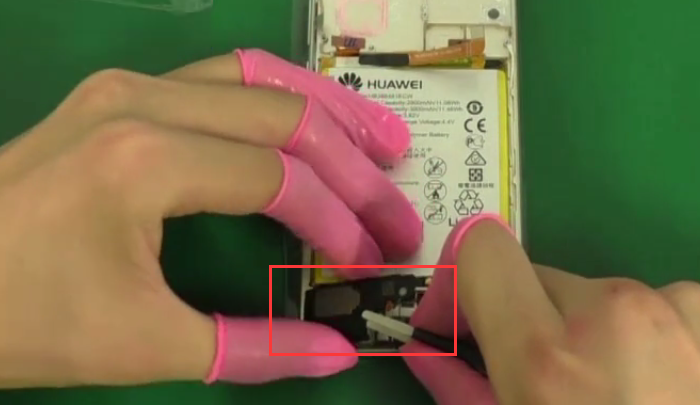
From this position you can remove the daughter board easily.
This is the daughter board with USB-Type C connector. 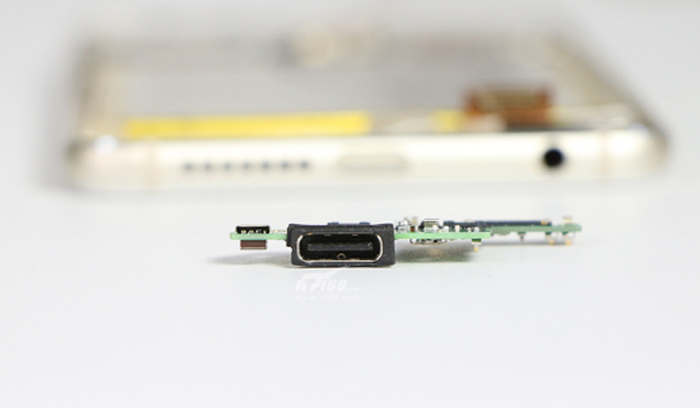
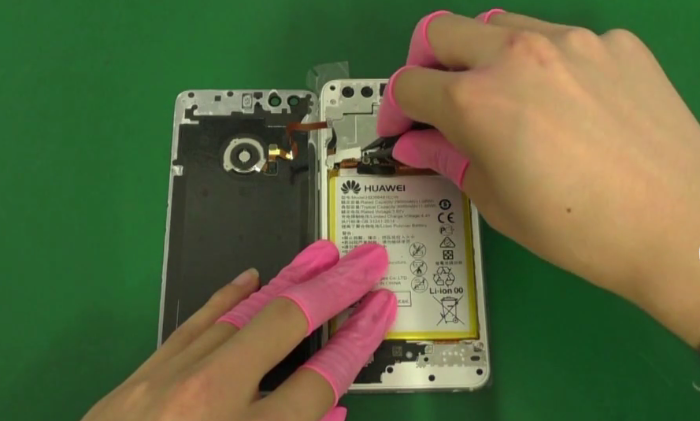
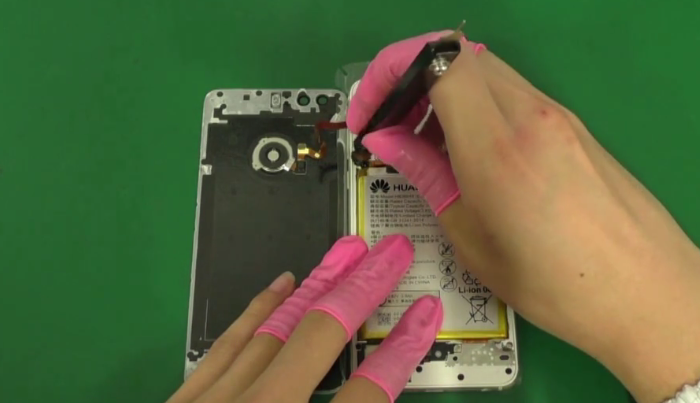
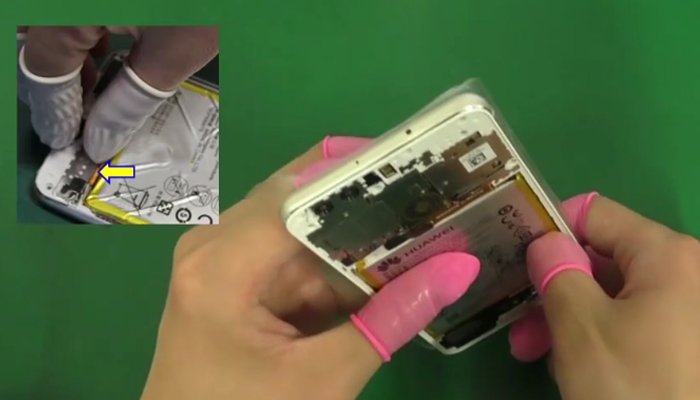
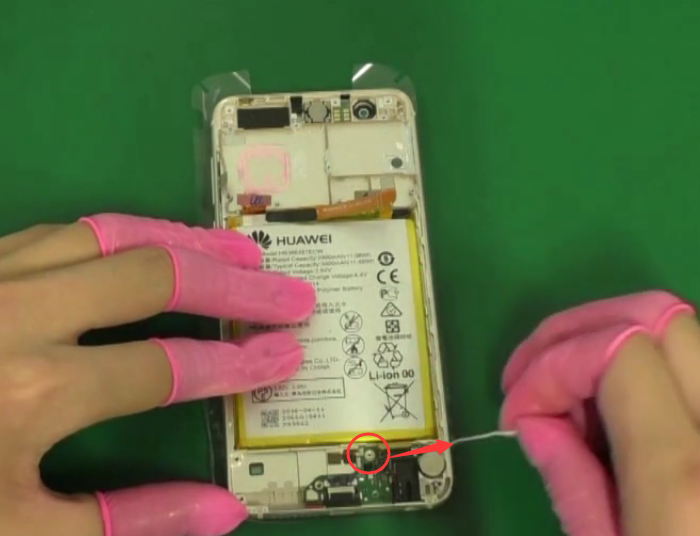
As to the big 3000mAh battery, it is fixed to the middle housing by the soft adhesive sticker. Pull the sticker out then it’s easy to remove the battery. 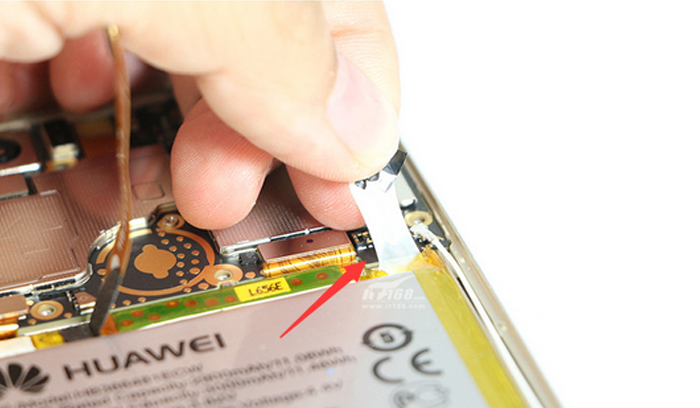
(Note:Pull out the battery tape along the direction of the battery or it is easily to broken.)
In order to protect the battery tape, here we’re not going to take off the battery.
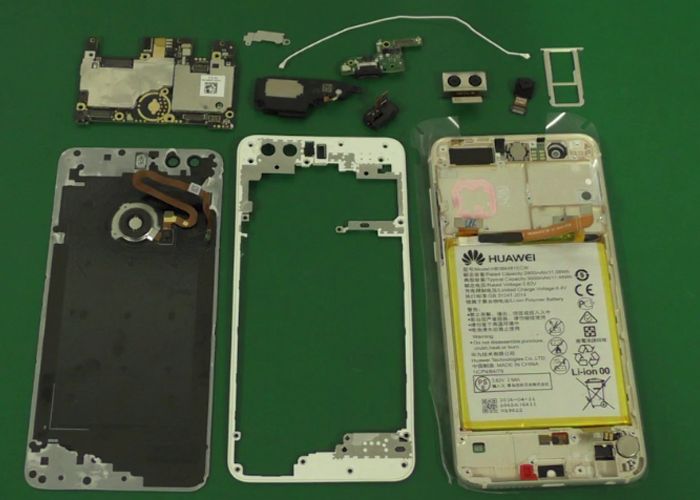
So, this is how the Honor 8 looks like inside. Welcome any comments to share with us!
You may also like:
- Huawei P9 Reassembly
- How to Tear down the Huawei P9 for Screen, Battery, Camera
- How to teardown Huawei mate 9 to replace screen and battery
|
|

|
|
|
|
|
|---|


RECOMMENDED PARTS
POPULAR ARTICLE
- How to Tear down the Huawei P9 for Screen, Battery, Camera Replacement
- How to Replace the Huawei Nexus 6P Battery in 8 Steps
- How to reassemble Huawei Ascend P7
- iPhone X Water Damage Repair Guide (Still Work in 2019)
- How Much Does It Cost To Replace An iPhone XS Display?
- iPhone X Explosion: 7 Small But Important Things To Note
- 7 Ways To Fix Your iPad Not Charging In 2018
- iPhone 7 Screen Replacement | iPhone 7 Repair
- Which Parts of iPhone X and iPhone XS Are Exchangeable?
- iPhone X, XS, XS Max, and XR Battery Comparison
- How To Fix iPhone XS/XS Max, And XR Bluetooth Connection Issue
- Apple Will Fix the iPhone 8/8 Plus/X Auto Brightness Issue in iOS 12
- iPhone got exploded too?! How to protect your phone from battery explosion
 How to Tear down the Huawei P9 for Screen, Battery, Camera Replacement
 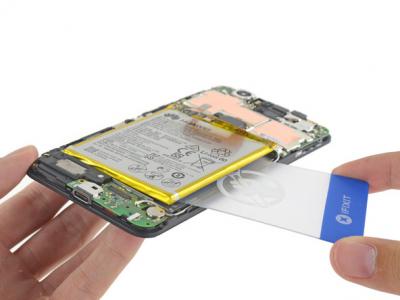 How to Replace the Huawei Nexus 6P Battery in 8 Steps
  How to reassemble Huawei Ascend P7
  IOS 17.4 official version pushed to block battery vulnerability
  Successfully submitted!
My phone fell down and the screen is spoit.please can I know the price of the screen?
Is it possible to buy a sim card holder. I lost mine?
Hi Joakim,
Yes,you can buy it online ,but the sim card holder should match you phone.Click here for your sim card holder.
Have a good day..
honor 8 mobile purchase December -2016 in USA modal , By accidentally it slipped out of my hands and the screen cracked but still the touch is working…with USA model warranty there in india . phone screen glass or led problem
Hi,since the touch function still works,that means the LCD and digitizers are in good condition,the broken part is the front glass.
I am using Huawei honor8..By accidentally it slipped out of my hands and the screen cracked but still the touch is working…Can buy honor8 lcd front touch screen outer glass lens to replace the old or buy complete screen with the touch..I am in Ghana.
Hi,Nelly, replacing only the front screen glass is possible, however which needs very professional skills, actually we reommend you to replace the complete screen assembly if you plan to replace it yourself. and sorry to say that the screen replacement is not available in our site right now, you can search on other site to see if you can get one.
if you plan to fix it yourself, you’d better replace the complete screen assembly, replacing only the outer glass lens needs very professional skills and machines.
The front screen of my blue Honor 8, is shattered, due to that it slipped from my hands and hit the floor. Can it be repaired? Can you tell me where?
I thank you in advance for your reply.
Same here….can u find a solution..?.it is even possible change only the glass but not the lcd?
Would be possible to swap the gold housing found on the international model with USA model? I really like the gold color that not an option, quick look at this article I might be to use a gold replacement with USA model, minus tuhe warranty. Thanks!
Would be possible to swap the gold housing found on the international model with USA model? I really like the gold color that not an option, quick look at this article I might be to use a gold replacement with USA model, minus the warranty. Thanks!