


How to Replace the Huawei Nexus 6P Battery in 8 Steps
BY ETrade Supply | 十月 30th, 2015 | 0 | 8
Together released with LG Nexus 5X, the Huawei Nexus 6P is targeting for people who want to enjoy bigger screen and better performance. However, every coin has two sides, a bigger screen, and better performance means the device will consume more energy. For Lithium battery, its full charging cycle is around 300 times which means for heavy users, they may need to get their battery replaced after one year of being used to keep the battery life working as usual.
With a non-removable built-in battery, it’s not an easy job to replace its battery, but don’t worry, by following this step by step guide, you could get your Nexus 6P battery replaced by yourself.
Tools Needed:
Step 1. Power off the Huawei Nexus 6P and then eject the SIM card.
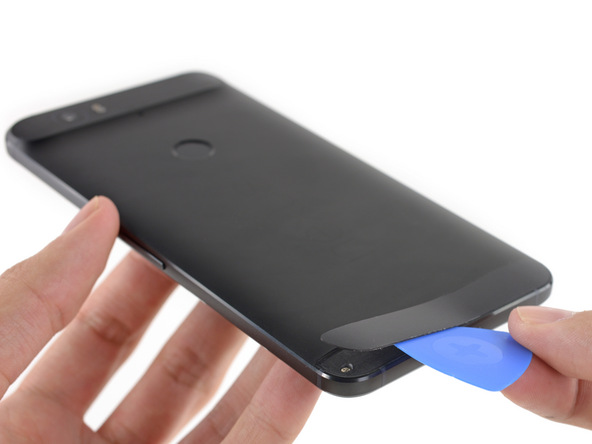
Step 2. Insert the Case Opening Tool to the bottom plastic cover to peel it off. (Better heat up the plastic cover for 30 seconds first)
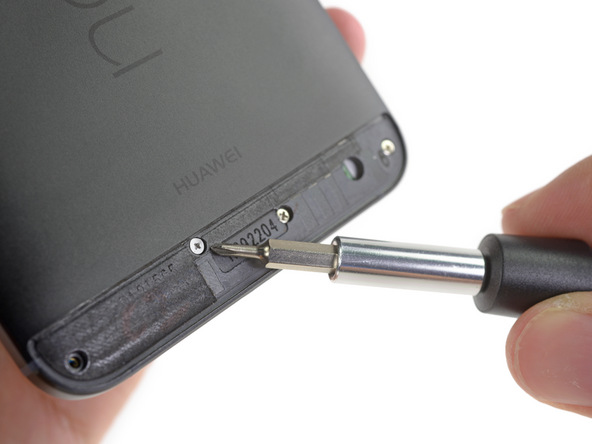
Step 3. Undo 4 Phillips screws holding the middle frame.
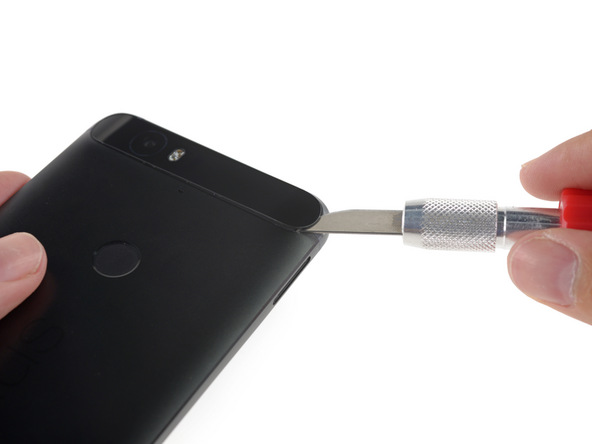
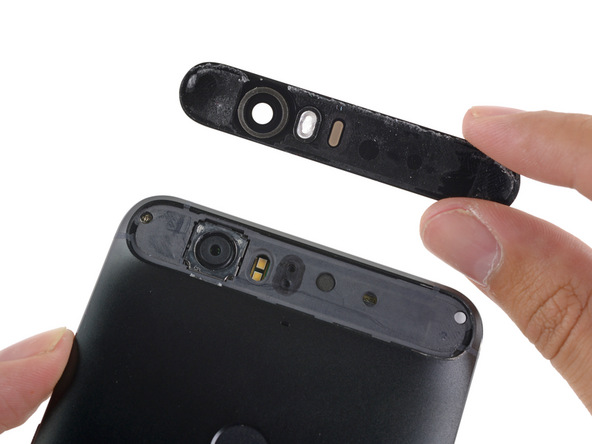
Step 4. Insert the iSasemi Tool to the top glass cover then peel it off. Undo 2 screws holding the middle frame.
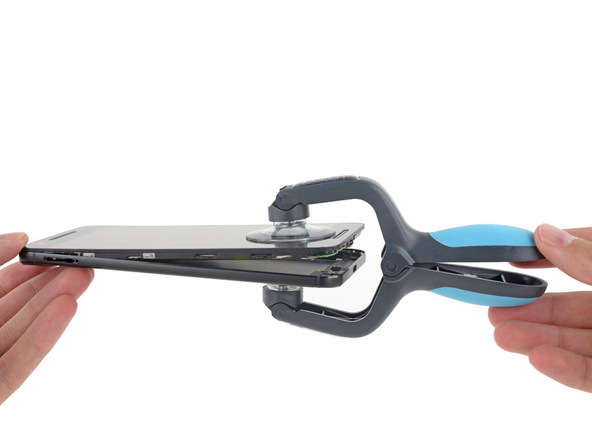
Step 5. Heat up the rear housing then separate it from the rest of the phone.
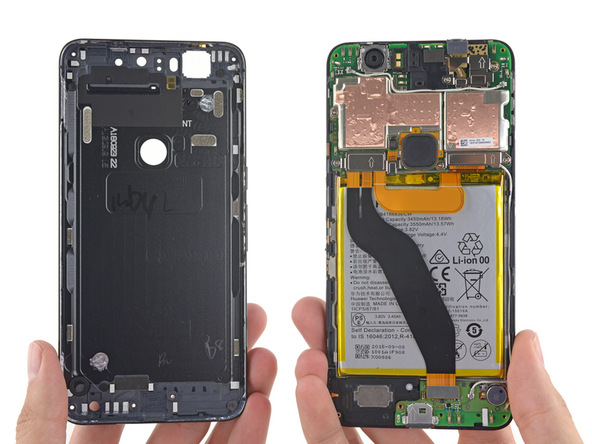
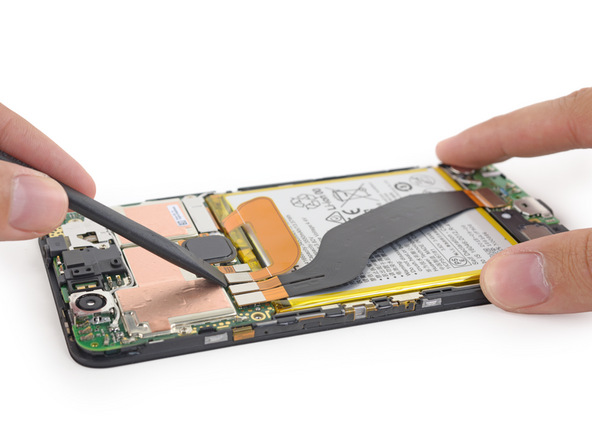
Step 6. Disconnect the motherboard and daughterboard flex cable, then disconnect the battery connector.
Step 7. Insert the iSasemi Tool to release the adhesive attached to the battery then remove the battery.

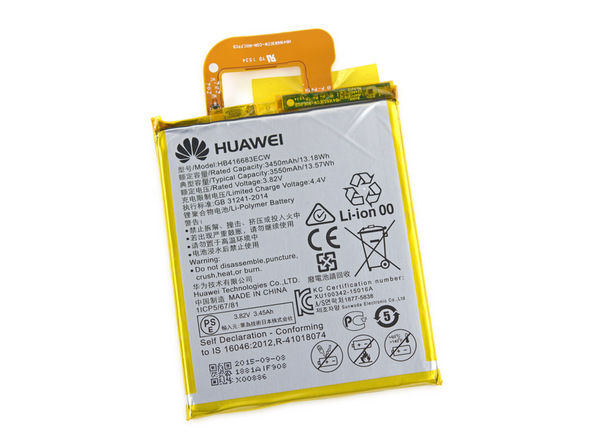
Step 8. Put your new Nexus 6P replacement battery back on then reassemble the phone vice versa.
If you meet any difficulties during these steps, please leave a comment below, we'll try our best to help you out!
You may also like:
- How to Replace A Cracked Nexus 6P Screen
- How To Disassemble Nexus 6 In 10 Steps
- How to teardown Huawei mate 9 to replace screen and battery
- Huawei P9 Reassembly After LCD Screen, Battery And Camera Repair
|
|

|
|
|
|
|
|---|


 IOS 17.4 official version pushed to block battery vulnerability
  Is the Chinese-made rear case for the iPhone 15 series going on the market?
  New products coming:USB to MFI Lightning Cable
  Big BUG of iPhone 15
  Successfully submitted!