How to Fix a Cracked iPad Mini 2 Screen
BY yuki | 十二月 16th, 2013 | 2 | 2
After disassembling the Apple iPad Mini with Retina display, we now provide the tutorial: how to fix the damaged iPad Mini 2 screen part. Before repairing the broken iPad mini 2 screen, you need to know how to distinguish which part of the iPad mini Retina device is broken.
• Cracked iPad mini with Retina display front glass screen:
If the iPad Mini 2 front glass lens is shattered, but both the images and touch screen of the iPad mini with Retina display perform normally, it means only the front glass screen is broken.But the front glass and the digitizer are bond together,and there is no way you can replace the glass only, so you need to replace the iPad mini 2 digitizer(White iPad mini 2 digitizer here, Black iPad mini 2 digitizer here).
• Shattered iPad mini 2 digitizer touch screen:
If the touch panel or the touch screen is damaged(no longer respond to your touch), but the images on the tablet displays as usual, it means the iPad Mini 2 touch screen part is damaged(White iPad mini 2 digitizer here, Black iPad mini 2 digitizer here).
• Damaged iPad mini Retina tablet LCD screen:
If the images under the iPad mini Retina tablet glass are black liquid or damaged but the touchscreen responses well, it means the iPad mini 2 LCD screen component is broken.
Note: The iPad Mini 2 glass screen and digitizer screen are integrated into a whole part, so if only the glass lens or the touch screen of the iPad mini with Retina display is broken, you have to replace them together. But luckily, the LCD screen is not fused to the glass assembly. In hence, you can only fix the broken LCD instead of replacing the whole screen assembly.
Details about replacing broken iPad mini 2 screen are listed below:
What repair tools and product you’ll need to fix broken iPad Mini 2 parts
• Hair Dryer
• Tweezers
• A new iPad Mini with Retina display screen replacement part
Step 1
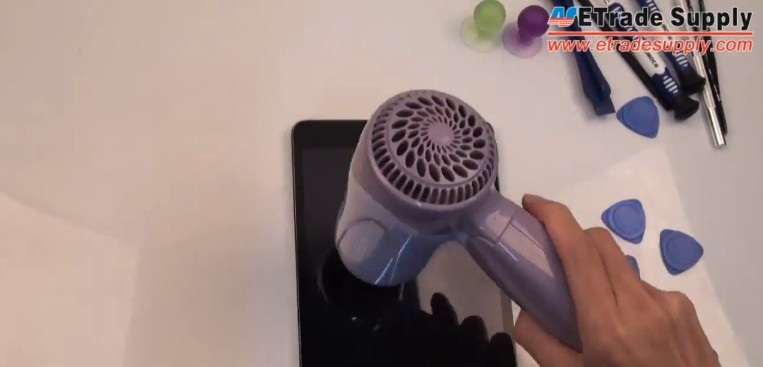
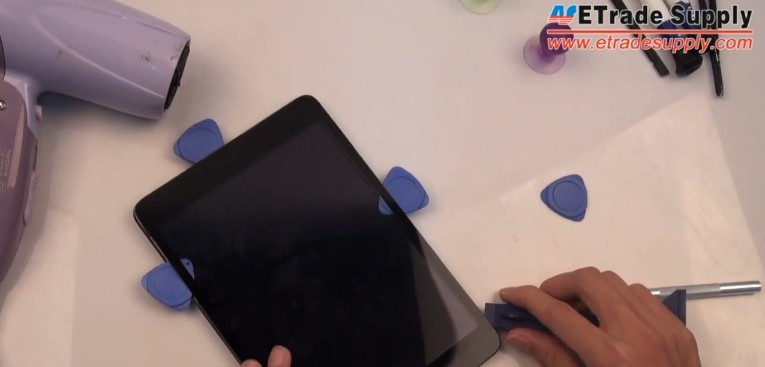
Power off the iPad mini with Retina display, and then warm the iPad Mini 2 digitizer with a hair dryer for several minutes to loosen the adhesive of the LCD assembly, for plenty of glue holds the component in place.
Step 2
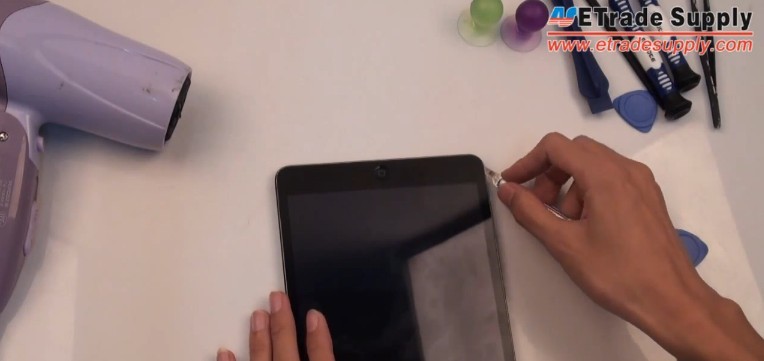
After the glue is loose, you can gently gash a gap between the iPad Mini Retina digitizer and the housing with the help of a sharp blade.
Step 3
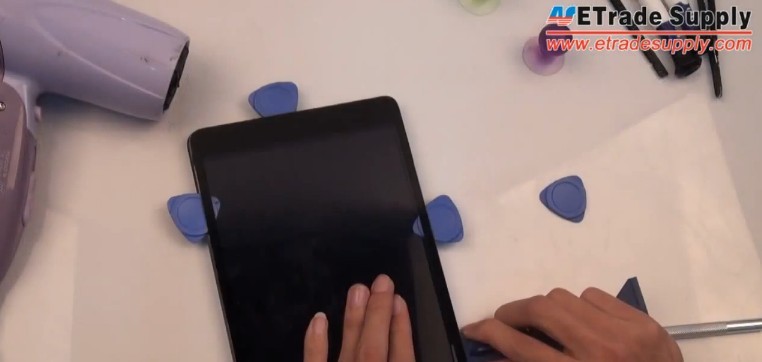
When the gap is ready, you can wedge several case opening tools in the gap between the digitizer screen attached with the glass lens and the housing.
Step 4
Pry out the iPad Mini 2 digitizer touchscreen from the gap with the help of a plastic pry tool.
Note: You should be careful when you pry the screen to avoid the damage to the Retina display, for the screen is too thin and fragile. Or you can use the suction cup to pull up the iPad Mini 2 digitizer gently.
Step 5
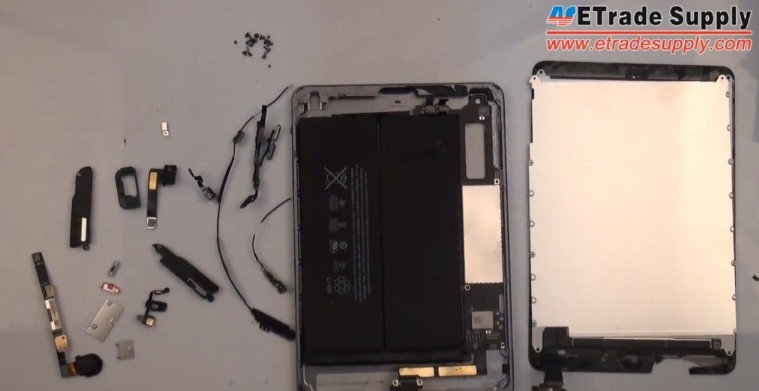
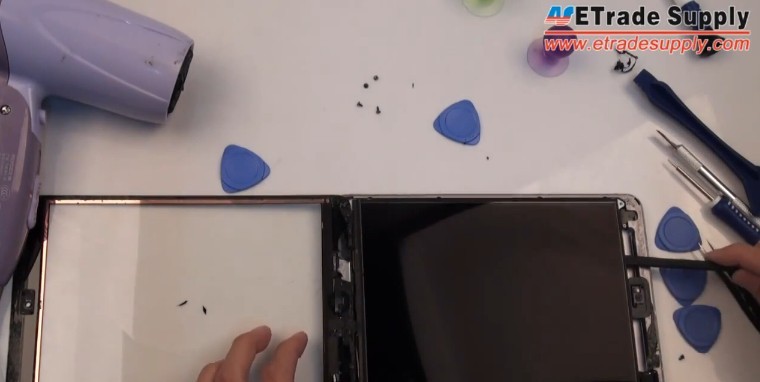
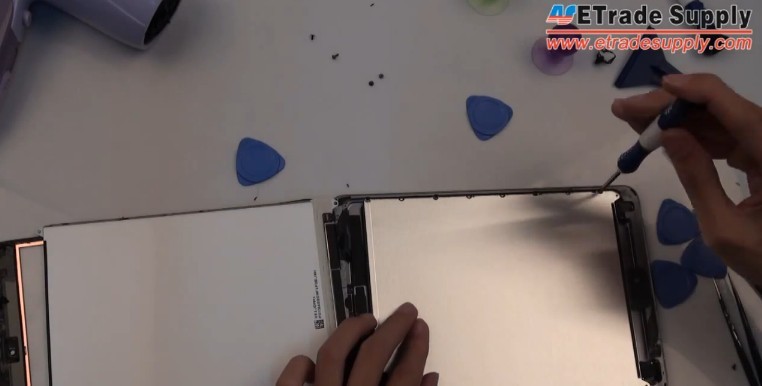
After the digitizer is loose, lift up the touchscreen carefully to protect the fragile flex cable ribbon connecting the digitizer and the iPad Mini 2. Then undo the four screws on the corners of the LCD display.
Step 6
Once the screws are unscrewed, use a plastic pry tool to lift up the iPad mini 2 LCD component.
Note: If you only need to replace the cracked iPad mini with Retina display LCD, you don’t have to follow the steps below to lift the digitizer touch screen. At this step, you can install a new iPad mini 2 LCD and assemble the iPad mini 2 in reverse order.
Step 7
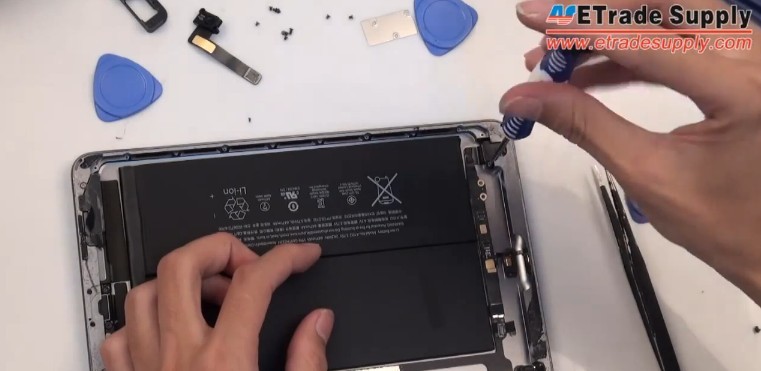
Unscrew the seven screws holding the LCD metal shield. The LCD metal plate covers the digitizer cable ribbon connectors, so you have to remove the LCD metal shield component first.
Step 8
Take out the LCD metal shield of the iPad Mini Retina Display.
Note: At this step, you can replace the broken LCD metal shield of iPad mini with Retina display with a new one.
Step 9
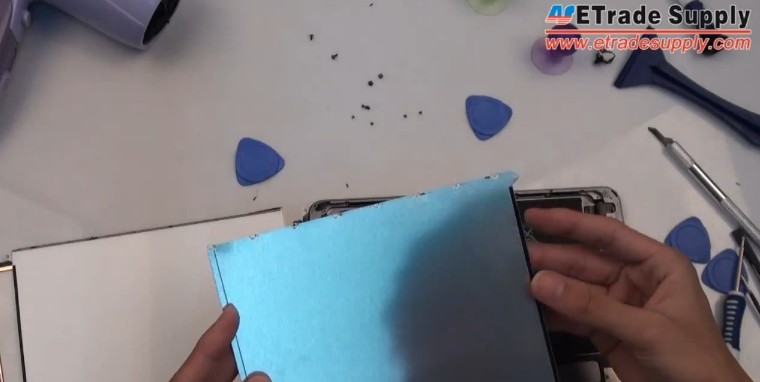
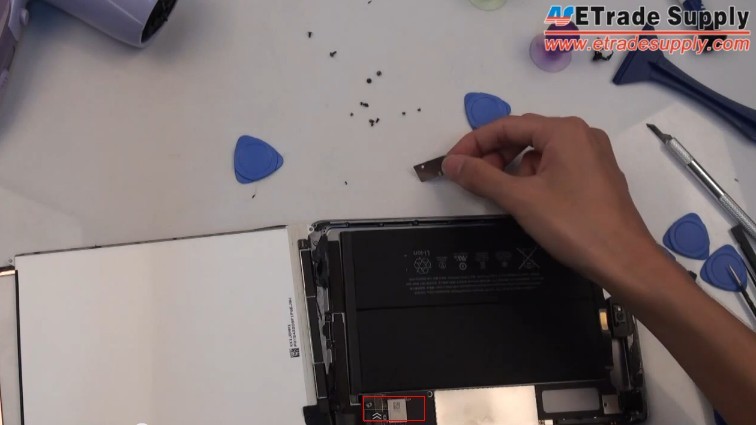
Prior to release the iPad mini 2 digitizer, you should undo the three screws and remove the metal bracket covering the connector at the left corner.
Step 10
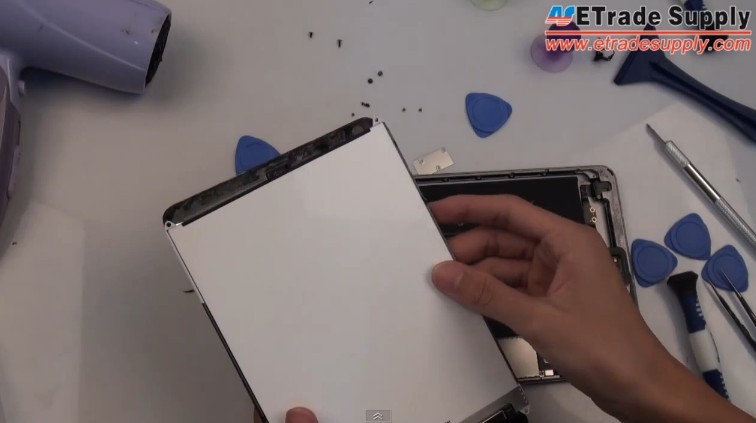
Use the plastic pry tool to disconnect the flex cable to release the digitizer and LCD display of the iPad Mini Retina Device.
Note: If you want to replace the digitizer touch screen component only, you don’t have to release the LCD display. So at this step you can get a new iPad mini 2 digitizer and assemble the whole device. Please kindly note if the new digitizer replacement part you want to replace does not include the home button, you have to transfer the home button of the broken digitizer touch screen to the new one.
You can check the following iPad mini with Retina Display disassembly video at Youtube to learn more information.




 IOS 17.4 official version pushed to block battery vulnerability
  Is the Chinese-made rear case for the iPhone 15 series going on the market?
  New products coming:USB to MFI Lightning Cable
  Big BUG of iPhone 15
  Successfully submitted!
Hello,is the ipad mini 1st gen glass can be used as replacement because i couldnt find any glass for ipad mini retina..thanks
Hi Fuad,
They are not compatible. You can find the digitizer touch screen for iPad Mini 2nd on our website: etradesupply.com.