How to Take Apart iPad Mini Retina for Screen or Parts Replacement
BY yuki | 十二月 13th, 2013 | 3 | 1
Apple iPad Mini with Retina display, also called iPad Mini 2, has enjoyed a good reputation for its design. But when people buy it, they will take into account the quality, price as well as the reparability of the device. Is it difficult to repair the screens of iPad mini Retina display or other parts? We have disassembled the iPad Mini Retina display and revealed how to fix the damaged iPad mini 2 screen and the reparability. Also, you can learn from this tutorial how to replace some broken parts of the iPad Mini Retina device:
• Replace cracked or shattered iPad Mini Retina Screen.
• Fix the damaged iPad Mini 2 LCD
• Replace malfunctioned earphone jack of iPad Mini with Retina display
• Replace iPad Mini Retina display broken headphone jack and speaker
• Fix iPad Mini Retina device front or rear facing camera
• Replace damaged iPad Mini 2 battery
• Repair broken iPad Mini 2 rear housing
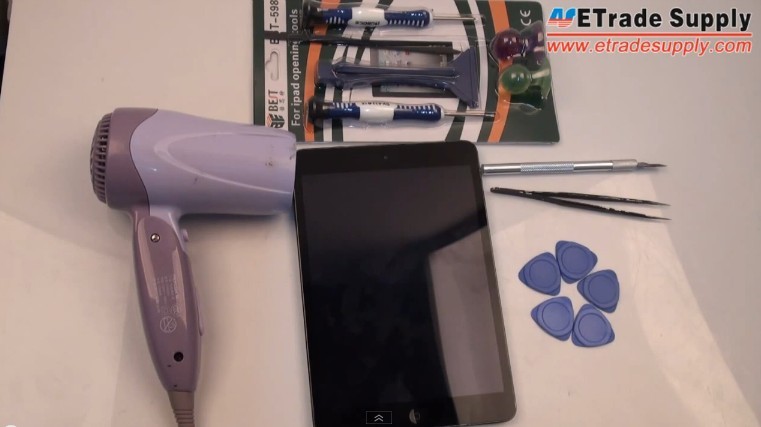
What repair tools and product you’ll need to tear down or fix broken iPad Mini 2 parts
• Hair Dryer
• Metal Pry Tool
• Suction Cup
• Screwdrivers
• Triangle Case Opening Tool
• Plastic Pry Tool
• Tweezers
• A new iPad Mini with Retina display screen replacement or other iPad mini 2 replacement parts you need
Step 1 Power off the iPad mini with Retina display
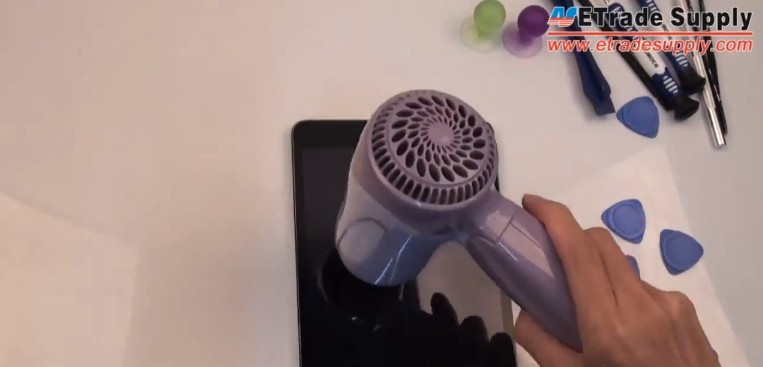
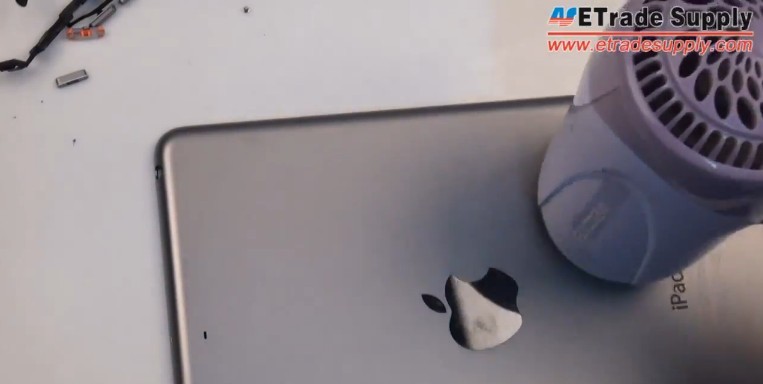
Step 2 Loosen the LCD assembly adhesive of iPad Mini 2
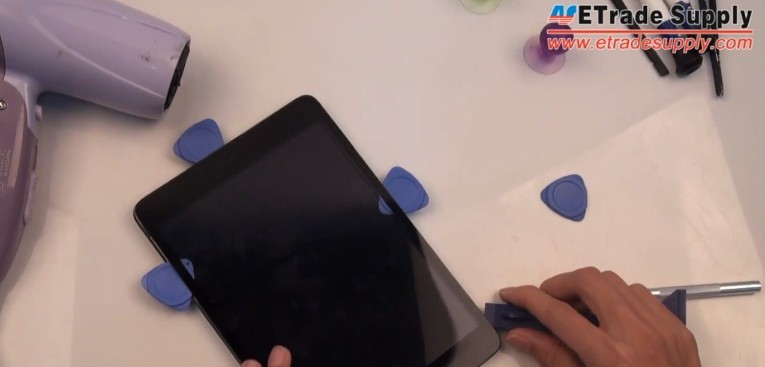
Warm the iPad Mini 2 digitizer with a hair dryer for about five minutes to loosen the adhesive of the LCD assembly.
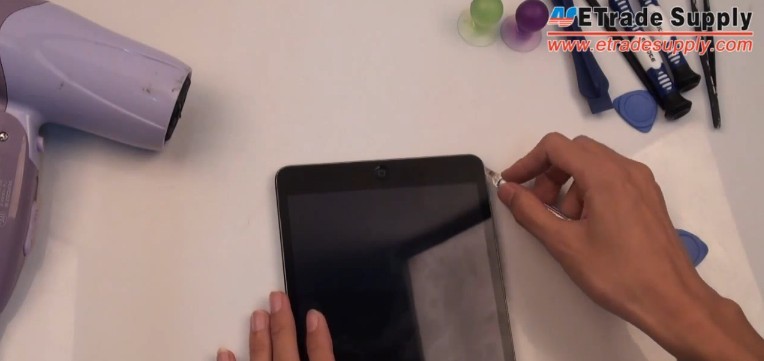
Step 3 Gash a gap between the digitizer and the housing
Gently gash a gap between the iPad Mini Retina digitizer and the housing with the help of a sharp blade.
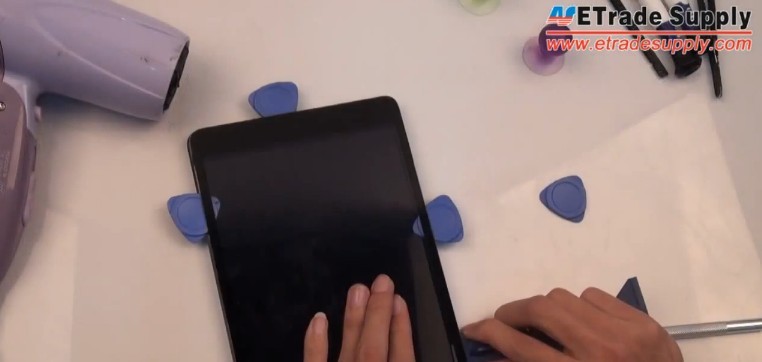
Step 4 Wedge case opening tool for the iPad Mini Retina device
When the gap is ready, you can wedge several case opening tools in the gap.
Step 5 Pry out the screen with the plastic pry tool
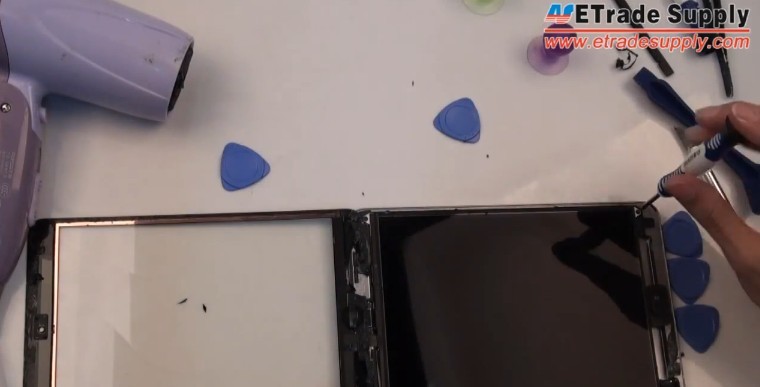
Pry out the iPad Mini 2 screen from the gap with the help of plastic pry tool.
Note: You should be careful when you pry the screen to avoid the damage to the Retina Display, for the screen is too thin and fragile. Or you can use the suction cup to pull up the iPad Mini 2 digitizer gently.Step 6 Undo the screws securing the iPad Mini 2 LCD display
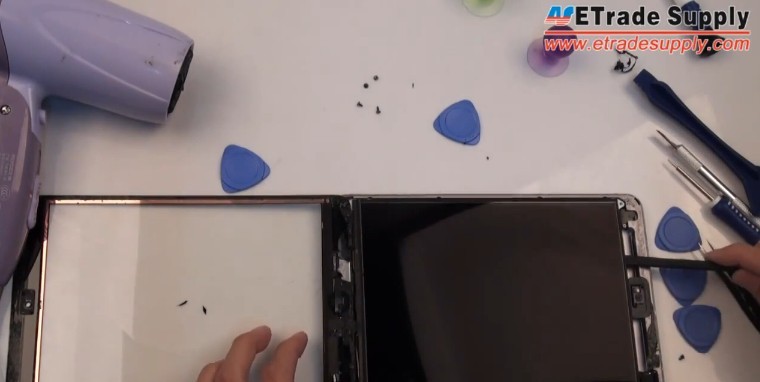
After the digitizer is separated from the iPad Mini Retina housing, you can undo the four screws on the corners of the LCD display.
Step 7 Pry out the iPad Mini Retina LCD part
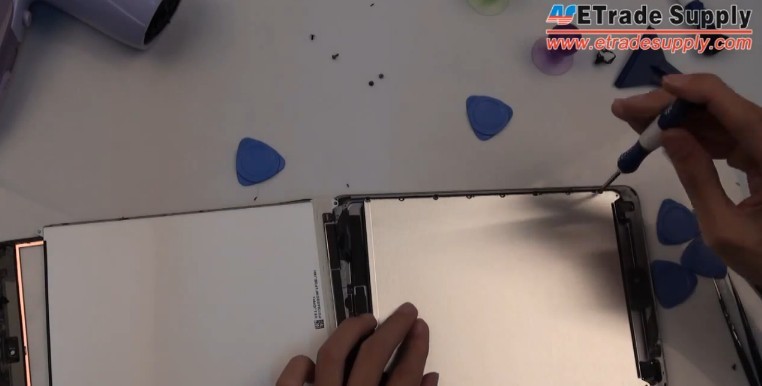
Once the screws are removed, pry out the LCD part carefully with a plastic pry tool.
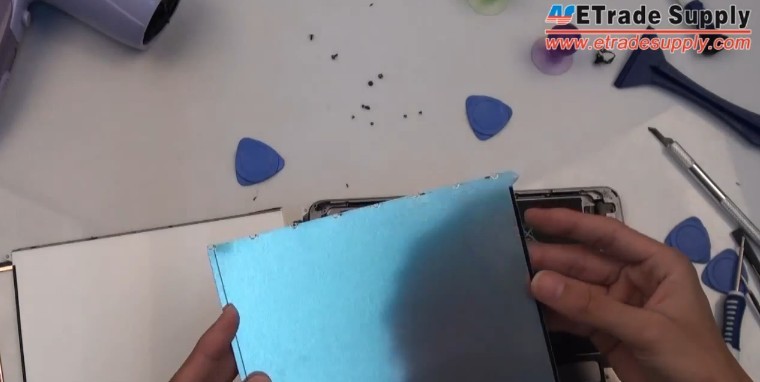
Step 8 Unscrew the seven screws holding the LCD metal shield
Step 9 Take out the LCD metal shield of the iPad Mini Retina Display
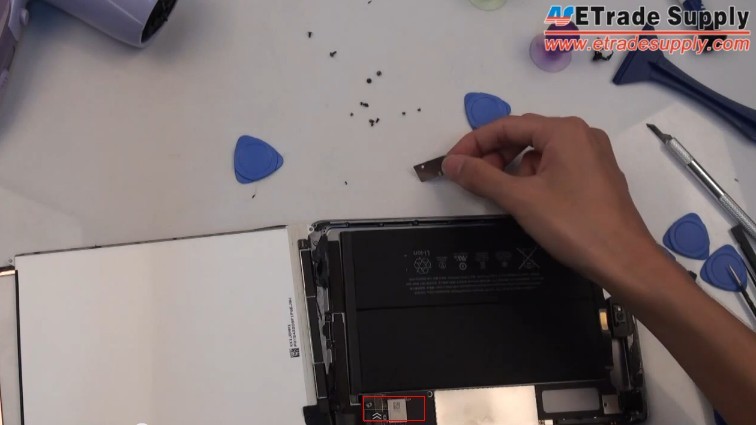
Step 10 Remove the metal cover
Undo three screws and remove the metal cover at the left corner of the iPad Mini 2 housing.
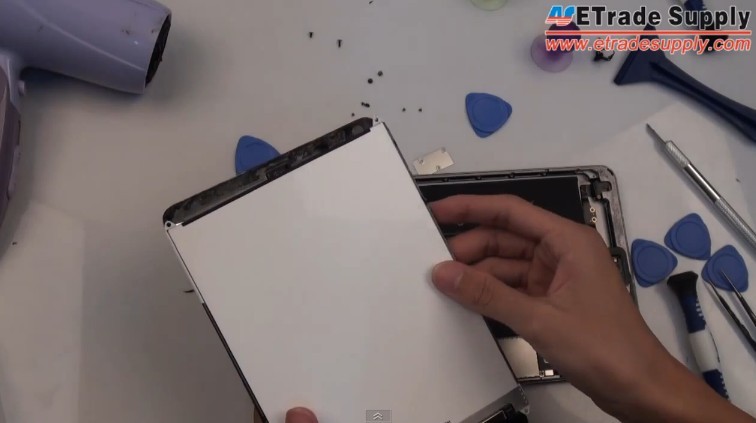
Step 11 Release the digitizer and LCD display
Disconnect the flex cable to release the digitizer and LCD display of the iPad Mini Retina Device with the plastic prying tool.
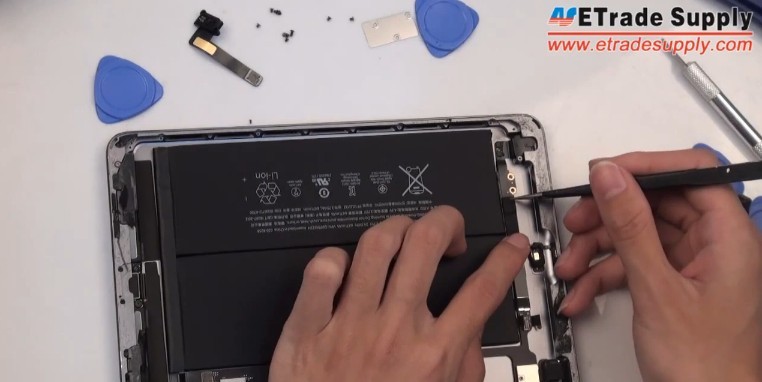
Step 12 Peel off the tape
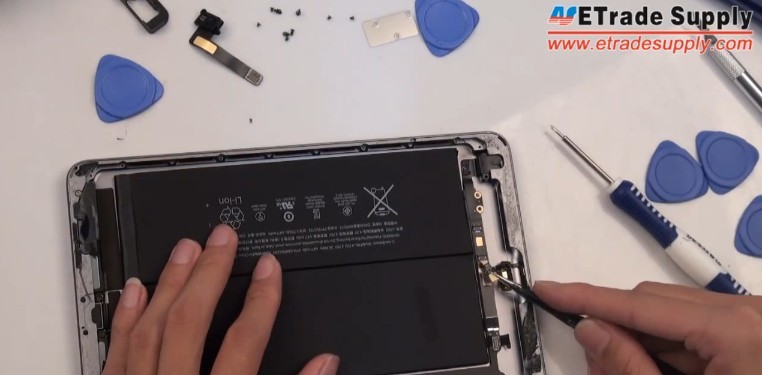
Use tweezers to peel off the tape on the flex cable to disconnect one connector under there.
Step 13 Remove the gasket with the tweezers.
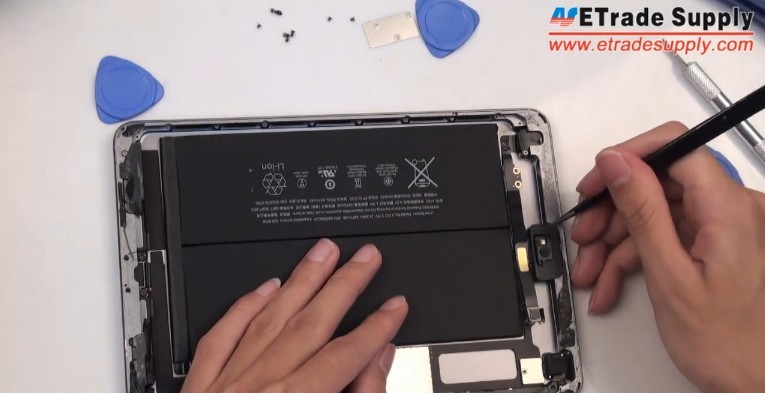
Remove the gasket covering the front camera of the iPad Mini 2.
Step 14 Take out the front facing camera
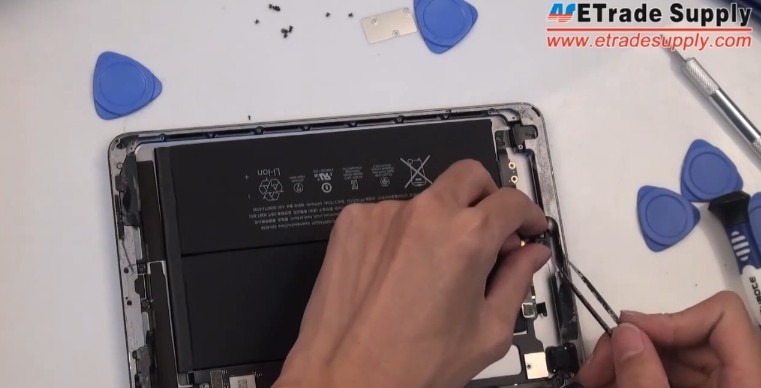
Take out the front facing camera for the iPad Mini Retina. You may need the tweezers.
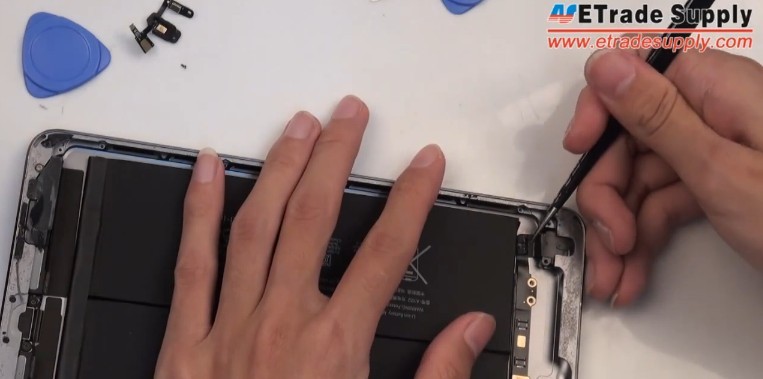
Step 15 Peel off the tape and release the connector
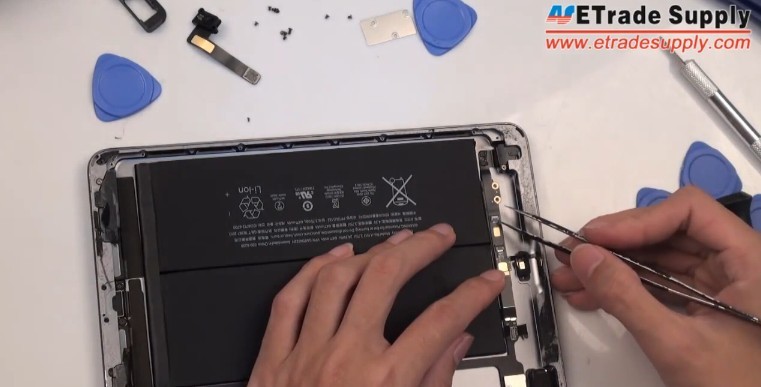
Step 16 Undo one screw on the ear phone jack for the iPad Mini 2
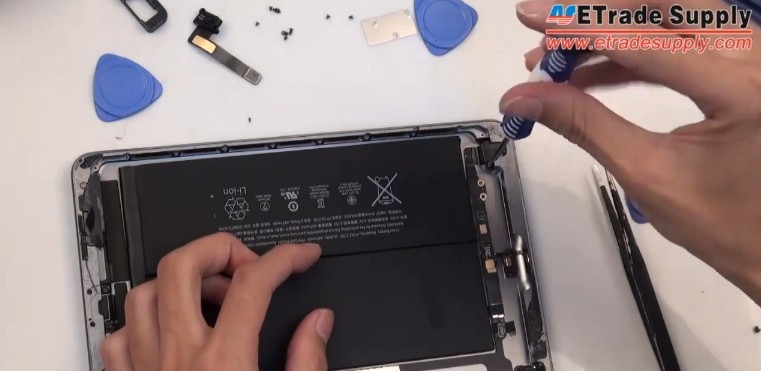
Step 17 Remove the iPad Mini Retina display microphone
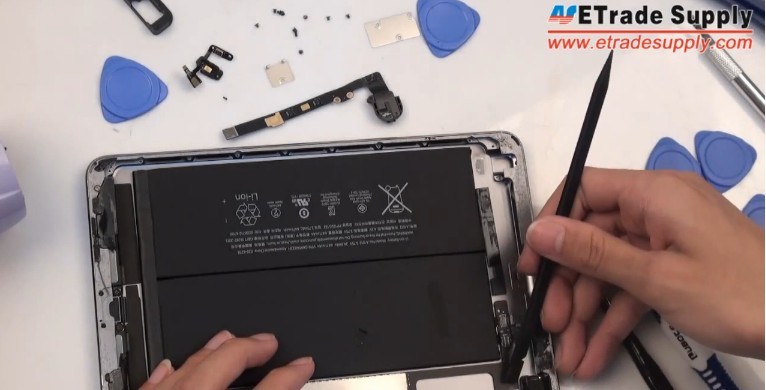
Step 18 Take out the ear phone jack
Step 19 Disconnect the iPad Mini Retina rear camera
After remove the cover, you can disconnect the rear camera.
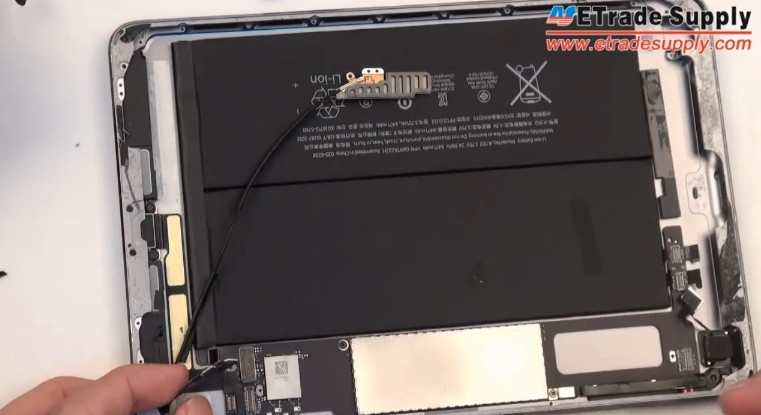
Step 20 Undo the screws on the antennas
Step 21 Remove the iPad Mini 2 antennas for Bluetooth and Wi-Fi
The long one is Bluetooth antenna while the short one is Wi-Fi antenna.
Step 22 Unscrew four screws securing the loud speaker
Step 23 Remove the two loud speakers of iPad Mini Retina Display
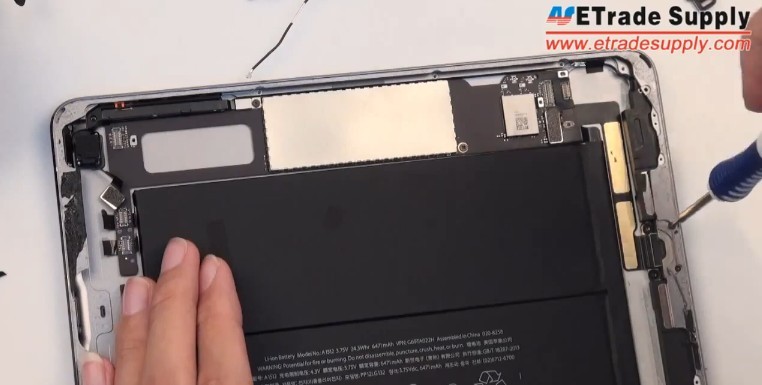
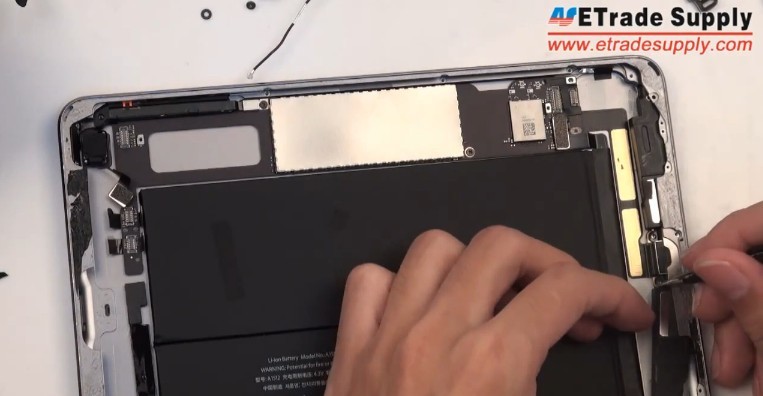 Step 24 Undo screws to detach the side key flex cable from the motherboard
Step 25 Heat up the adhesive underneath the motherboard
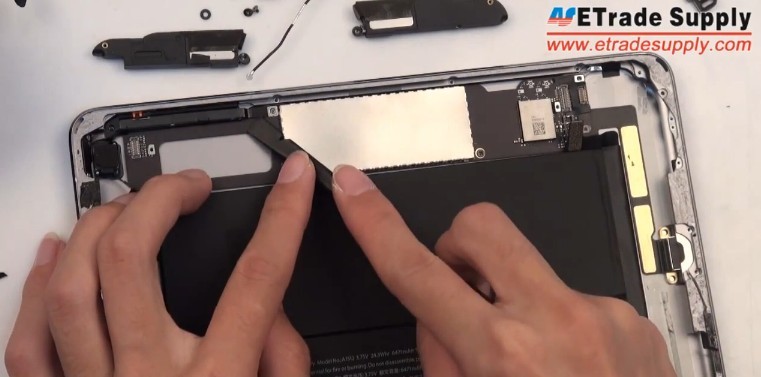
Step 26 Gently pry out the iPad Mini 2 motherboard
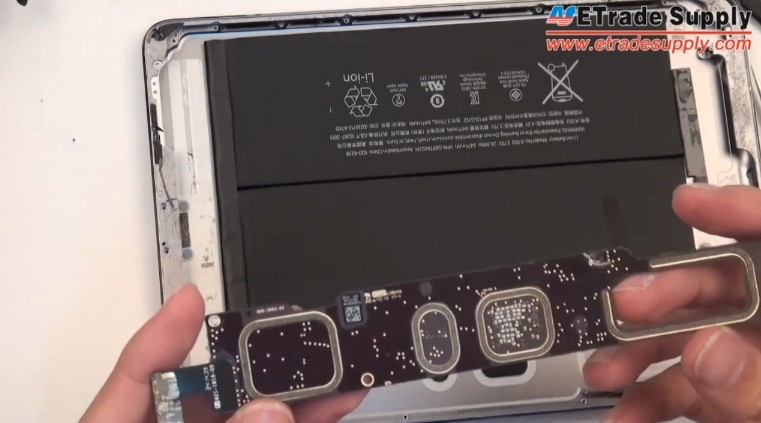
Remember to undo two screws on the charging port.
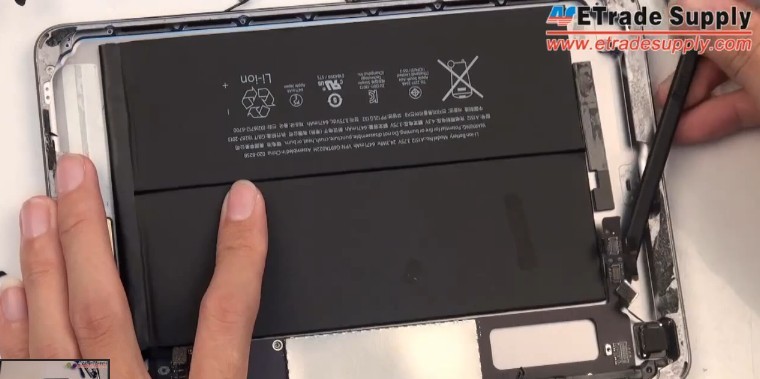
Step 27 Take out the motherboard and the charging port
Step 28 Pry out the iPad Mini 2 rear facing camera
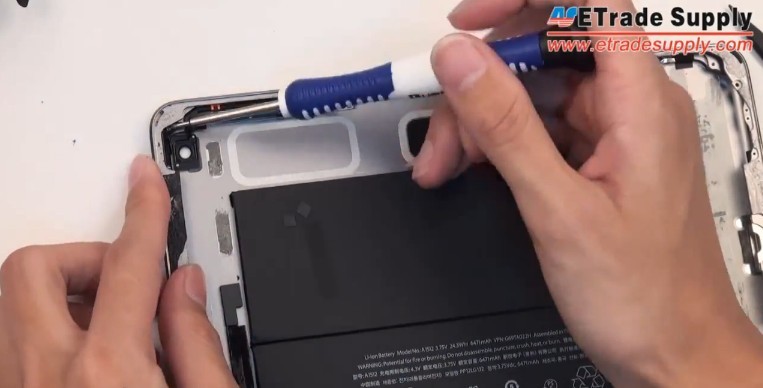
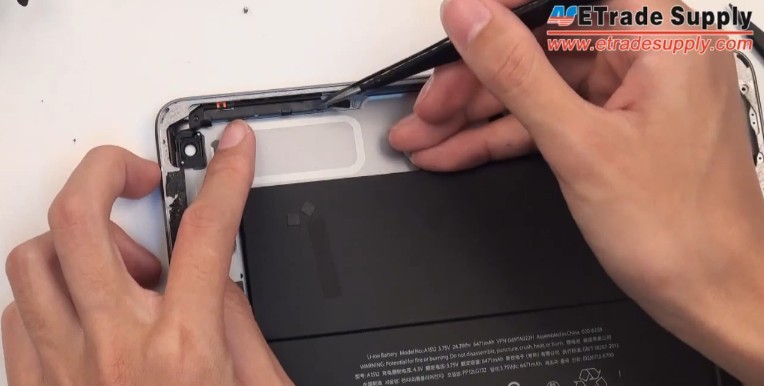
Step 29 Undo two screws on the power button for iPad Mini 2
Step 30 Peel off the flex cable ribbon
Step 31 Release the side keys and the power button
After unscrewing two screws securing the side keys and the power button, you can remove the two parts.
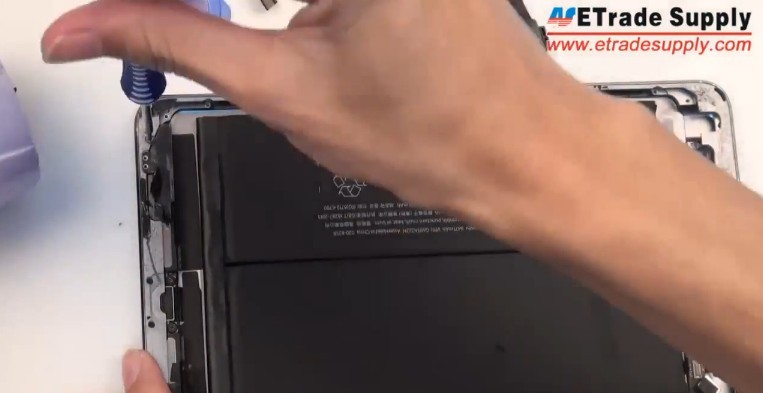
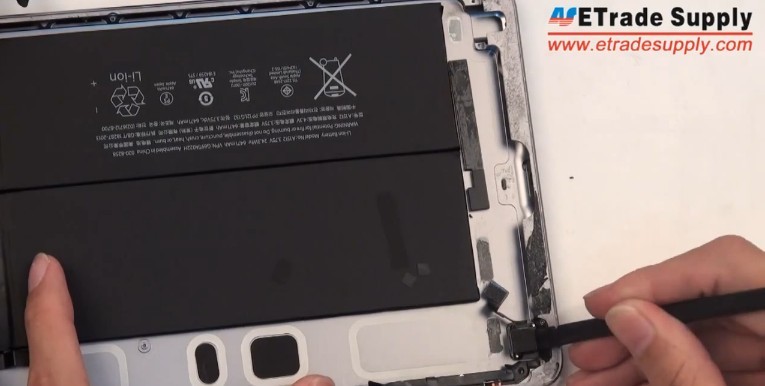
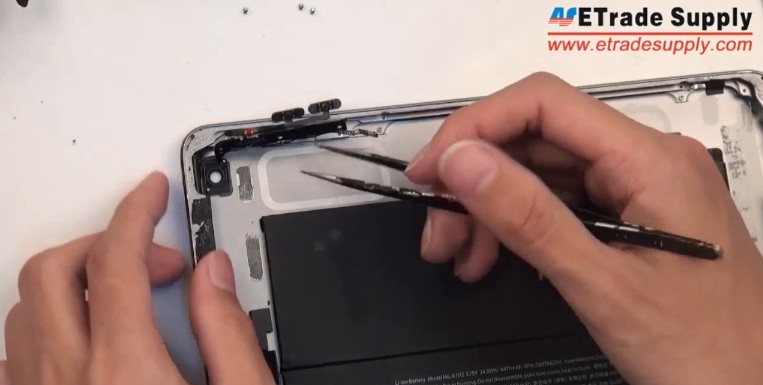 Step 32 Heat up the adhesive underneath the battery
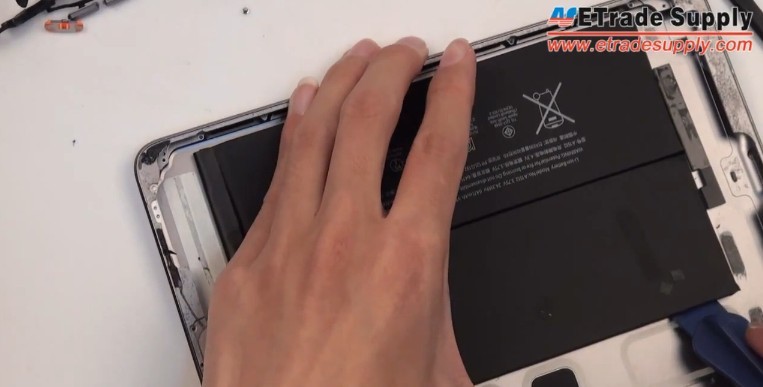
Step 33 Remove the iPad Mini Retina display battery
Pry out the battery with the help of the pry tool.
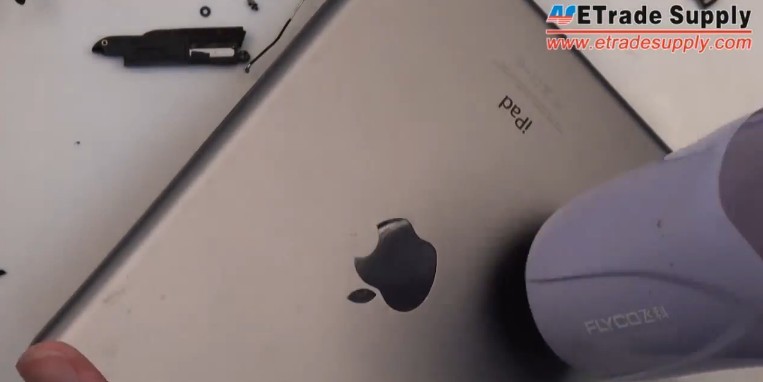
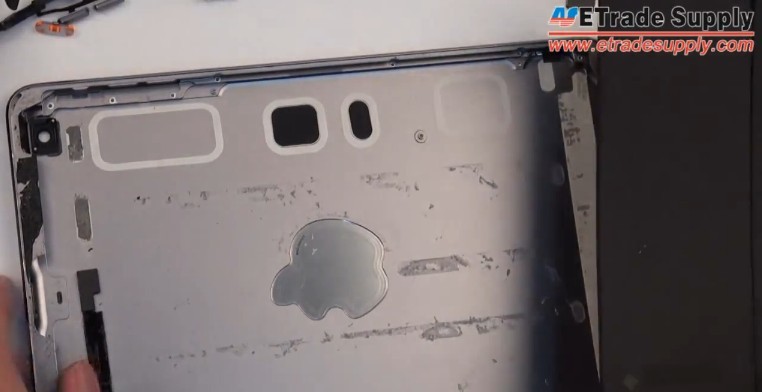
Step 34 The iPad Mini 2 is completely disassembled
This is the iPad Mini 2 rear housing.
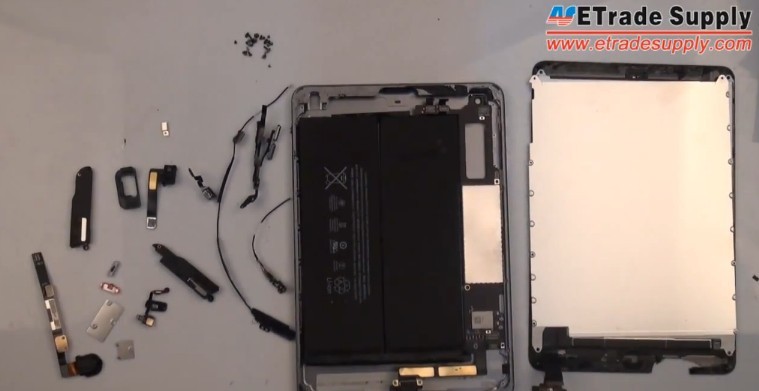
Step 35 All the iPad Mini with Retina display Replacement Parts
Have you experienced any problems of repairing iPad mini with Retina? Please let us know in the comments. Also, you can follow this iPad Mini 2 Tear Down Video to step - by -step repair you iPad mini Retina display.


