


How to Reassemble Nexus 5 for Parts Replacement
BY yuki | 六月 15th, 2014 | 3 | 1
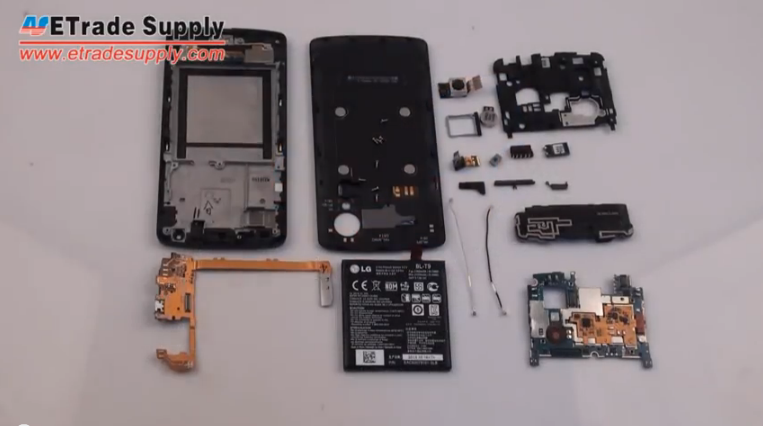
Cracked the screen on your Nexus 5 and don’t know what to do with it? If you choose to DIY repair broken Nexus 5, you can follow this tutorial of repairing a cracked Nexus 5 screen. After that, follow the steps blow to reassemble your Nexus 5 after parts replacement.
Step 1:
Use tweezers to install the Nexus 5 rubber gasket.
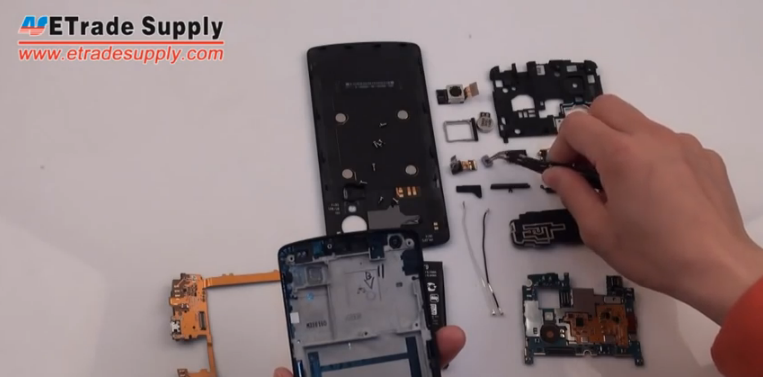
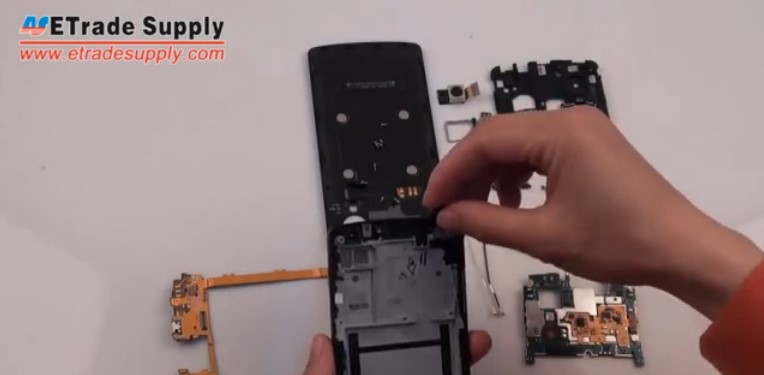
Step 2:
Replace the Nexus 5 front facing camera.
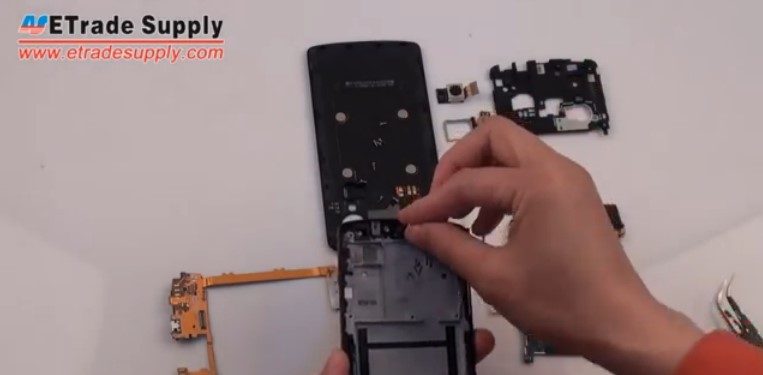
Step 3:
Secure the front camera with the black tape.
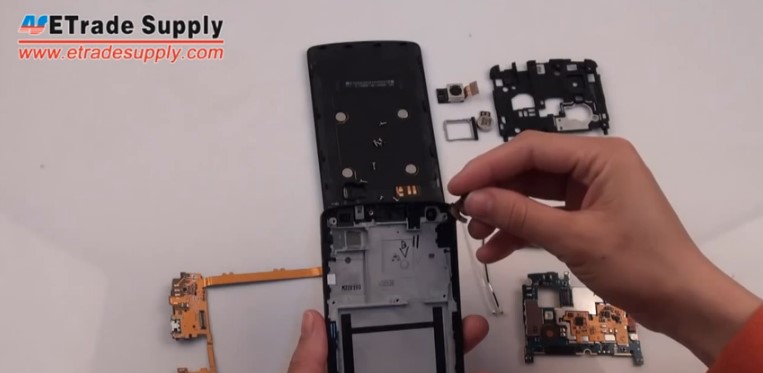
Step 4:
Install the Nexus 5 earphone jack.
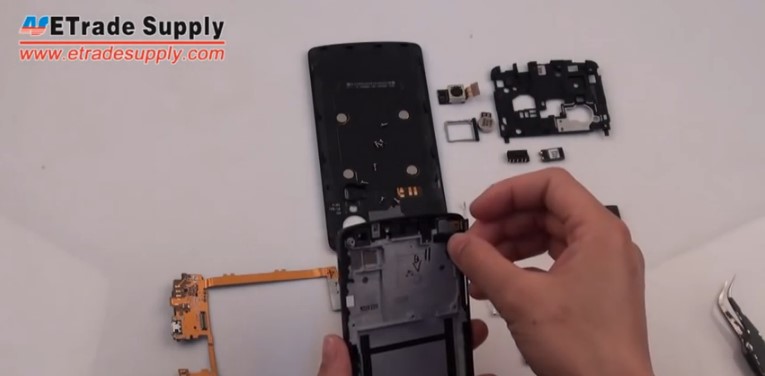
Step 5:
Put the Nexus 5 ear speaker back.
Step 6:
Reassemble the Nexus 5 power button.
Step 7:
Install the Nexus 5 volume button.
Step 8:
Replace the Nexus 5 rear facing camera.
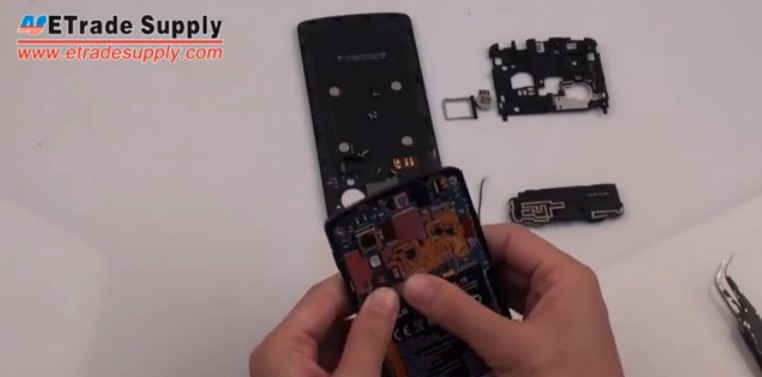
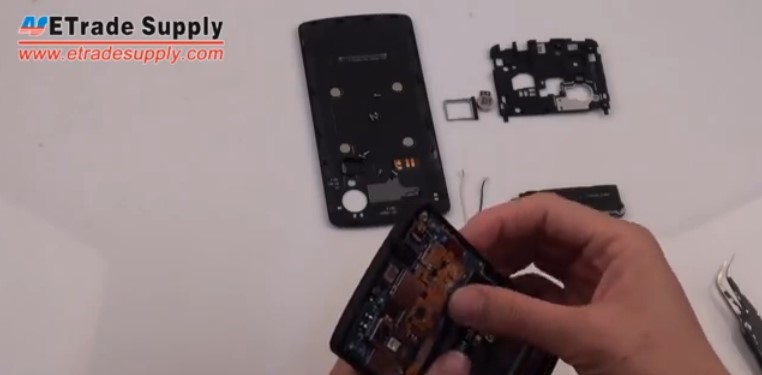
Step 9:
Install the Nexus 5 mainboard.
Step 10:
Buckle the two cameras’ connectors.
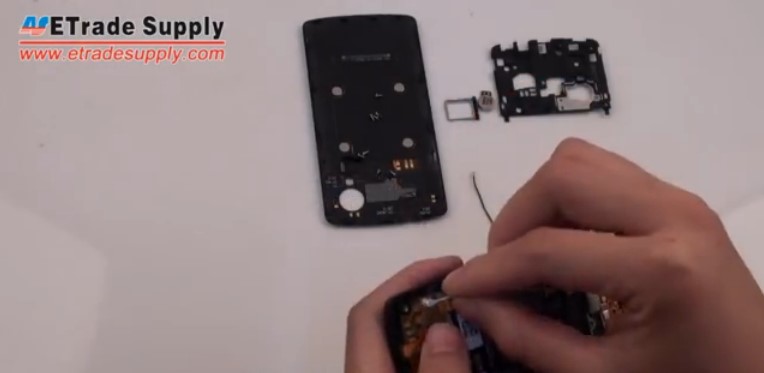
Step 11:
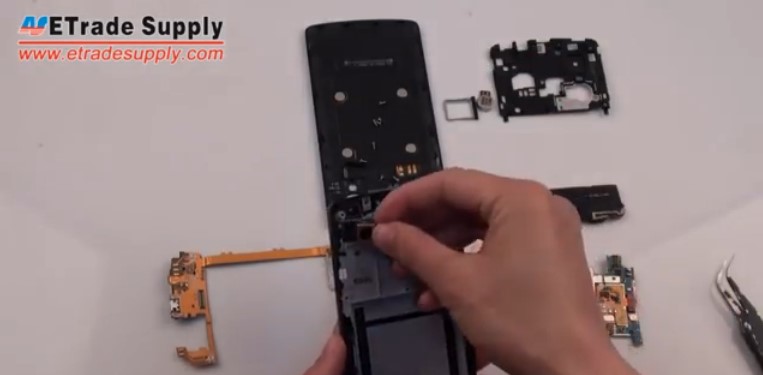
Install the Nexus 5 charging port flex cable ribbon.
Step 12:
Buckle the connector on Nexus 5 charging port flex cable.
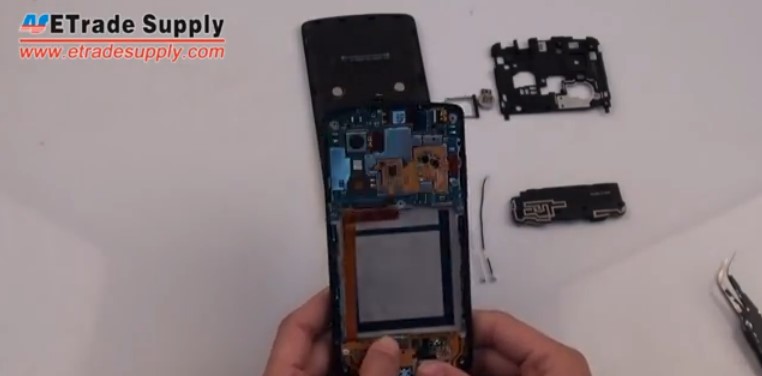
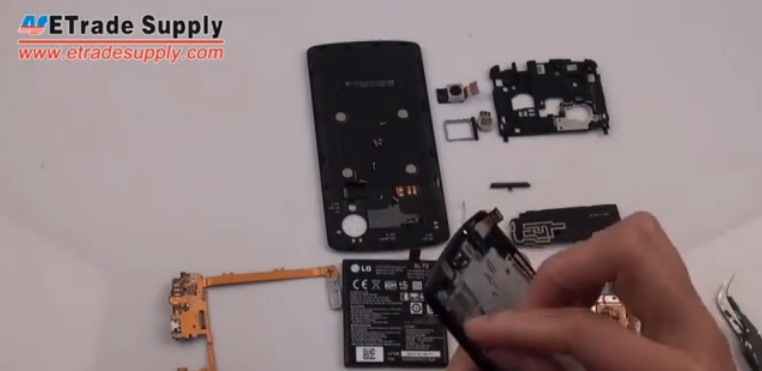
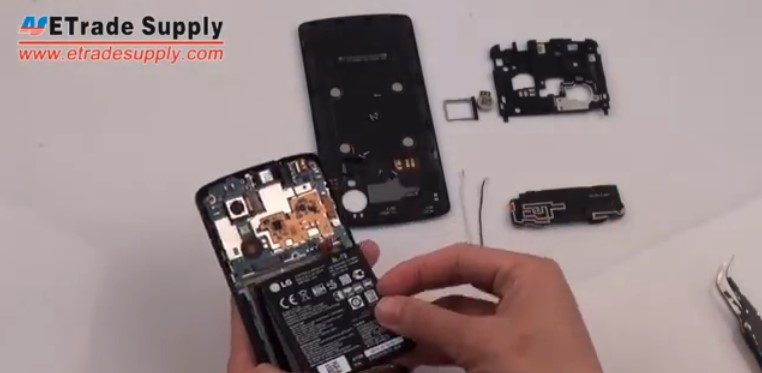
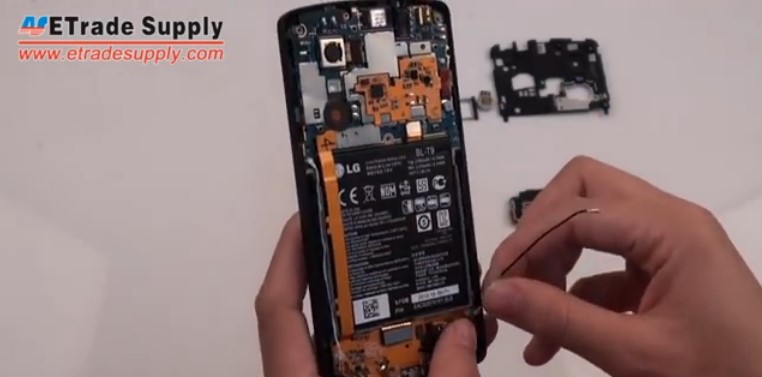
Step 13:
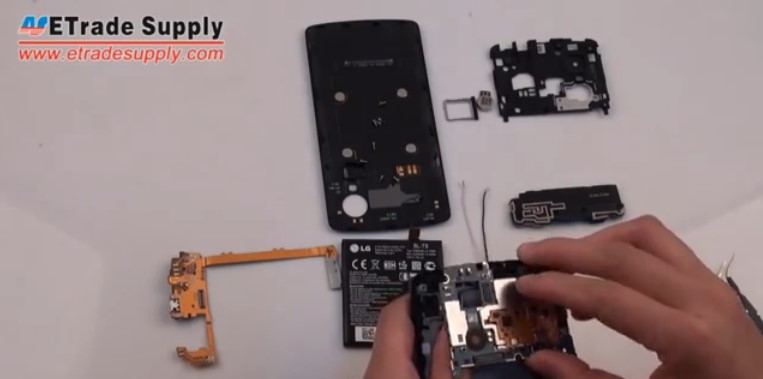
Install the Nexus 5 battery.
Step 14:
Buckle the connector.
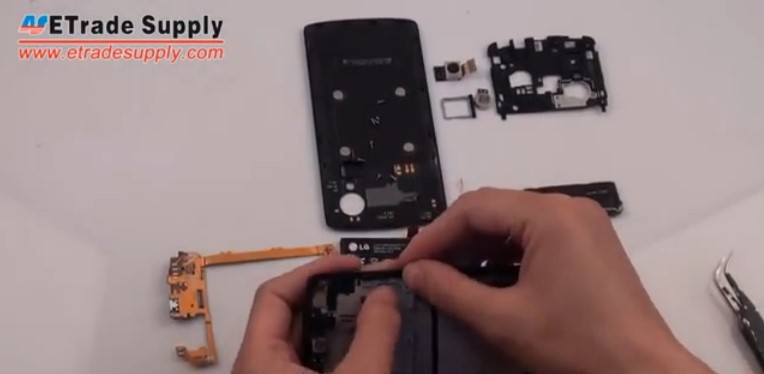
Step 15:
Buckle the Nexus 5 battery connector.
Step 16:
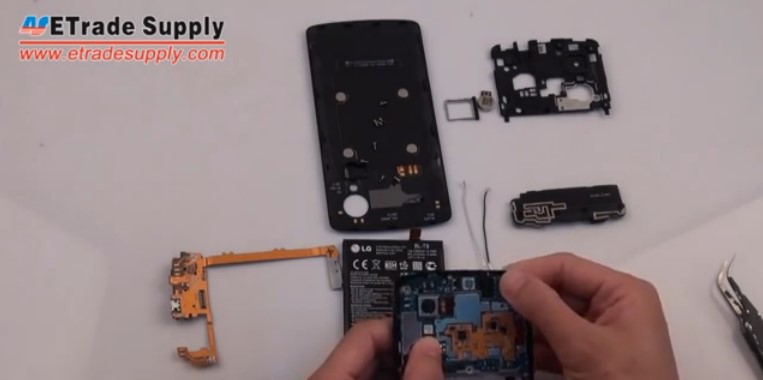
Plug the 4G antenna cable.
Step 17:
Plug the 3G antenna cable of Nexus 5.
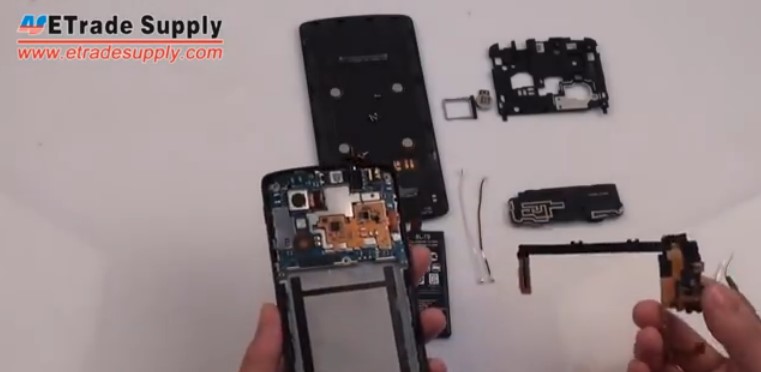
Step 18:
Assemble the Nexus 5 loud speaker module and fasten it with 4 screws.
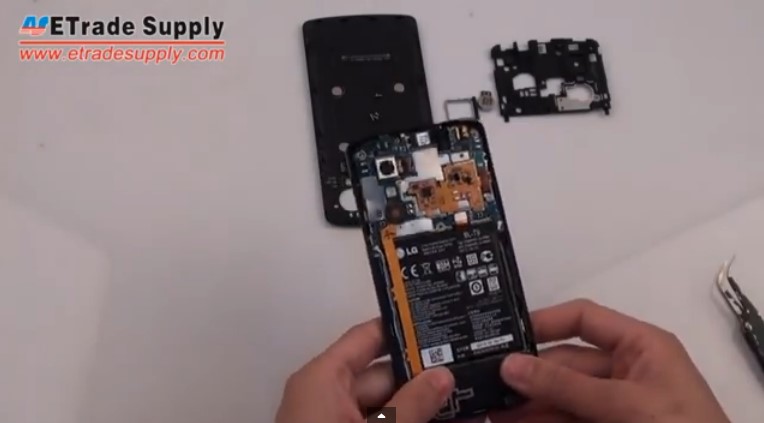
Step 19:
Install the Nexus 5 rear housing.
Step 20:
Fasten the Nexus 5 rear housing with six screws.

Step 21:
Reassemble the Nexus 5 vibrating motor.
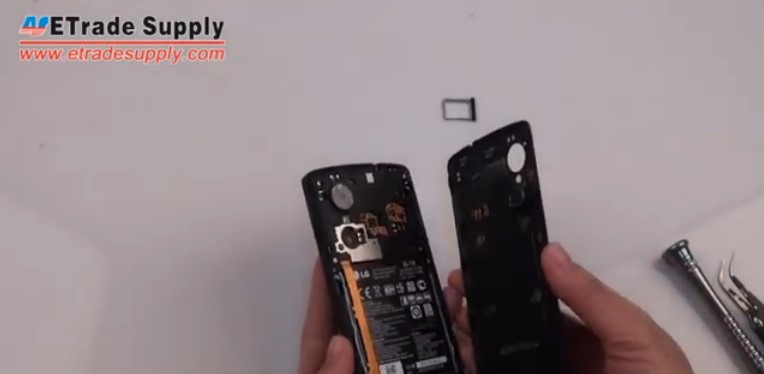
Step 22:
Close the Nexus 5 battery door.
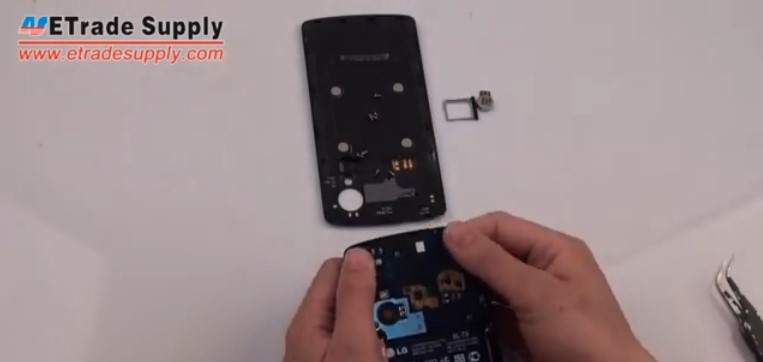
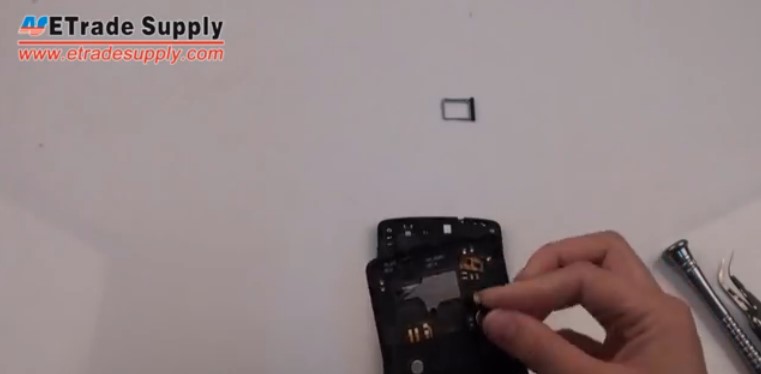
Step 23:
Insert the Nexus 5 SIM card tray.

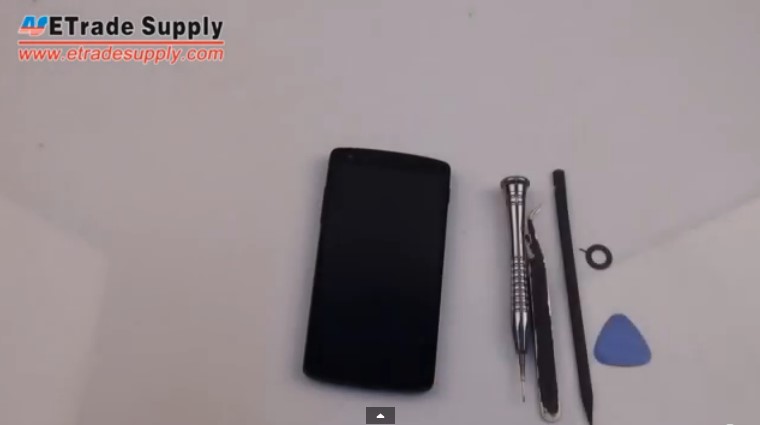
Step 24:
Nexus 5 reassembly is completed!
You can follow this YouTube tutorial: Nexus 5 Reassembly Guide for Screen Replacement or Other Broken Parts Repair to step-by-step assemble your Nexus 5.


 IOS 17.4 official version pushed to block battery vulnerability
  Is the Chinese-made rear case for the iPhone 15 series going on the market?
  New products coming:USB to MFI Lightning Cable
  Big BUG of iPhone 15
  Successfully submitted!
I replaced my screen with digitizer. The phone worked well for about a month. Now the screen is flickering. Tried to reset to factory settings. Same status. Replaced battery. When switched on the phone, felt some heating on the bottom part of careen. No display is the present status. When tried to reset, still flickering… Any possible solution. Thanks for your time..
try to push the back cover in the middle
I followed all the instructions and my phone is working perfectly except that the induction charger no longer works. Any idea what might be the problem?