Samsung Galaxy Mega 6.3 I9200 Teardown Tutorials
BY alina | 八月 1st, 2013 | 3 | 0
Samsung announced the Phablets, Samsung Galaxy Mega 6.3 as well as the Galaxy Mega 5.8 on April 11, 2013. The Galaxy Mega 6.3 is a mid-range smartphone with a 6.3''display of 720p resolution, a dual-core Cortex-A15 CPU, 1.5 GB of RAM and Android 4.2 Jelly Bean. Mega 6.3 is more affordable but larger than the Galaxy Note 2. If the 5.5-inch Note 2 is not large enough for you, Galaxy Mega 6.3 might be your good choice. We have gotten this device recently and torn it down to look into the inside of the Phablet. Like other Samsung Galaxy lineups, it's easy to disassemble the Galaxy Mega 6.3, which means you can repair your Mega 6.3 yourself according to our step by step tutorials if you break the handset.
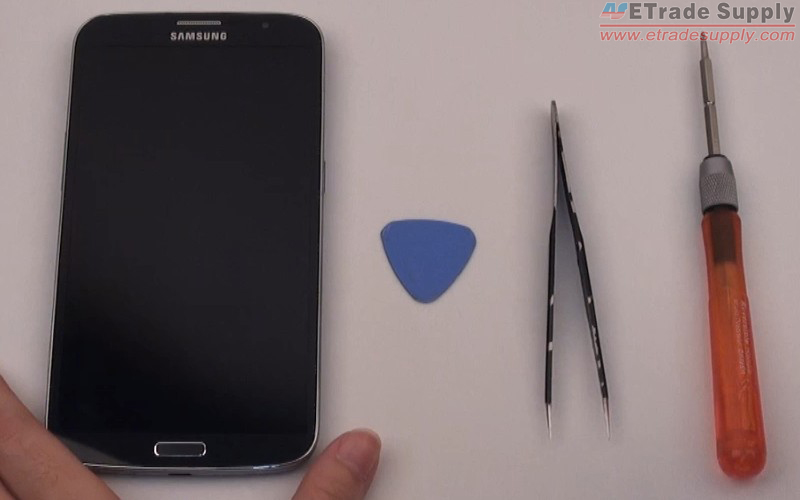
Tools Needed: 1. Tweezers 2. Small Philips Screwdriver 3. Case Opening Tool
Step 1
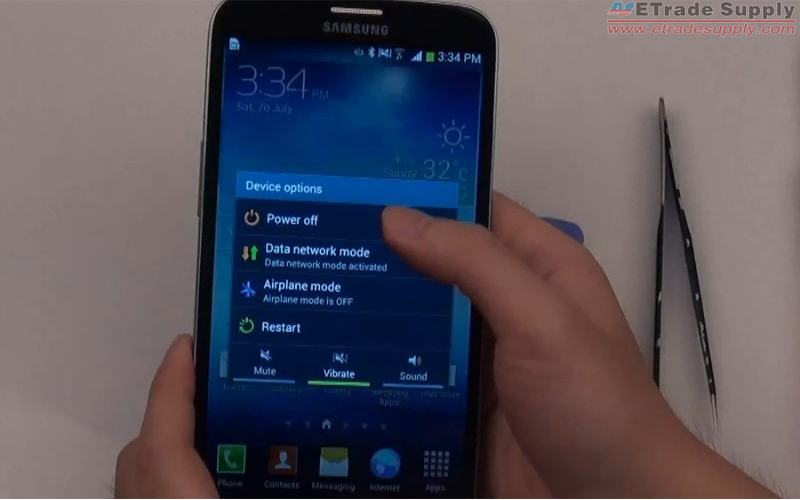
Power off the Samsung Galaxy Mega 6.3 I9200.
Step 2
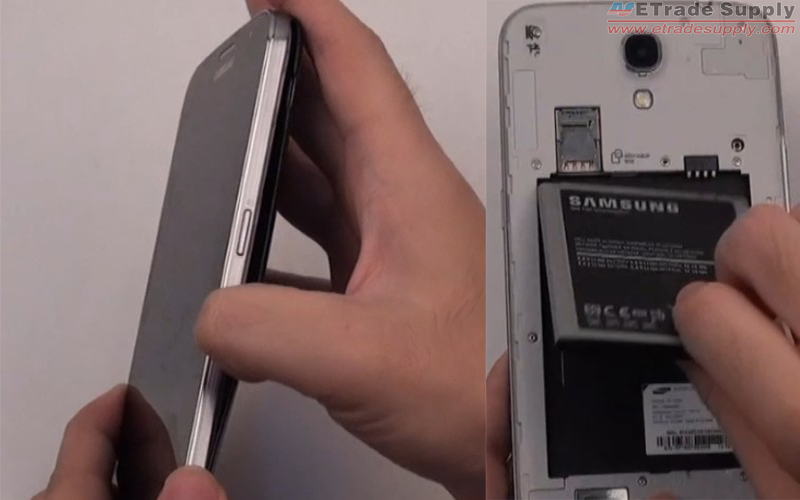
Remove the battery door and the battery. The Galaxy Mega 6.3 back cover is made of glassy plastic, which is as same as the Galaxy S4 back cover. There are many clips on the inside border of the Mega 6.3. You can easily clip the back cover on and off. But please make sure you press down all the clips properly and the back cover fits correctly when you installing the battery door. The Li-ion 3200mAh battery could last up to 420 hours on stand-by.
Step 3
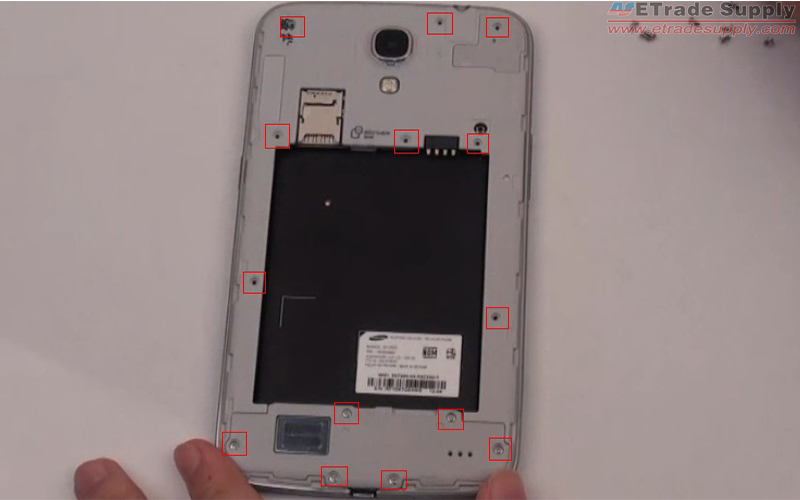
Use Small Philips Screwdriver to remove 14 screws on the rear housing in order to remove the Galaxy Mega 6.3 rear chassis.
Step 4
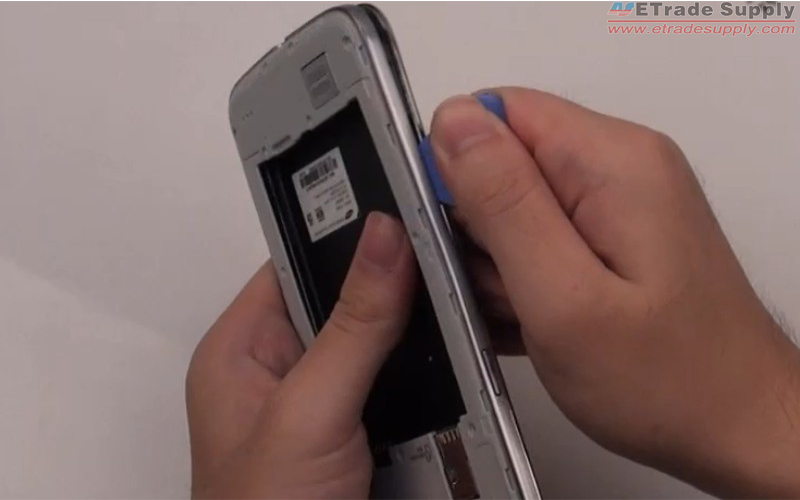
Insert the case opening tool between the rear housing and front housing to release the rear housing with properly strength.
Step 5
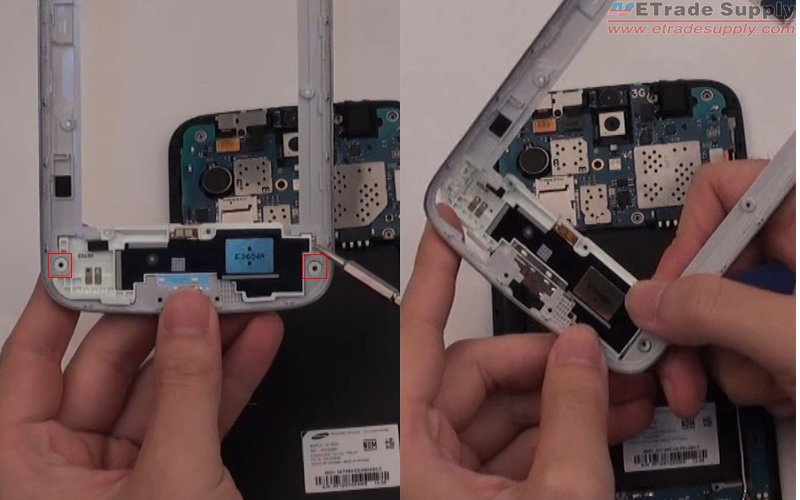
Release the loud speaker module by loosening two clips.
Step 6
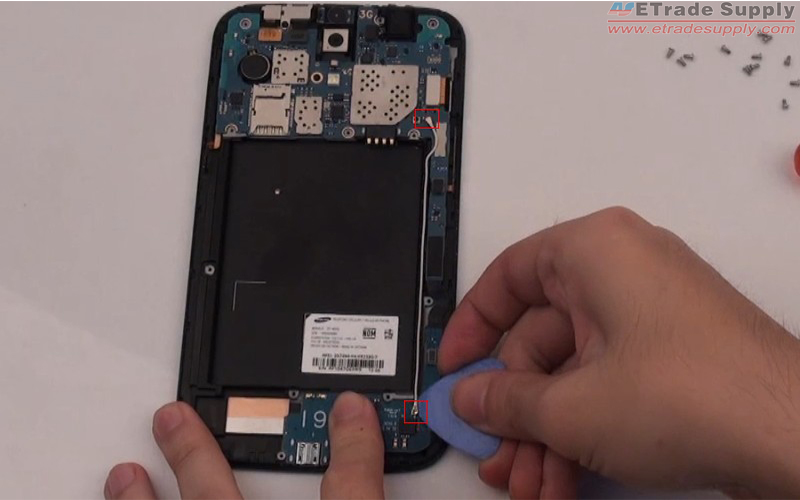
Use case opening tool to release two clips to remove the antenna cable.
Step 7
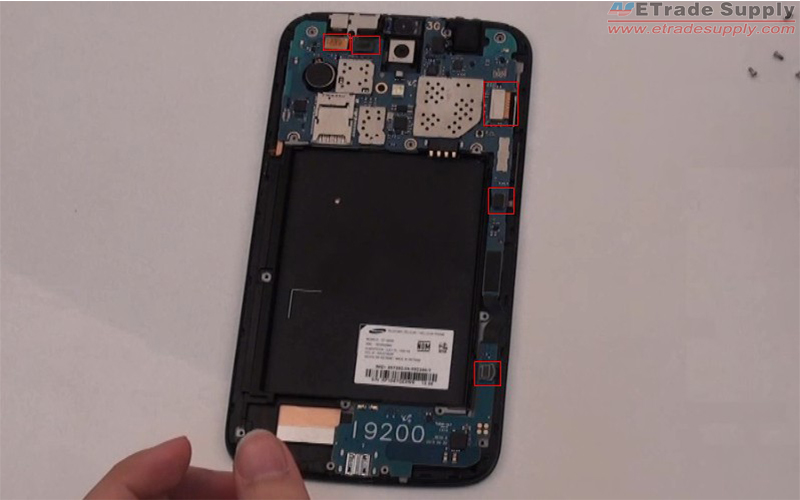
Disconnect 5 connectors on the motherboard with the case opening tool.
Step 8
Remove the ear phone jack with the help of the opening case tool.
Step 9
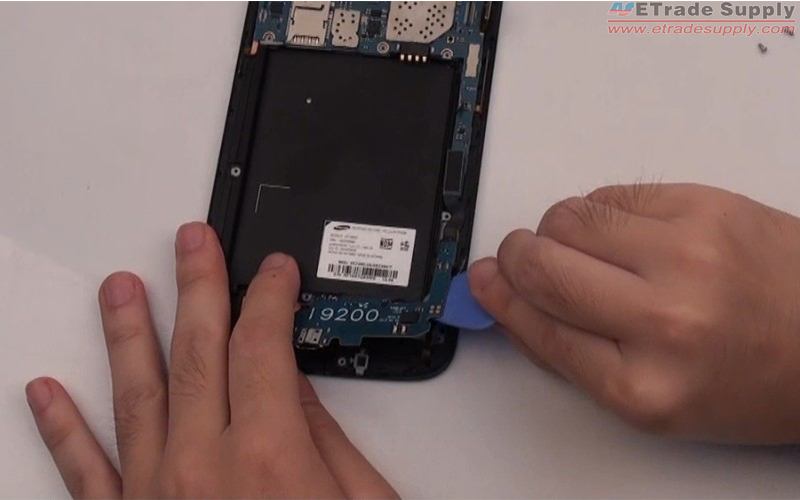
Use opening case to remove the USB charging port.
Step 10
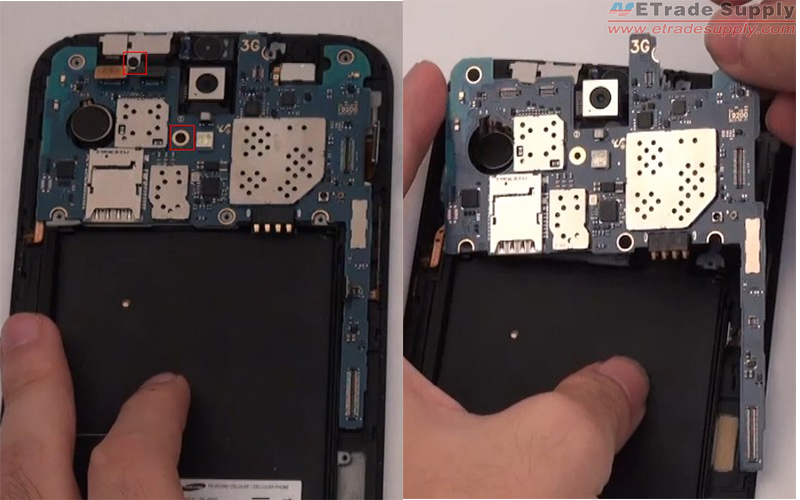
Use Small Philips Screwdriver to undo 2 screws on the motherboard to remove the motherboard.
Step 11
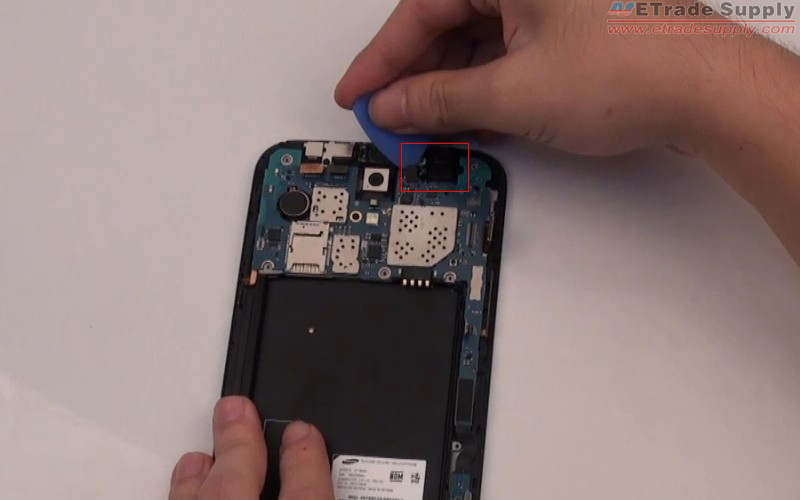
Use opening case tool to remove the rear facing camera.
Step 12
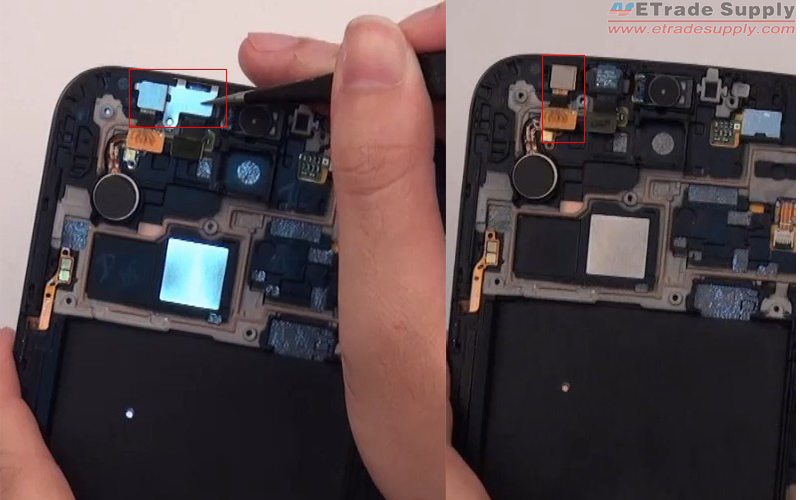
Use tweezers to pick out the front facing camera metal shield and remove the front facing camera.
Step 13
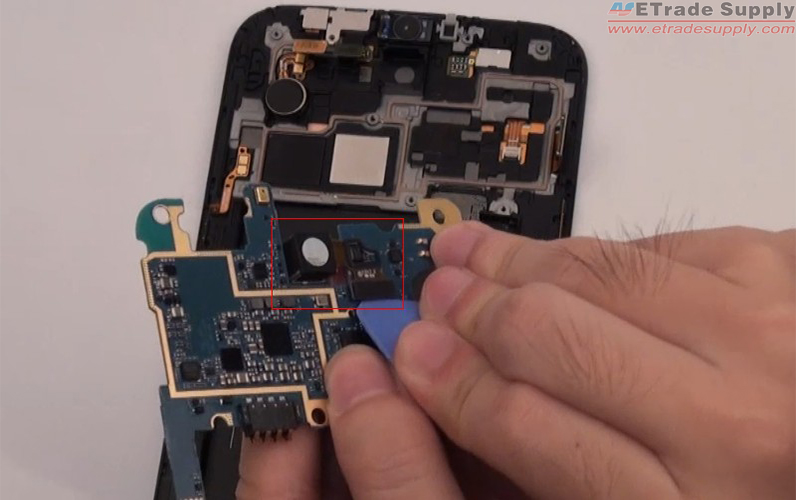
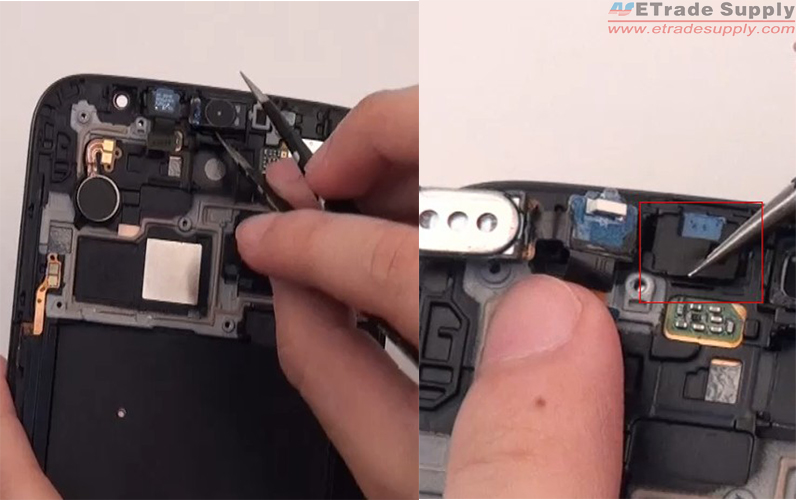
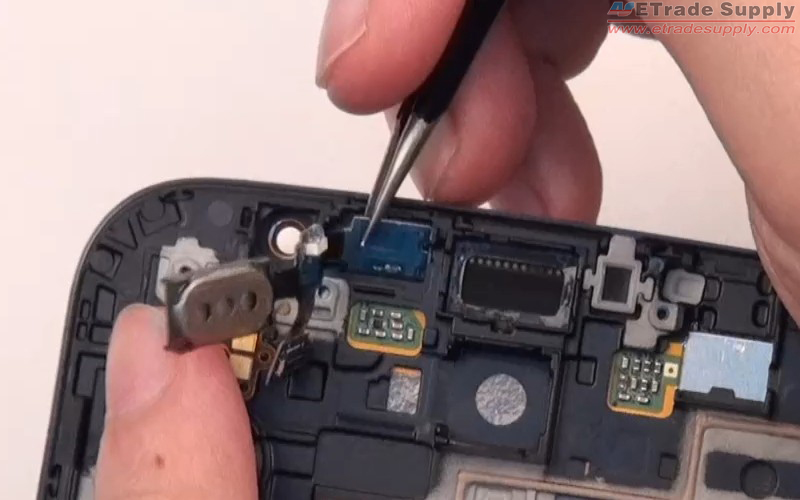
Use tweezers to pick out the ear phone and pick out the rubber gasket.
Step 14
Take out the proximity sensor and the ear phone flex cable.
Step 15
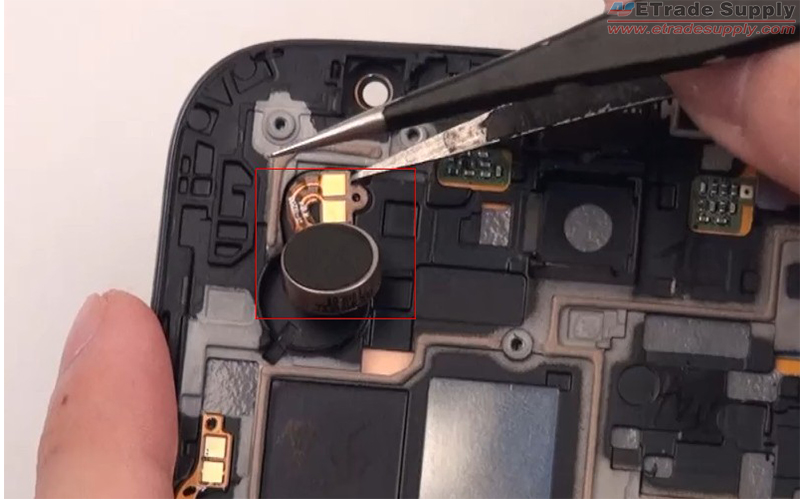
Take out the vibrating motor with tweezers.
Step 16
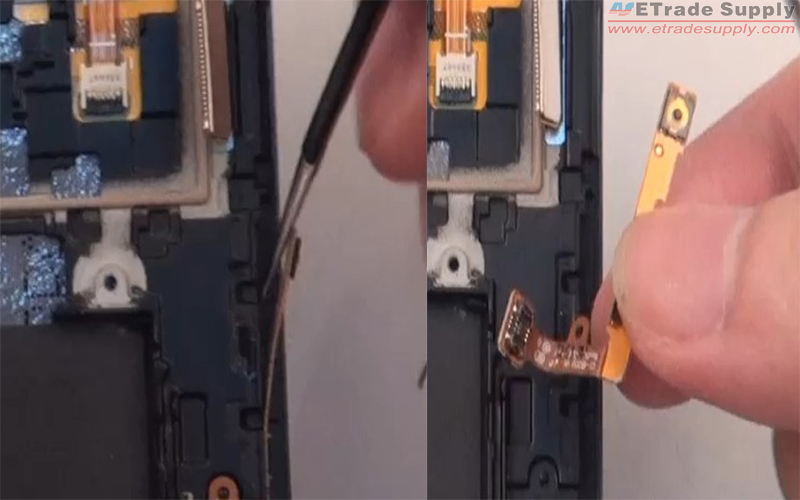
Use tweezers to loosen the adhesive and remove the volume keys connector.
Step 17
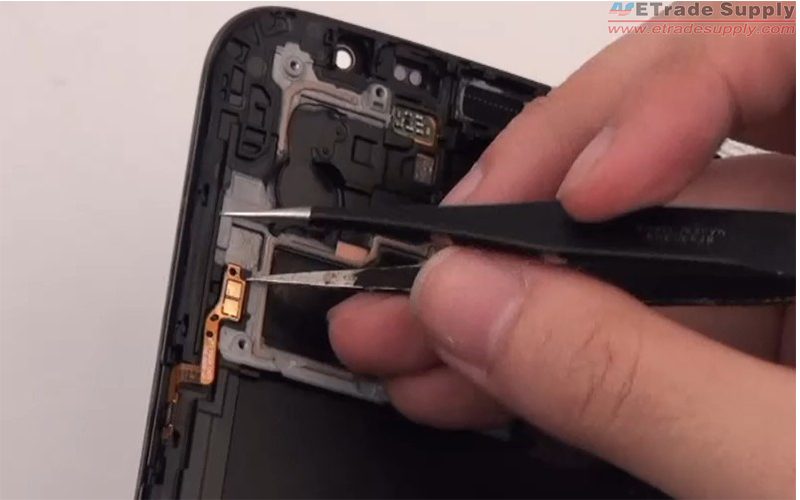
Use tweezers to pick out the power button connector.
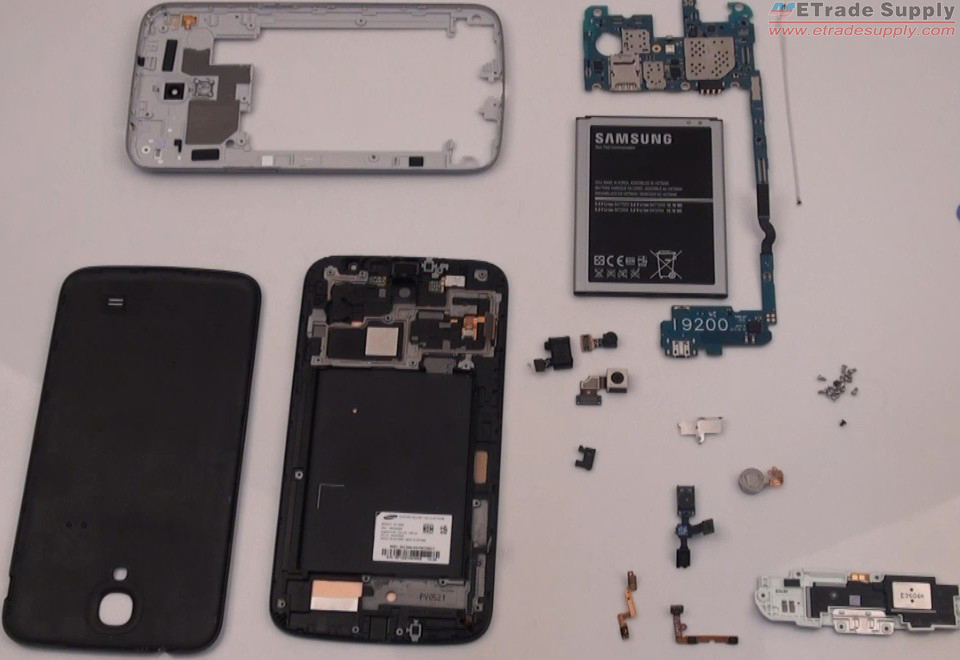
Here are all the Samsung Galaxy Mega 6.3 teardown parts.
Welcome to watch our Samsung Galaxy Mega 6.3 Disassembly video to get additional information. Subscribe our YouTube Channel to get more cellphone repair guides.




 IOS 17.4 official version pushed to block battery vulnerability
  Is the Chinese-made rear case for the iPhone 15 series going on the market?
 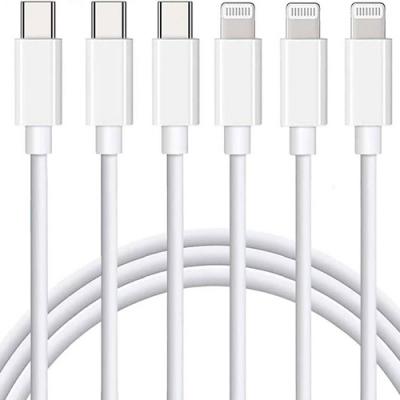 New products coming:USB to MFI Lightning Cable
  Big BUG of iPhone 15
  Successfully submitted!
I would like to know what component on the main board holds the operating system? I would like to replace the main board since I forcably received kitkat update and lost touch, on the screen, phone is now unusable. Seems there are quite alot of issues with this update and apparently between ATT service provider, samsung manufacturer and android, no one will back up their warranty, blaming each other. Meantime I have a $480 very nice looking paperweight. So if I have to buy another cell phone, will NOT be Samsung, will not have ATT for service, and will not being running android. Does not seem to be any plug ing keyboards since there is now not anyway to even unlock the phone when it is turned on. Guess I will have to find out how Apple screws over their customers as compared to samsung, ATT and Google.
when mine received the update to KitKat,via OTA, the update does´n work, so i´ll install the kitkat with my pc and Odin, now is work perfectly, try to flash your mega.
when cricket wireless start selling larges smartphones like the Samsung galaxy mega?