


How to replace HTC U11 cracked screen, charging port and battery
BY kaye | 七月 25th, 2017 | 8 | 6
HTC U11 comes to us vision with Super LCD5 capacitive touchscreen, Qualcomm MSM8998 Snapdragon 835, 64 GB/4 GB RAM or 128 GB/6 GB RAM. It has an IP67 rating and is dust, splash and water resistant up to 1 meter of freshwater for up to 30 minutes and tested under controlled laboratory conditions. Here we tear down the HTC U11 to show how to replace the cracked screen, charging port and battery. So without further ado, let’s start now.
Tools need:
Heat gun
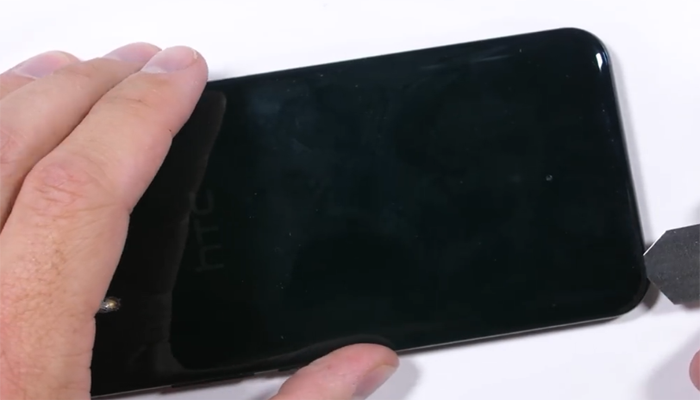
Step 1 Turn off the phone and take out the SIM Card Tray
It is necessary to turn off the phone and take out the SIM card tray before the disassembly started.
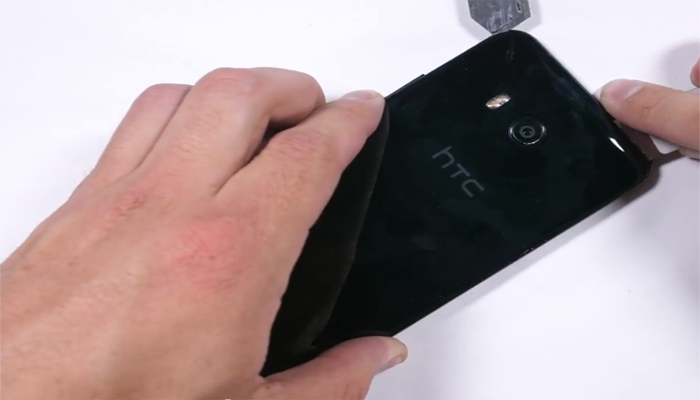
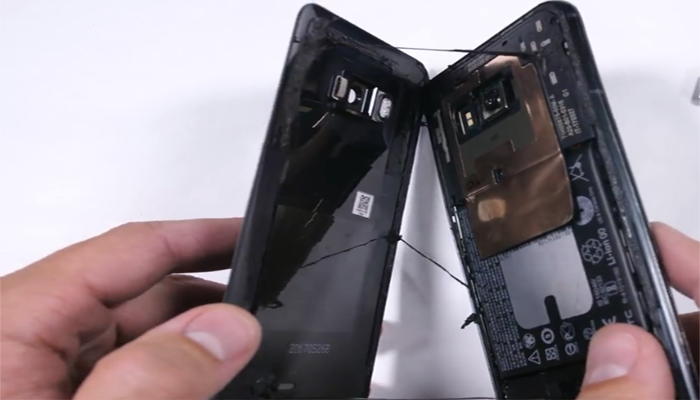
Step 2 Remove the Back Housing
Heating the smartphone with the heat gun will make it easier to remove the back housing with pry tools.
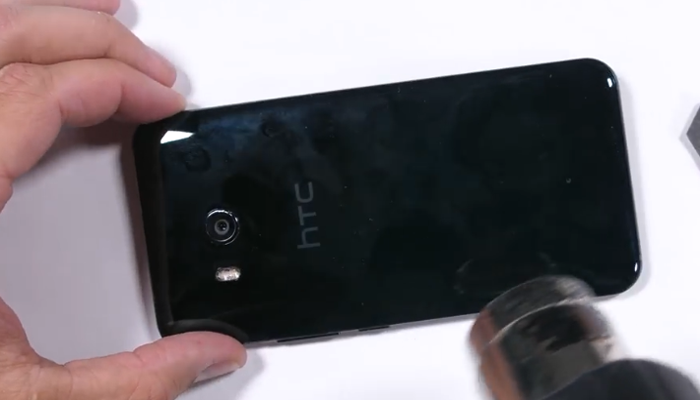
Pry the back housing with a pry tool and slide it around the edge.
Step 3 Remove Wireless Charging Coil
Undo 5 screws on the wireless charging coil with a screw driver then you can remove the wireless charging coil.
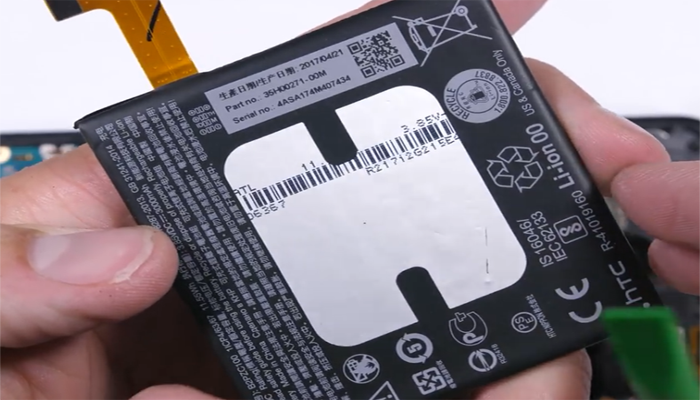
Step 4 Remove Battery
Release battery connector and then pry the battery with pry tools.
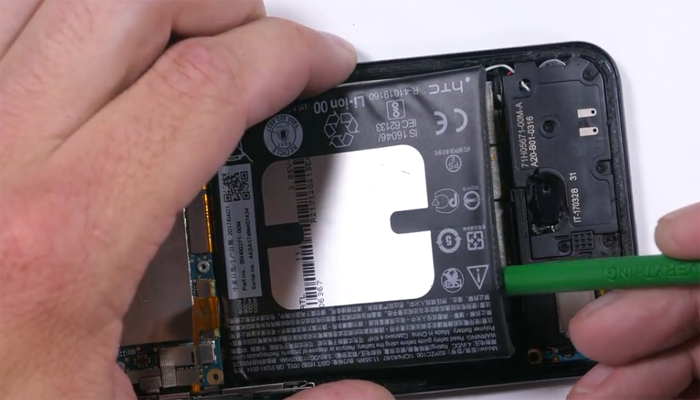
Here is the battery.
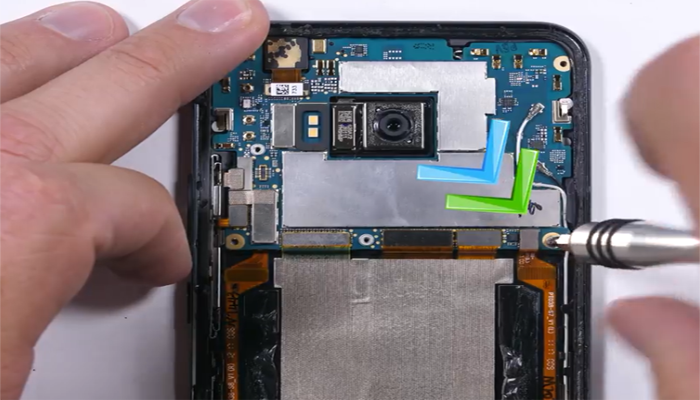
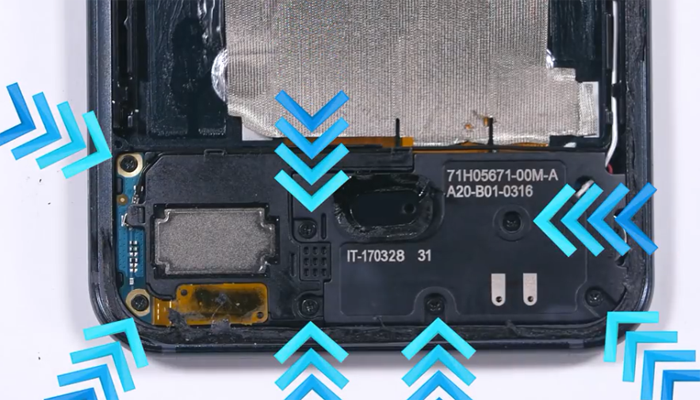
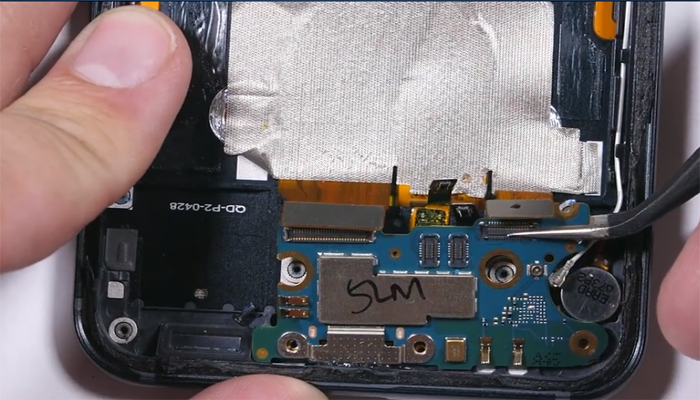
Step 5 Remove Motherboard
Undo the screw as shown below and release 8 connectors then you can take out the motherboard.
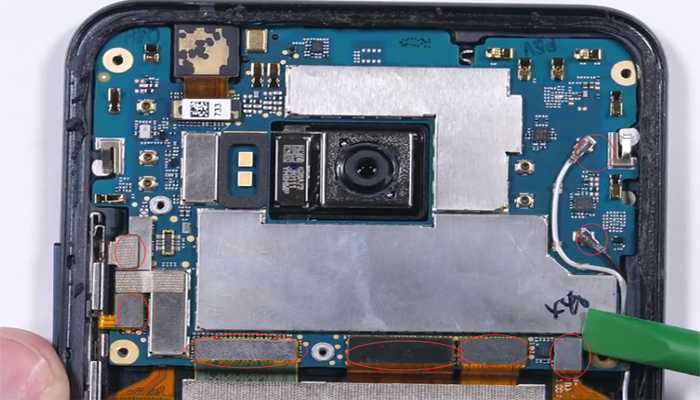

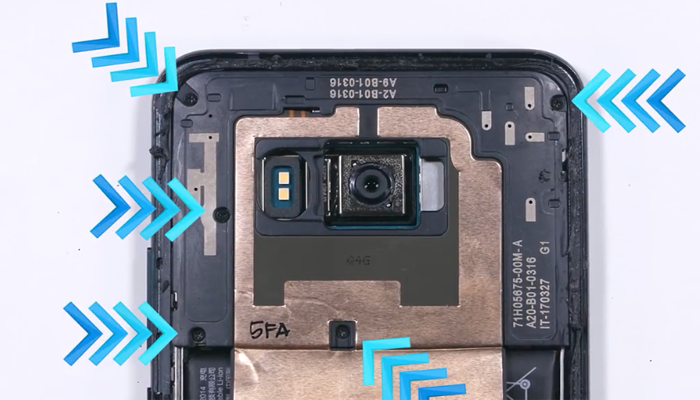
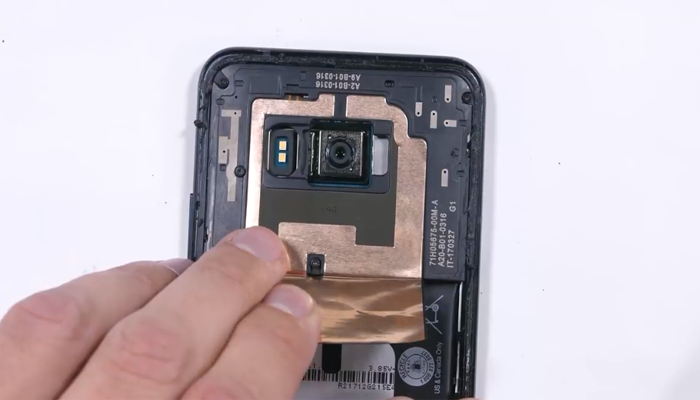
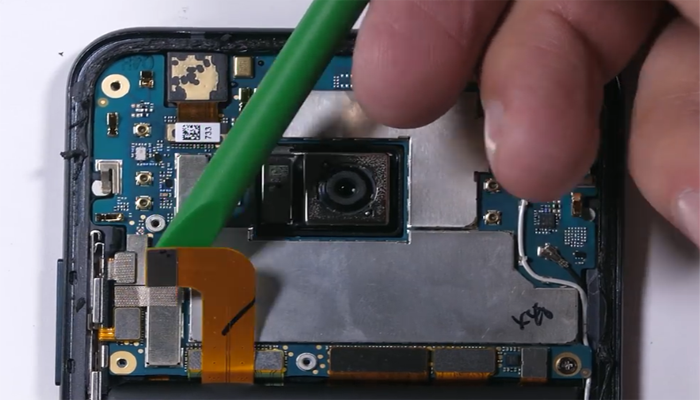
Step 6 Remove Cameras
Remove the front camera on the motherboard and the rear camera is on the back side.

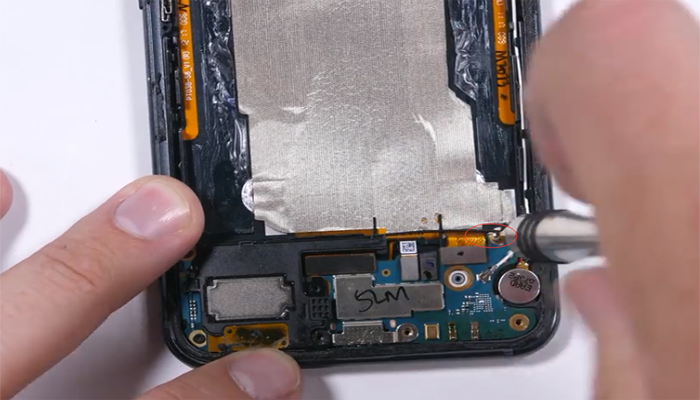
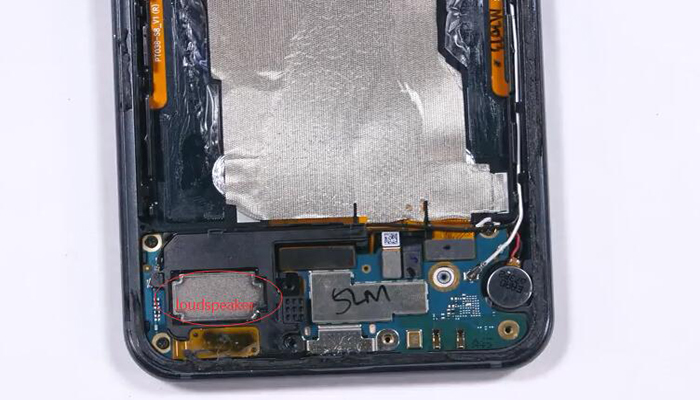
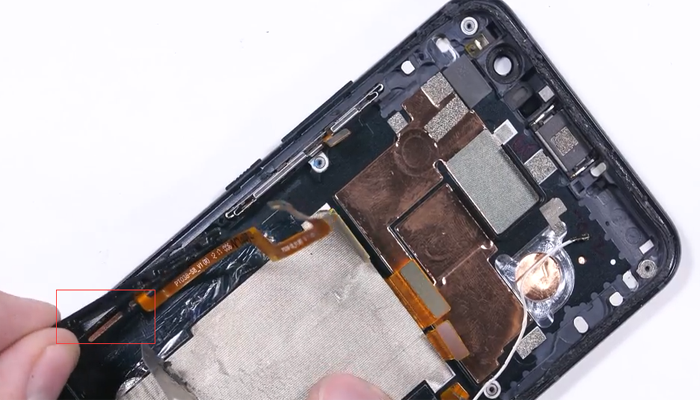
Step 7 Remove Loudspeaker and Charging Port
Undo 7 screws as the pic shown below with screw driver and take out the plastic cover.
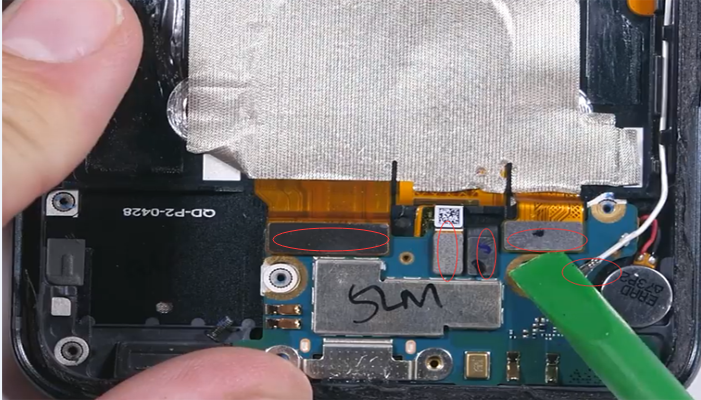
Undo the screw on the charging port board
Take out the loudspeaker
Release 5 connectors on the charging port board
And now we can take out the charging port with tweezers.
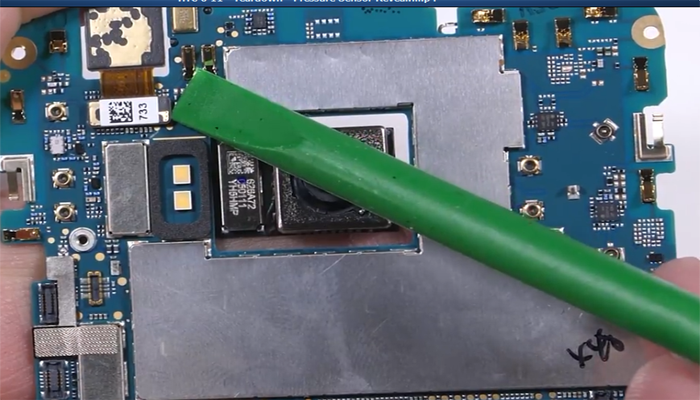
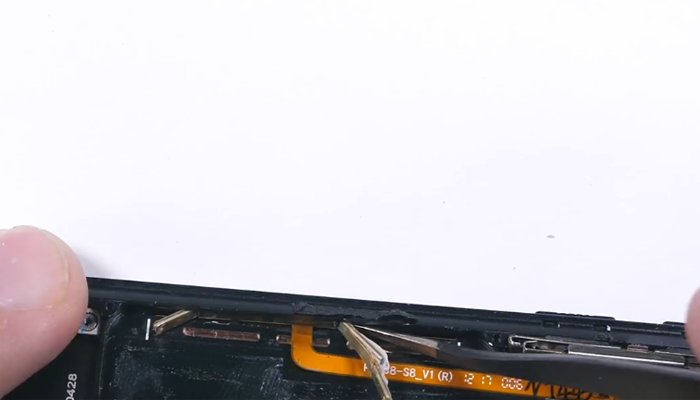
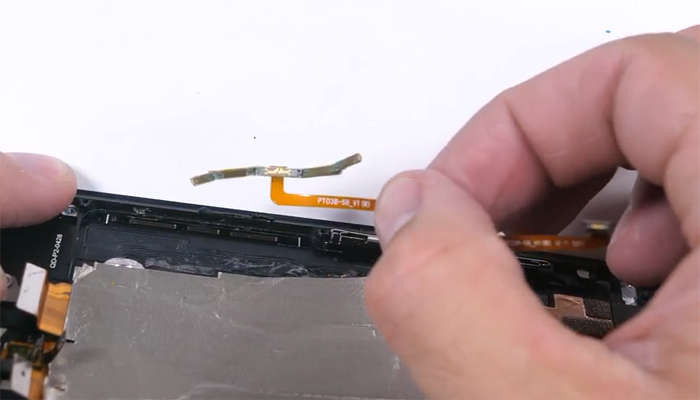
Step 8 Remove Pressure Sensing Flex Cable
First, we should remove the plastic rod with pry tool and then we can take out the flex cable with tweezers

The screen assembly is hard to separate from the frame so the disassembly is finished now and if you have some other views and suggestions, welcome comments below.
You may also like:
- HTC 10 DIY Teardown for screen, charging port, battery replacement
- How To Replace A HTC One A9 Cracked Screen
- How To Fix HTC Nexus 9 Charging Port Replacement
- How To Disassemble/Tear Down HTC One M9
|
|

|
|
|
|
|
|---|


