


How to Tear Down/ Take Apart/ Disassemble iPad Mini 3 within 10 Minutes
BY Davi | 十二月 23rd, 2014 | 1 | 0
iPad mini 3 sports the touch ID, but other parts are not upgraded. How to replace parts of iPad mini 3 within 10 minutes? Let me show you step by step.
No other exciting features were added to the iPad mini 3 except the fingerprint sensor, but will the sensor cost you more time and effort to replace the screen? Apple has combined the digitizer and LCD screen of iPad air 2 together, which raise the repair cost significantly. However, the digitizer and LCD screen of iPad mini 3 are separated, which not only reduce the difficulty but also reduce the cost of DIY repair. Here we will walk you through a 10 min easy step by step screen repair guide for the iPad mini 3.
Note: Many people are suspicious about the real time cost of replacing the iPad mini 3 broken screen. We have to say that the repair time is depended on the skill of people who does. A professional repair technician can finish the repair in less than 10 mins, but for people who never did related DIY repair, it sure will cost them more time.
Tools needed:
PH000 Screwdriver
A Pair of Tweezers
Hair Drier/Heat Gun (recommended)
Plastic Case Opening Tool
Suction Cup
Step 1. Please cover the shattered iPad mini 3 screen with transparent adhesive tape, which will protect your fingers from the tiny glass during the repair work.
Step 2. Shut off your iPad mini 3 before disassembly. (It may cause short circuit while your power is on during the repair work)
1.Use the hair drier/heat gun to heat the iPad mini 3 edge up for 5 minutes to melt the adhesive. (Starts from the front part; both the glass and the metal back plate will be heated up, so please be careful when touching them)

 3.Use the suction cup and opening tool to slide across the edges and pry up the panel slowly and carefully.
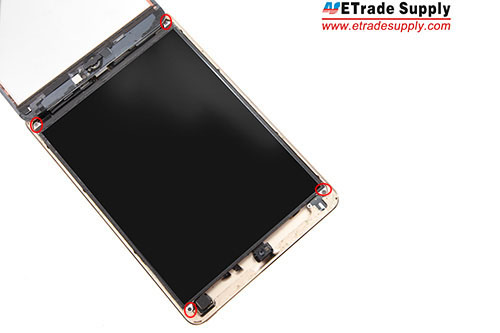
 4.Open the panel and undo the 4 screws in the LCD.
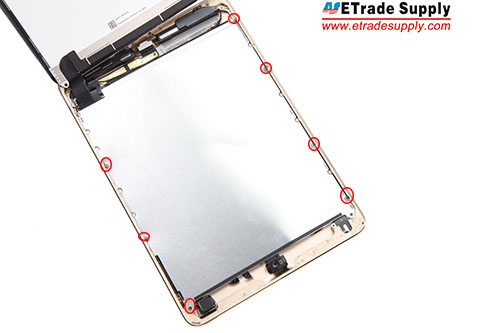
 5.Remove 7 screws in the metal bracket.
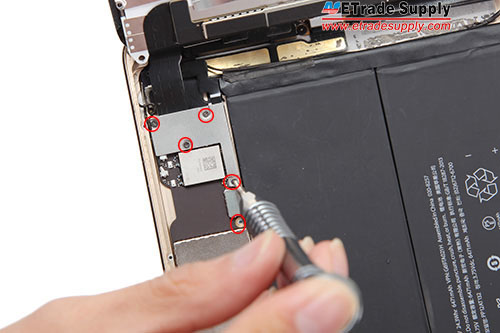
 6.Remove 4 screws in the mental bracket and 1 screw in the motherboard.
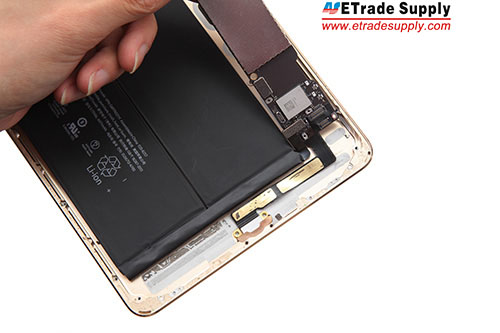
 7.Remove the metal bracket and disconnect 4 flex cables connecting to the logic board. The digitizer, LCD screen and metal plate are now removed from the rear housing assembly. If you are trying to replace the broken iPad mini 3 digitizer, by here is what you all need to do.
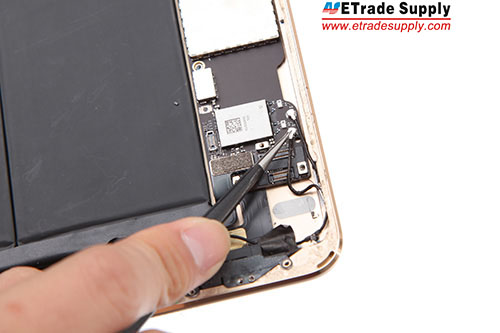
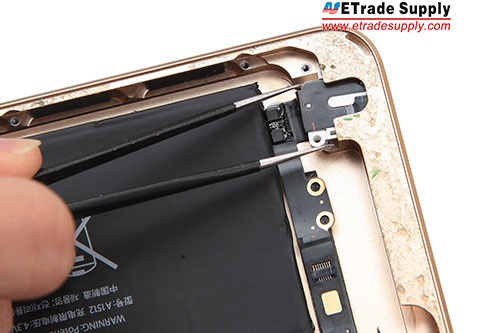
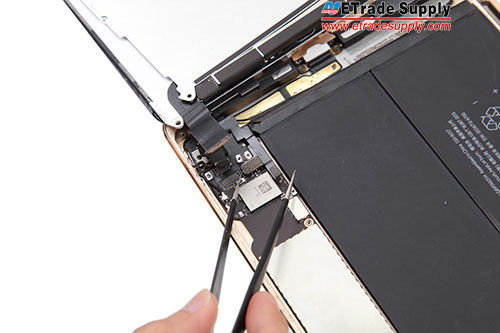 8.Pry up the 2 antennas connecting to the logic board.
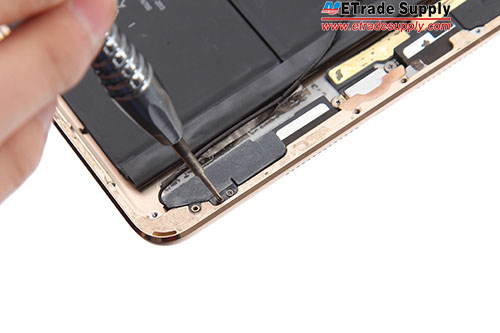
 9.Remove 3 screws in the left bracket.
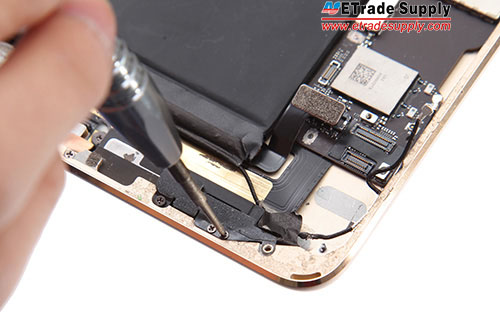
 10.Remove 4 screws in the right bracket.
 11.Remove 6 screws in the charging port.
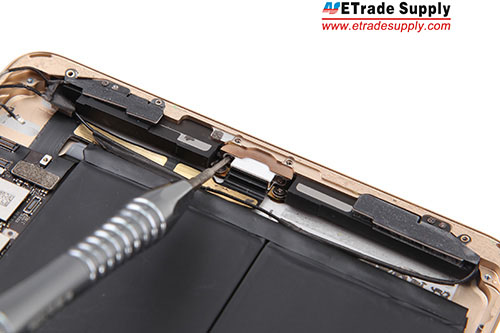 12.Remove the louder speaker modules in the bottom.
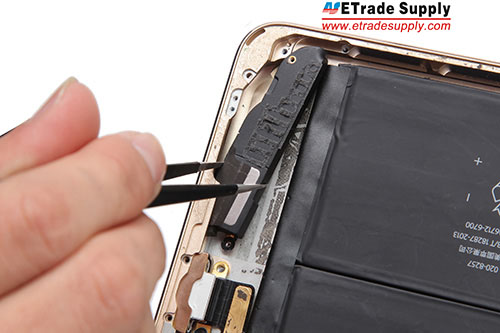 13.Disconnect 4 flex cables connecting to mother board and remove the front facing camera. (Notice: the front facing camera is fixed on the back housing by adhesive. The front facing camera flex cable is clipped in. Handle carefully and gently.)
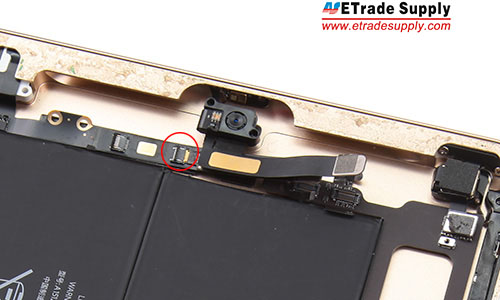
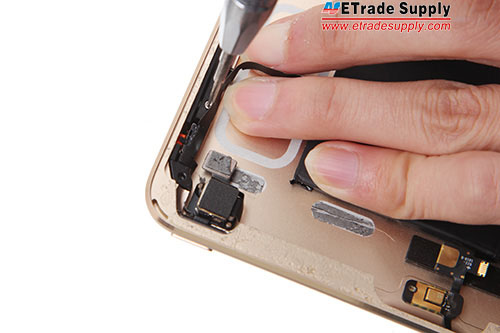
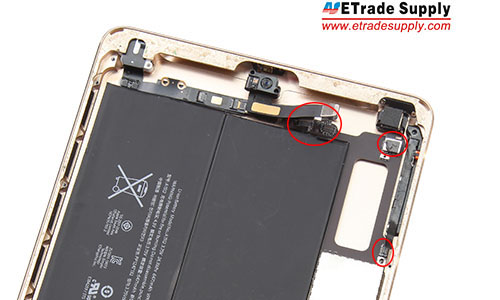 14.Disconnect the sensor flex cable to the mother board.(Notice: the flex cable is clipped to the earphone jack flex cable.)
 15.Pull out the charging port.
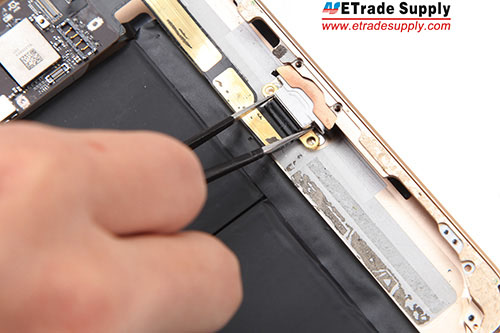 16.Remove the mother board.
 17.Pull out the earphone jack flex cable.
 18.Undo 2 screws in the side key bracket.
 19.Undo 2 screws in the power button bracket.
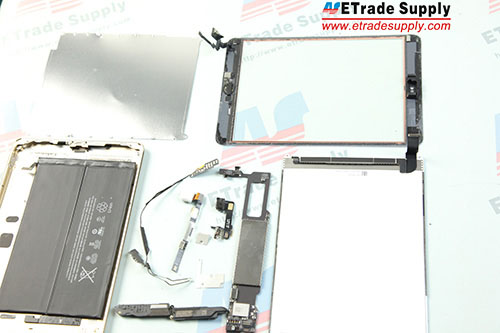
 20.Remove the side key and power button. (Because the battery is fixed on the back housing tightly by strong adhesive. We do not recommend to remove it yourself.)


 IOS 17.4 official version pushed to block battery vulnerability
  Is the Chinese-made rear case for the iPhone 15 series going on the market?
  New products coming:USB to MFI Lightning Cable
  Big BUG of iPhone 15
  Successfully submitted!
Good