


How To Replace Samsung Galaxy S8/S8 Plus LCD Screen, Charging Port And Battery
BY kaye | 八月 1st, 2017 | 1 | 5
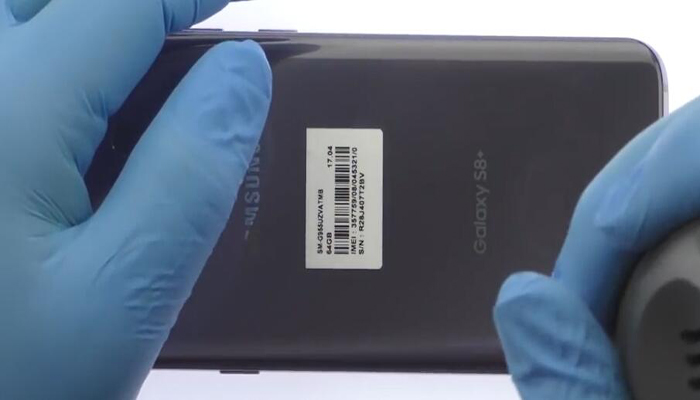
It has been 3 months so far since Samsung Galaxy S8 was released. No doubt that it’s a successful smartphone. Though the rear fingerprint will cause inconvenience in daily use and some users encountered red tint issue, that still can't stop people loving this phone. Now let’s tear down the phone to see what is in it and how to replace the LCD screen, charging port and battery.
Repair tools needed:
- Heat Gun
- Nylon Spudger
- Playing Card/Business Card
- Metal tools
- SIM Card Ejection Tool
- Curved Hook Tweezers
- Phillips Screwdriver
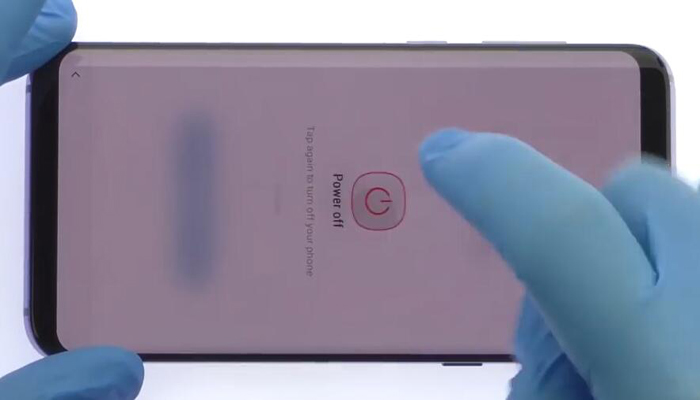
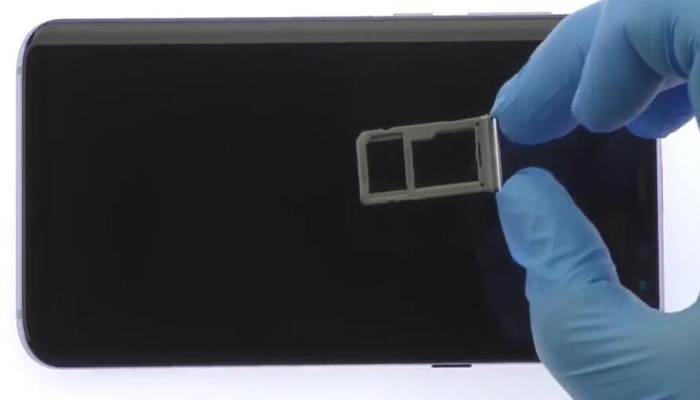
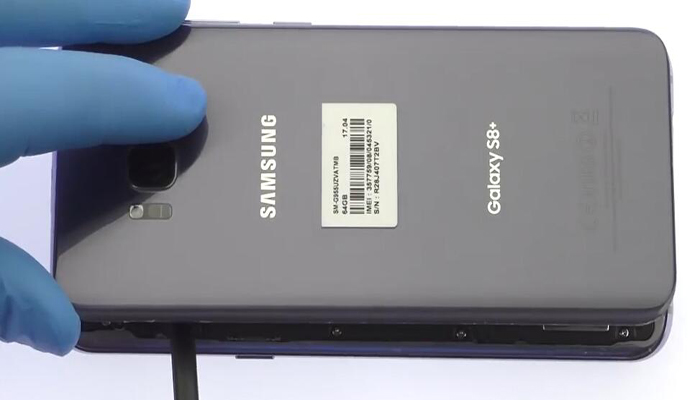
Step 1 Power off the Phone and take out SIM Card Tray
First power off the phone and take out the SIM card tray with ejection tool.
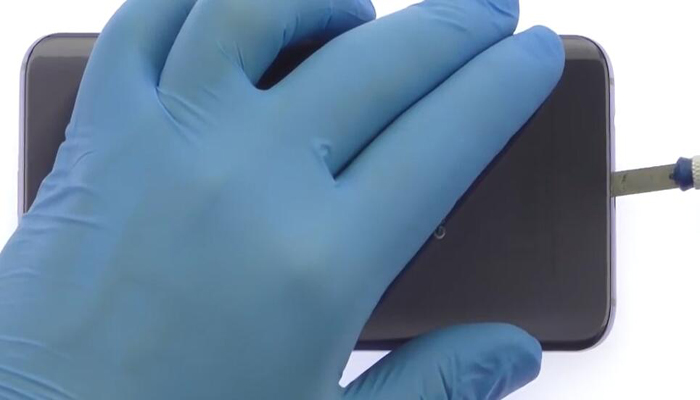
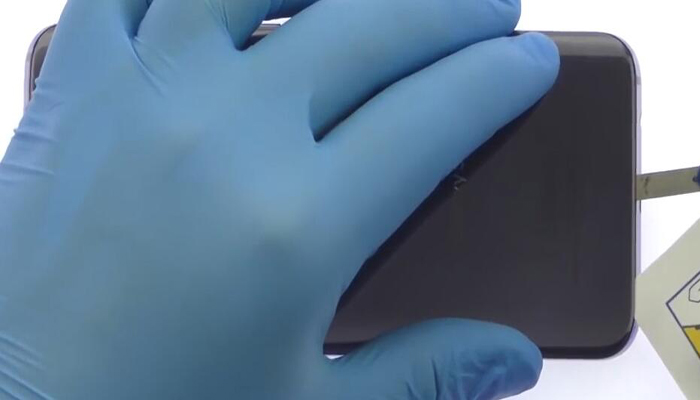
Step 2 Remove Back Housing
Softening the adhesive with a heating gun would help to remove the back housing easier.
Pry the gap between the frame and back housing with a metal tool.
Put the playing card into the gap and slide around the frame to cut the adhesive.
Release the fingerprint connector on the motherboard with a spudger.
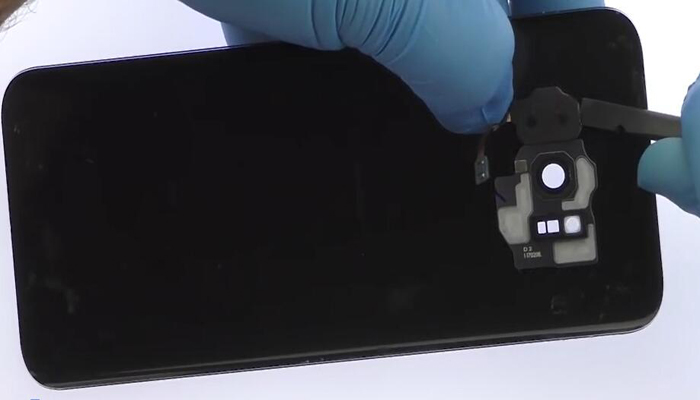
Step 3 Remove Fingerprint
Pry the fingerprint on the back housing with a spudger, heating the back cover with a heat gun will make it easier to remove.
Step 4 Remove Wireless Charging Coil and Loud Speaker
Undo 15 screws as the picture shown below with Philips screwdriver.
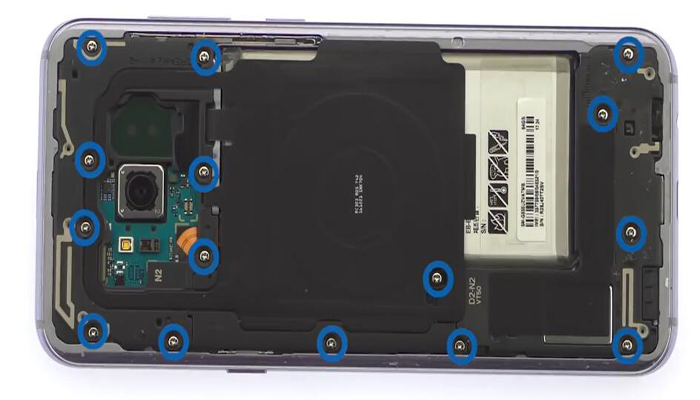
Pry the wireless charging coil including NFC out with nylon spudger.
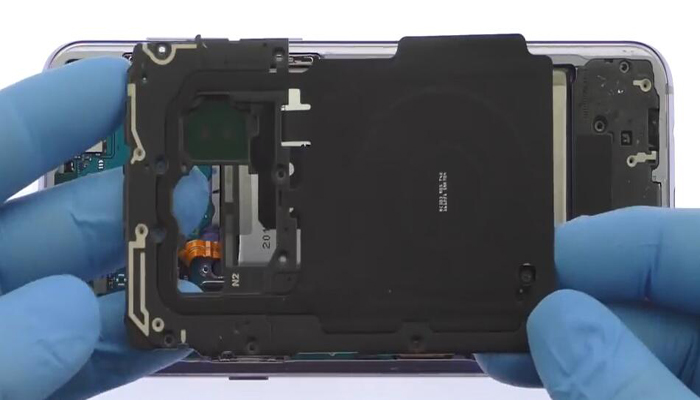
Pry out the loudspeaker module.
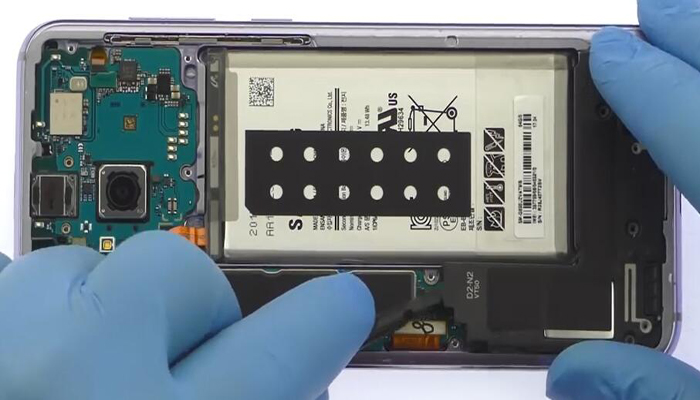
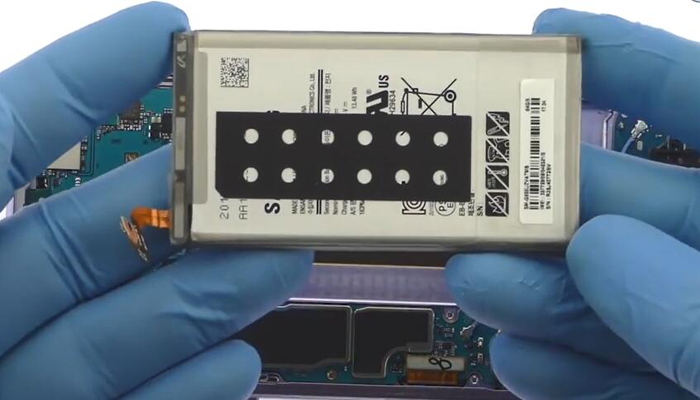
Step 5 Remove Battery
Remove the battery connector as the picture shown below.
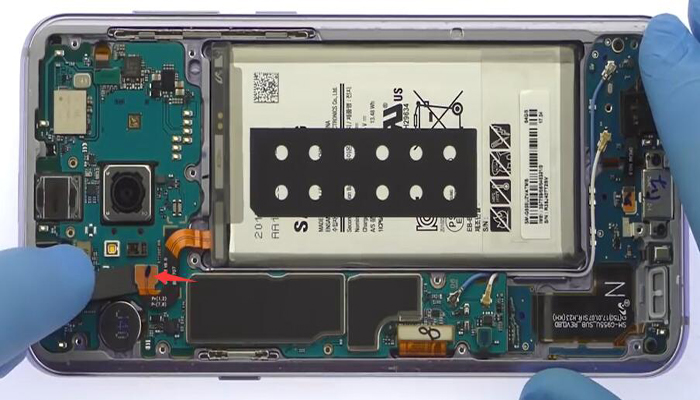
Cut the battery adhesive with playing card then pry the battery out.
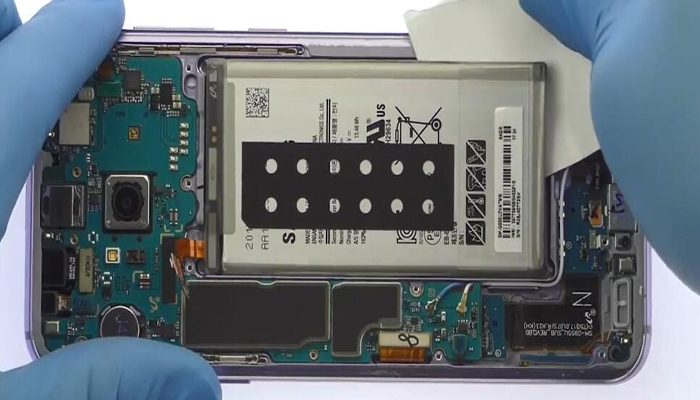
Here is the Samsung Galaxy S8+ battery.
Step 6 Remove Motherboard
Release connectors as the pictures shown below.
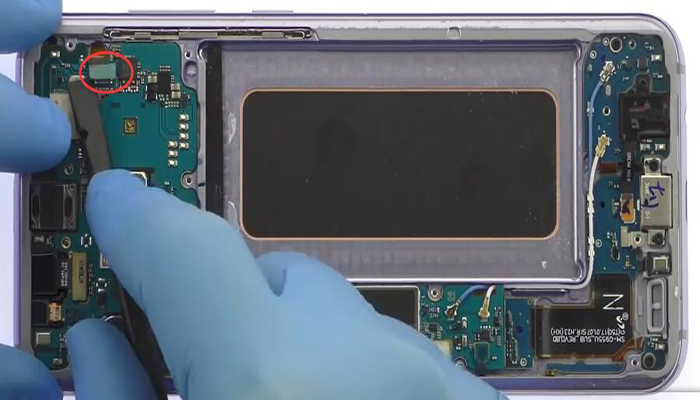
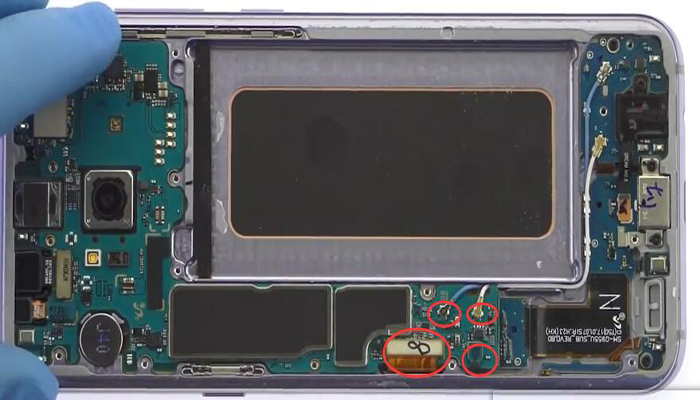
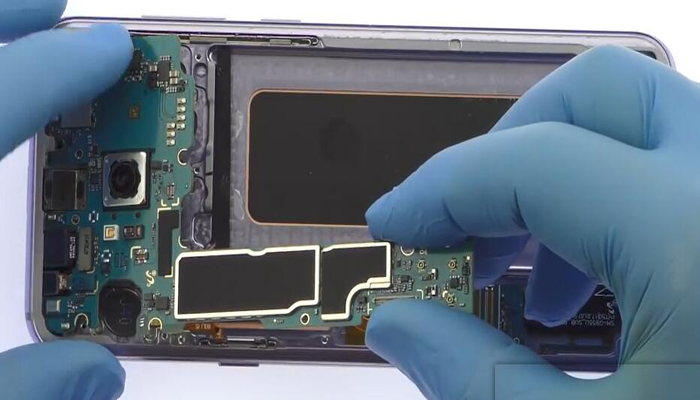
Take out the motherboard carefully.
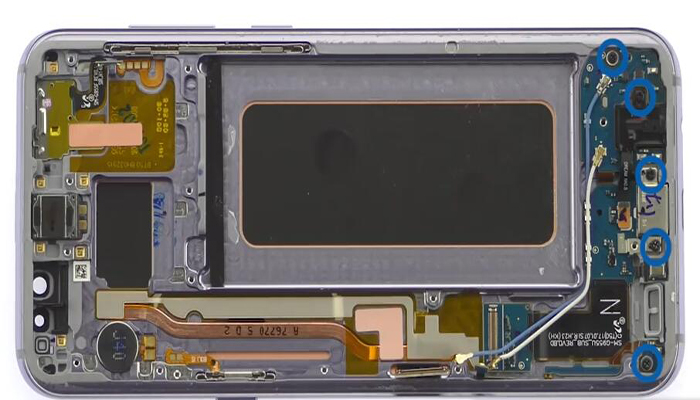
Step 7 Remove Daughterboard
Remove 5 screws as the picture shown below.
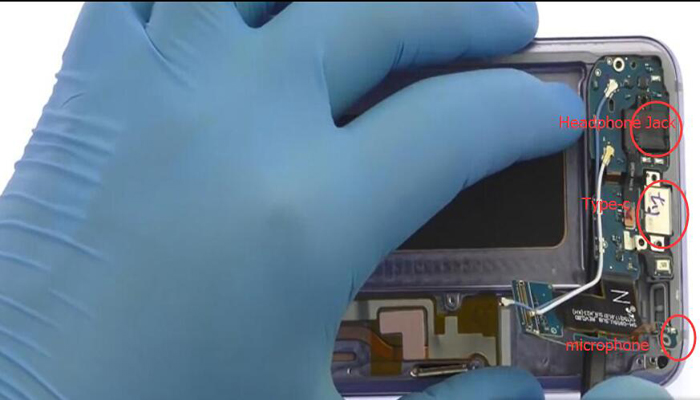
Pry out the daughter board with a spudger, you will find the daughter board includes the microphone, Type-C charging port and headphone jack.
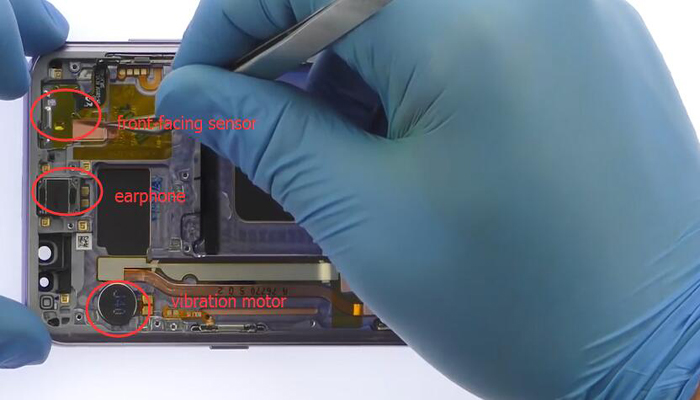
Step 8 Remove Earphone, Front Facing Sensor and Vibration Motor
Take out the earphone, front facing sensors and motor as the picture shown below with tweezers.
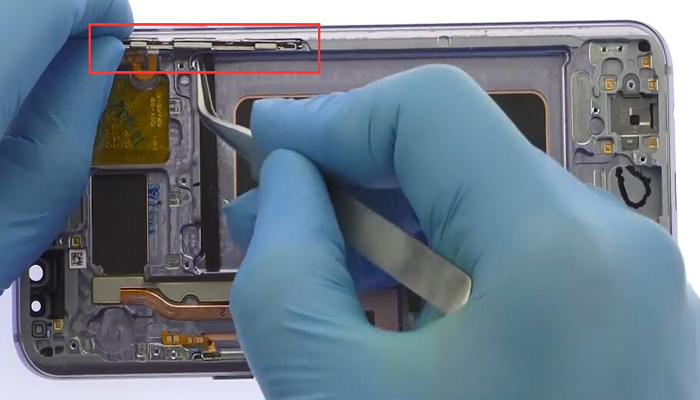
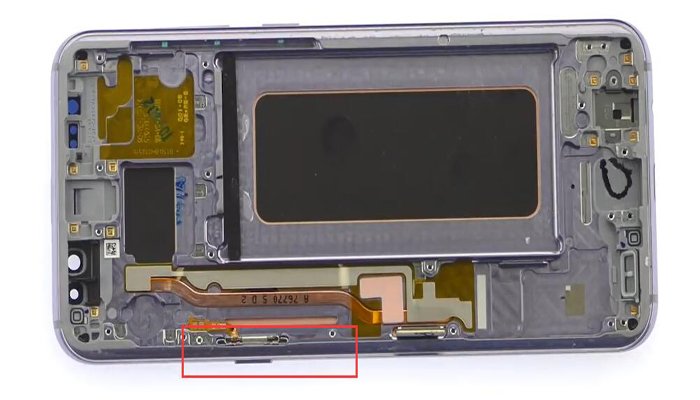
Step 9 Remove Button Keys
Remove the button keys as the pictures shown below with tweezers.
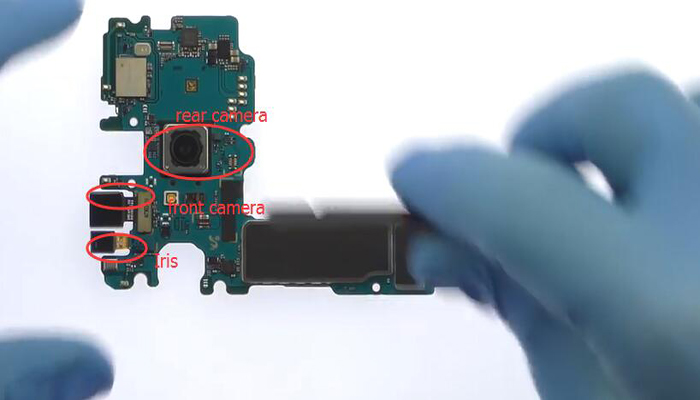
Step 10 Remove Cameras
The front camera, Iris camera and rear camera are on the motherboard as the picture attached below.
Until now the disassembly work is completed, if you have any questions and suggestions, welcome comments below.
You may also like:
|
|

|
|
|
|
|
|---|


