How to Successfully Tear Down the Samsung Galaxy S7 Edge Screen
BY ETrade Supply | 三月 25th, 2016 | 0 | 2
Since the release of Samsung Galaxy S7 edge, plenty of repair technicians have already torn it down. However, none of them has showed the process of taking out the screen from the front housing. We decided to have a try on this and make a detailed tutorial of how we do that (This will void your warranty, DO AT YOUR OWN RISK!).
Tools Needed:
- Heat Gun
- Cotton Swab
- Thin Metal Separation Tool
- Some pieces of Thin Plastic Films/Business Cards/Playing Cards
- A Pair of Tweezers
- Step 1.
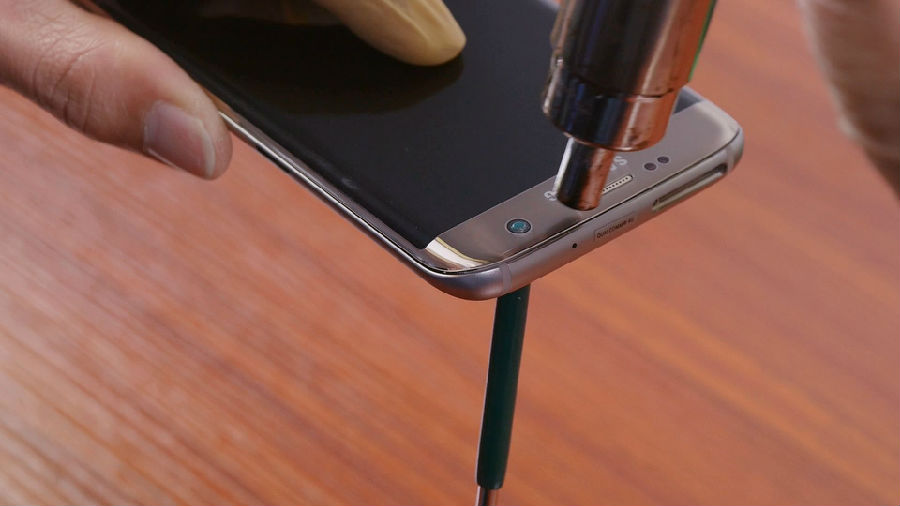
Use the cotton swab to withstand the front facing camera hole, then apply some heat around the top front glass panel.

- Step 2.
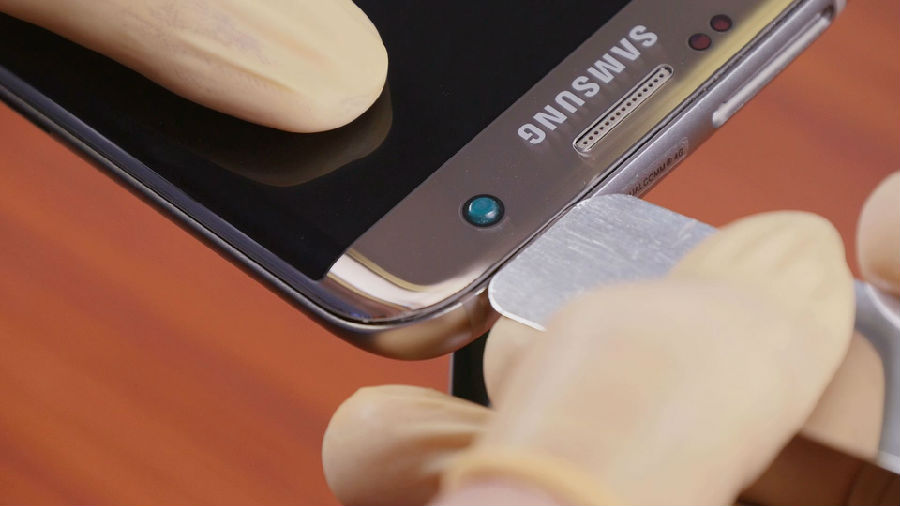
VERY gently press the screen assembly a little bit to leave a gap between the screen and the front housing, then very slowly insert the thin metal separation tool (don’t insert it too deep, when the top of the separation tool reaches the hole, that’s far enough).

- Step 3.
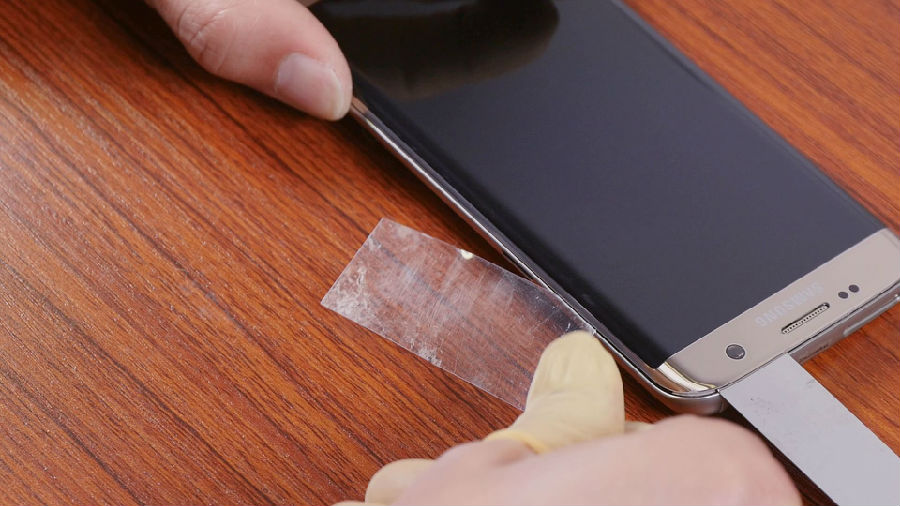
Insert a thin plastic film/business cards/playing cards from the gap you created just now, then slowly and gently slide it through the edge, be careful not to scratch the rear camera glass lens.

- Step 4.
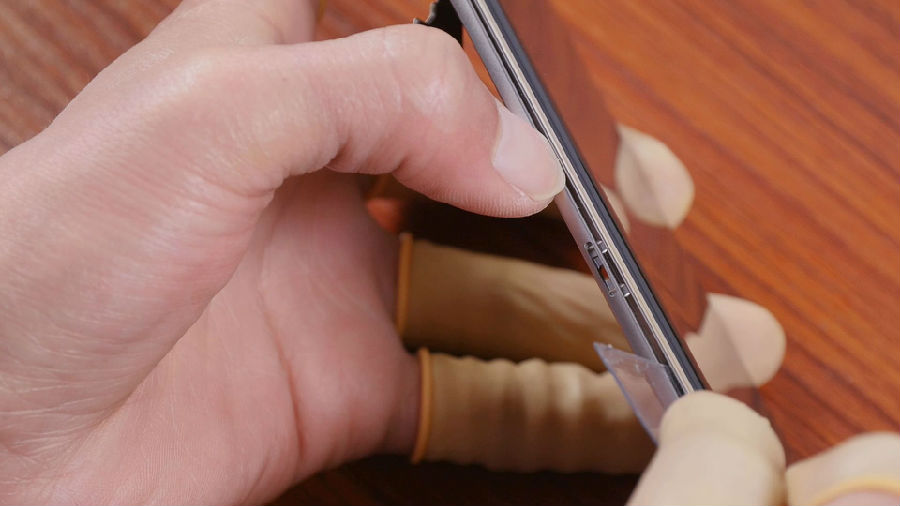
Use a soft/plastic tool (we used our fingernails LOL) to withstand the open gap (Keep the angle of the gap, DON’T widen it too big).

Step 5.
Use a pair of tweezers to drag out the black adhesive around the edges little by little, two sides alternately (Apply heat to the edge when it’s cooled down).
Step 6.
After all the adhesive has been cleared, carefully open up the screen from one side.
Step 7.
Test the screen works or not after it has been separated.
You may also like:
- Tutorial: How to Repair Samsung Galaxy S7 Edge Cracked Screen
- How to Replace the Galaxy S7, S7 Edge Battery Replacement
- How to Replace the Galaxy S7 Screen, Charging Port and Home Button
- How to Tear Down/Disassemble the Galaxy S7 for Screen Replacement
|
|

|

|

|

|

|
|---|


