


How to Replace Google Pixel Screen, Battery, and Charging Port Flex Cable
BY kaye | 十一月 10th, 2016 | 1 | 2
After the big brother Google Pixel XL disassembly, here we are going to tear down the other Android phone from Google, the little brother- 5.0- inch Google Pixel. This disassembly also shows you how to remove the screen, battery and charging port and other small parts inside, let’s get started.
These repair tools are needed:
Step 1 Remove Screen Assembly
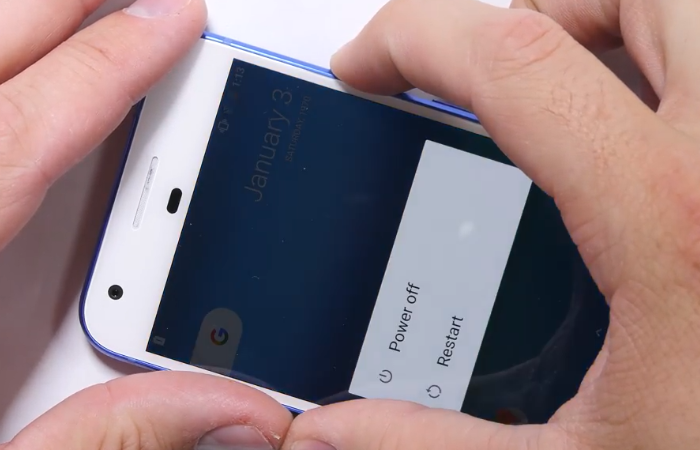
Like the Pixel XL, we can remove the screen assembly directly. First power off the phone.
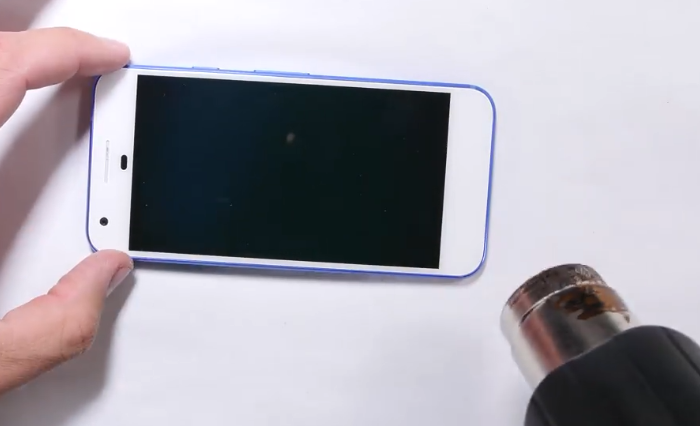
Then apply some heat to the screen, which will make it easier when we loosen the screen adhesives.
Then use a very thin metal prying tool to slide between the screen and middle frame to cut all of the screen adhesives.

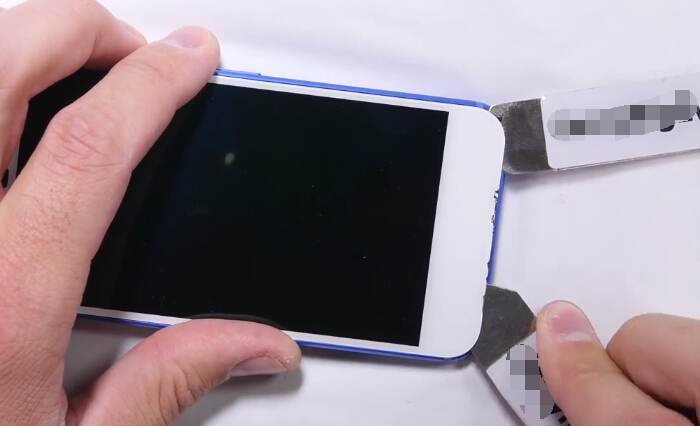
Be careful not scratch the screen glass. If you feel a little hard to loosen adhesives then add more heat.
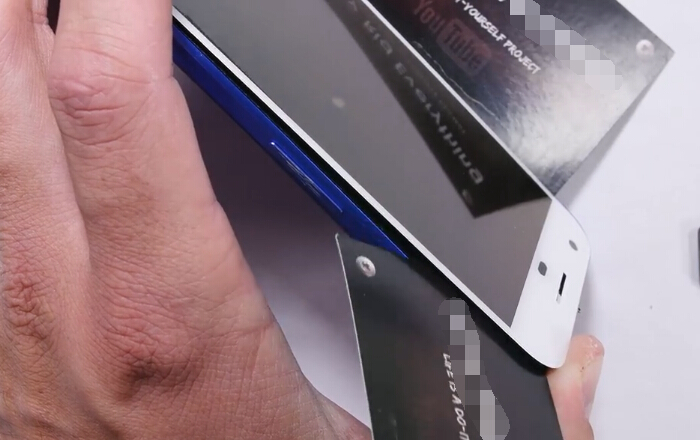
After loosening all adhesives, do not hurry to separate the screen from the middle frame, there is the screen connector still connecting to the motherboard.
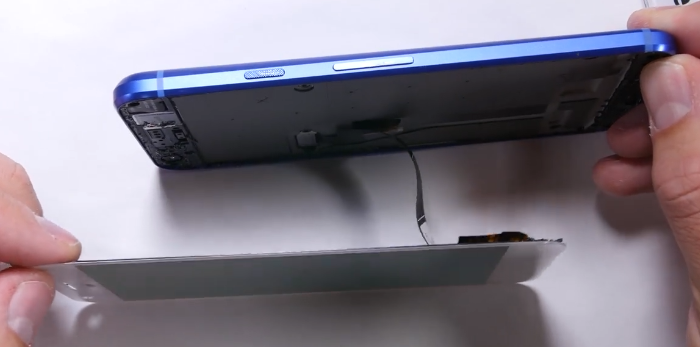
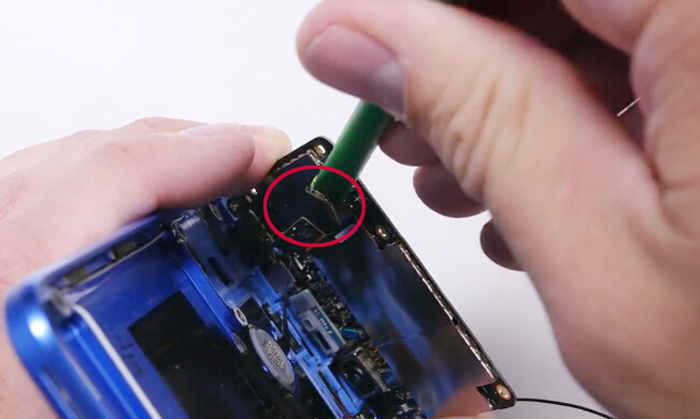
Undo these 2 T5 screws and remove the metal cover.

Then release the screen flex cable connector and the screen assembly can be removed.
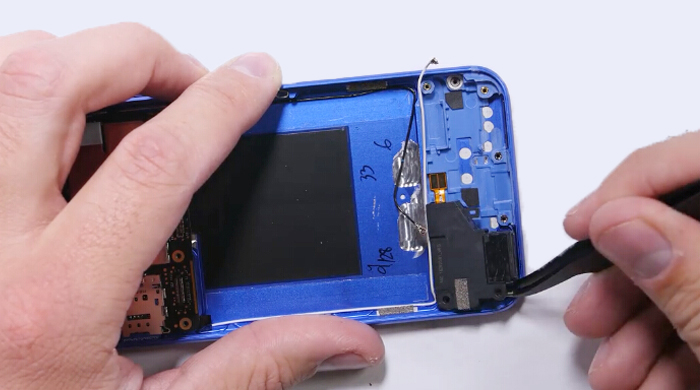
Step 2 Remove Battery
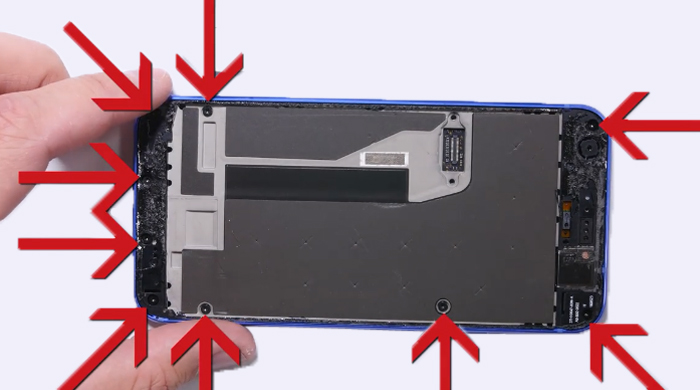
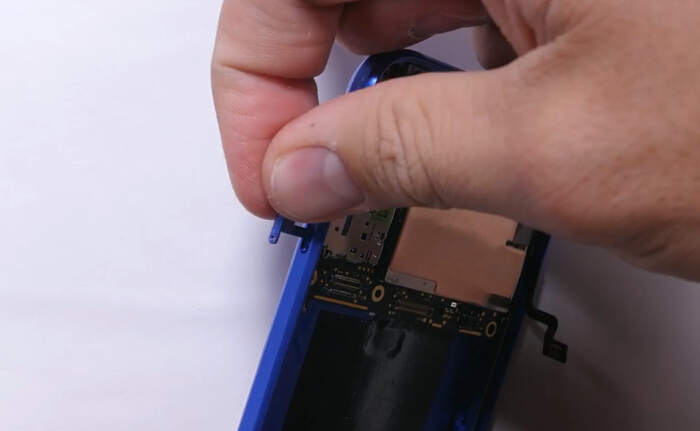
First, there are 9 T5 screws securing the middle plate to the rear housing assembly, remove them all.
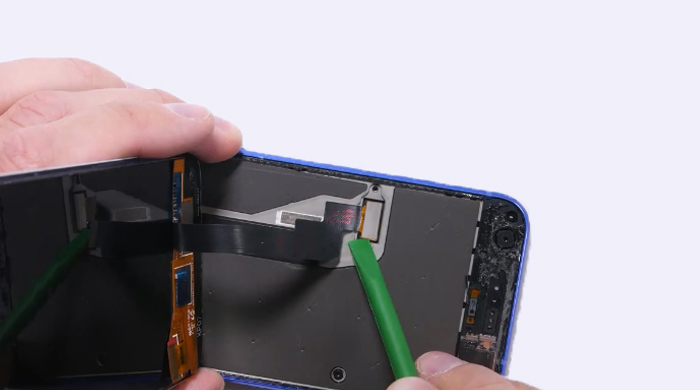
Then pry out the middle plate there is no adhesives underneath.
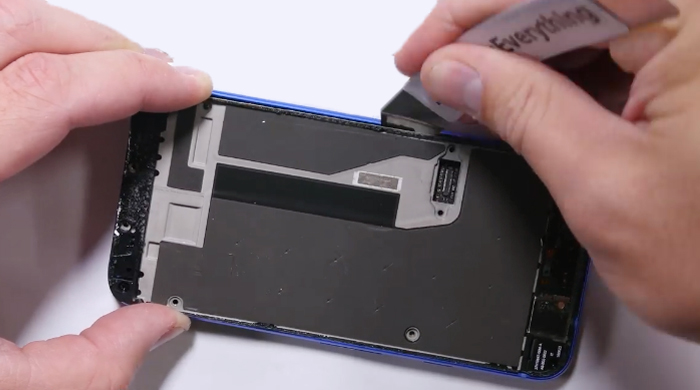
Be careful there is the earpiece speaker flex cable underneath.
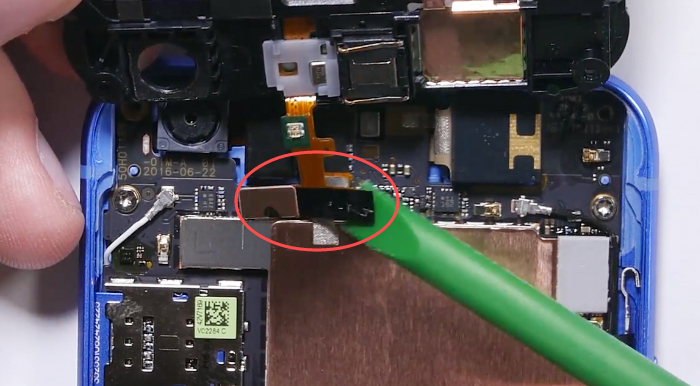
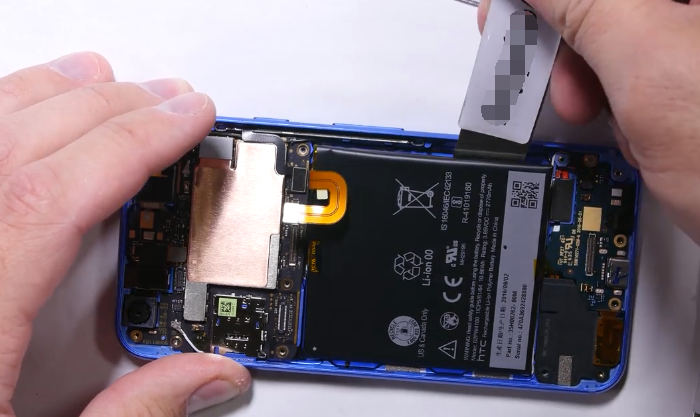
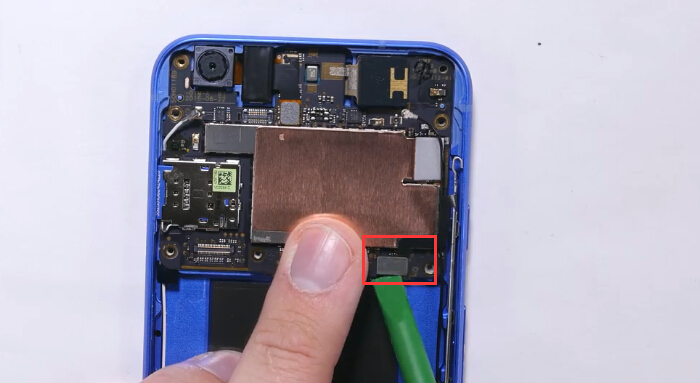
After removing the middle plate, then we can disconnect the battery connector, also there is the extension flex cable connecting the charging port flex to the motherboard, release it.
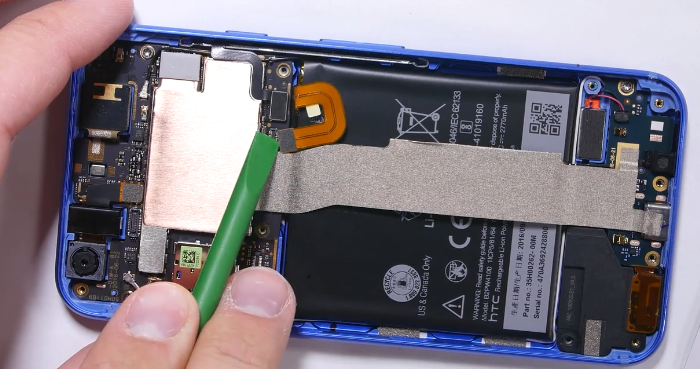
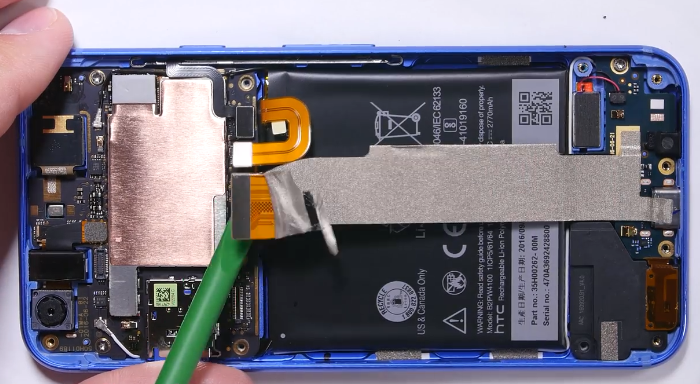
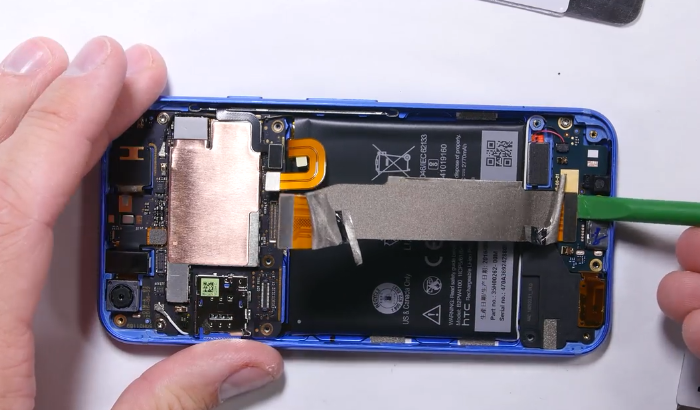
Then we can pry out the battery.
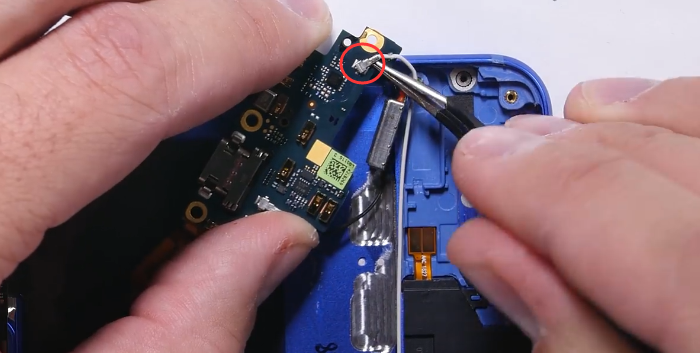
Step 3 Remove Charging Port Flex Cable
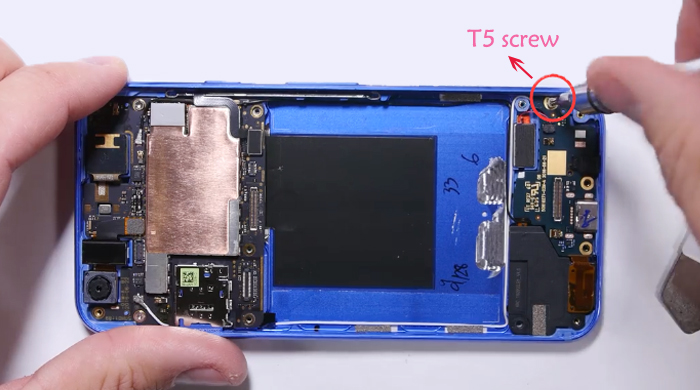
There is a T5 screw needs to be removed.
Use the tweezers to pry up the charging port flex cable, it’s a little sticky underneath.
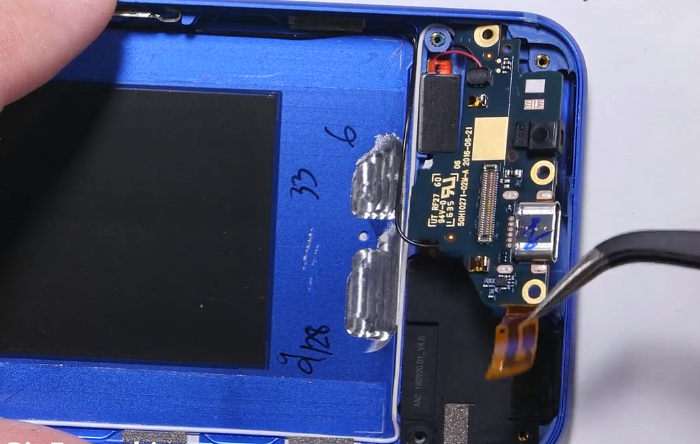
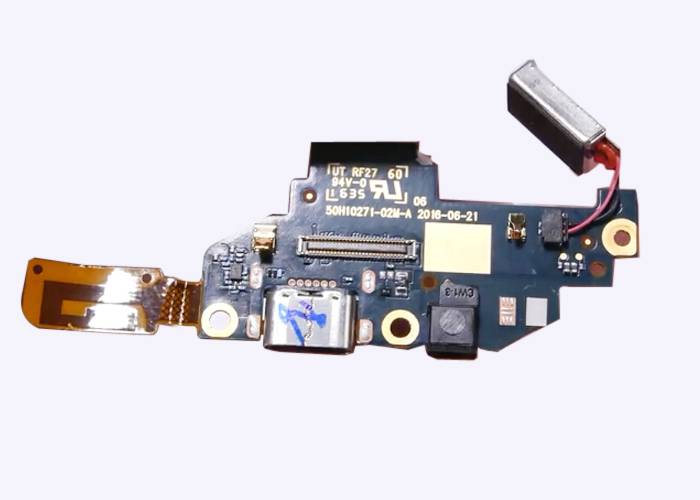
The charging port comes with the vibrator.
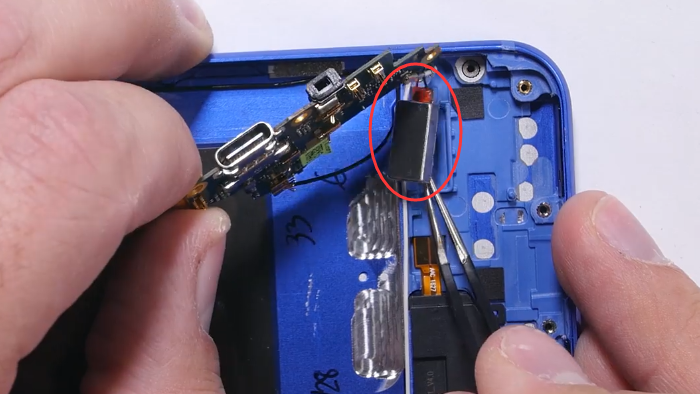
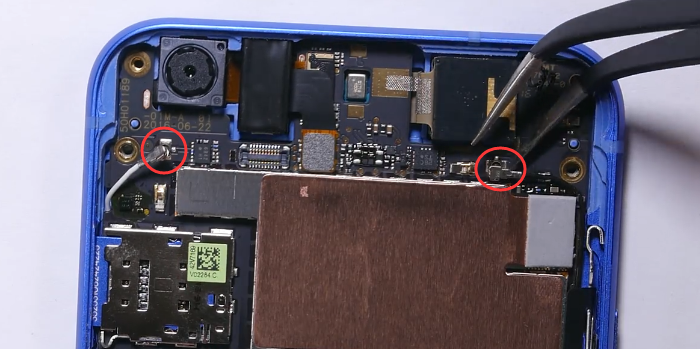
Remember to release the black and white signal cable connectors.
So here is the charging port flex cable with the vibrator.
By the way, we can remove the loudspeaker here.
Step 4 Remove Motherboard
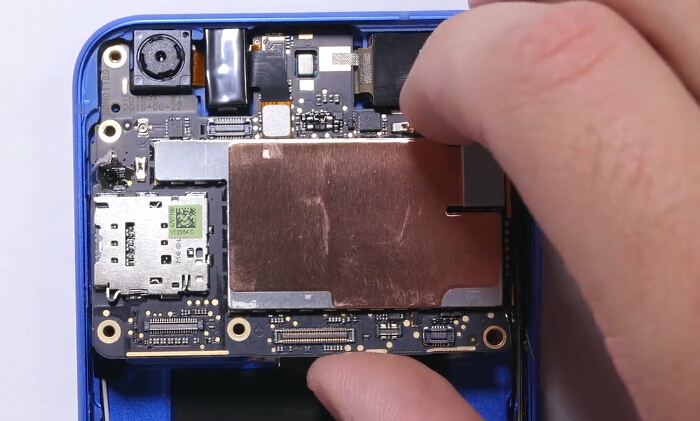
First undo 2 T5 screws here.
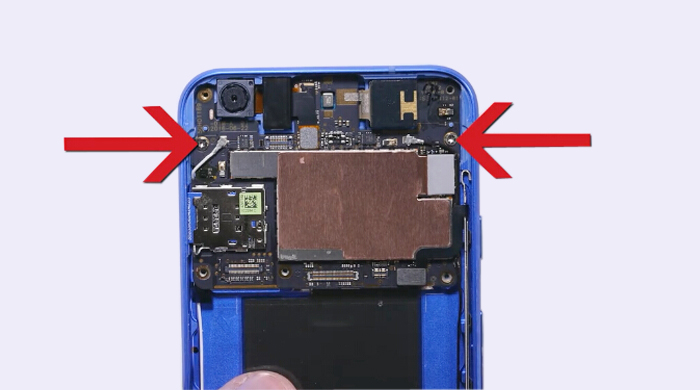
Release 2 signal cable connectors and the power & volume button flex cable ribbon connector.
Don’t forget to take out the SIM card tray before removing the motherboard. Actually, you can take it out before teardown work started.
Now we can remove the motherboard.
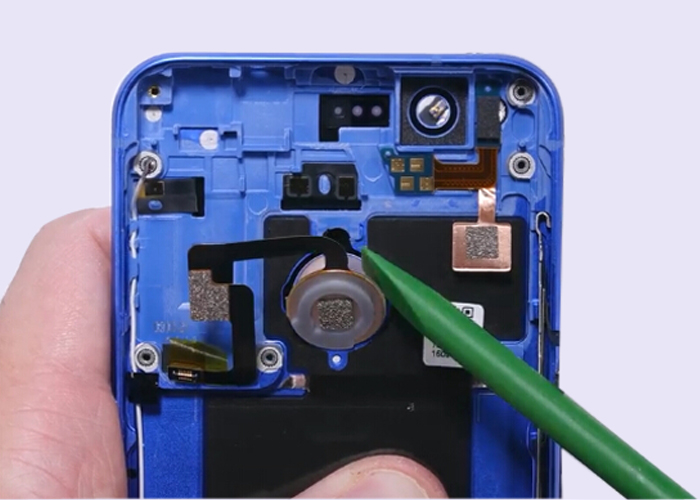
Note the fingerprint sensor flex cable connector underneath.
After removing the motherboard, then we can pull out the fingerprint sensor flex cable.
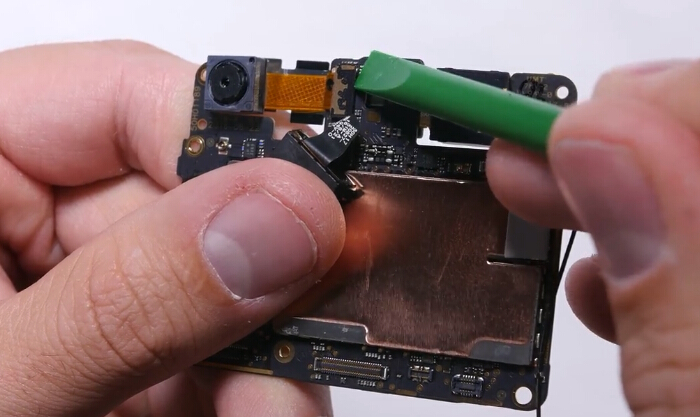
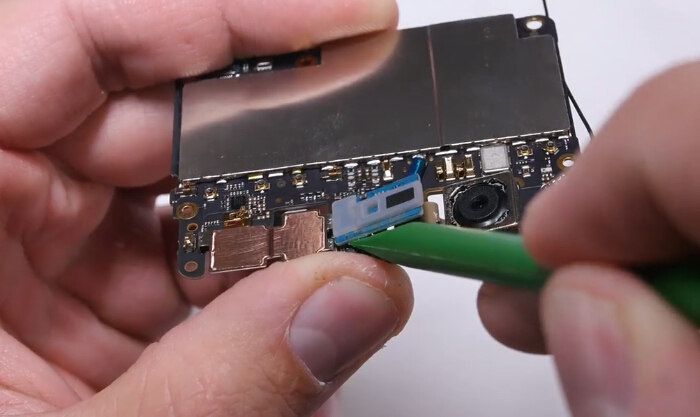
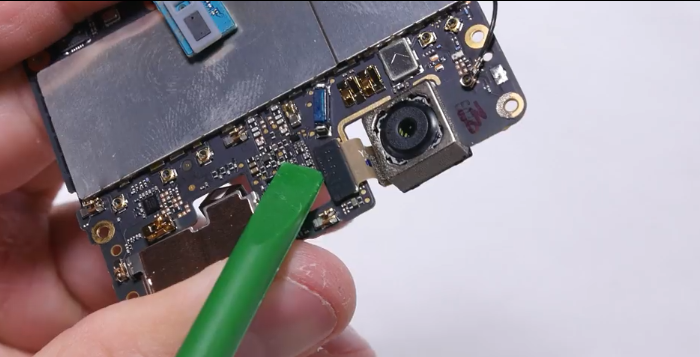
Now we can see what we can remove from the motherboard.
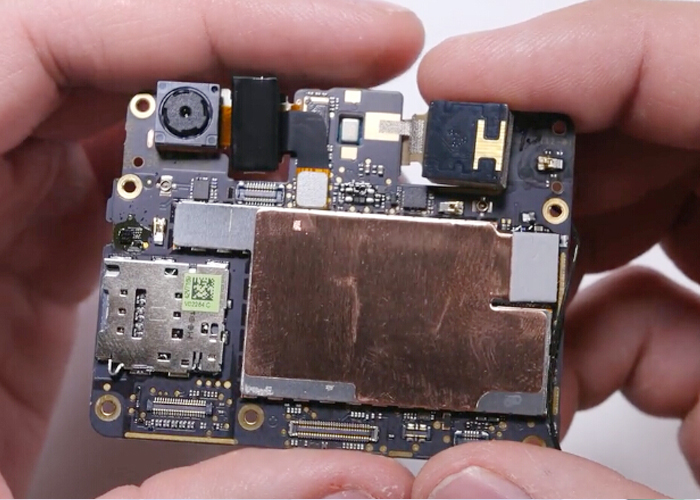
Just the front facing camera, the rear facing camera.
So then we’ve disassembled the whole Google Pixel.
Welcome any advice, don’t hesitate to share with us!
(Picture source from JerryRigEverything Youtube)
You may also like:
- 6 Google Pixel 2 Common Issues and How to Fix
- How to Replace Google Pixel XL Screen, Battery, and charging Port
|
|
 |
|
|
|
|
|---|


 IOS 17.4 official version pushed to block battery vulnerability
  Is the Chinese-made rear case for the iPhone 15 series going on the market?
  New products coming:USB to MFI Lightning Cable
  Big BUG of iPhone 15
  Successfully submitted!
Would be nice to know what adhesive to use when replacing screen?