How to Fix the 10 Most Annoying iOS 9 Problems
BY May | 十一月 20th, 2015 | 0 | 1
The new iOS was released in this fall, however, different problems kept popping up and being reported by users. Apple has released updated system like iOS 9.0.1, iOS 9.0.2, iOS 9.1, iOS 9.2 beta etc. to fix these bugs. Before updating your iPhone or iPad to the latest version iOS, are there any other possible solutions to solve these annoying problems? Check them out:
Problem 1: Slow Wi-Fi or No Wi-Fi
Wi-Fi issues like grey-out Wi-Fi, slow Wi-Fi or even no Wi-Fi are reported by users in every iOS update, iOS 9 is no exception and possible fixes are here:
1. Restart Your Device, Router and Wi-Fi Connection.
- Restart device by holding your iPhone or iPad Sleep/Wake Button and Home Button at the same time for about 10 seconds.
- Restart router simply by toggling it off and on.
- Restart Wi-Fi connection by going to Settings > Wi-Fi > Forget this Network > Forget, then choose the available network to set up a fresh connection.
2. Reset Network Settings.
Go to Settings > General > Reset > Reset Network Settings.
3. Disable Wi-Fi Networking.
Go to Settings > Privacy > Location Services > System Services > Turn off Wi-Fi Networking.
4. Switch on Airplane Mode.
Try to turn on the Airplane mode and then turn it off 10 seconds later to see if the Wi-Fi signal has been improved.
5. Change DNS Settings.
Go to Settings > Wi-Fi > Tap on the (i) button to the right of the router name > Scroll down to DNS and tap the numbers, then enter "8.8.8.8" or “8.8.8.4”.
Tip: we’ve posted a post regarding solutions to Wi-Fi problems after iOS 7 update, which had raised a heated discussion among users, you can check the post here to see if any of the users’ tricks would be of help.
Problem 2: Poor Battery Life
Battery life is another big concern that users will run into after an update. For those who is suffering from poor battery life on iOS 9, check below:
1. Restart.
As mentioned above, you can reboot your device by holding the Sleep/Wake Button and Home Button at the same time for about 10 seconds.
2. Turn on “Low Power Mode”.
Go to Settings > Battery > Low Power Mode.
3. Check the Battery Usage.
Go to Settings > General > Usage > Battery Usage to see if a particular app ate your battery, make sure it’s up-to-date or consider uninstalling it and using something else instead.
4. Battery Calibration.
Follow below instructions to calibrate your iPhone battery.
- ● Run your battery down to zero.
- ● Charge the battery till it reaches 100%.
- ● Leave the battery unplugged and charging for 1 hour more.
- ● Use your device as normal, do not charge it until the battery drains down to zero.
- ● Charge it till reaching 100% and charge one more 1 hour.
- ● Battery calibration done.
You may also want to know:
- How to Save Battery Life with iOS 9?
- Why Won’t New-Bought iPhone Battery Charge?
- 15 Ways to Extend Your iPhone Battery Life
Problem 3: No Bluetooth Connection
If you’re having Bluetooth connection problem after an iOS 9 update, here are a few tips to try.
1. Pairing Reconnection.
Go to Settings > Bluetooth, find your pairing device and tap on Forget This Device. Turn off the Bluetooth and turn on again to reconnect.
2. Delete Old Connection Accounts.
Your Bluetooth accessory or car system might have reached its limit. Try deleting old profiles, if possible.
3. Reset Network.
Go to Settings > General > Reset > Reset Network Settings.
4. Reset All Settings.
Go to Settings > General > Reset > Reset All Settings.
Problem 4: Unresponsive Touchscreen

Some users reported that the iPhone 6S screen refuses to response after an iOS 9 update. There’s no need to panic, at least not right off the bat.
1. Reboot the Device.
Hold down the Sleep/Wake Button and Home Button together for around 10 seconds to reboot the device. If the problem still exits, repeat rebooting 2 times more.
2. Relaunch the App.
Double tap on the home button then swipe on the frozen app to close it. Relaunch the app.
3. Reinstall the App.
If the unresponsive touchscreen occurs on a specific app, update it to the latest version or uninstall and reinstall again.
4. Restore
Plug your device into a computer or laptop and go to File > Devices > Restore from Backup in iTunes.
Problem 5: Stuck on “Slide to Upgrade” Screen

A lot of users found their devices stuck on the “Slide to Upgrade” screen and totally frozen after the update of iOS 9. Apple acknowledged this bug and posted advice as below steps:
- ● Connect your device to a computer and open up iTunes.
- ● Press and hold the Sleep/Wake Button and Home Button simultaneously until you see the “Connect to iTunes”.
- ● Choose “Update”.
- ● Click “Restore iPhone”, then select "Set up as a new iPhone" to start fresh with factory settings.
Problem 6: iMessage and FaceTime Failed to Activate
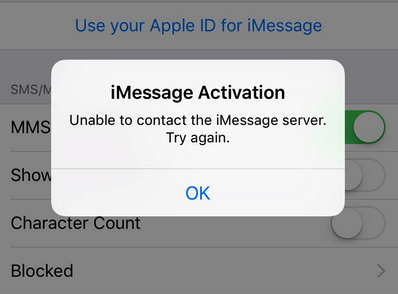
Some users have trouble with activating iMessage and FaceTime after updating to iOS 9. An error message keeps popping up when trying to log in. Check how to fix:
1. Restart.
Turn off the iMessage and FaceTime, then press and hold the Sleep/Wake Button and Home Button at the same time for about 10 seconds to reboot the device, turn on the iMessage and FaceTime.
2. Set the Time Zone.
Go to Settings > General > Date & Time and make sure the time zone is set up correctly.
3. Reset All Settings.
Go to Settings > General > Reset > Reset All Settings.
4. Change a New SIM Card.
Change a new SIM card to see if the problem persists.
Problem 7: No Notification Sound
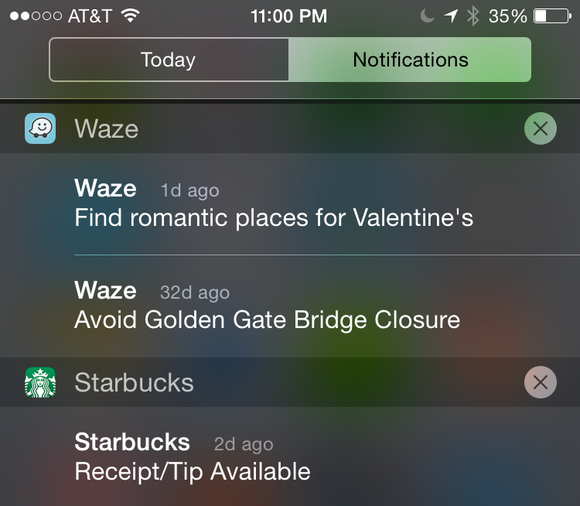
A few users complained that they lost the notification sound with incoming messages, here are some tips may help it work again.
1. General Settings.
Make sure the volume is turned up, the mute button and the “Do Not Disturb” mode are turned off.
2. Restart.
Turn off the notification by going to Settings > Notifications, and then restart by turning your device off and on again. Turn on the notification again.
3. Reset All Settings.
Go to Settings > General > Reset > Reset All Settings.
Problem 8: Cellular Data Doesn’t Work
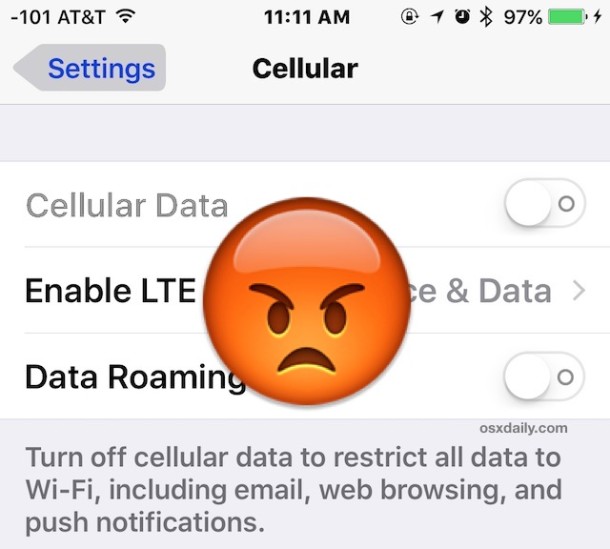
There have been a flood of complaints about this glitch with cellular data after iOS 9 update. Here are some potential solutions for you.
1. Reboot.
Restart your device by turning if off and on again.
2. Restart Cellular Data.
Restart the Cellular Data by going to Settings > Cellular > Toggle Off, then toggle on again.
3. Turn on Airplane Mode.
Turn on “Airplane Mode” by going to Open Control Center > Airplane icon, turn it off after 30 seconds.
4. Reset All Settings.
Go to Settings > General > Reset > Reset All Settings.
Problem 9: App won’t install or update iOS 9
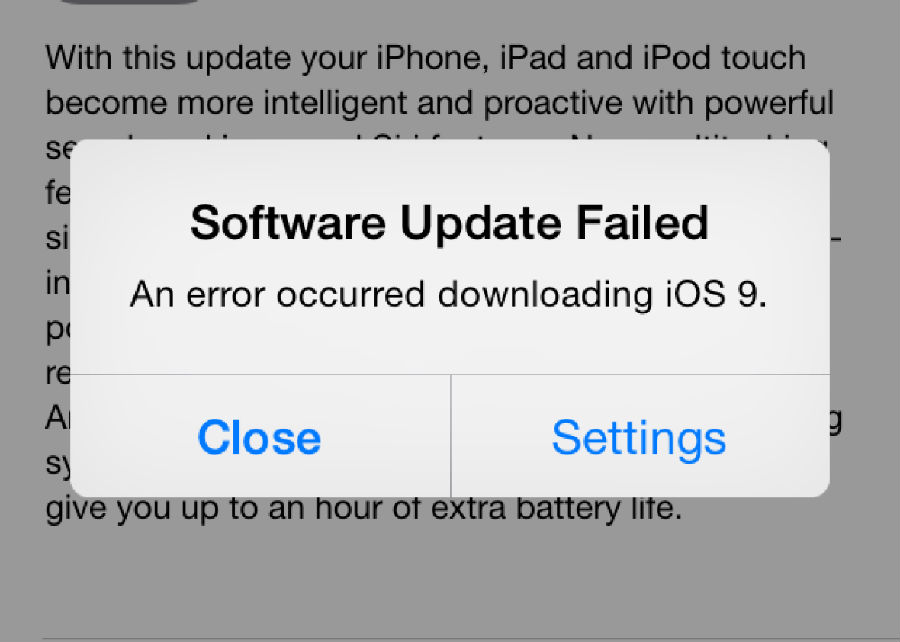
Some users failed when they’re trying to install or update some apps. Here are some possible fixes.
1. Restart.
Quit the Apple Store and restart your device then reboot the Apple Store.
2. Reinstall the App.
Reinstall the stuck App to see if any changes and update the App to the latest version.
3. Resign in Apple ID.
Try signing out via Settings > iTunes & App Store > Apple ID, then restart your device, go back to Settings > iTunes & App Store and sign in again.
4. Factory Reset.
Try a factory reset, make sure your data is backed up before doing this though.
Problem 10: Data Loss
While a large number of users suffering from data loss after an iOS 9 update. Luckily, there is still possibility to get lost data back.
1. Recover Data from iTunes Backup.
Give it a try to recover data from iTunes Backup with following steps:
- ● Open iTunes on your computer and plug in your device.
- ● Go to Device > Summary > Restore Backup or File > Devices > Restore from Backup.
- ● Restore the file you want from the available selection.
2. Recover Data from iCloud Backup.
Also, try a data recovery from iCloud Backup with below instructions:
- ● Go to Settings > General > Erase All Content and Settings.
- ● go to “Setup Assistant” mode with a Hello screen.
- ● Swipe on the screen to start the setup process on your device and join a stable Wi-Fi network.
- ● Restore from iCloud Backup > Sign into iCloud with Apple ID.
- ● Select the iCloud backup you want to restore from. The process may take from minutes to hours, and it depends on the size of your iCloud backup and the speed of your network.
3. Recover Data from Third-party Tools.
There’re plenty of third-party data recovery tools online, select one to get your lost data back.
You may also like:
- Apple Will Fix the iPhone 8/8 Plus/X Auto Brightness Issue in iOS 12
- How to Fix iPhone Battery Drains Fast with iOS 11.4
- How to Check Your iPhone Battery Health with iOS 11.3
- Ultimate guide to Fix iPhone 8/8Plus/X Auto Brightness Issue
|
|

|

|

|

|

|
|---|


