How to Disassemble Motorola Moto G to Repair Screen and Other Parts
BY yuki | June 24th, 2014 | 4 | 2
From the tutorial, you can learn how to step-by-step disassemble Motorola Moto G for screen or other parts repair. Please kindly note DIY repair your Moto G will save money, but will void the warranty rule.
Tools you need to disassemble or repair broken Motorola Moto G parts
Tweezers
Plastic Pry Tool
T4 Torx Screwdriver
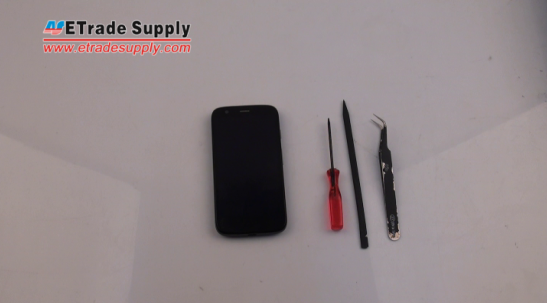 Step 1: Power the Motorola Moto G off.
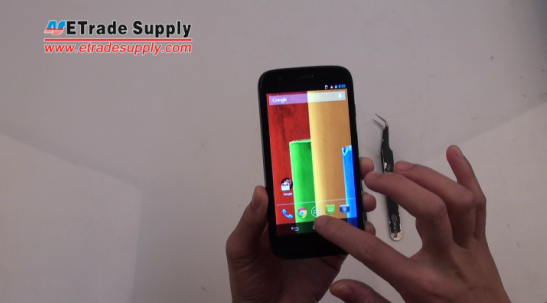 Step 2: Peel off the Moto G battery door.
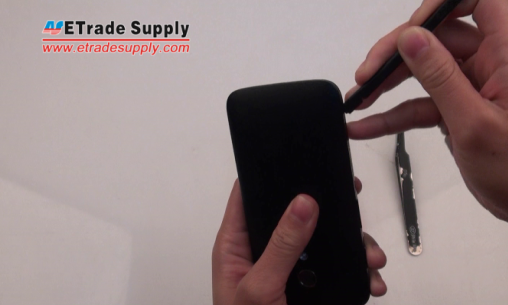 Step 3: Undo fourteen screws fastening the Moto G rear housing.
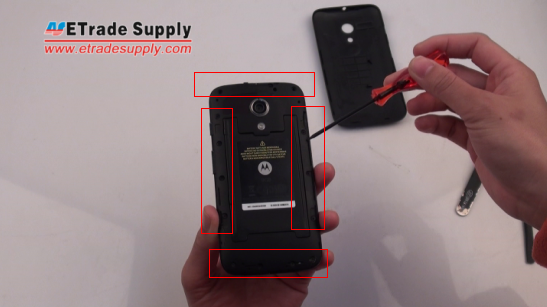 Step 4: Remove the Moto G rear housing with the plastic pry tool.
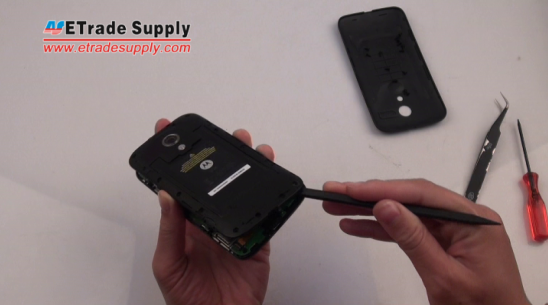 Step 5: Remove the Moto G battery after disconnecting the battery connector.
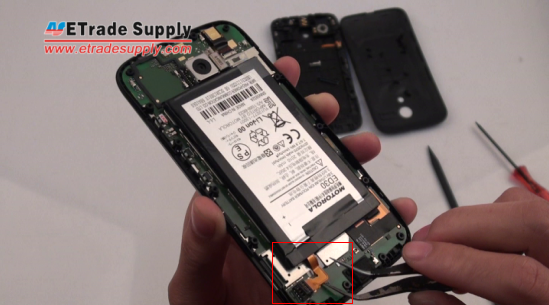 Step 6: Use the plastic pry tool to remove the Motorola Moto G battery.
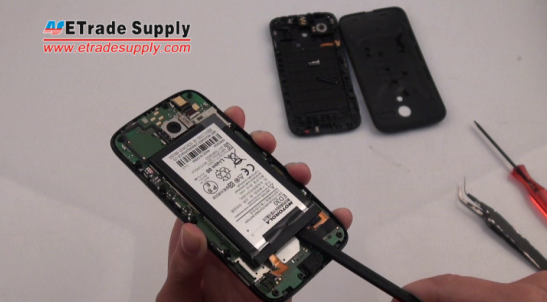 Step 7: Disconnect the camera connector to remove Moto G front-facing camera.
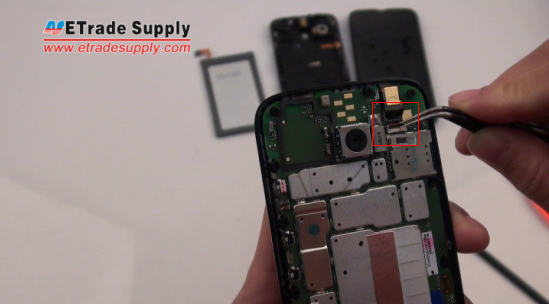 Step 8: The Moto G front-facing camera is removed.
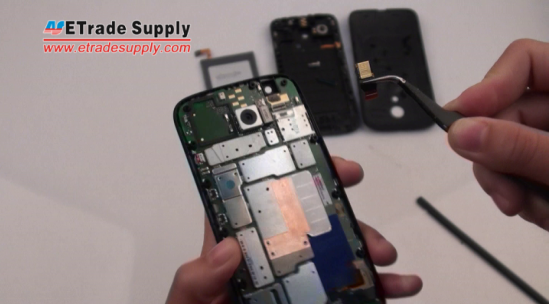 Step 9: Remove the blue plastic cover protecting the connectors.
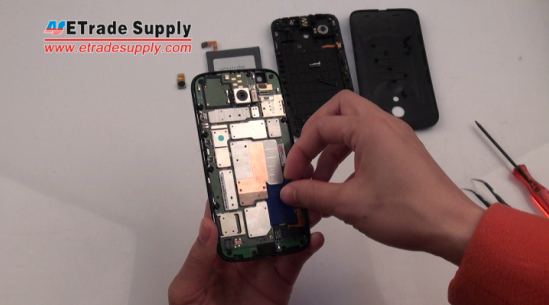 Step 10: Peel off the Moto G screen after disconnecting the Moto G screen connector.
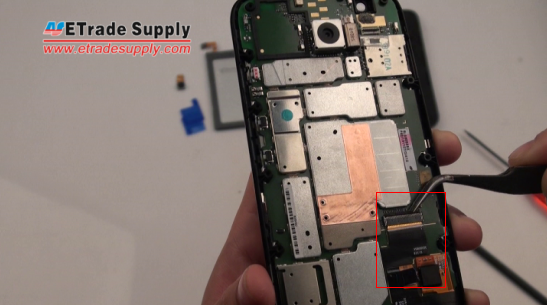 Step 11: Remove the Moto G motherboard with the plastic pry tool.
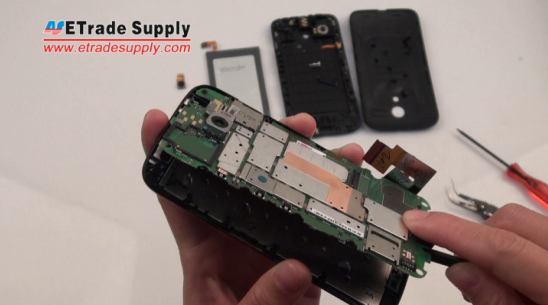 Step 12: The Motorola Moto G LCD screen and digitizer assembly with front housing is removed.
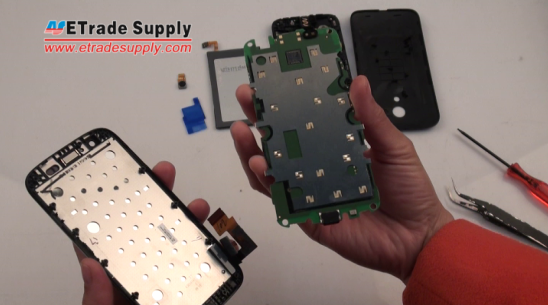 Step 13: After the Moto G LCD assembly is released, the Moto G disassembly is completed!
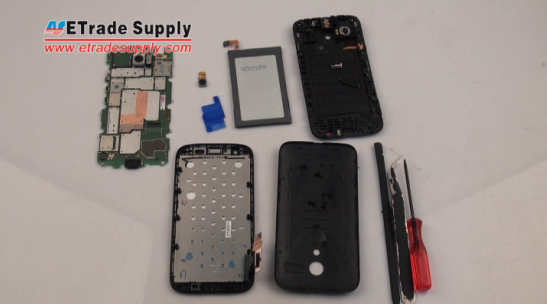 You can learn from this Motorola Moto G step-by-step disassembly video to step-by-step tear down Moto G and fix a cracked screen, rear housing, battery or replace other parts.

 Step 1: Power the Motorola Moto G off.
 Step 2: Peel off the Moto G battery door.
 Step 3: Undo fourteen screws fastening the Moto G rear housing.
 Step 4: Remove the Moto G rear housing with the plastic pry tool.
 Step 5: Remove the Moto G battery after disconnecting the battery connector.
 Step 6: Use the plastic pry tool to remove the Motorola Moto G battery.
 Step 7: Disconnect the camera connector to remove Moto G front-facing camera.
 Step 8: The Moto G front-facing camera is removed.
 Step 9: Remove the blue plastic cover protecting the connectors.
 Step 10: Peel off the Moto G screen after disconnecting the Moto G screen connector.
 Step 11: Remove the Moto G motherboard with the plastic pry tool.
 Step 12: The Motorola Moto G LCD screen and digitizer assembly with front housing is removed.
 Step 13: After the Moto G LCD assembly is released, the Moto G disassembly is completed!
 You can learn from this Motorola Moto G step-by-step disassembly video to step-by-step tear down Moto G and fix a cracked screen, rear housing, battery or replace other parts.

RECOMMENDED PARTS
-
 For Apple iPhone X OLED Screen and Digitizer Assembly with Frame Replacement - Black - Grade S+
-
 For Apple iPhone 8 Plus LCD Screen and Digitizer Assembly with Frame Replacement - Black - Grade S+
-
 For Apple iPhone 7 Plus LCD Screen and Digitizer Assembly with Frame Replacement - Black - Grade S+
-
 For Apple iPhone 6S Plus LCD Screen and Digitizer Assembly with Frame Replacement - Black - Grade S+


 IOS 17.4 official version pushed to block battery vulnerability
  Is the Chinese-made rear case for the iPhone 15 series going on the market?
 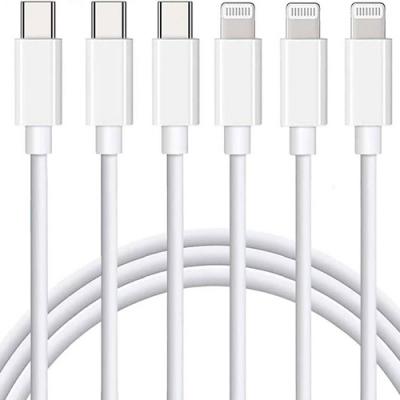 New products coming:USB to MFI Lightning Cable
  Big BUG of iPhone 15
  Successfully submitted!
Will it void my warranty Tearing a moto g4 plus..plus answer..cause I already opened it and fix it’s sim slot by my self..
I’m afraid the warranty will be lost once you opened it yourself.
Your article is all i need, it’s very helpful, since my moto g dual sim cant be turn on with any kind of way. can you help me:
1. what is the size in mm of T4 Torx Screwdriver to open the moto g like you did? because i found many T4 size and dont know which size to use to open this phone. Is it 0.7mm or something else?
please help need your reply.
thank you
Hello Cris, this is the T4 Screwdriver we used in the disassembly.
http://www.etradesupply.com/t4-torx-screwdriver.html