How to Disassemble Nexus 5 for Screen or Parts Repair
BY yuki | March 4th, 2014 | 6 | 0
Google LG Nexus 5 is very easy to repair. You can swap out the Nexus 5 rear housing, loudspeaker module, battery, earpiece speaker and headphone jack parts, etc. and replace them with the minimum of fuss.
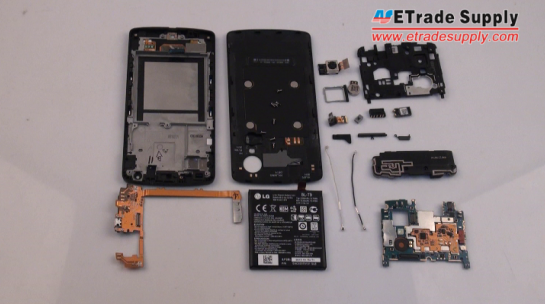
Tearing down the phone or replacing a cracked Nexus 5 screen won’t be a big issue, so you can learn from this Nexus 5 disassembly tutorial to safely take apart your Nexus 5 for repairing a broken Nexus 5 LCD, shattered digitizer touch screen, dead battery or other damaged Nexus 5 parts. Details are showed below:
• Replace a cracked or shattered Nexus 5 screen
• Repair a broken Nexus 5 battery door
• Fix a damaged Nexus 5 battery
• Replace a malfunctioned Nexus 5 loud speaker and ear speaker
• Replace a broken Nexus 5 charging port flex cable ribbon
• Fix Nexus 5 front and rear facing cameras
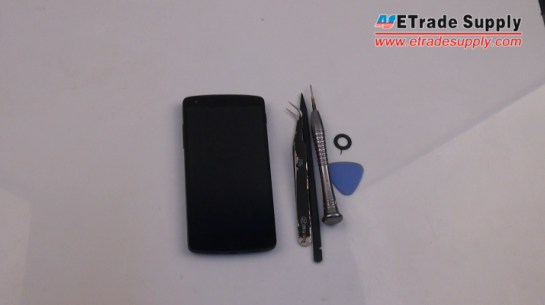
What you’ll need to disassemble/repair broken Nexus 5 parts
Tweezers
Small Phillips Screwdriver
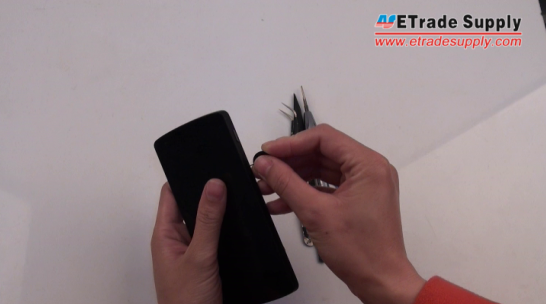
Step1: Power off the Nexus 5 and remove the SIM card tray.
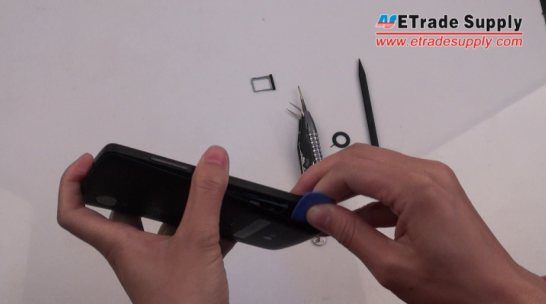
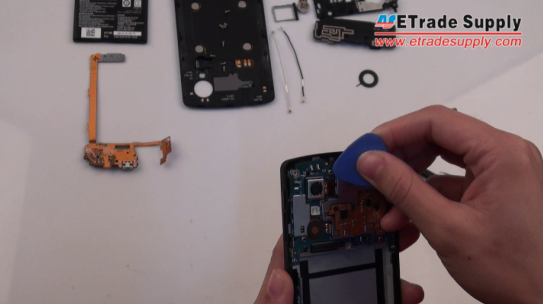
Step 2: Use the plastic pry tool and case opening tool to remove the Nexus 5 battery door.
Note: Firstly, pry out the Nexus 5 battery door staring form the top with the plastic pry tool, then wedge the case opening tool between the Nexus 5 housing and the battery door.
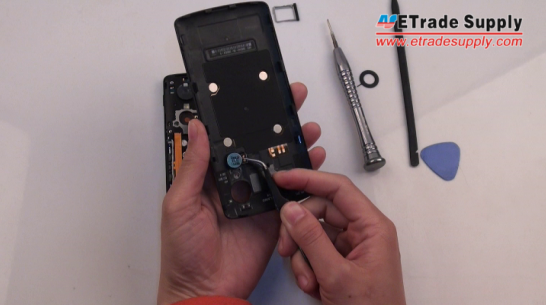
Step 3: Remove the Nexus 5 vibrating motor on the battery door with the tweezers.
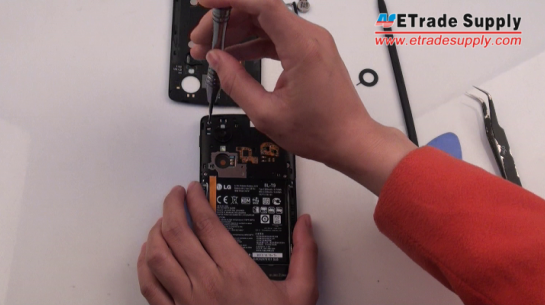
Step 4: Unscrew six screws at the top of the phone to remove the Nexus 5 rear housing.
Note: These screws are standard Phillips-head screws.
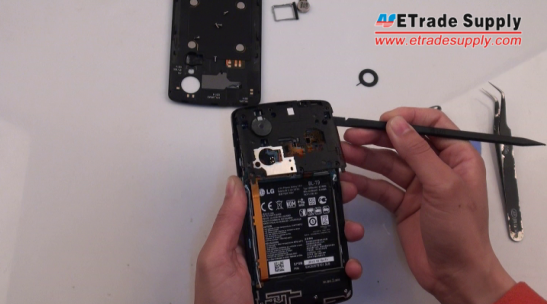
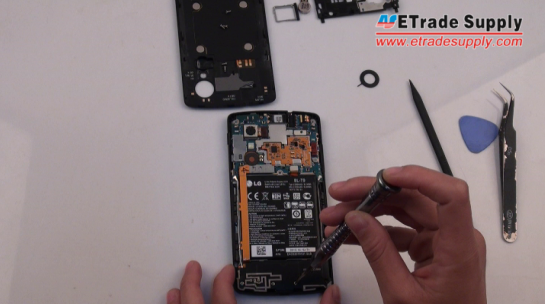
Step 5: Unscrew four screws holding the Nexus 5 loud speaker module in place.
Note: The four standard Phillips-head screws are used to secure the guts of the device.
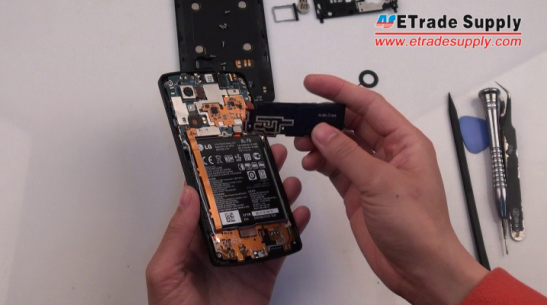
Step 6: Use the plastic pry tool to remove the Nexus 5 loud speaker module.
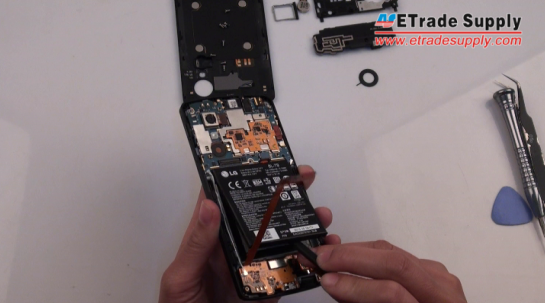
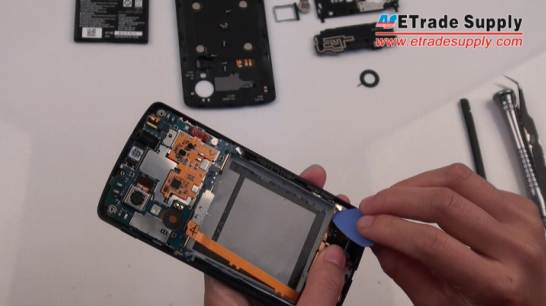
Step 7: Lift the Nexus 5 battery after disconnect the battery connector.
Note: The glue is just enough to hold the battery in place, so you can easily remove it with the prying tool.
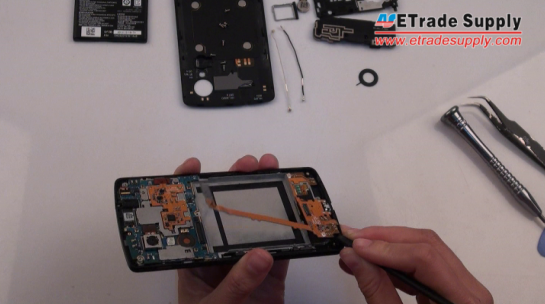
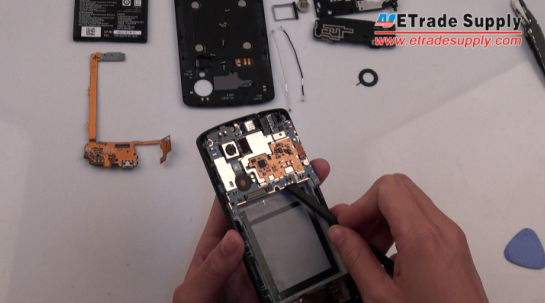
Step 8: Disconnect the display flex, unplug the 4G antenna cable (white color) and 3G antenna cable (black color) on the Nexus 5.
Step 9: Gently lift the Nexus 5 charging port flex cable up and use the tweezers to remove the rest part of Nexus 5.
Note: remove the black plastic bracket if you need to replace a new flex.
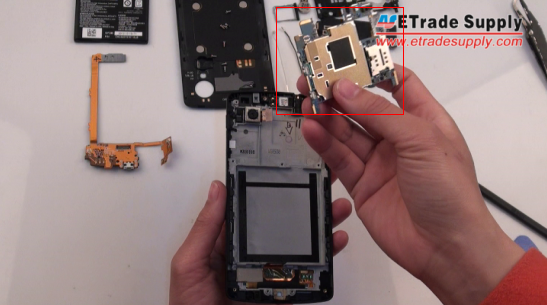
Step 10: To remove the Nexus 5 mainboard, you need to disconnect the rear-facing camera connector, front-facing camera connector and unplug the 3G/GSM and 4G antenna cable connectors.
Step 11: Remove the Nexus 5 mainboard gently.
Note: If you want to replace the NFC board plus wireless charging, you can remove the metal shied underneath the mainboard. You can also separate the NFC board from the wireless charging.
Step 12: You can lift the metal shied underneath the Nexus 5 mainboard for fixing the mobile damaged. Then clear and dry it.
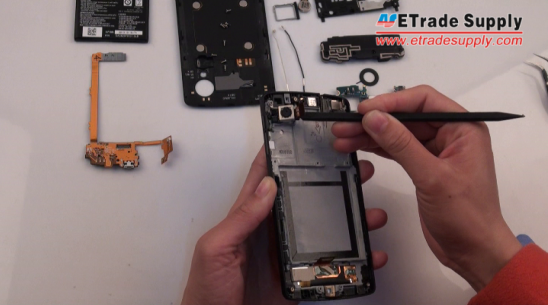
Step 13: Remove the 8MP rear-facing camera of Nexus 5 with the tweezers.
Step 14: Carefully remove the Nexus 5 1.3Mp front-facing camera after peeling off the rubber piece.
Note: The front-facing camera is fixed by the double solid tape, so you need to handle carefully.
Step 15: Remove the Nexus 5 earphone jack with the pry tool.
Step 16: Remove the Nexus 5 ear speaker.
Step 17: Peel off the Nexus 5 power button and volume button with the tweezers.
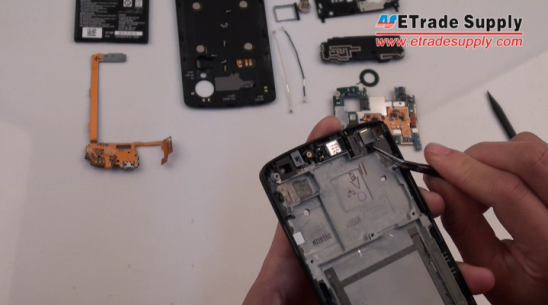
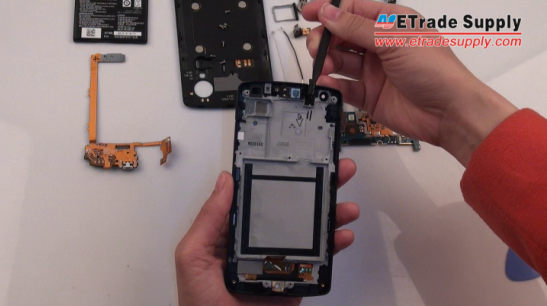
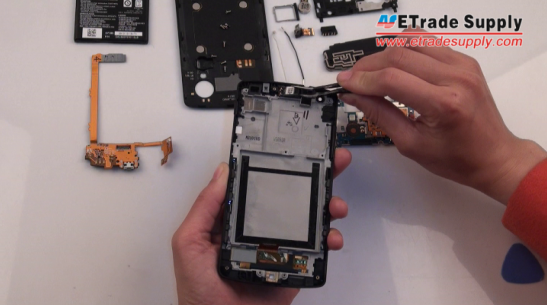
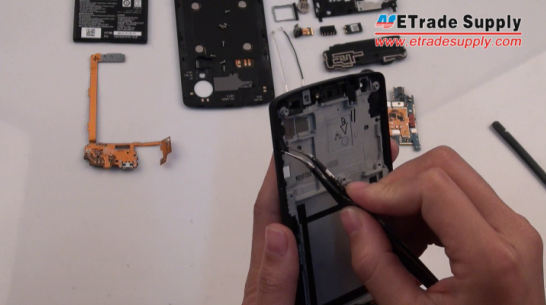
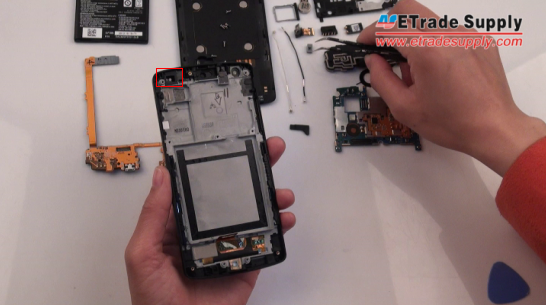
Step 18: Remember to remove the rubber microphone gasket on Nexus 5 if the new screen replacement part you purchase does not include it.
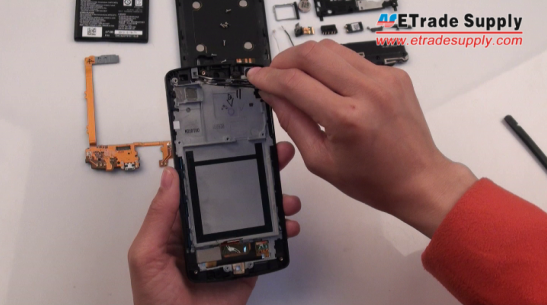
Step 19: The phone gasket prevents dust from getting between the proximity sensor and the glass screen. If the new Nexus 5 screen replacement part comes without it, you have to remove it to use on your new screen.
Note: At this step, you can replace the Nexus 5 LCD screen and digitizer with front housing.
Watch the Nexus 5 Disassembly Repair Guide video below for more information.
RECOMMENDED PARTS
-
 For LG Nexus 5 D820 LCD and Digitizer Assembly with Front Housing Replacement (No Small Parts, Black Mesh Cover) - Black - Without Any Logo - Grade S+
-
 For LG Nexus 5 D820 Battery Door Replacement - Black - Grade S+
-
 For LG Nexus 5 D820 Charging Port Flex Cable Ribbon Replacement - Black - Grade S+
-
 For LG Nexus 5 D820 Battery Replacement (BL-T9, 2300 mAh) - Grade S+




 IOS 17.4 official version pushed to block battery vulnerability
  Is the Chinese-made rear case for the iPhone 15 series going on the market?
  New products coming:USB to MFI Lightning Cable
  Big BUG of iPhone 15
  Successfully submitted!
Great video and great tutorial. During the screen replacement I noticed a small difference on the screen back assembly where the main speaker goes. On the new screen, the speaker does not make contact with the mainboard and when fully assembled I cannot hear through it, I must use the speakerphone in a phone call.
Please help!
Hi got an issue with my phone after dropping it, it has no signal and nfc doesn’t work, could this be main board related? Or wich part should I replace?
Sorry to hear that, perhaps the main board is broken.
I replaced the charging port after mine got fried and now my signal is non existant. My phone boots up fine now and I can now charge my phone but I get no signal at all and have to use wifi when I use to get full LTE bars. I may have frayed the white antenna wire upon removal, will this fix my issue or do I have something else wrong? Any tips/help please?
Hi,
I have replaced the screen+ frame. Everything is ok but proximity sensor seems to be dead. In fact, I got a black screen when I make a call. This is very annoying when you have to hang up. Any ideas about this issue?
I have same issue w/ Proximity Sensor after a screen replacement, It would go black as soon as I make a call – without covering the sensor. I disassembled, cleaned inside glass where sensor is located and re-assembled. It worked for a day or so, but now is doing it again?! Any ideas?