


How to Reassemble iPhone 5C for Parts Replacement
BY yuki | 七月 2nd, 2014 | 1 | 1
After you tear down iPhone 5C to repair faulty 5C screen, such as a cracked display, broken screen with pixels issues, wrong color or LCD problem, or replace damaged 5C housing, battery or other parts, you may need to follow the iPhone 5C reassembly tutorial to finish the replacement job.
Tools needed to reassemble iPhone 5C
Pentalobe Screwdrivers
Small Phillips Screwdrivers
Flathead Screwdrivers
Tweezers
Step 1:
Take the iPhone 5C LCD assembly and put the backlight plate on the display assembly.
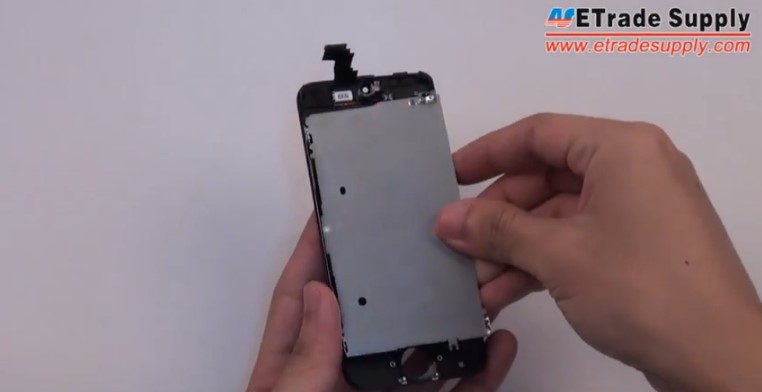
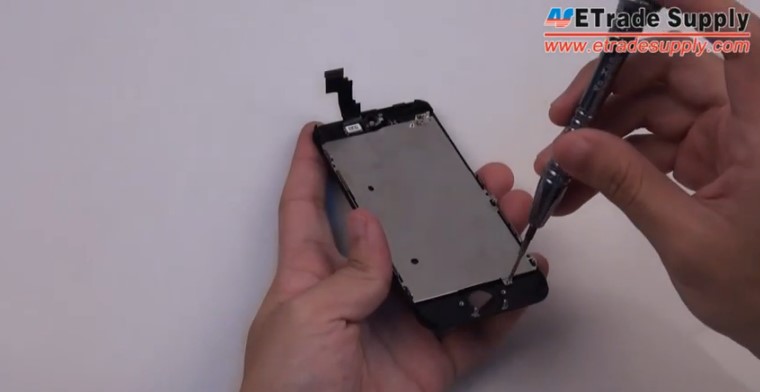
Step 2:
Do six screws to fasten the 5C plate.
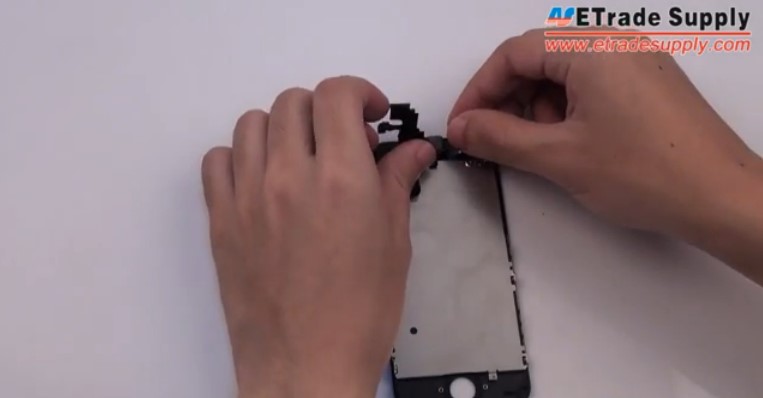
Step 3:
Place the iPhone 5C front facing camera and sensors.
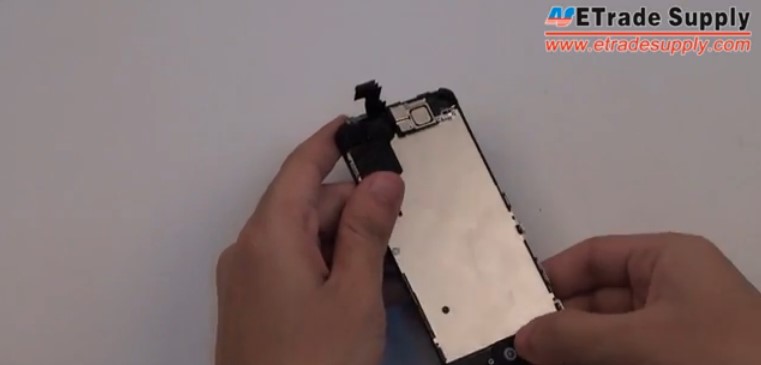
Step 4:
Install the iPhone 5C ear speaker and fasten with 2 screws.

Step 5:
Put the iPhone 5C home button in place and cover it with the retaining bracket.
Step 6:
Then secure the 5C retaining bracket by doing 2 screws.
Step 7:
Connect the 5C antenna to the motherboard.
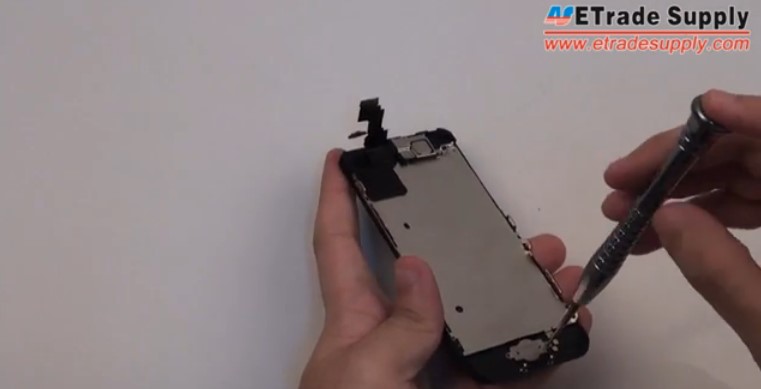
Step 8:
Put the iPhone 5C motherboard into the right position.
Step 9:
And buckle the power button flex cable ribbon.
Step 10:
Then screw 6 screws to fasten the motherboard.
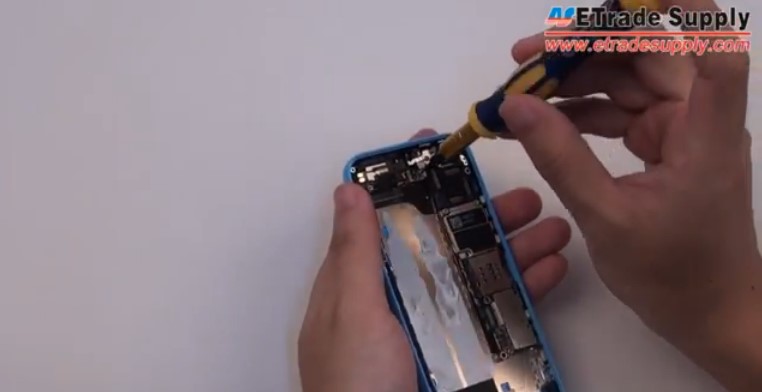
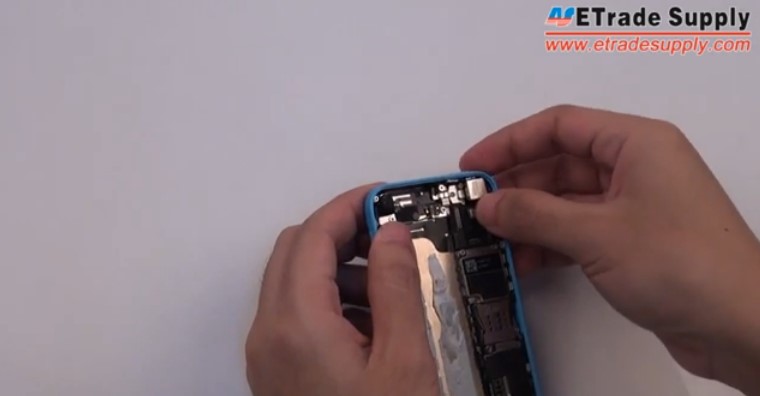
Step 11:
Put on the iPhone 5C loud speaker and charging port flex cable ribbon.
Step 12:
Then screw 7 screws to secure the charging port flex cable.

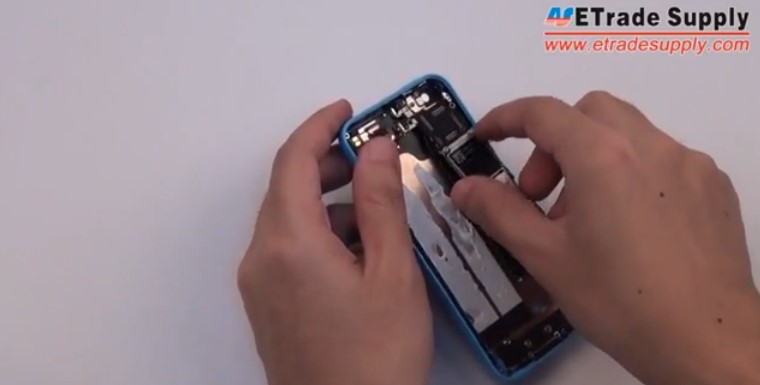
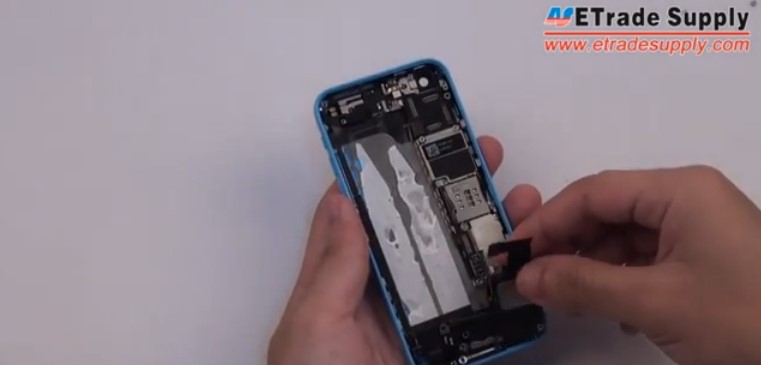
Step 13:
Connect the antenna and the connector to the motherboard.
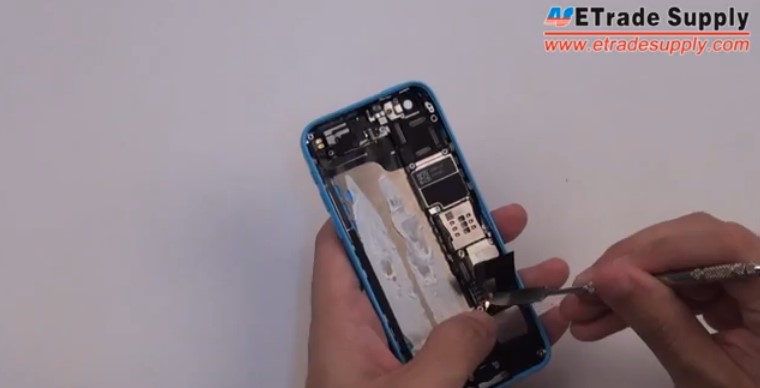
Step 14:
Install the vibrating motor and fasten it with 2 screws.
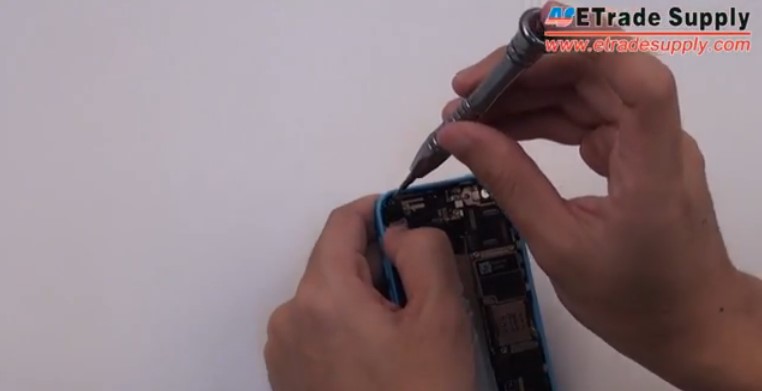
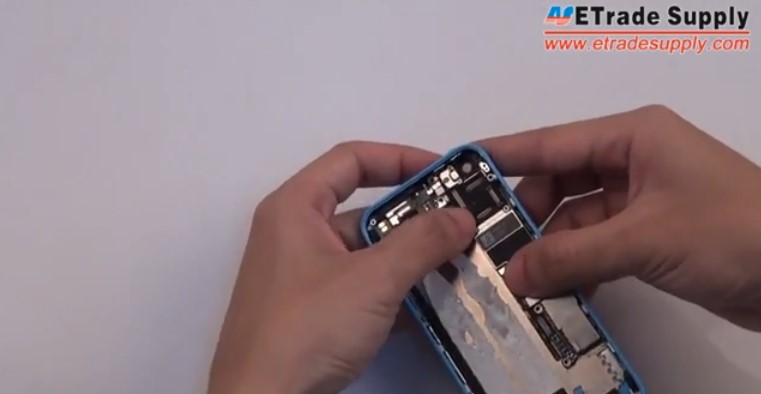
Step 15:
Install the rear facing camera and the retaining bracket.
Step 16:
Place the iPhone 5C battery and fasten it with 2 screws.
Step 17:
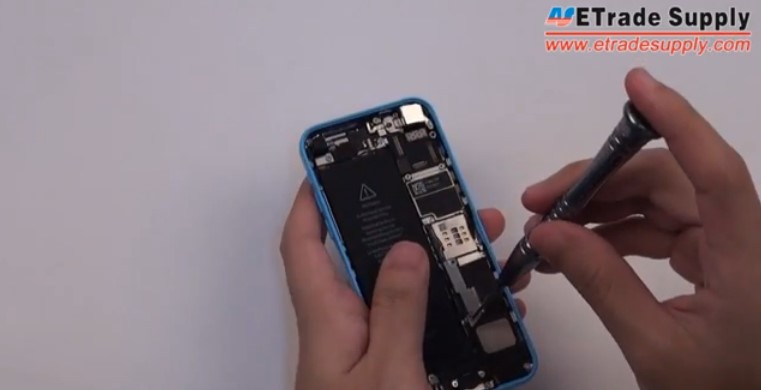
Install the display assembly and connect it to the motherboard.
Step 18:
Cover it with the retaining bracket and fasten 4 screws.
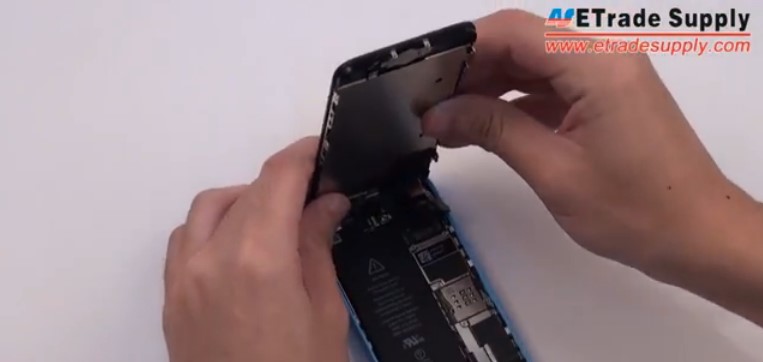
Step 19:
Press the iPhone 5C display assembly down.
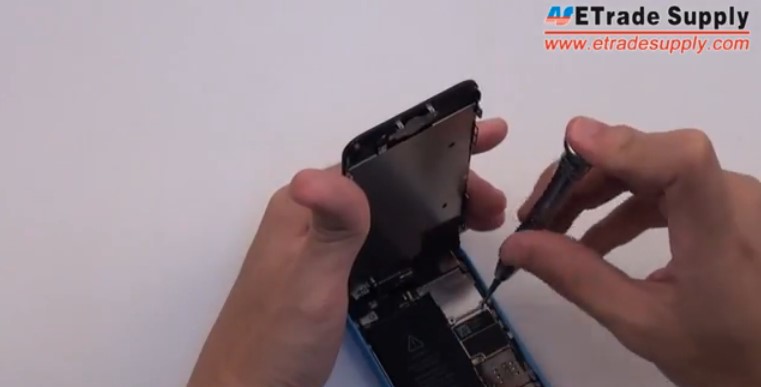
Step 20:
Then secure the phone with 2 screws.

Step 21:
Insert the iPhone 5C SIM card.
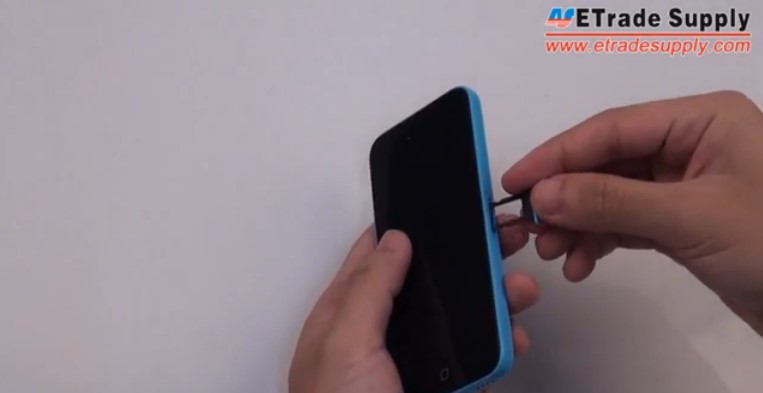
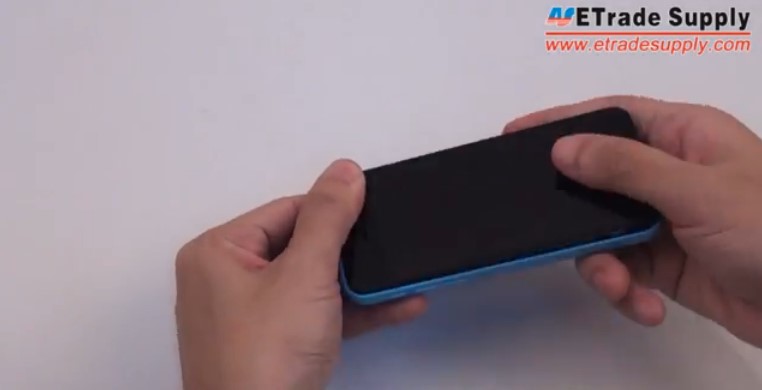
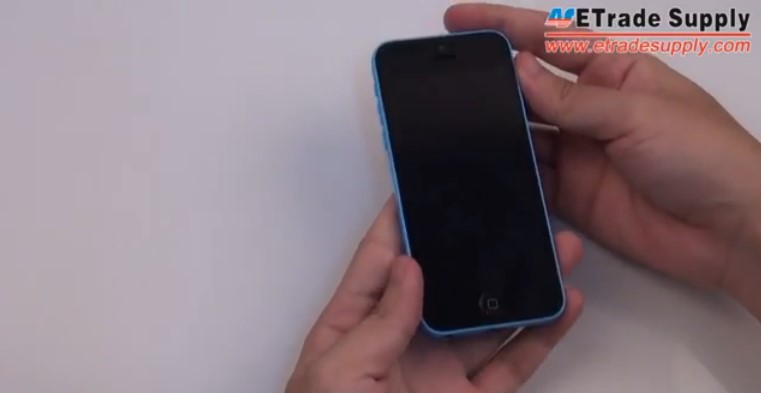
Step 22:
The iPhone 5C reassembly is completed!
You can follow this YouTube tutorial: iPhone 5C Reassembly Guide for Screen Replacement or Other Broken Parts Repair to step-by-step assemble your iPhone 5C.


 IOS 17.4 official version pushed to block battery vulnerability
  Is the Chinese-made rear case for the iPhone 15 series going on the market?
  New products coming:USB to MFI Lightning Cable
  Big BUG of iPhone 15
  Successfully submitted!
does the ribbon cable bracket really need to be reinstalled?sumbuk screws stripped out!also,redundant!!its still a metal plate on back lcd.screen that secures the ribbon cables anyway!!