


How to Replace the Nexus 5X Battery, Step by Step Guide
BY ETrade Supply | 十月 28th, 2015 | 11 | 9
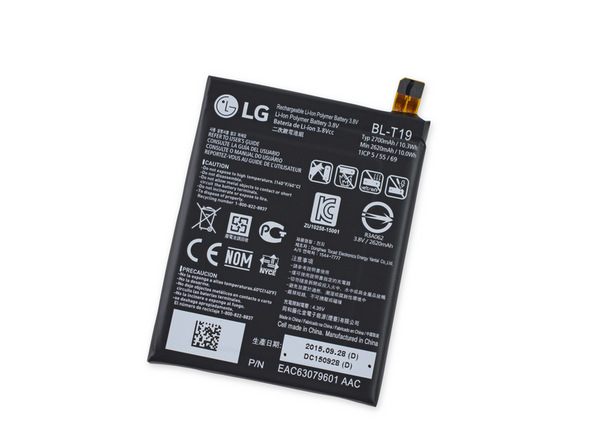
As a top Android device released in Oct, 2015, LG Nexus 5X has great performance, wide carrier compatibility and fairly good price, which makes it an eye-catching device among others. However, the 2700 mAh non-removable battery could be a problem if you are a heavy smartphone user. This problem could be solved by bringing a power bank with you or charge the phone during the daytime, but each battery has its own charging cycles which means after certain times of being charged, the battery life would drain little by little. What could you do when this happened? No worry, just follow this step by step guide, your Nexus 5X battery would back to normal again.
Tools Needed:
1. Power off the LG Nexus 5X and remove the SIM card tray.

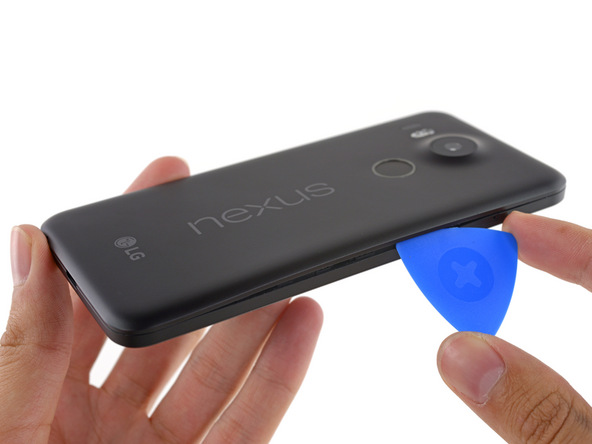
2. Insert a case opening tool, run it along the edges to release the Nexus 5X back cover.
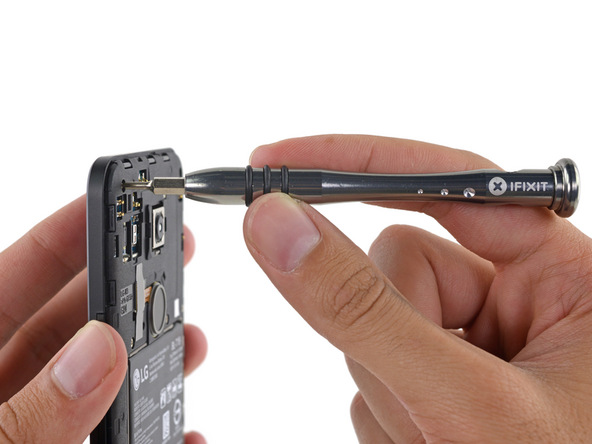
3. Undo the 10 screws in the rear housing and loudspeaker module.
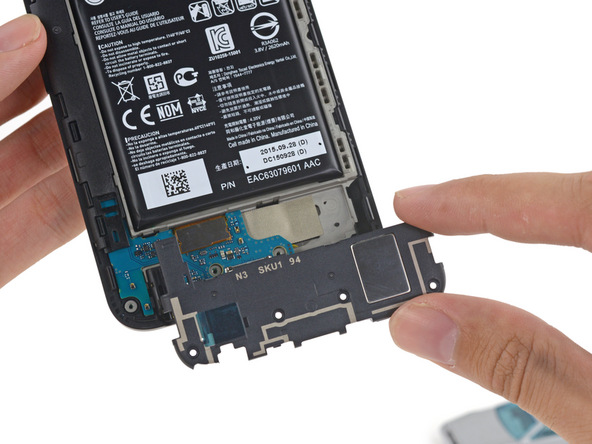
4. Remove the Nexus 5X loudspeaker module.
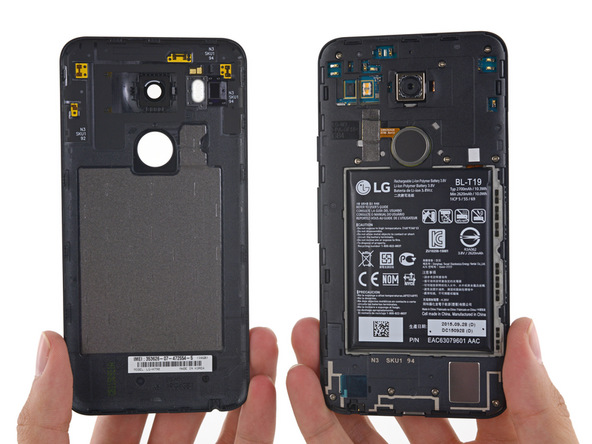
5. Remove the Nexus 5X rear housing.
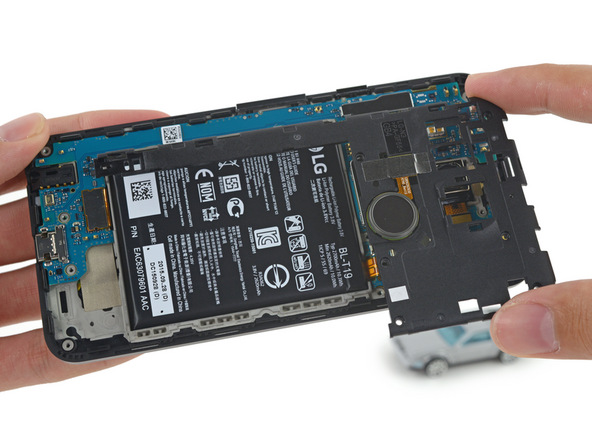
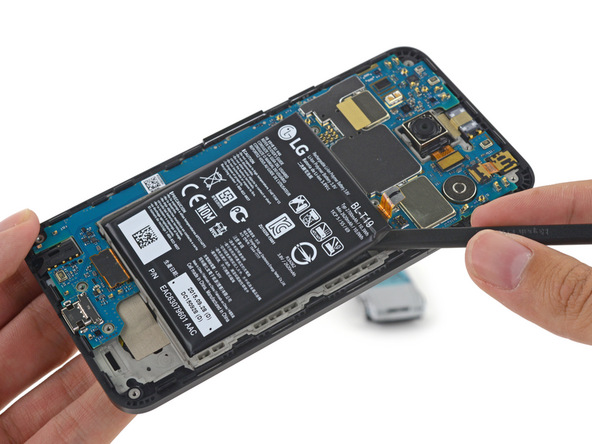
6. Pry up the battery flex ribbon connector, then gently pry up the Nexus 5X battery as there are a few adhesive underneaths.
7. Follow the steps vice versa to reassemble the LG Nexus 5X.
If you meet any problems during these steps, please leave a comment below, we’ll try our best to help you.
You may also like:
- How to Fix Broken Nexus 5X For Screen Replacement
- How to Solve the Common Nexus 5 Issues
- How to Replace the Nexus 5 Cracked Screen
- How to Disassemble Nexus 5 for Screen or Parts Repair
|
|

|
|
|
|
|
|---|


 IOS 17.4 official version pushed to block battery vulnerability
  Is the Chinese-made rear case for the iPhone 15 series going on the market?
  New products coming:USB to MFI Lightning Cable
  Big BUG of iPhone 15
  Successfully submitted!
Will replacing the battery delete/remove all my photos and contacts? Do I need to back them up before replacing the battery? If so, how?
Well, you don’t have to backup your data if you only replace the battery. Don’t worry.
Bought a new oem battery off of eBay. Replaced the battery. Everything works except charging. It says it’s rapidly charging but the display won’t move past 50%. Charged it for over an hour and it still says 50%. It’s says it’s charging but. What can I do to fix this?
Hi Michael, I’m sorry to hear that.you can try to use a different charger and cable to charge it, it’s not to work, you may have a bad battery.
EBay sells fake batteries. At the smart phone knows it’s counterfeit in rejects it.
Hi David, if you don’t trust the battery on eBay, you can buy it in the ETrade Supply.com. If you can’t find the product, please feel free to contact the live chat or customer service.
Hi,
I followed this and during the removal process, my battery sparked and caught on fire. Yes, the phone was off. It seemed to be glued down, I pulled felt adhesive come up, then I saw a spark and immediately ran outside and set the phone down where it set ablaze.
phone would not turn on at first, so then removed battery, now it will not turn on at all.
after installing battery that is.
Hello where are Nexus 5x batteries sold?
Hey Giovanni, we don’t have the replacement yet, but you can find it on eBay. Good luck.