How to Replace the iPhone 11 Pro/Pro Max Rear-facing Camera?
BY kaye | 十二月 24th, 2019 | 0 | 0
Tools Needed:
Screwdriver – Pentalob, Y-type
Plastic plectrum
Suction cup
Spudger
Tweezers
Hot air gun
1. The iPhone 11 Pro/Pro Max display screen teardown
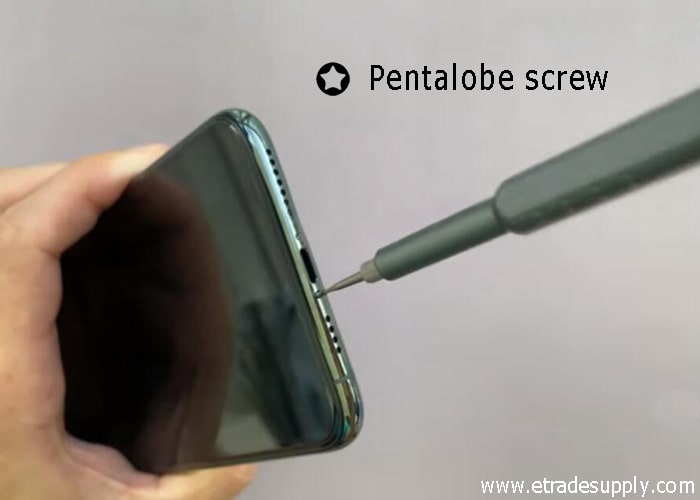
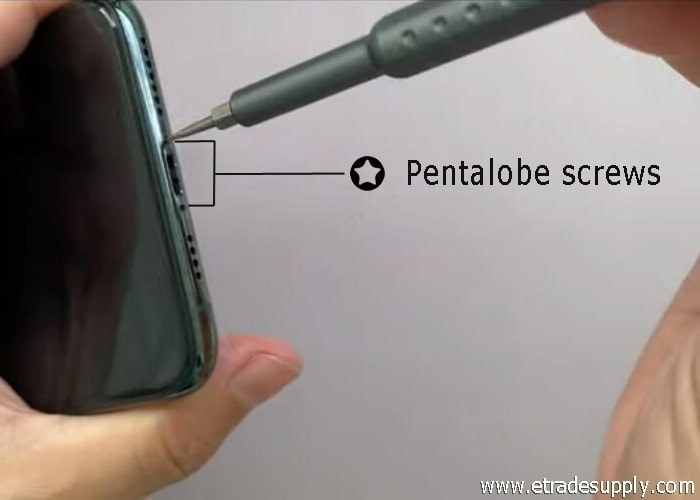
1.1 Power off the phone, loosen the two pentalobe screws on the bottom
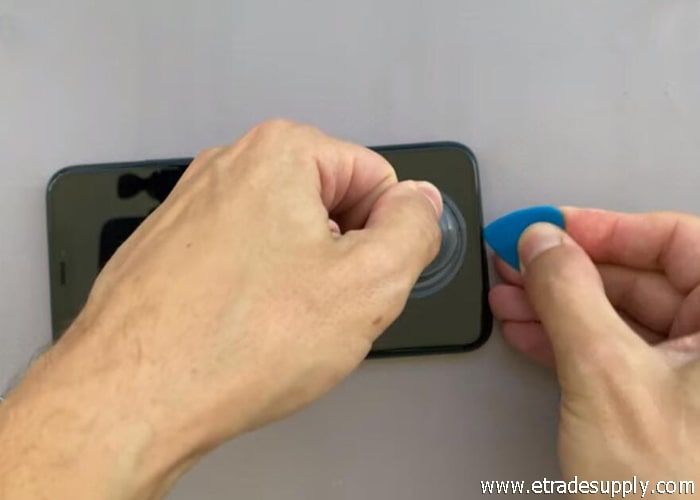
1.2 Use 80℃ hot air gun blowing on the screen edge for 2-3 minutes, then use a suction cup to pull the display screen and make a gap. Use plastic plectrum to insert the gap and slice around the frame to separate the display screen
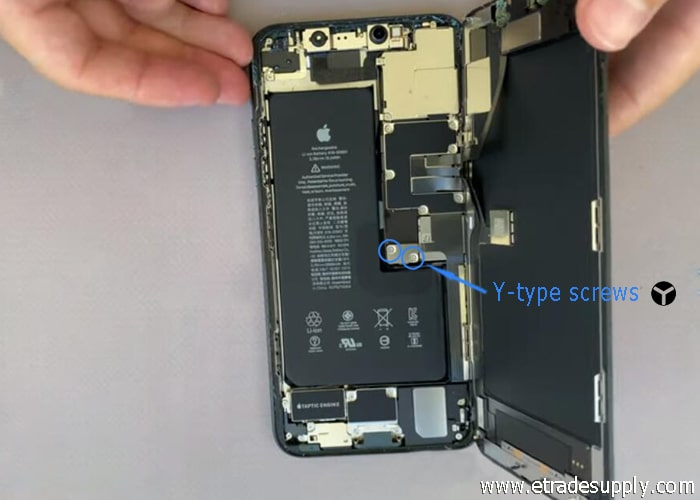
1.3 Flip over the iPhone 11 Pro display screen after it is entirely separated, loosen the two Y-type screws and remove the small metal shield plate with tweezers
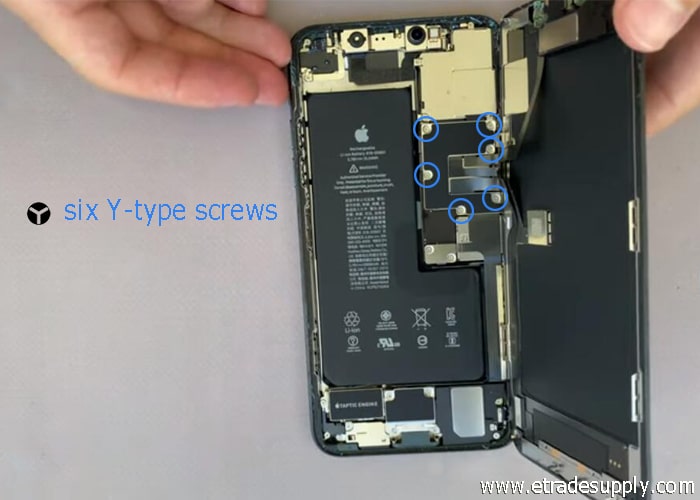
1.4 Loosen the six Y-type screws and remove the large plate with tweezers
1.5 Disconnect the battery flex cable with spudger and the 3 display flex cables, remove the display after it is completely separated. Here you can take the replacement of iPhone 11 Pro touch screen and digitizer assembly
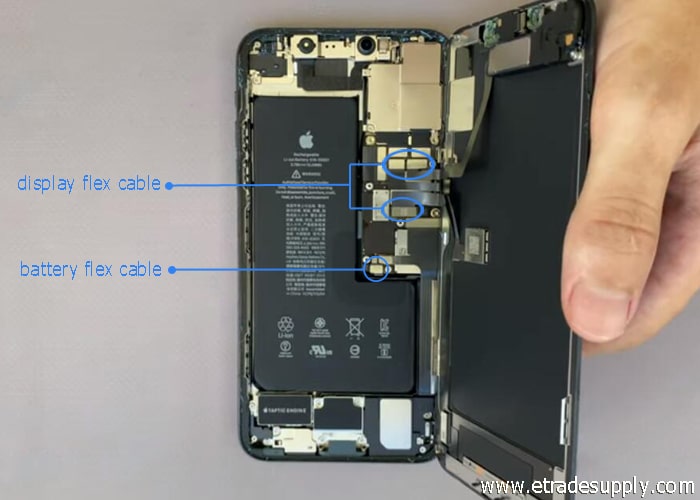
2. The iPhone 11 Pro/Pro Max rear-facing camera replacement
2.1 Loosen the 4 Y-type screws and remove the metal panel
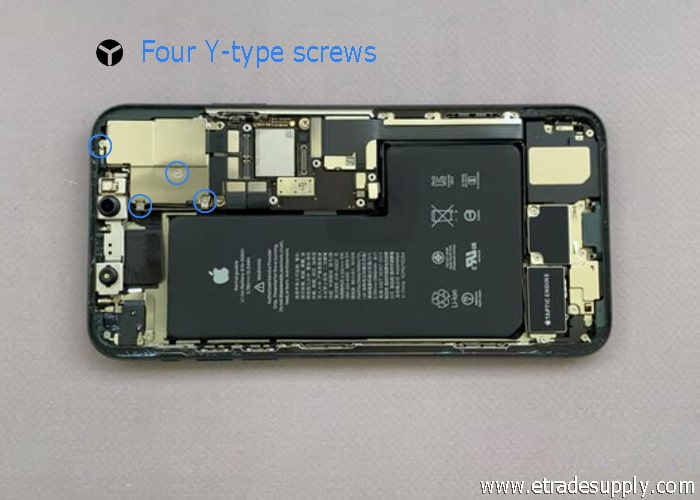
2.2 Disconnect the three rear-facing camera flex cables from the mainboard and then remove the rear-facing camera
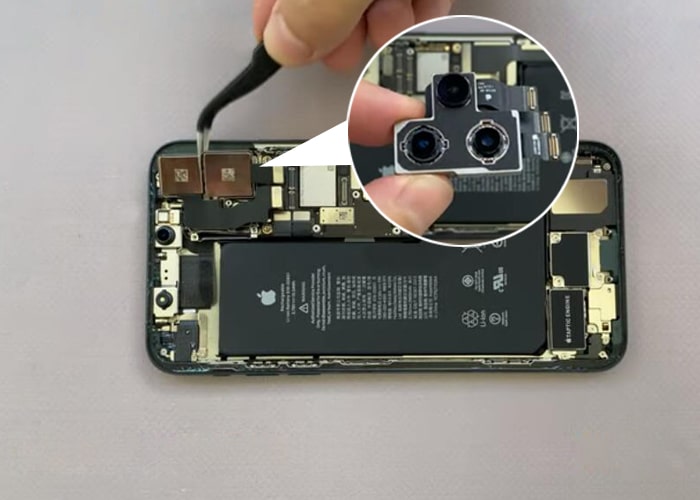
2.3 Install the new iPhone 11 Pro/Pro Max rear-facing camera in the phone and connect the flex cables on the mainboard, make sure the new camera lens is totally clean without dust or fingerprint on it
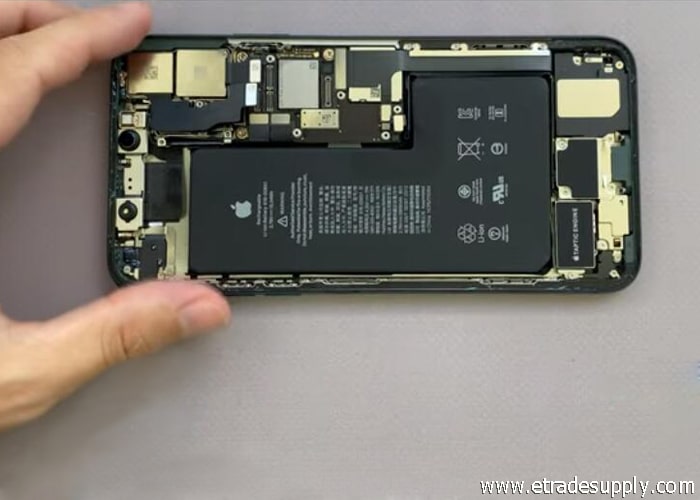
2.4 Place the metal panel back and tighten the four screws for fixing the flex cables
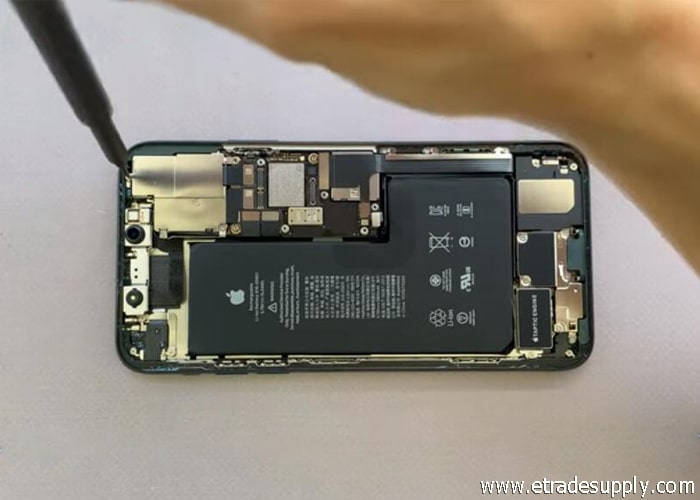
3. The iPhone 11 Pro/Pro Max display reassembly
3.1 Connect the display flex cables on the phone, then connect the battery flex cable
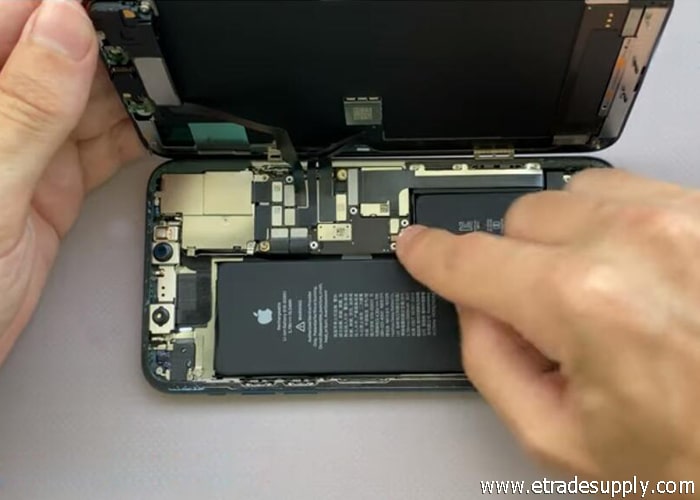
3.2 Turn on the phone and test the new replaced rear-facing camera function
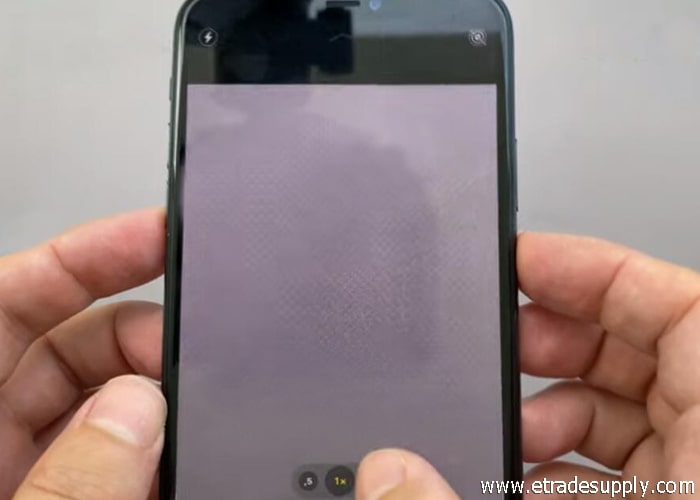
3.3 Turn off the phone again, disconnect the display flex cables and remove the display screen, clear out the frame adhesive glue with tweezers
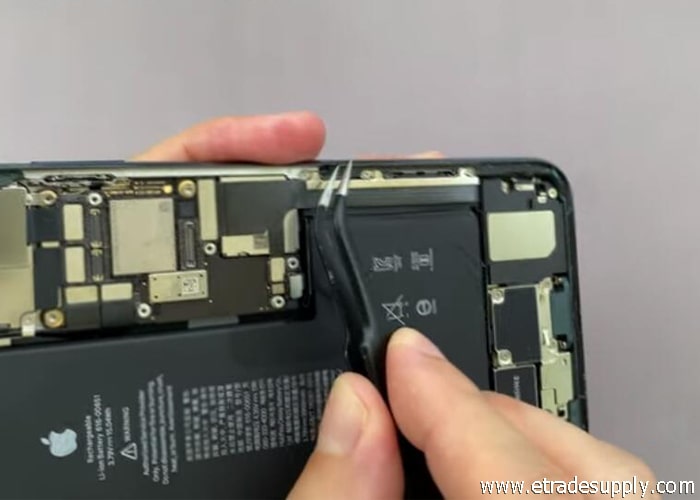
3.4 Attach a new iPhone 11 Pro frame adhesive tape on the frame
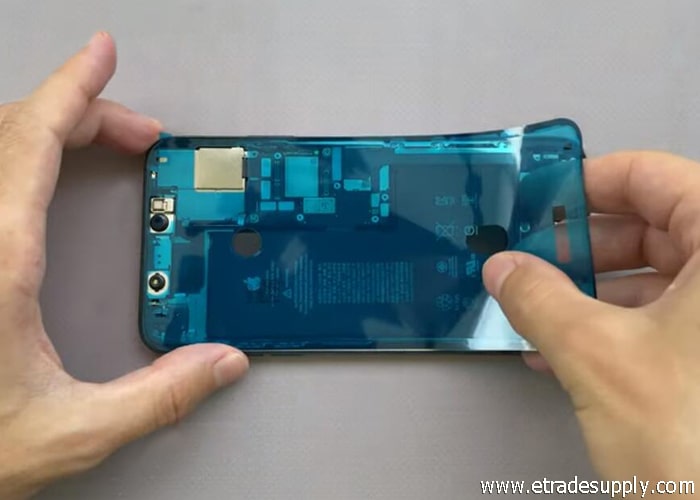
3.5 Reconnect the display screen flex cables and the battery cable, place the metal panel back and tighten the six screws for fixing the flex cables
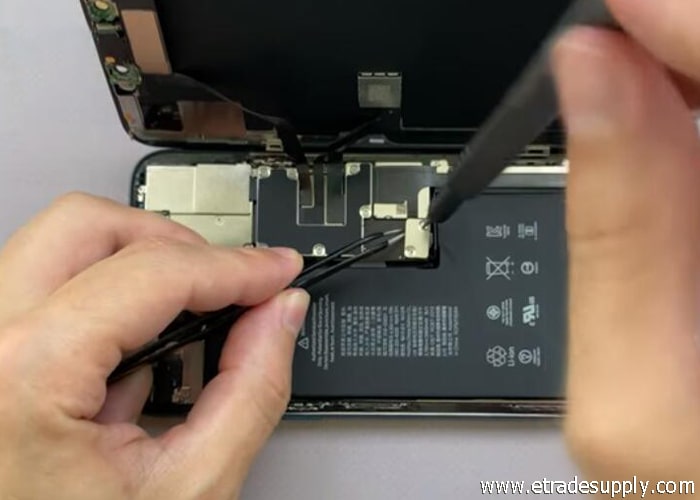
3.6 Place the small metal panel back and tighten the two screws
3.7 Reassemble the display screen back, press the edge and each corner lightly
3.8 Tighten the two pentalobe screws on the bottom, all process is done
Noted: Your iPhone 11 Pro/Pro Max will not be 100% waterproof after teardown. The whole process is a little complicated, which requires our patience and insistence. We suggest you go to the Apple authority repair center for rear-facing camera replacement if you are not confident about yourself. You may also check some other iPhone 11 Pro/Pro Max replacement parts in our online store if you are interested. Leave your comments or contact us if you have any questions about the tutorial process above.
Articles you may be interested:
How to Tear down the iPhone 11 for Display Screen Replacement


