


Moto G5 Disassembly/Teardown Review
BY kaye | 三月 23rd, 2017 | 7 | 5
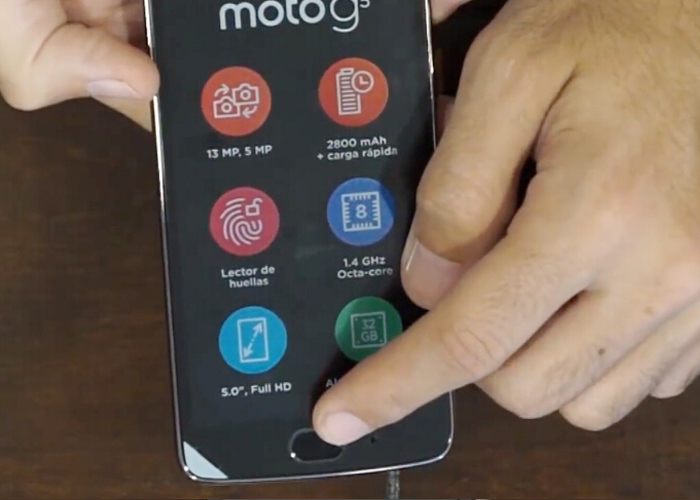
With smaller 5.0 inch full HD screen, this newly released Motorola G5 seems to have improved on its already stellar predecessor with an updated metal design, and this time the G5 comes with the option to add a Micro SD card to expand the storage up to 128GB while keeps everything that made last year's model great, here we’d like to check the Moto G5 teardown process with you all the figure out what’s differences inside.
Repair Tools Needed:
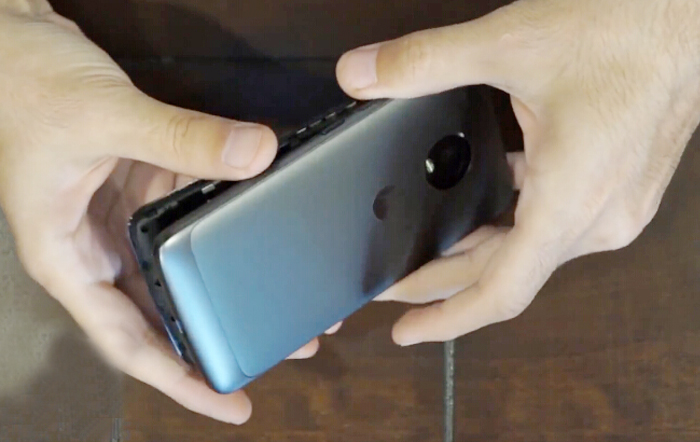
Step 1 Remove battery cover and battery
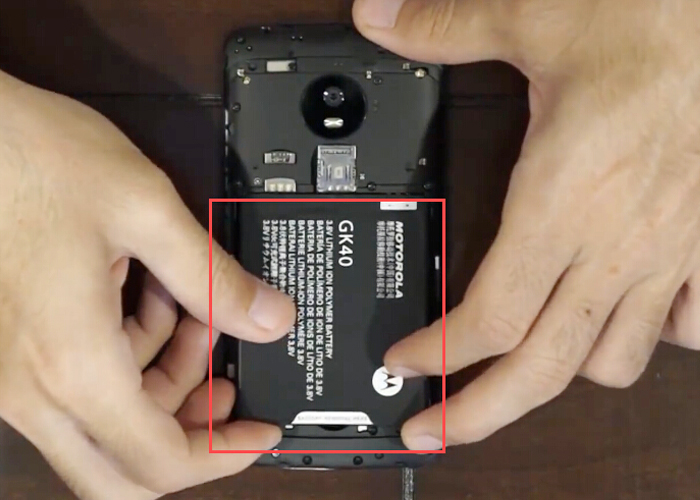
There is a small latch on the bottom of the phone between the back cover and the phone body, just pry off the cover from the small latch with your fingernail, the metal cover should be easily removed. And then battery can be taken out easily.
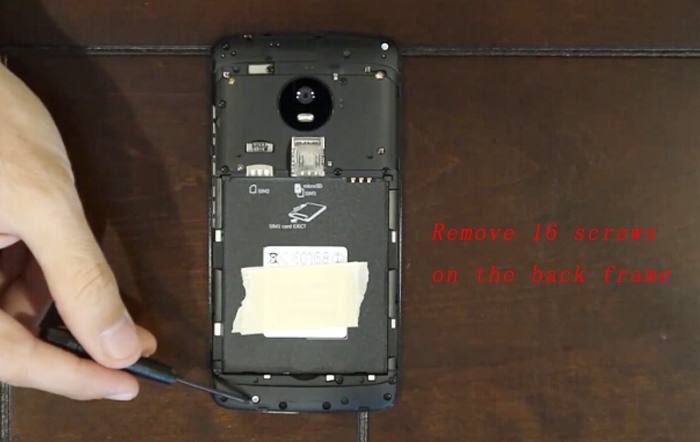
Step 2 Remove back frame
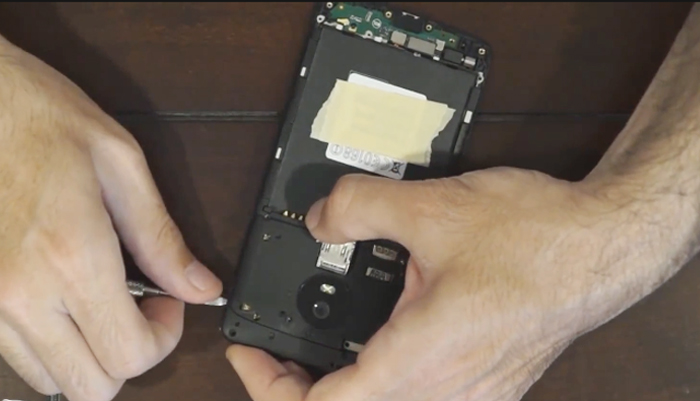
After removing the battery cover, then you need to undo 16 phillips screws on the back.
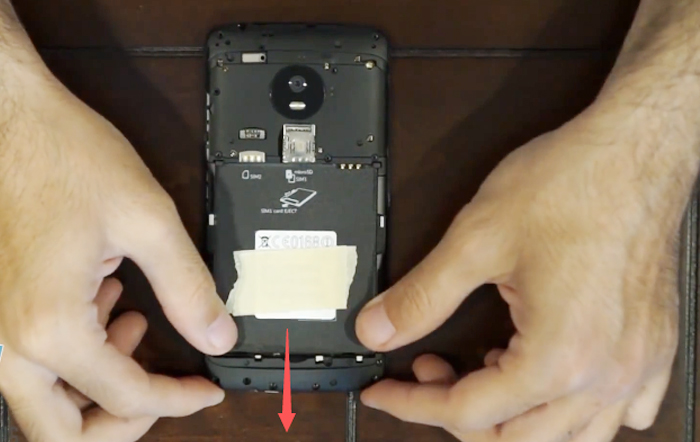
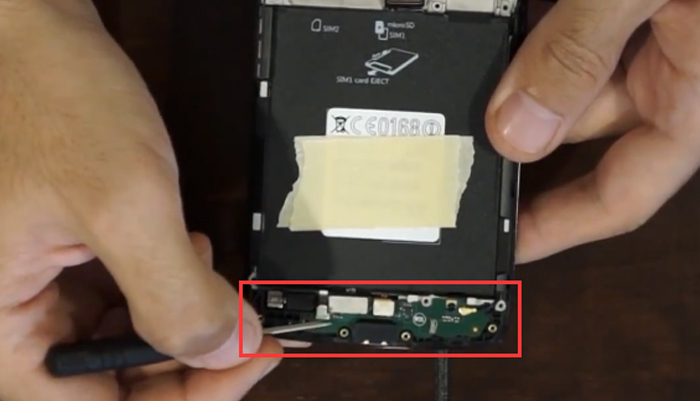
Then you can remove the bottom part of the back frame, which cover the charging port module.
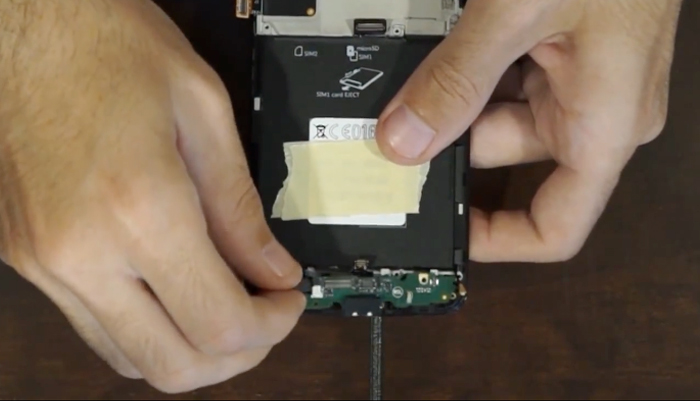
Moving to the upper side, we may use the pry opening tool to remove the upper cover, there are a couple latches all around.
Step 3 Remove motherboard
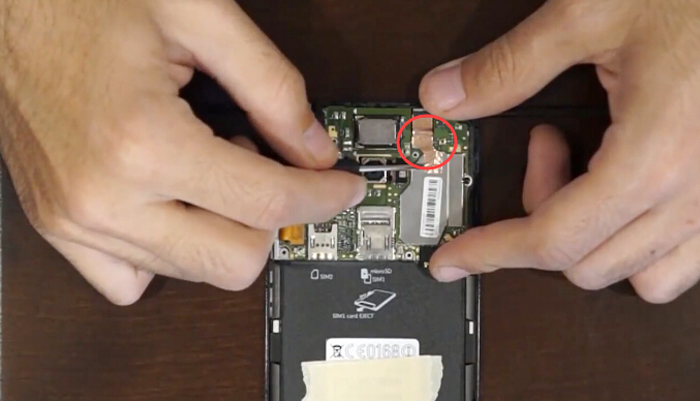
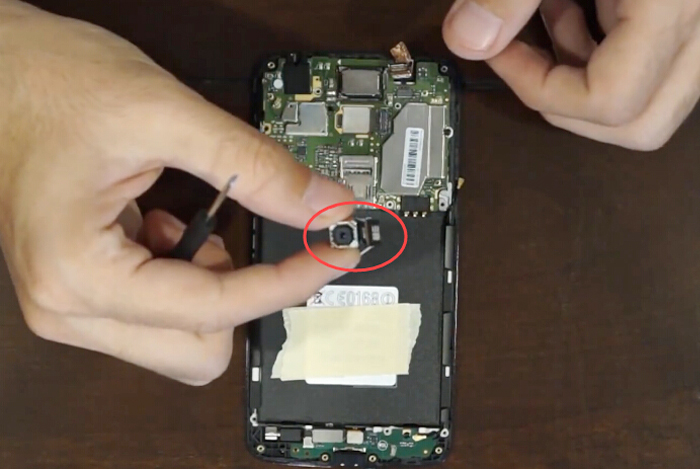
With the back frame’s off, we know head to the motherboard. First we can disconnect the front camera connector and remove it.
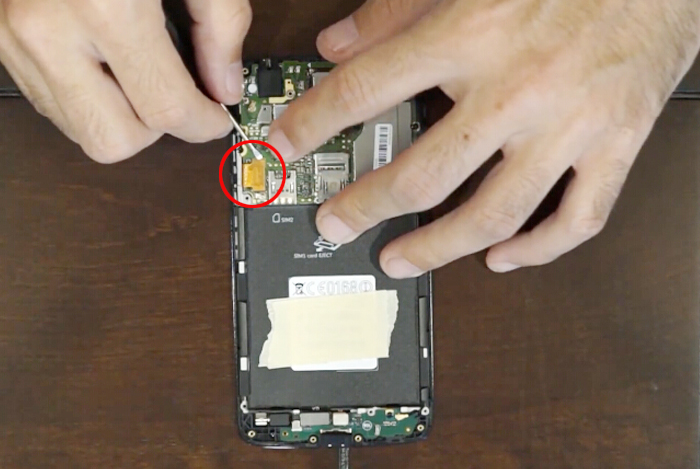
And then rear facing camera connector, flex screen cable connector, signal cable connector.
Remove rear camera here!
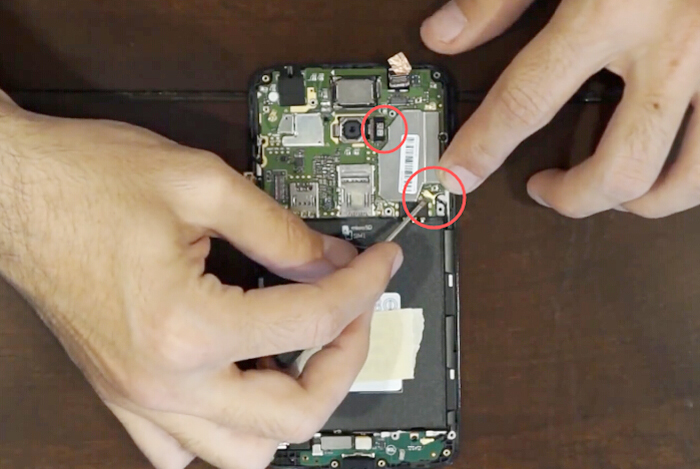
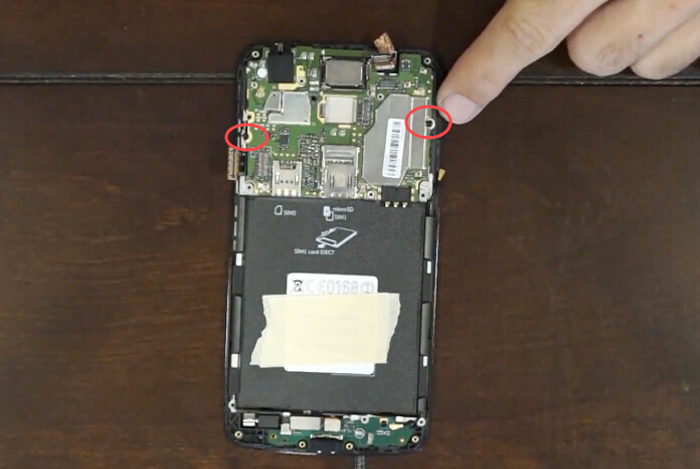
Next we have another 2 phillips screw to remove.
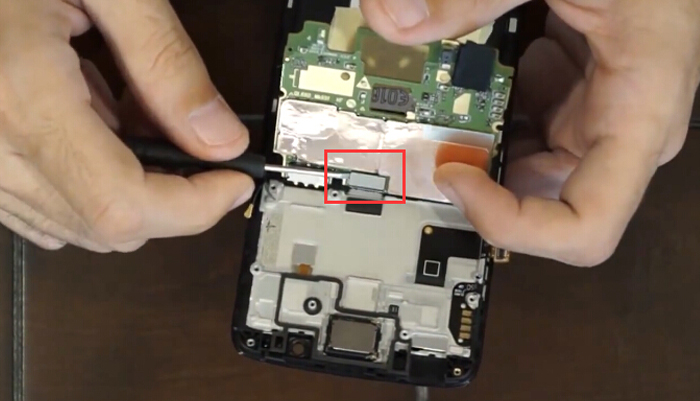
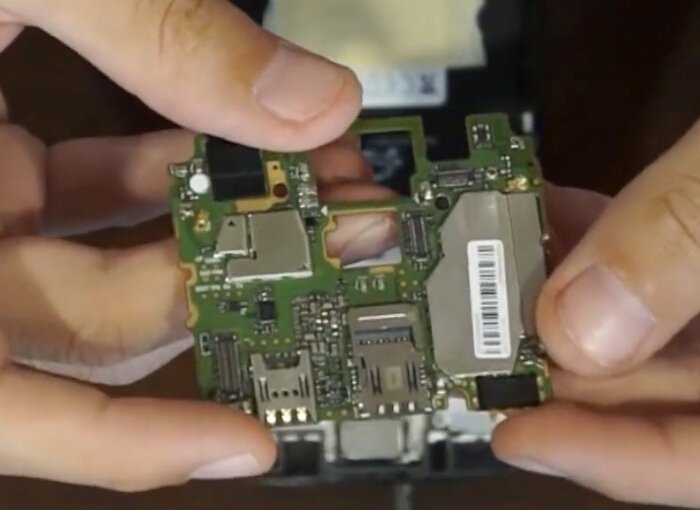
With all small stuffs off the motherboard, we now pry up the mainboard and there is the connector on the other side we need to loosen before taking it off from the front housing assembly.
Step 4 Remove charging port module
First we need to disconnect the home button flex cable connector and battery connector, then remove the screws securing the charging port module.
Then we can remove the charging port flex, which comes with the vibration motor.
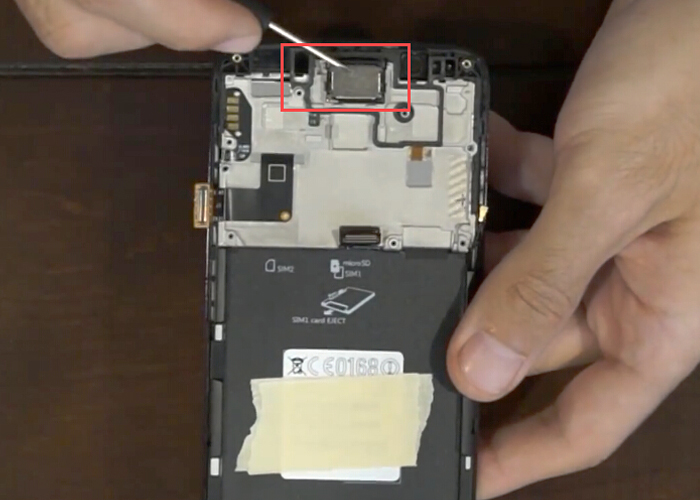
Then we left ear speaker, home button and front screen assembly together. Removing ear speaker can’t be hard, however, if you need to replace the home button or screen only, that could be a big challenge if you are not professional.
Replacing the home button requires separating the screen from the front screen frame which can be a tough job for most of us, so we recommend you send it to the professional repair shop when you need to fix your home button or replace the LCD screen without front frame.
So far this is what we can do to make sure the Moto G5 is good enough during the teardown process.
any thoughts about how to fix your phone more efficiently share with us by commenting below!
(PS: Picture sources from pwrdbykyank)
You may also like:
|
|

|
|
|
|
|
|---|


RECOMMENDED PARTS
POPULAR ARTICLE
- How to teardown Moto Z to replace Screen and battery
- How to teardown Moto G4 Plus for screen, camera and battery replacement repair
- How to Fix Motorola Moto G Problems
- iPhone X Water Damage Repair Guide (Still Work in 2019)
- How Much Does It Cost To Replace An iPhone XS Display?
- iPhone X Explosion: 7 Small But Important Things To Note
- 7 Ways To Fix Your iPad Not Charging In 2018
- iPhone 7 Screen Replacement | iPhone 7 Repair
- Which Parts of iPhone X and iPhone XS Are Exchangeable?
- iPhone X, XS, XS Max, and XR Battery Comparison
- How To Fix iPhone XS/XS Max, And XR Bluetooth Connection Issue
- Apple Will Fix the iPhone 8/8 Plus/X Auto Brightness Issue in iOS 12
- iPhone got exploded too?! How to protect your phone from battery explosion
 How to teardown Moto Z to replace Screen and battery
  How to teardown Moto G4 Plus for screen, camera and battery replacement repair
  How to Fix Motorola Moto G Problems
  IOS 17.4 official version pushed to block battery vulnerability
  Successfully submitted!
del moto g5
donde ubico la antena de wifi
Where can I buy a replacement battery cover?
Hi Sam, you can buy the battery cover replacement in Etrade Supply, while you can’t find the product you can ask the live chat!
Any information on the G5 Plus? I own onne but I can’t seem to find how to remove the back-cover. Is it only possible on G5 ?
Hi, what are the tiny holes on the back of the cover top left of the camera lens and the one next to the charging port? Thanks!
Make the tear down work more specially