How to Tear Down iPhone 12/12 Pro for Screen Replacement?
BY kaye | 十二月 1st, 2020 | 0 | 0
Tools Required:
Screwdrivers – Pentalobe screw, Phillips screw, Y-type screw
Spudger
Tweezers
Suction cup
Steel prying tool
Hard plastic plectrum
Hot air gun
1. Tear down the iPhone 12 display screen
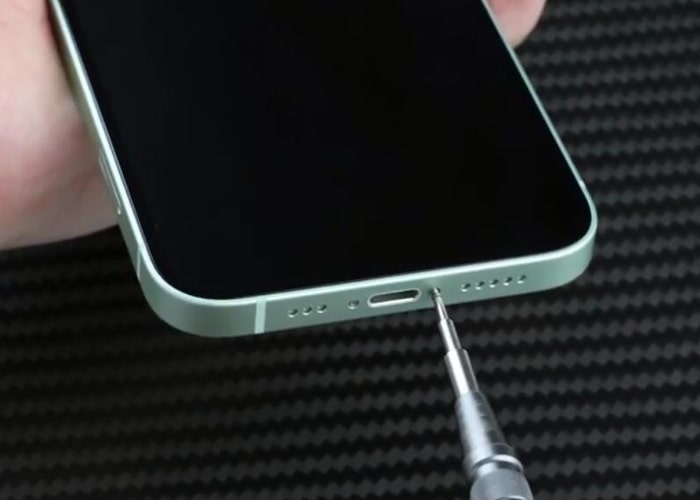
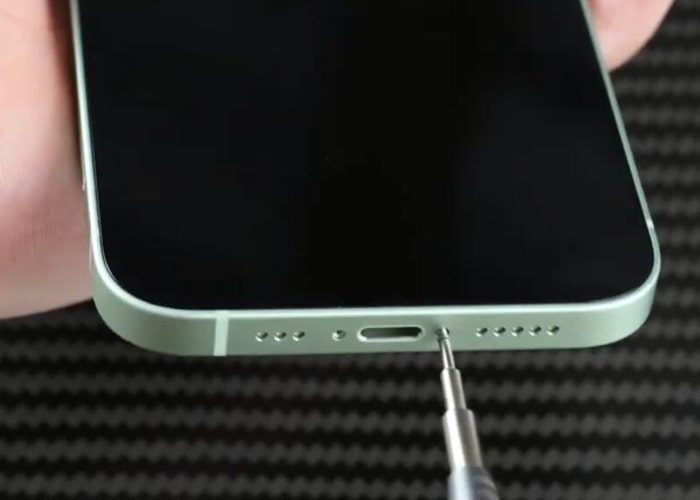
1.1 Power off the iPhone, unbolt and loosen off the two pentalobe screws on the bottom.
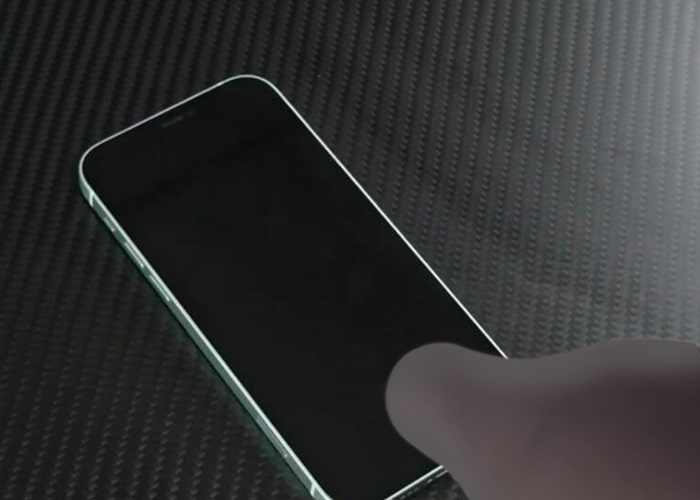
1.2 Use hot air gun to blow on the screen and four corners for screen easy separation.
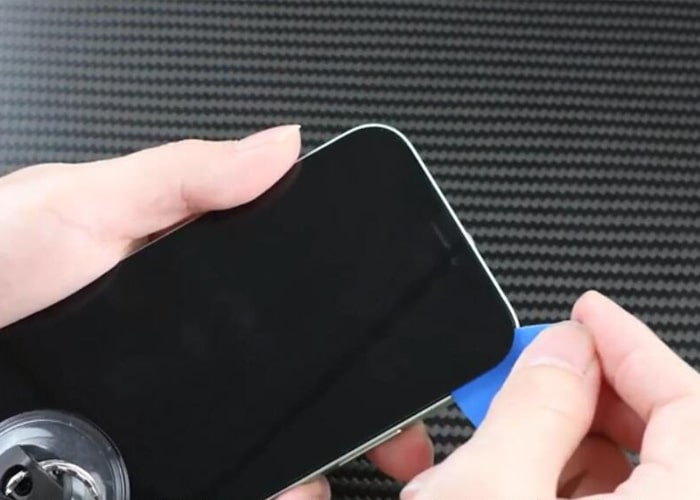
1.3 Use a suction cup to pull the screen, and plastic plectrum to slice around and separate the display screen.
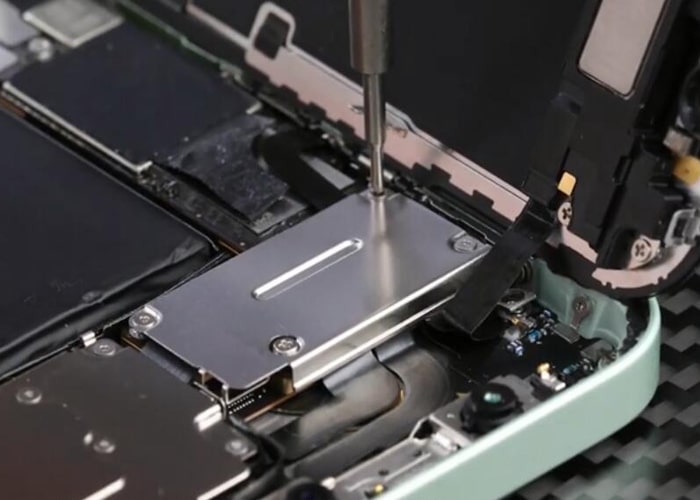
1.4 Pry and flip over the screen aside, loosen the six Y-type screws and remove the metal shield for fixing the flex cables.
1.5 Unplug the battery cable, and then the display screen flex cables.
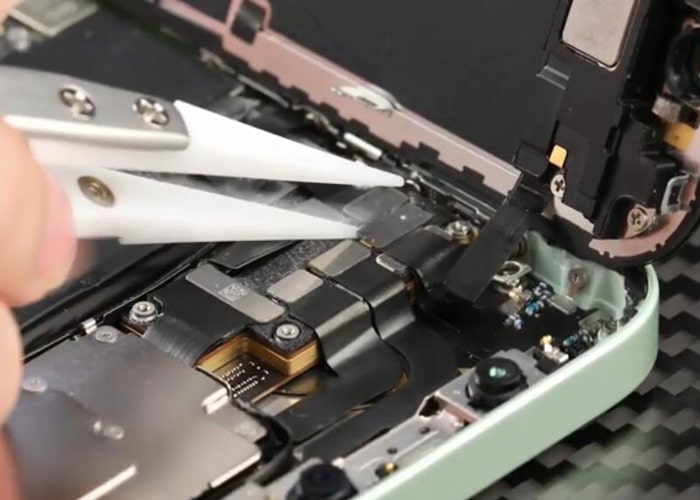
1.6 Loosen the four screws and remove the metal panel for fixing the ear speaker’s flex cable, disconnect the cable so that the screen can be entirely separated.
![]()
2. Replace the iPhone 12 display screen
2.1 Unbolt the two Phillips screws and two Y-type screws for fixing the ear speaker, disconnect the flex cable and take down the ear speaker carefully from the screen.
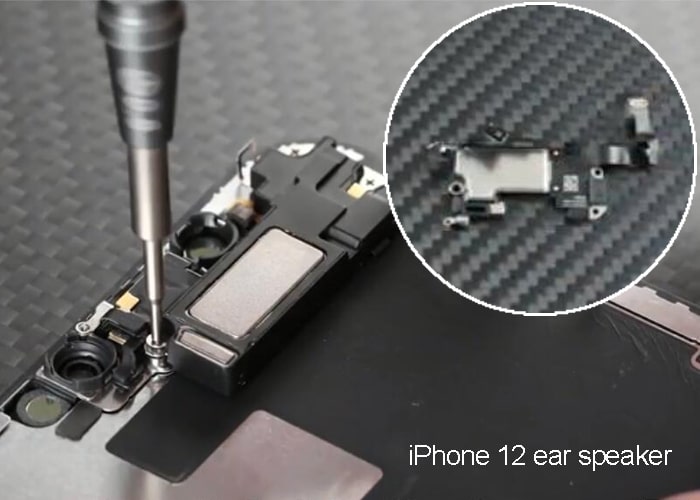
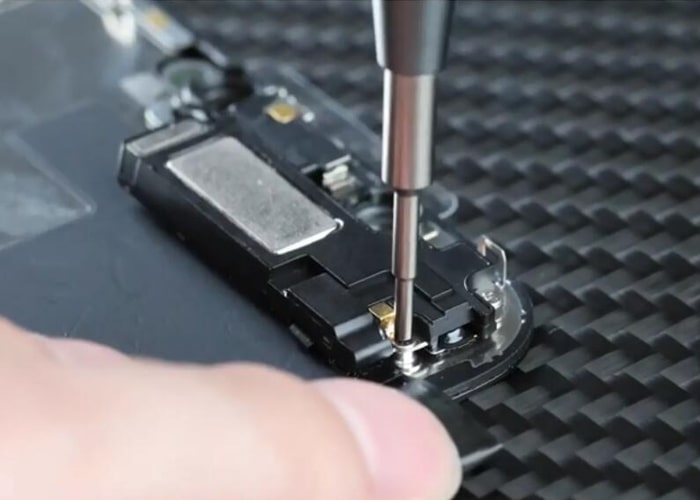
2.2 Take out a new iPhone 12 screen and install the ear speaker to the screen, connect the flex cable to the screen and fixing the cable with the metal panel with screws.
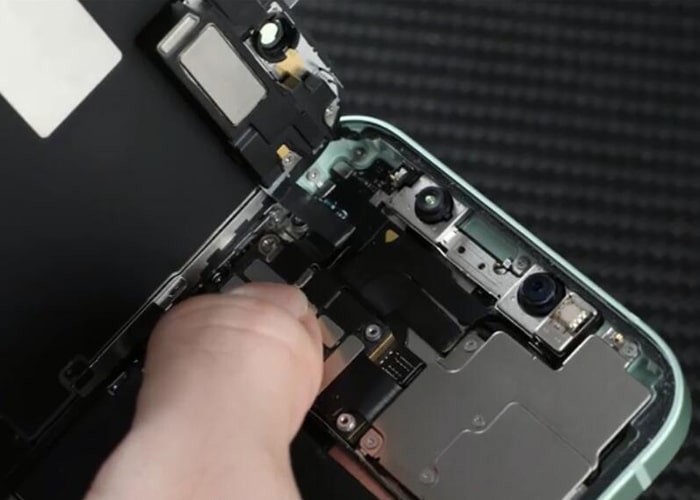
2.3 Connect the new replaced screen flex cables to the phone.
3. Test the new screen function and assemble the iPhone
3.1 Connect the battery flex cable, Turn on the iPhone, and test the new screen’s function.
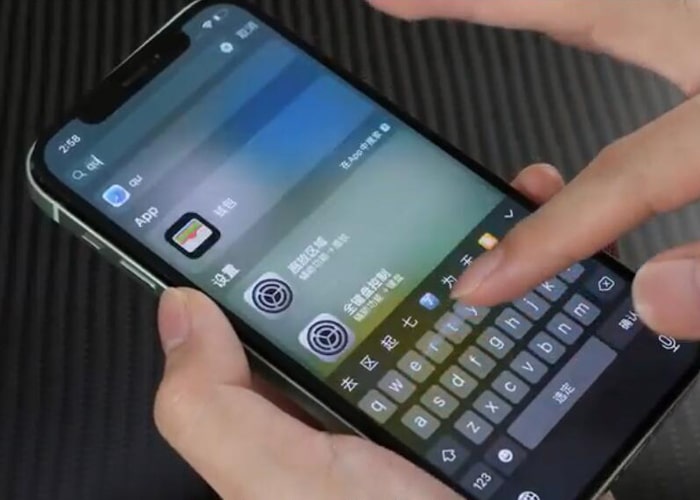
3.2 After all the functions are confirmed to be normal, turn off the iPhone. Disconnect the battery flex cable and screen flex cables, separate the screen again.
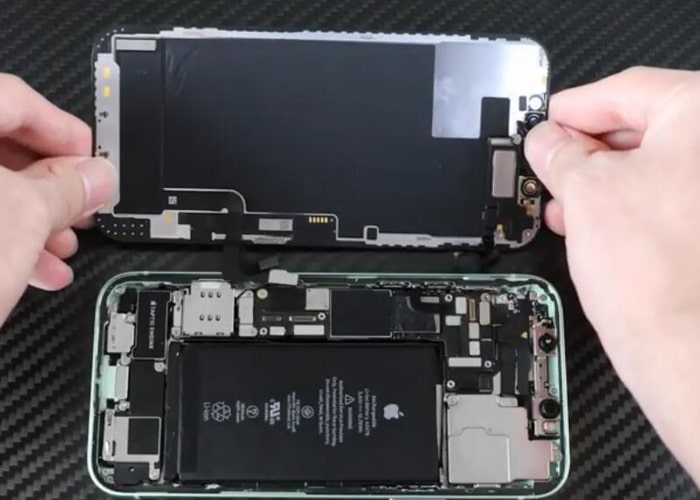
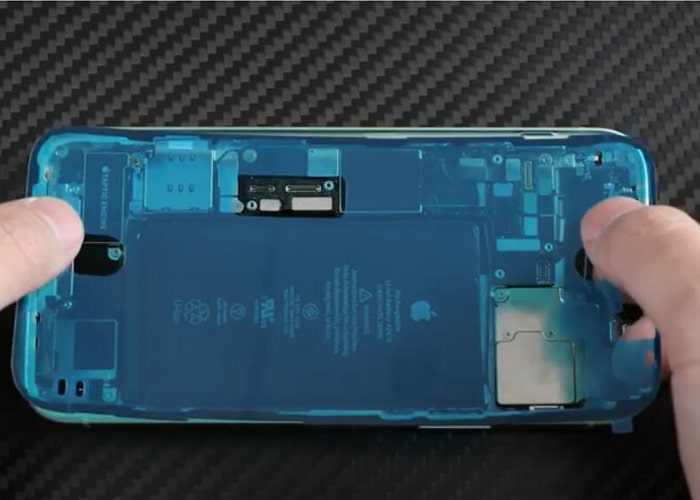
3.3 Clear the remaining adhesive sticker on the back housing frame with tweezers. Apply a new iPhone 12/12 Pro frame adhesive sticker onto the frame.
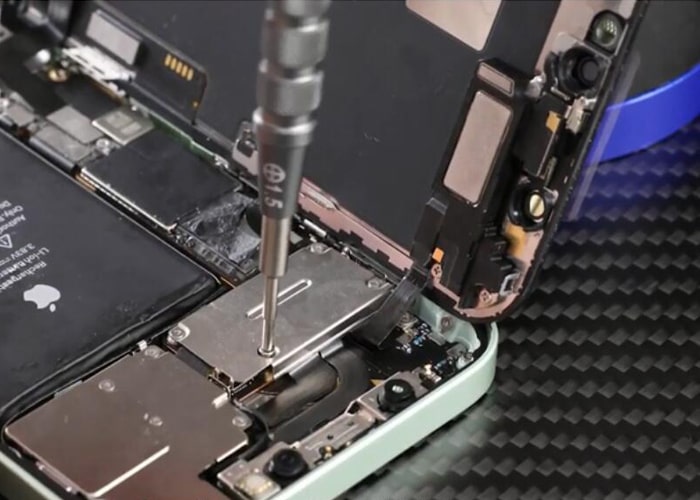
3.4 Connect the screen flex cables and the battery connector, fix the connector cables with the small metal shield and screws.
3.5 Assemble the display screen back, gently press to make sure it is closely assembled. Tighten the two pentalobe screws back. The whole process is finished.
Notice:
The screen replacement procedure works for iPhone 12 and iPhone 12 Pro, but the iPhone 12 Pro ear speaker doesn’t install on the screen. The iPhone 12 screen and digitizer with flex cables are easy to break, just be careful. The battery connector should be unplugged at first and connected back last, just remember this. For more details about iPhone 12 tear down process, just follow our blog or leave comments about your questions. We are glad to discuss it with you.


