How to Reassemble Motorola Moto G for Parts Repair
BY yuki | 三月 12th, 2014 | 2 | 0
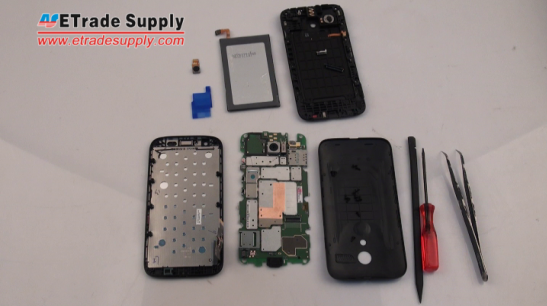
When you encounter the broken Moto G screen problems, you can try to DIY repair a cracked screen on Motorola Moto G by following our Youtube Moto G repair video. From this tutorial, you can also learn how to fix Moto G damaged battery, broken Moto G camera and cracked housing, etc. After you tear down the Moto G, you can step-by-step reassemble the Moto G according to the following instructions.
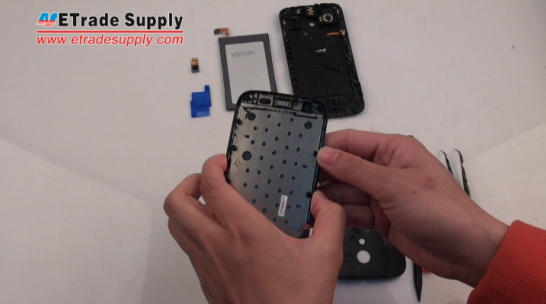
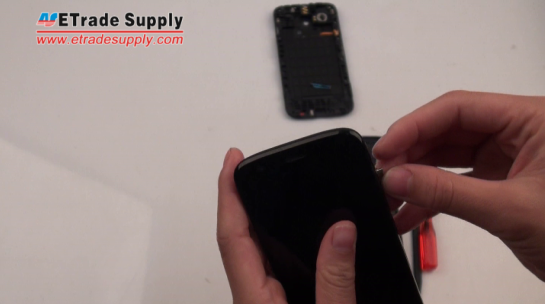
Step 1: Take a Motorola Moto G LCD screen assembly with front housing.
Note: If you want to replace a new Moto G screen part, you should know the Moto G screen assembly is hermetically glued with the front housing, so special tools and professional skills are needed to separate the Moto G screen from the front housing. It is advisable to replace the whole Moto G LCD assembly with front housing part, which is without fuss.
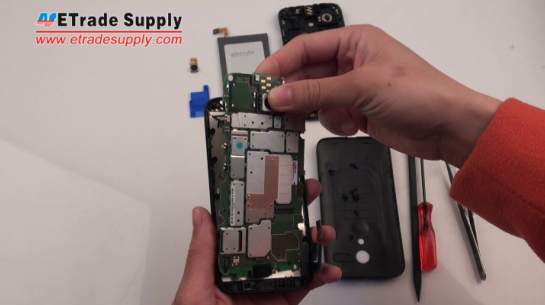
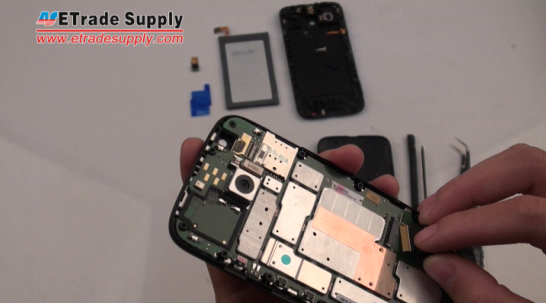
Step 2: Assemble the Moto G LCD screen assembly and the logic board.
Note: The flex cable ribbon is fragile. Handle carefully.
Step 3: Connect the Moto G screen flex cable.
Note: The type of flex cable connector is plug in, so it needs careful handling when you insert the flex to make the connecting.
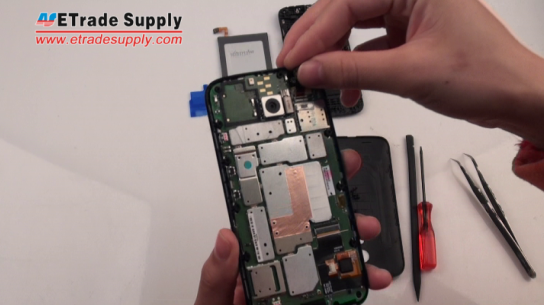
Step 4: Install the Moto G front facing camera.
Note: The type of the Moto G front facing camera flex cable connector is plug in, so handle carefully during the reassembly.
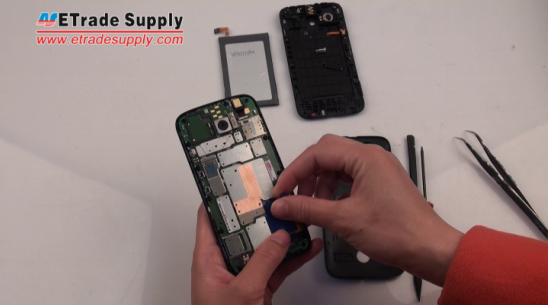
Step 5: Put the blue plastic cover in place.
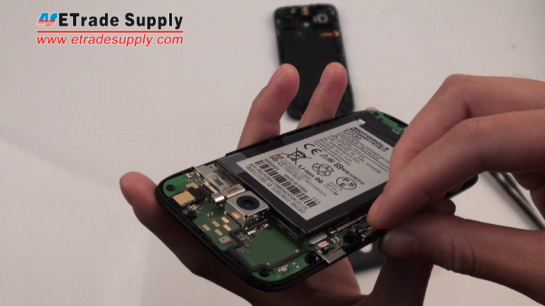
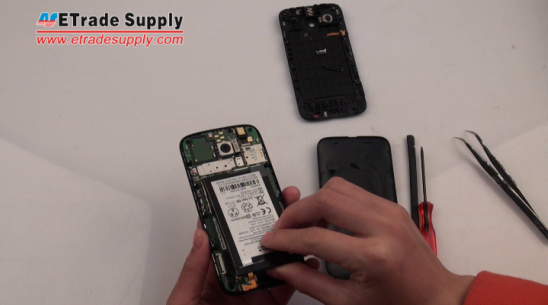
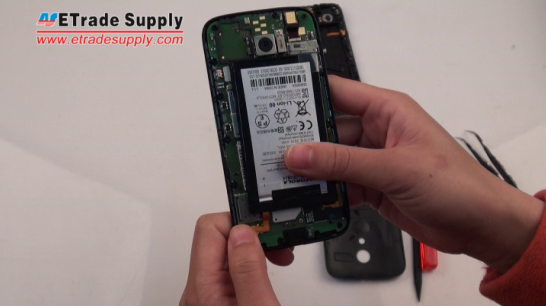
Step 6: Install the Moto G battery and connect the connector.
Step 7: Place the Moto G power button and volume button.
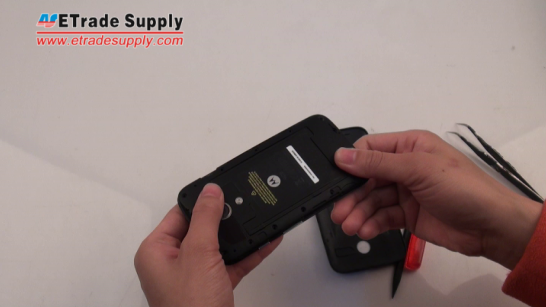
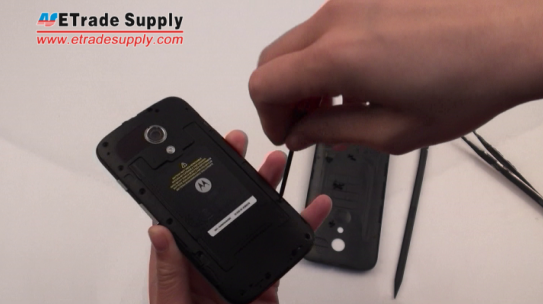
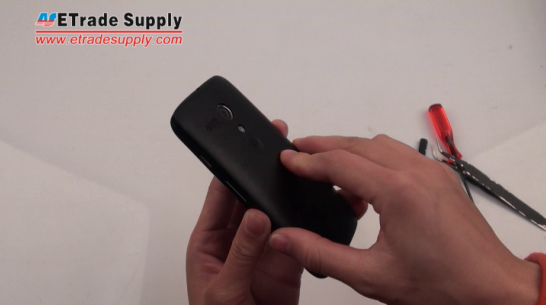
Step 8: Assemble the rear housing on the Moto G.
Step 9: Screw fourteen screws to secure the Moto G rear housing.
Step 10: Install the Moto G battery door.
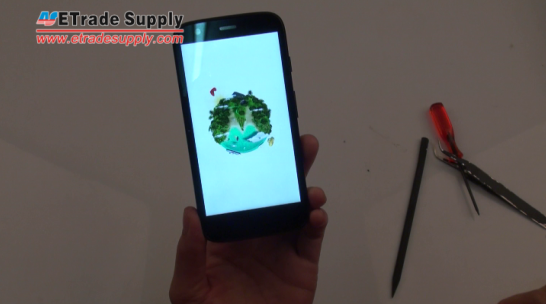
Step 11: The Motorola Moto G reassembly is done!
Please feel free to follow our YouTube Video MOTO G Step by Step Reassembly to reassemble the Motorola Moto G step by step.
)


