How to Reassemble the Samsung Galaxy Note 3
BY alina | 十月 9th, 2013 | 0 | 0
The Samsung Galaxy Note 3 features a massive 5.7-inch full HD display, quad-core processor, refined S Pen and faux-leather back cover, which are different from its predecessor. Find more differences from Galaxy Note 3 vs Galaxy Note 2. Although the Note 3 is equipped with many new highlights, its gut is as similar as that of the Note 2. Therefore, it’s also pretty easy to replace the broken Note 3 parts. You can follow our Galaxy Note 3 assembly tutorial step by step to fix the damaged parts on your Note 3.
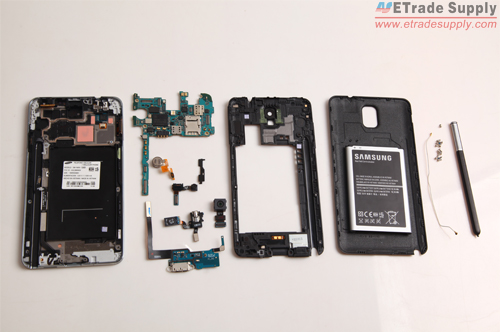 Tools needed to reassemble the Galaxy Note 3:
Small Phillips Screwdriver
Tweezers
Step 1
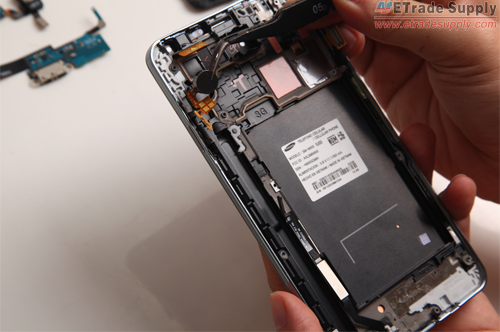
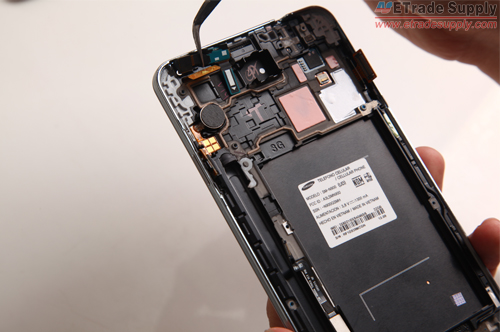
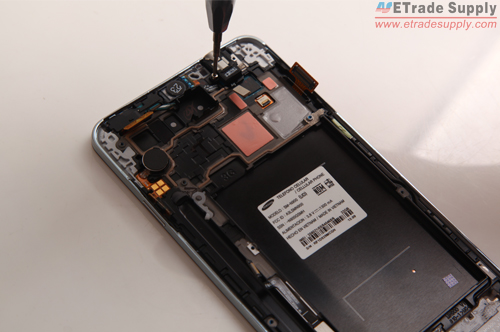
Install the vibrating motor with power button flex cable onto the front housing by using tweezers. Please pay attention to put the power button cable in correct place or it will influence the function of the power button.
Step 2
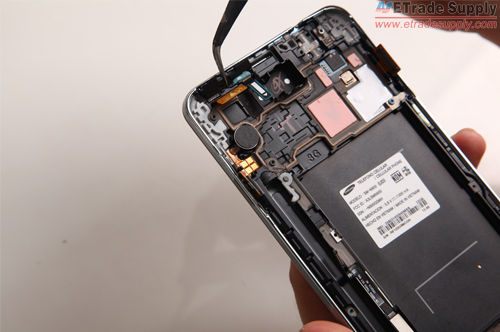
Put back the sensor cable and front facing camera and cover it with a metal shield.
Step 3
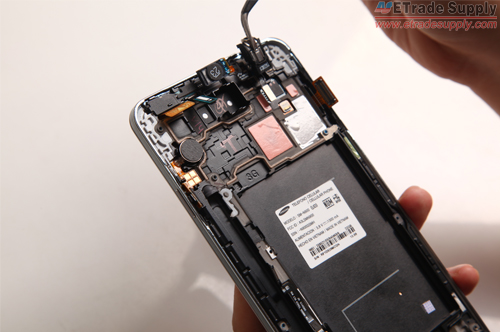
Install the ear phone jack with ear phone and fasten them with 1 screw.
Step 4
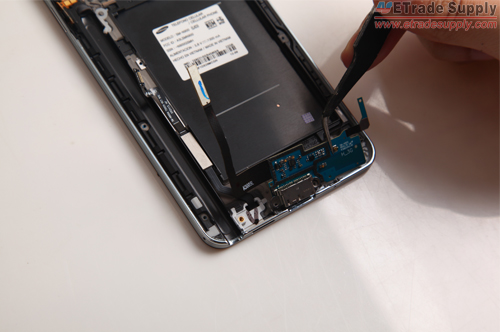
Use tweezers to install the charging port flex cable to the front housing.
Step 5
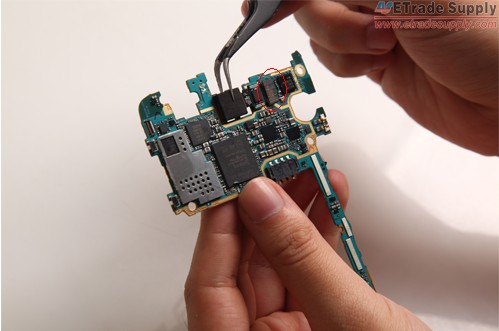
Install the rear facing camera onto the motherboard by pressing down 1 connector.
Step 6
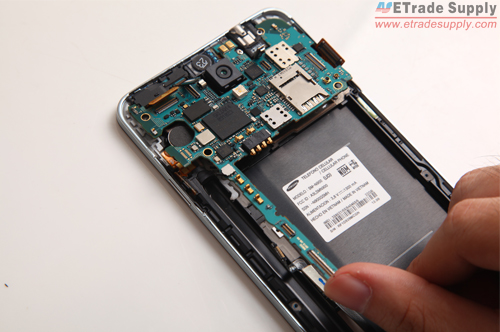
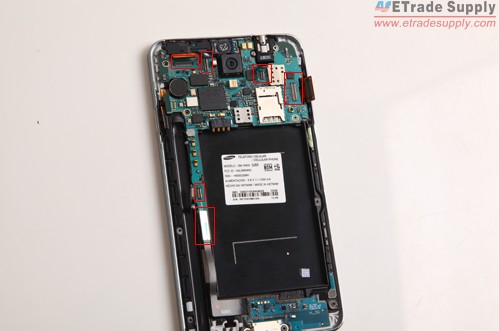
Put the motherboard back on the front housing and buckle 6 connectors.
Step 7
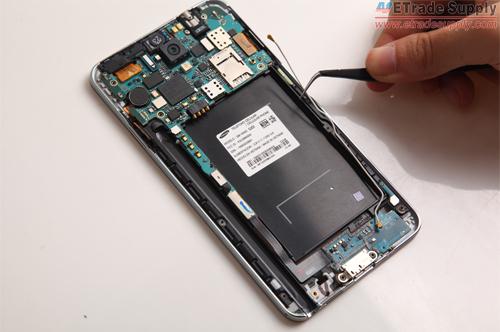
Install the antenna by buckling 2 connectors.
Step 8
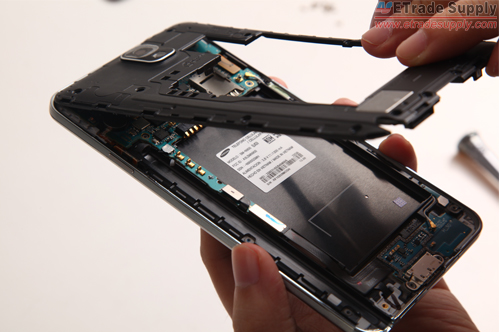
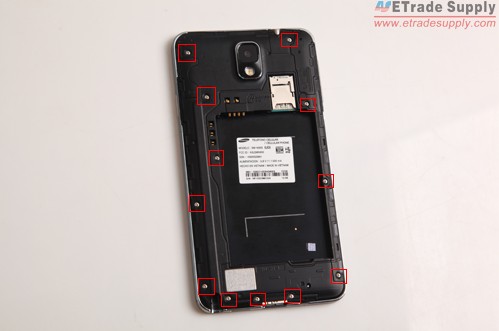
Put the rear housing back to the LCD assembly and front housing and fasten it with 12 screws.
Step 9
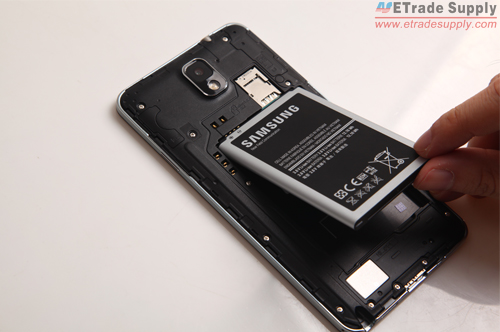
Put the 3200mAh Li-ion battery back inside the phone.
Step 10
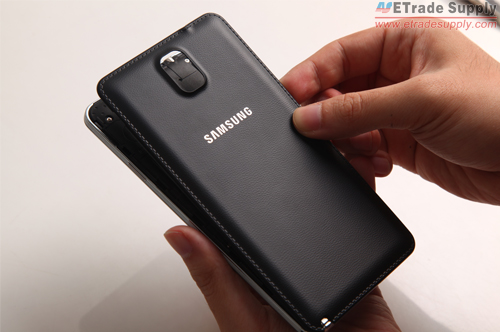
Install the faux-leather back cover to the device.
Step 11
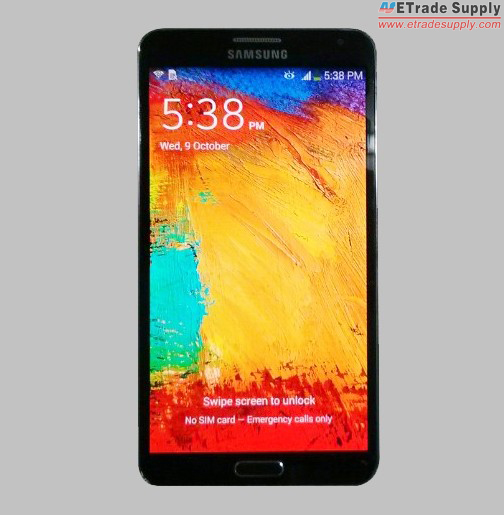
Power on the Galaxy Note 3.
You can watch our YouTube video of the Galaxy Note 3 disassembly to learn how to disassemble the Note 3. Subscribe our YouTube Channel for more updates of cellphone repair guides.


