How to Disassemble Galaxy Note 3 for Screen/Parts Repair
BY yuki | 十月 9th, 2013 | 53 | 7
When you happen to break your Samsung Galaxy Note 3, we suggest you using warranty or insurance if the smartphone is covered by the insurance, before DIY repairing the phone yourselves. In case you need to repair broken Galaxy Note 3 parts, you can learn from this tutorial to do the job.
Here we walk you through how to disassemble the handset. From the tutorial, you can understand how to tear down the Galaxy Note 3 for damaged parts repair, or handle the following broken parts problems.
• Replace cracked or shattered Galaxy Note 3 screens.
• Repair broken Note 3 front housing and rear housing.
• Fix Galaxy Note 3 damaged back camera module
• Replace Note 3 malfunctioned USB module
• Replace Note 3 broken headphone jack and speaker
• Fix Galaxy Note 3 front camera and sensors
What you'll need to disassemble/repair broken Galaxy Note 3 parts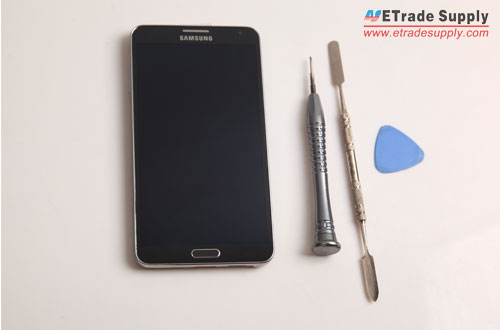
Step 1: Power off the Samsung Galaxy Note 3.
Step 2: Remove the Note 3 back cover and battery.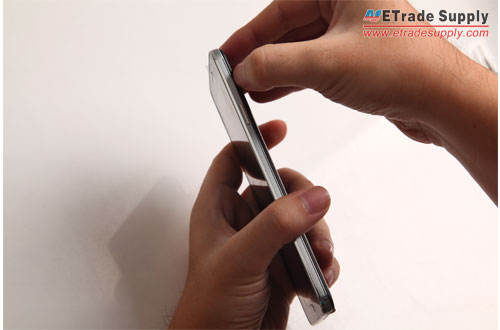
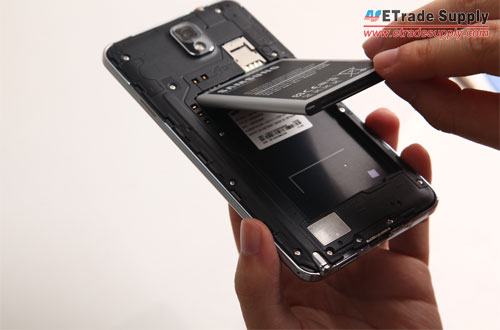
Step 3: Take out the SIM card.
Step 4: Unscrew the 12 screws to remove rear housing.
Use Phillips Screwdriver to undo these 12 screws securing the back housing and front housing.
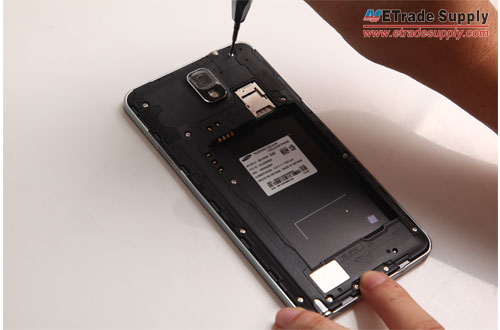
Note: Check if your SM-N9005 or SM-N900 or other Galaxy Note 3 models came with a warranty sticker covering a screw. Remember unscrewing it will void your warranty or insurance.
Step 5: Take out the stylus/S pen
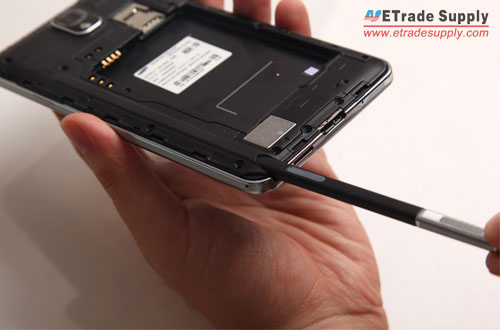
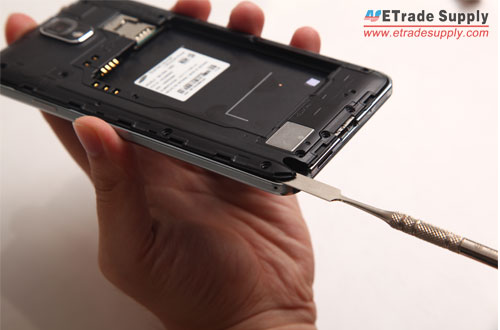
Step 6: Pry up the rear housing and take it out
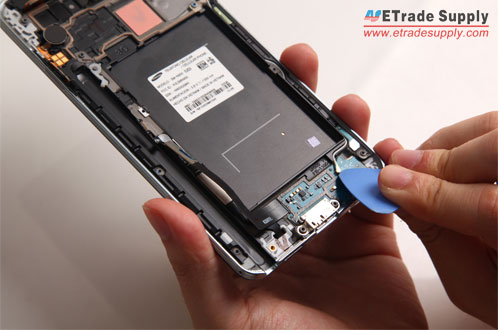
Use Spudger tool to slide around the housing frame to pry up the back housing. If you don't have Spudger at hand, you can use a plastic tool or guitar pick instead.
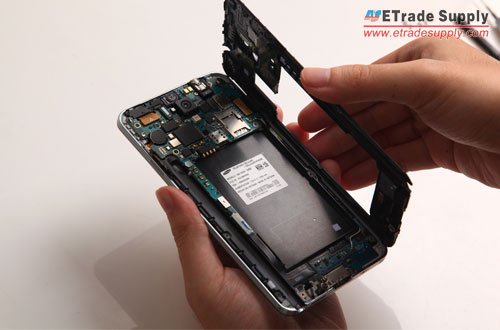
Step 7: Remove the motherboard by disconnecting 6 cables connectors
Release these flex cable ribbons of front-facing camera, proximity sensor, headphone jack and LCD. Pop out the flex cables of home button and charging port at the bottom of the motherboard. Then Pop out the antenna connector.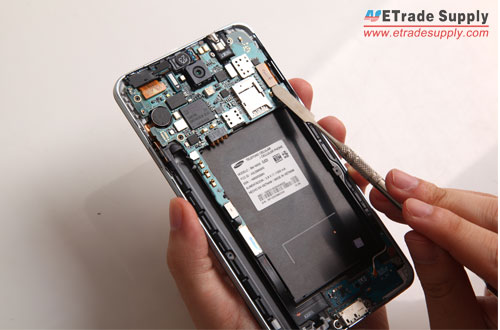
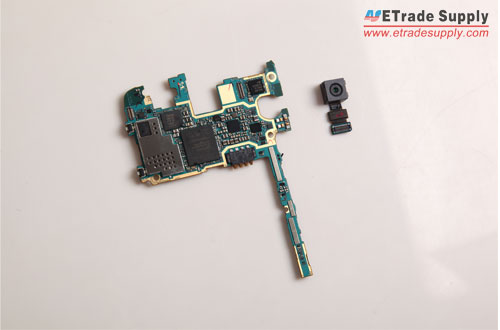
Step 8: The Galaxy Note III motherboard is separated.
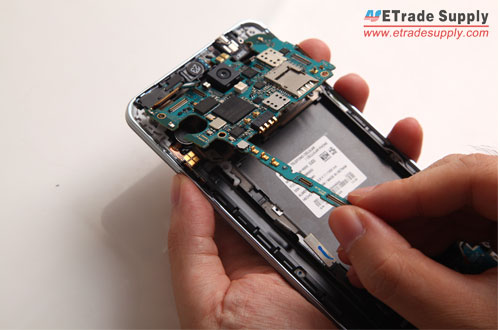
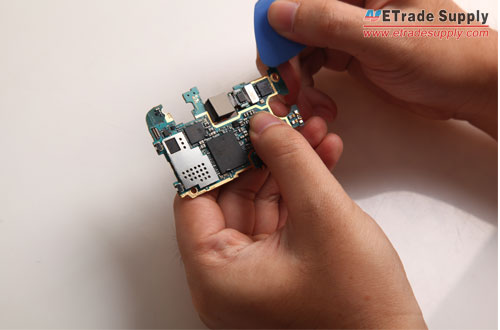
Step 9: Remove the back camera
Easily remove the Note 3 back camera installed on the motherboard.
Note: If your note 3 back camera module is damaged, you can replace it at this step for repair.
Step 10: Remove the antenna connector and USB module
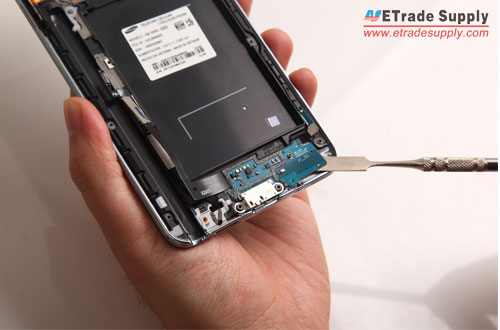
Take off the antenna connector with case opening tool to remove USB module carefully. The USB board is stuck with adhesive. Pull it off carefully.
Note: You can replace the broken USB port at this step.
Step 11: Take out the earphone jack and earphone
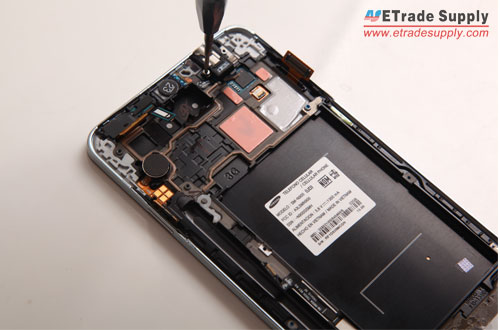
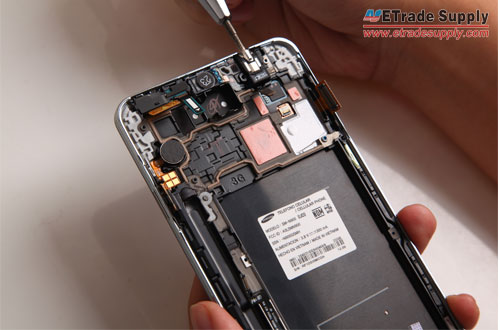
Unscrew the screw securing the headphone jack and earphone. Then take it out.
Note: Note 3 users can replace the damaged headphone jack and speaker at this step.
Step 12: Release front camera and sensors
Peel off the metal shield of front housing to lift up the front camera and sensors.
Note: You can fix a broken front camera and sensors at this step.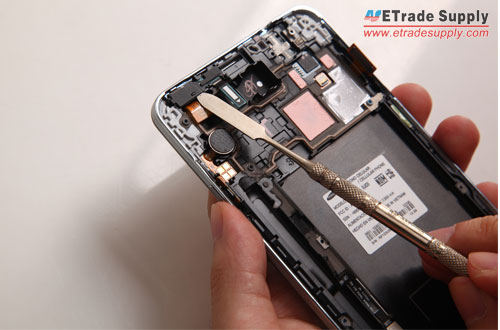
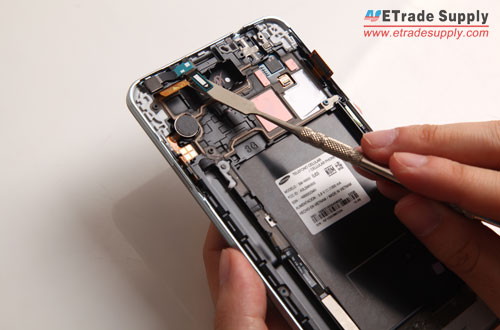
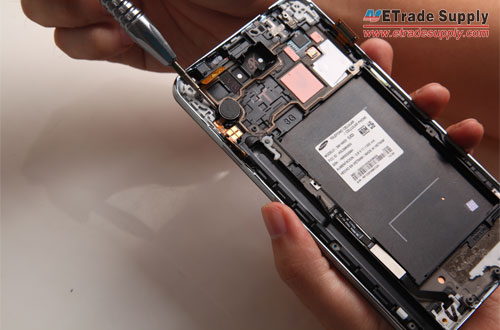
Step 13: Take out vibrating motor.
The Vibrating motor is glued on the front housing and connected with power button, so pry it out gently with the Phillips screwdriver.
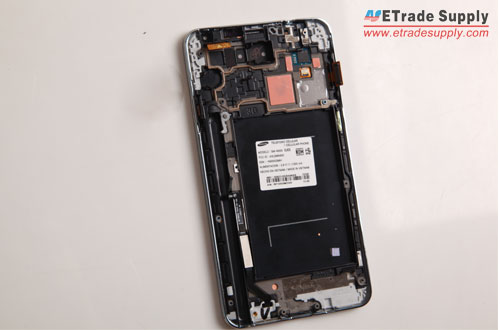
Step 14: Release the whole Galaxy Note 3 screen assembly
Note: If the Note III screens are smashed, the best way to repair the screen is to replace the LCD and touch screen digitizer assembly with front housing, for replacing only the Galaxy Note 3 glass screen or the LCD, touch screen needs professional tools and knowledge. You can go through the above-mentioned steps to this part and replace the entire display assembly.
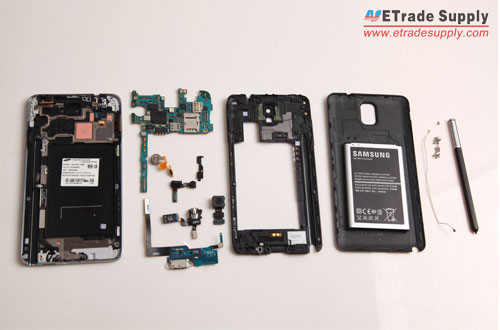
The whole Samsung Galaxy Note III parts.


