


How to Replace Only the Glass Screen on the Galaxy Smartphones
BY yuki | 十月 4th, 2013 | 12 | 3
Most new phone models now use optical adhesive to attach the LCDs, digitizers and glass lens, meaning when anyone breaks all three need to be replaced. Replacing the glass only is almost impossible without professional help. However it can be done with the right tools. Below we will show one process to perform this task yourself. This process works well on cracked screens for the Samsung Galaxy series phones, such as the Galaxy SII, SIII, S4 as well as the Galaxy Note Series. Be very careful replacing your glass screen, even with the most professional equipment you will only have a 70% success rate.
What you will need to replace your glass screen for galaxy models?
Items:
• Broken Digitizer and LCD screen assembly
• Replacement Glass Screen
• Optical Clear Adhesive
Tools:
• Roller
• Molybdenum Wire
• Hot Plate
• Gloves
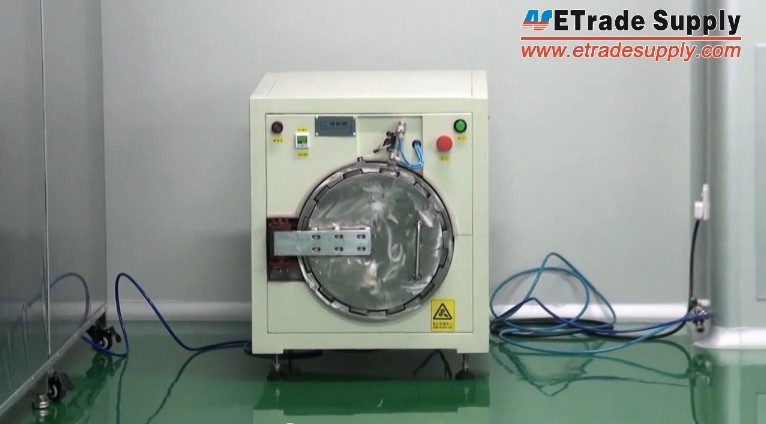
• Autoclave
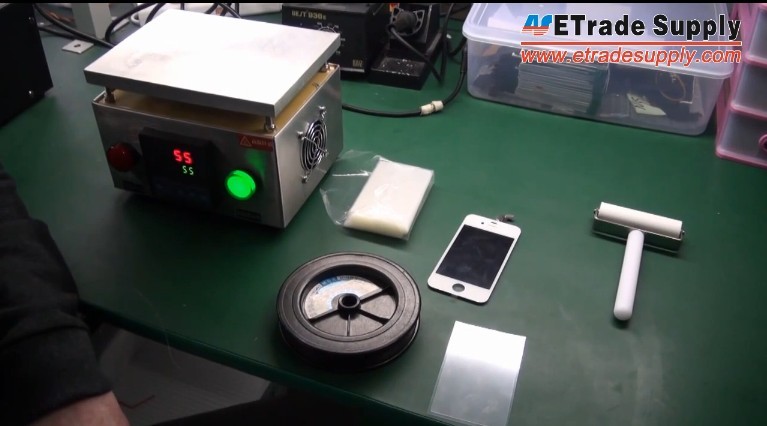
Molybdenum String which can stand high temperatures without expanding and losing strength is used to safely carve away the adhesive between the glass and the digitizer without leaving any scratch marks. A new piece of optical clear adhesive is used to secure the new glass back on. The hot plate is used to heat-up the adhesive. If you don't have a hot plate, you might be able to use a hair dryer, but be very careful not to overheat the assembly and damage the LCD. The roller tool can help attach the adhesive leaving minimal air pockets. An autoclave is also used to ensure a perfect finish with no air left between the glass and digitizer.
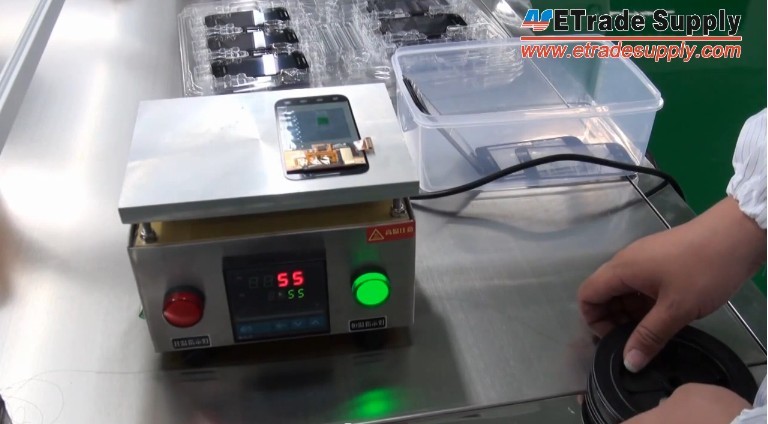
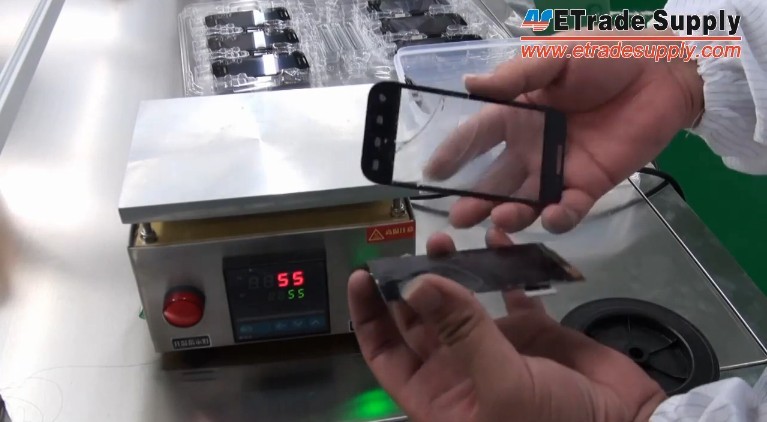
Step 1 - Heat up the broken assembly on the hot plate
Set the temperature to 60°C and heat the assembly until it's hot. The amount of time it takes to heat will depend on your heater and the damage to your screen. You will have to feel it out in the next step.
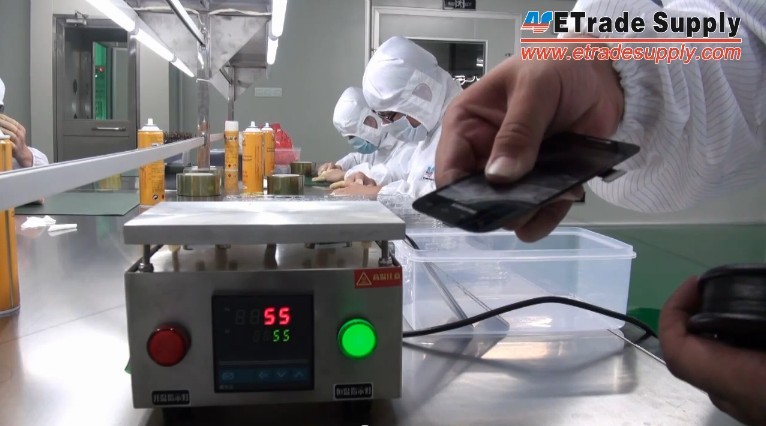
Step 2 – Separate the broken glass from the digitizer using the Molybdenum string
Attach one end of the molybdenum string to something secure. The other end you can hold or attach to another secure object. Wearing gloves as the assembly will be hot, wedge the string between the broken glass and digitizer while gently moving the assembly in a sawing motion. If there is too much resistance it may need to be heated longer. Keep doing this until you have removed all the glass.
Step 3 - Remove any left-over adhesive
It is necessary to remove any adhesive still stuck on the screen. We recommend using some sort of electronic cleaning solution in order not to damage the electronic components.
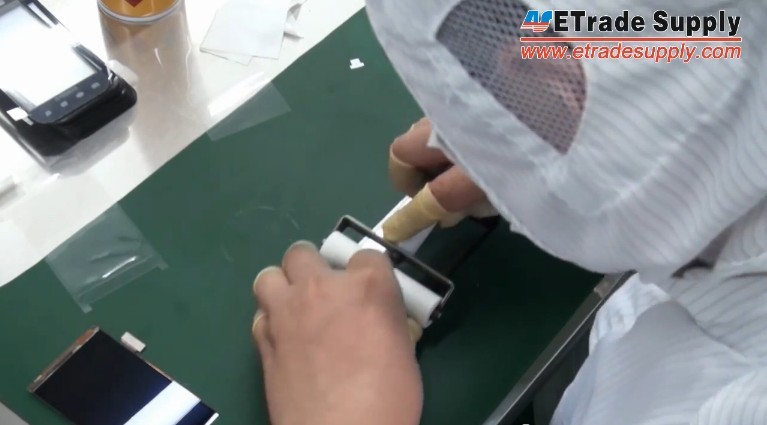
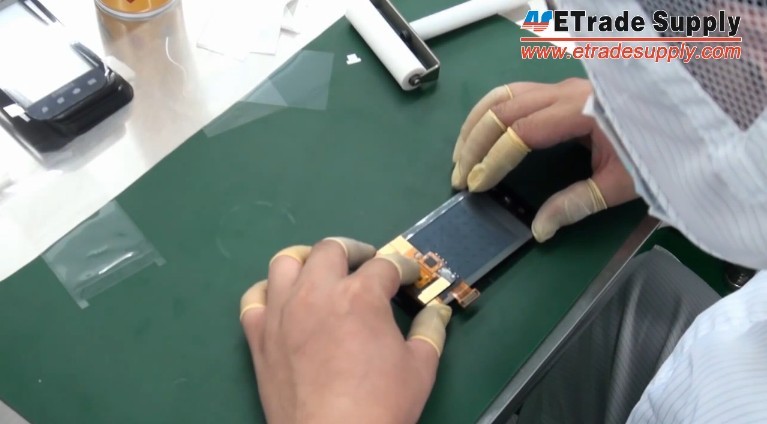
Step 4 - Place the double sided adhesive
Peel one side of the adhesive and stick it on the digitizer in the center. Next, use a rolling tool to make sure it is on tight. Next, peel off the other side of the adhesive and carefully place the LCD centered on top, don’t place it upside-down! Apply pressure to make sure it’s on tight.
Step 5 – Remove the left-over air bubbles
For best results, the newly assembled glass and assemblies must then be placed in an industrial autoclave to remove all left-over air pockets. Smaller vacuum devices have also been reported to give successful results.
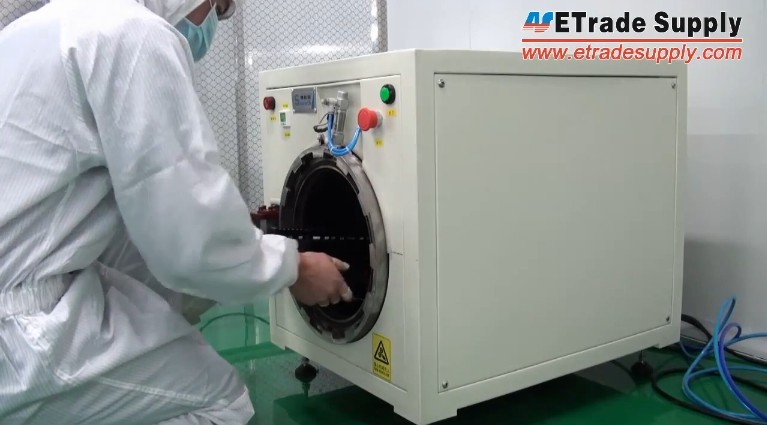
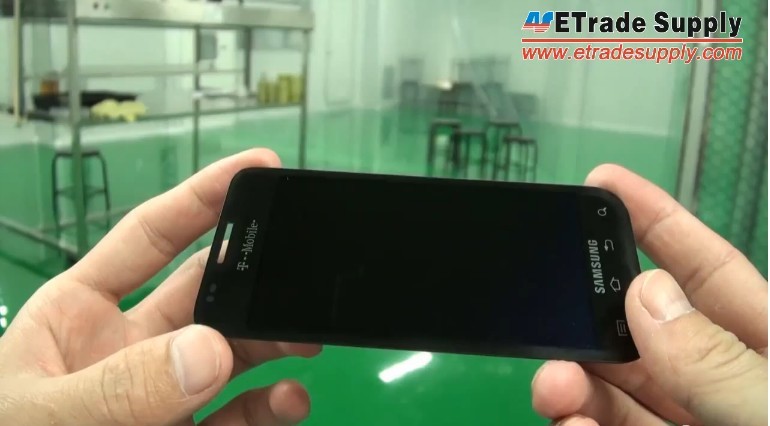
The end result is a bubble free assembly.
From the above-mentioned tutorial, you can learn how to separate the glass from the digitizer and LCD for Samsung Galaxy S series, S2 models, S3 models, Galaxy S4, Note I and Note II models and other AMOLED screens, as well as some other phones using full glass adhesives. BUT THIS PROCESS IS RECOMMENDED FOR PROFESSIONALS ONLY. Also, you can find the Glass Screen Only Replacement Video in Youtube and the Samsung Galaxy replacement parts from ETrade Supply:
Samsung Galaxy S4 digitizer and LCD screen assembly parts:
https://www.etradesupply.com/samsung/galaxy-models/samsung-galaxy-s4-gt-i9500.html
Samsung Galaxy S3 digitizer and LCD screen assembly parts:
https://www.etradesupply.com/samsung/galaxy-models/samsung-galaxy-s-iii-s3-gt-i9300.html
Samsung Galaxy S2 digitizer and LCD screen assembly parts:
https://www.etradesupply.com/samsung/galaxy-models/samsung-galaxy-s-ii-i9100.html


