


How to Assemble the Small Parts on Your iPhone 5 & 5S& 5C LCD Screen Assembly
BY Davi | 六月 2nd, 2015 | 0 | 0
LCD screen assemblies are easily damaged, which results in them getting broken and needing to be replaced. When that happens you have a couple of choices to make, but among the final choices you can choose to buy a pre-assembly front assembly (saving you time and money), or you can buy just the screen and assemble it yourself.
If you choose the latter you will have to make sure you transfer over all the small components such as the front facing camera retaining bracket and sensor retaining bracket, which is required to make sure other parts will fit perfectly. Also, keep in mind if you need to replace some of the smaller components that they can be hard to find.
Instead, one more tip, the processes to re-assemble the iPhone 5, iPhone 5C and iPhone 5S are similar, but the iPhone 6's LCD Screen's assembly is somewhat different. Follow this guide below if for your iPhone 5 or iPhone 5S.
Tool Needed:
- Tweezers
- PH00 Philips Screwdriver
Small Parts list:
- Replacement Part for Apple iPhone 5C Home Button - Black - A Grade
- Replacement Part for Apple iPhone 5C Home Button Rubber Gasket - A Grade
- Replacement Part for Apple iPhone 5C Sensor Flex Cable Ribbon with Front Facing Camera - A Grade
- Replacement Part for Apple iPhone 5C Ear Speaker - A Grade
- Replacement Part for Apple iPhone 5C Home Button Mounting Assembly - A Grade
- Replacement Part for Apple iPhone 5C LCD Back Plate - A Grade
- Replacement Part for Apple iPhone 5C Home Button Flex Cable Ribbon - A Grade
- Replacement Part for Apple iPhone 5C Screw Set (47 pcs/set) - A Grade
- Replacement Part for Apple iPhone 5C LCD Screen and Digitizer Assembly with Frame - Black - A Grade
- Replacement Part for Apple iPhone 5C Ear Speaker Mesh Cover - A Grade
- Replacement Part for Apple iPhone 5C LCD Heat Shield - A Grade
- Replacement Part for Apple iPhone 5C Anti-Water Sticker - A Grade

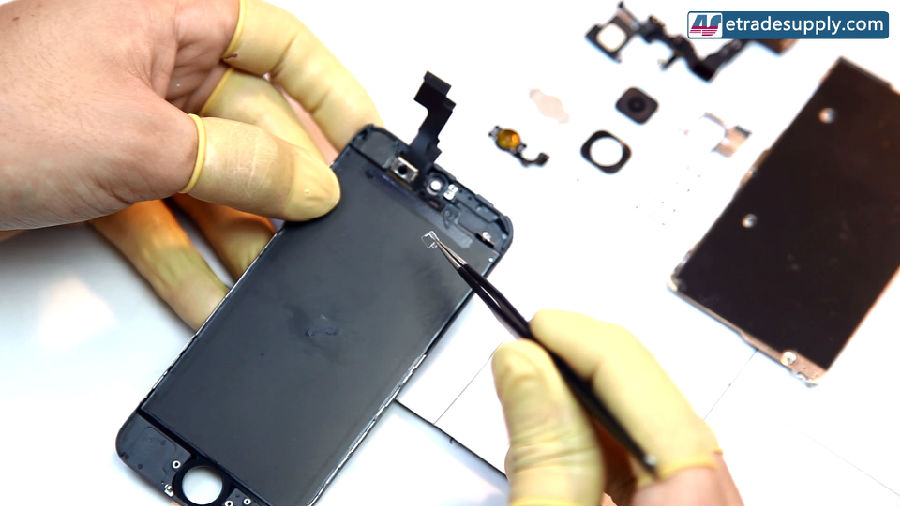
1. Place the rubber ear speaker cover into the slot. Dip it in a little adhesive before installation.
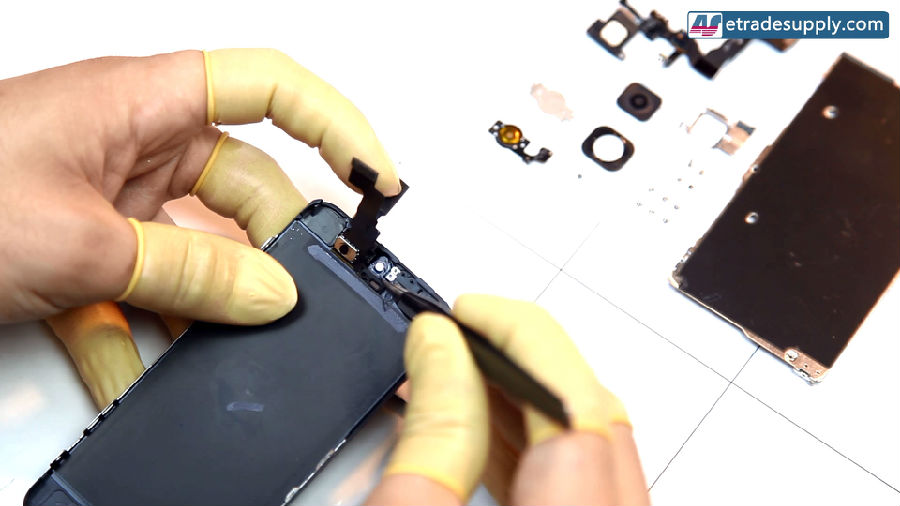
2. Put the front facing camera-retaining bracket into its slot as with the ear speaker cover dip it into a little adhesive. Pay attention to the positioning, make sure to place it in the center of the front-facing camera hole otherwise it could block the camera.
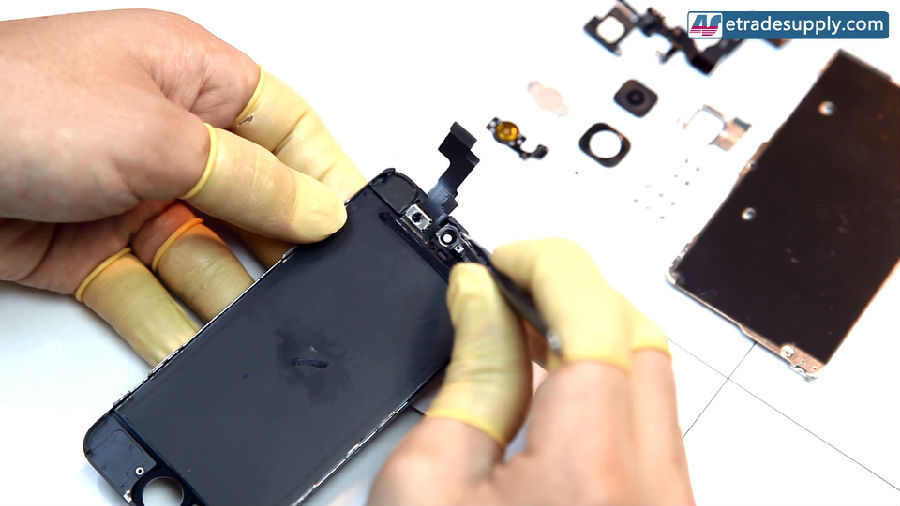
3. Lay the Sensor retaining bracket into its slot. Similar to the front facing camera-retaining bracket, it should be placed in the center of the hole.
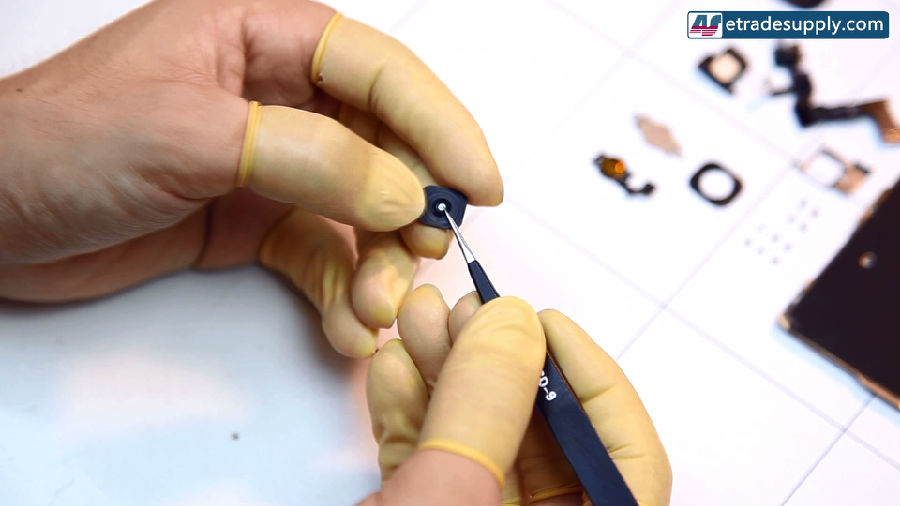
4. Put the tiny iron disk on the back of the home button flex cable.
5. Attach the rubber gasket around the back of the home button.
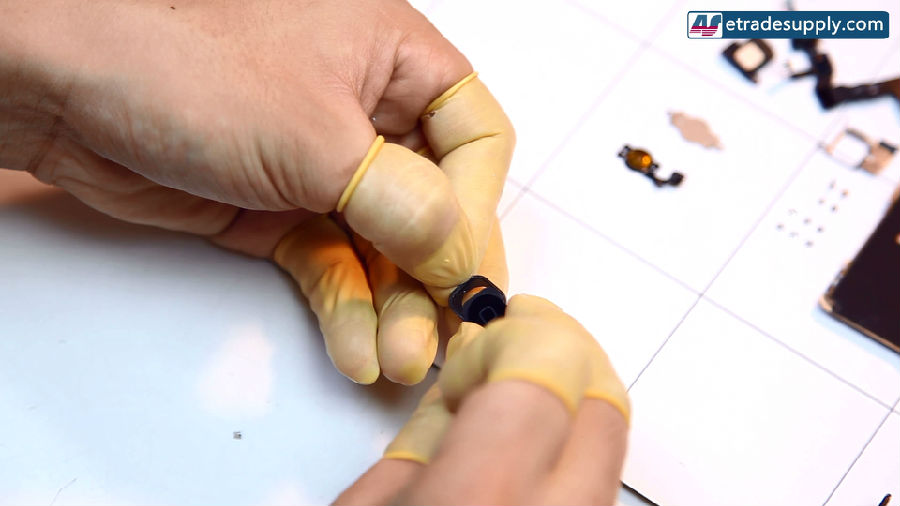
6. Attach the metal bracket to the back of the home button flex cable.
7. Stretch the LCD heat shield on the metal back plate. If it has not already been applied (if you are doing this yourself make sure to line up the two holes).
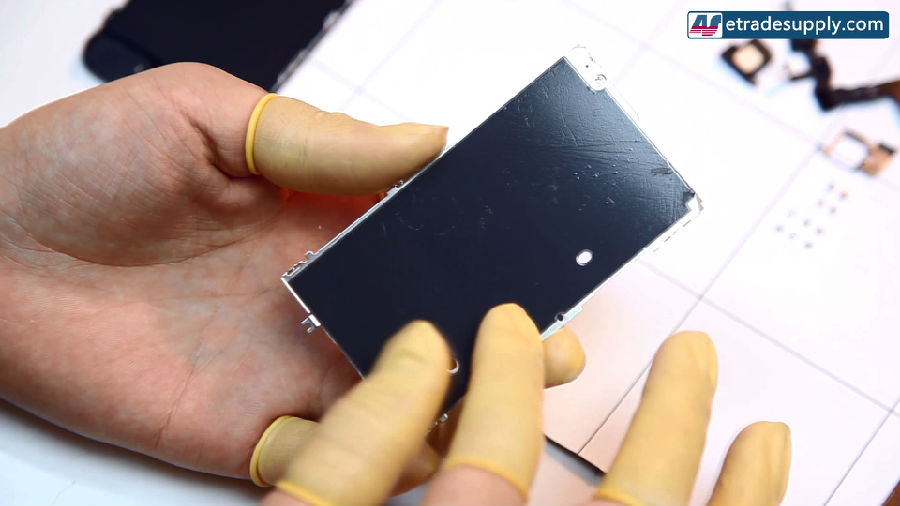
8. Stick the water damage sticker on the metal back plate.

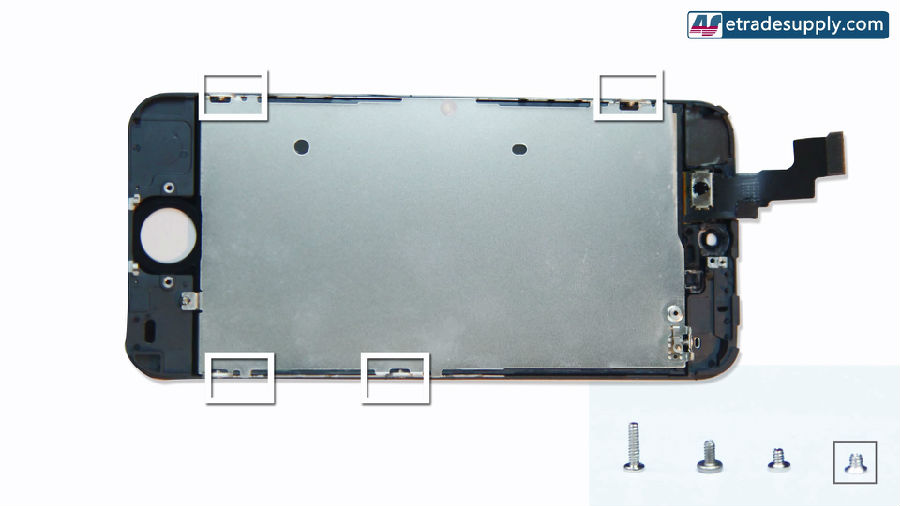
9. Put the metal backplate on the back of the LCD screen assembly.
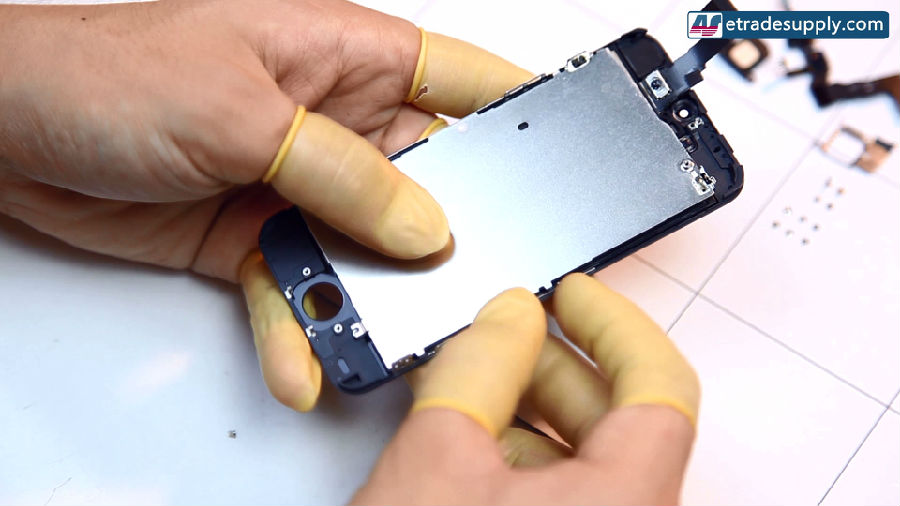
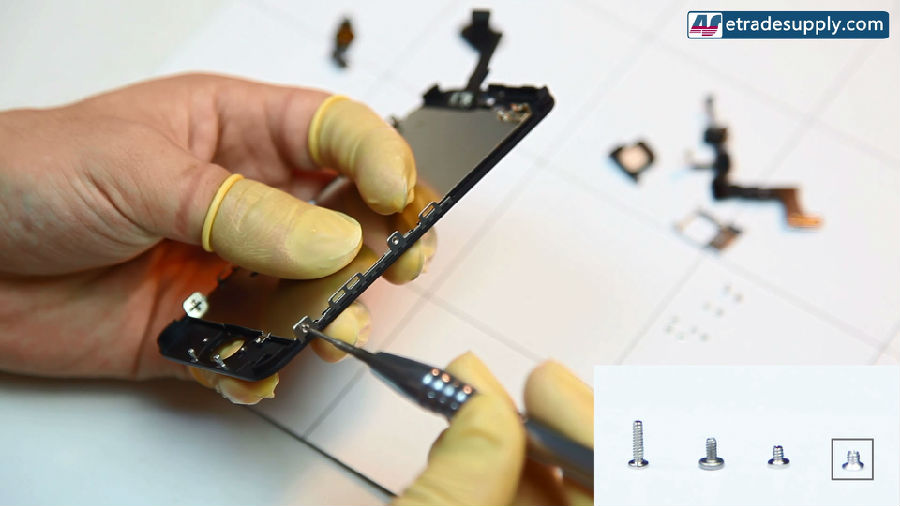
10. Fasten the 4 screws on the metal back plate.
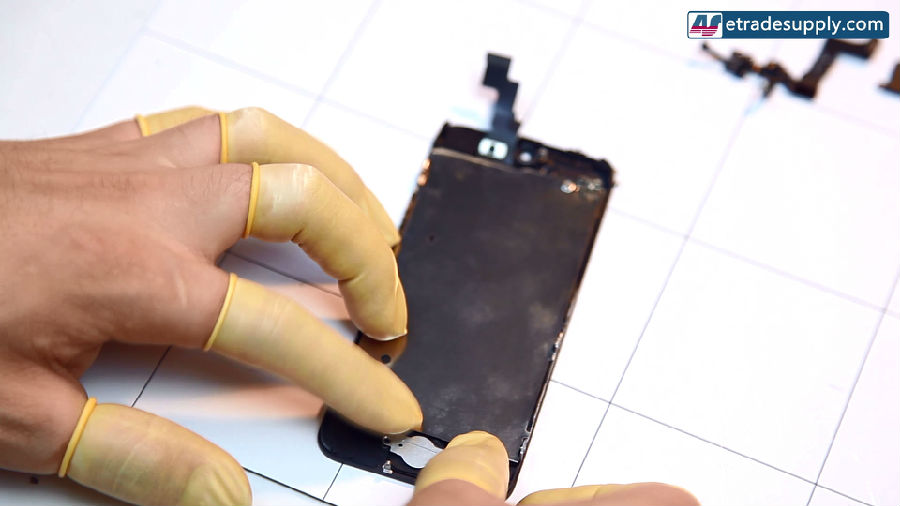
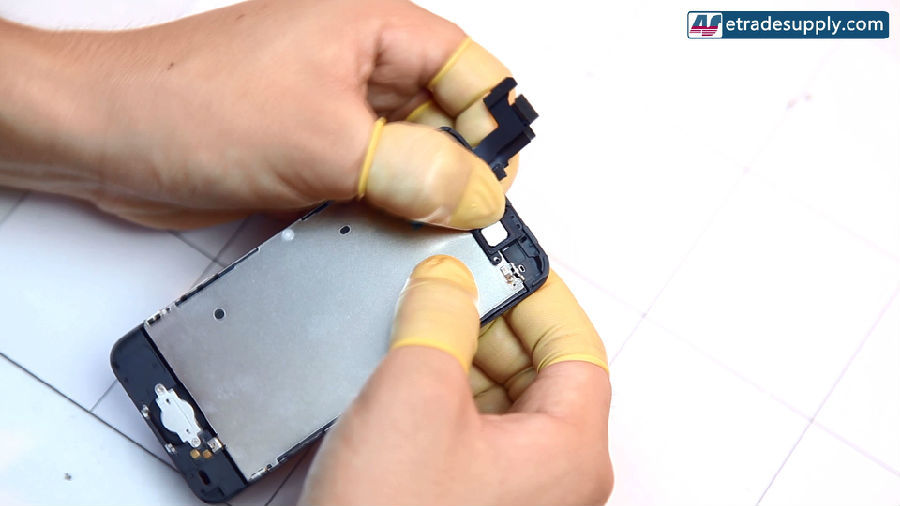
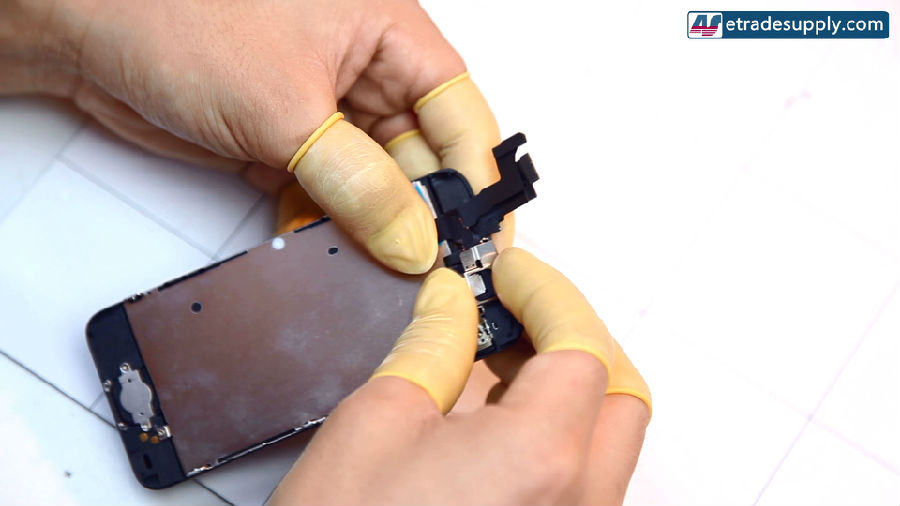
11. Attach the home button with the rubber cover to the LCD screen assembly. (Notice: watch the rectangle to make sure it is oriented correctly.)
12. Mount the home button now, fastening the 2 screws afterward.

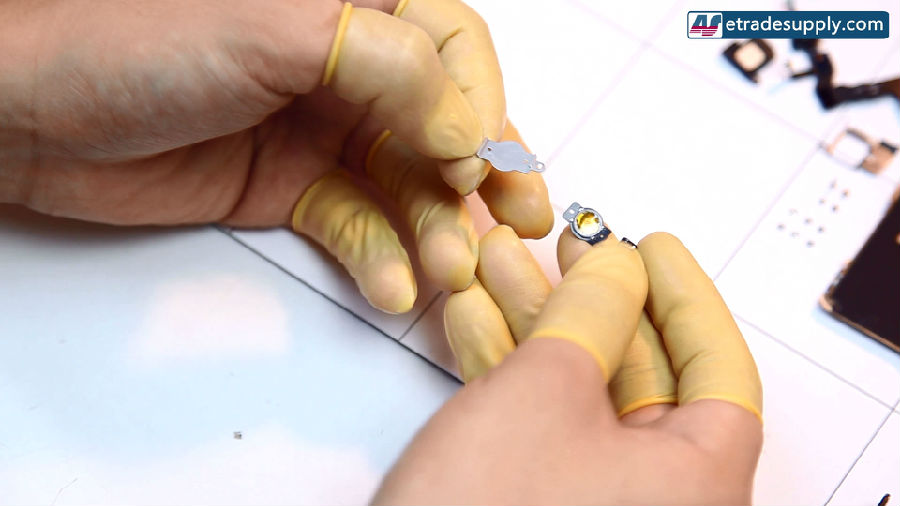
13. Stick the front-facing camera's heat shield on the camera.
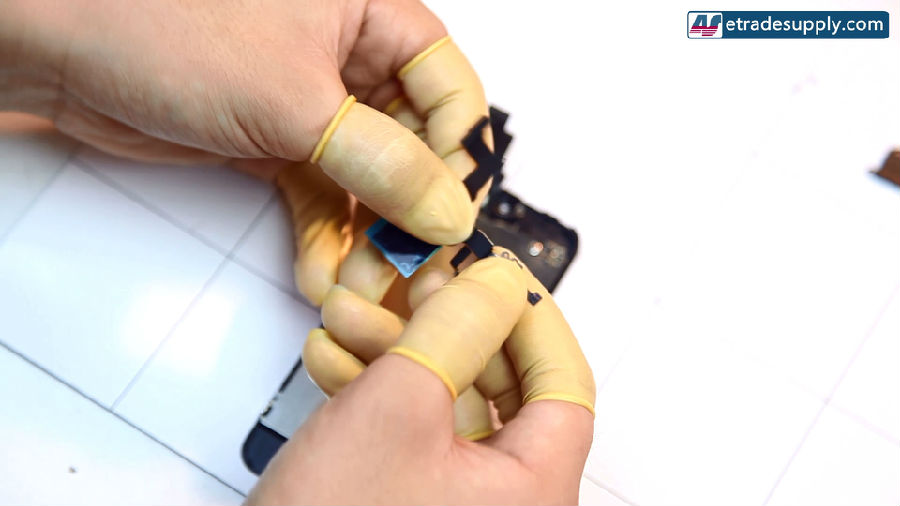
14. Fold the front-facing camera's flex cable ribbon, then it into the slots. Make sure the front-facing camera and the sensor are perfectly fit in their slots.
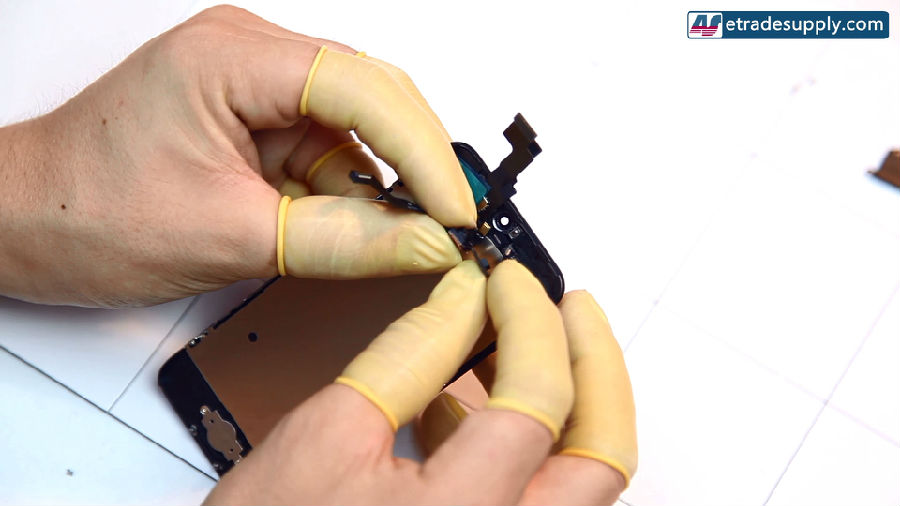
15. After the front-facing camera flex cable with sensor flex cable ribbon have been put into the right place, the ear speaker can be set on the flex cables. Pay attention to the ear speaker's contacts and the holes on the flex cable are perfectly fit together.
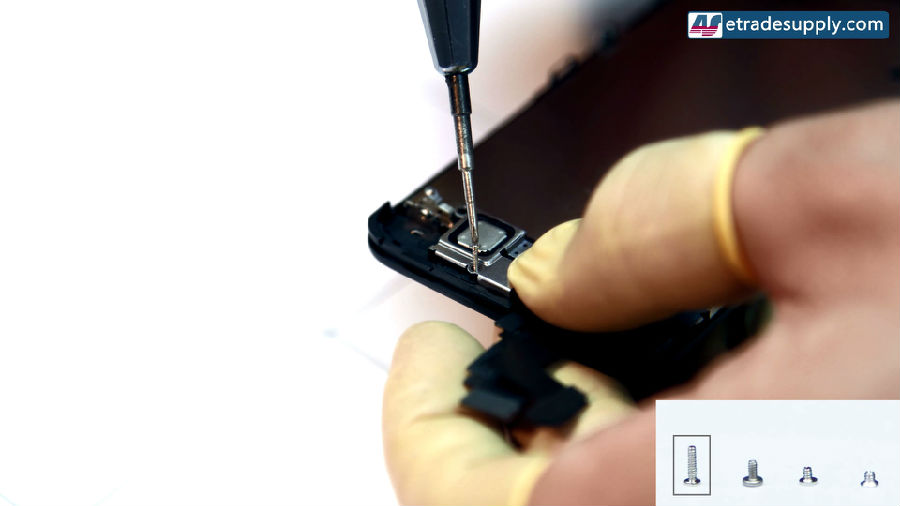
16. It's time to install the ear speaker's retaining bracket and fasten the 2 screws.

We also have a video guide you can watch here:
You can also check out our blog to see how we assemble the iPhone 6 LCD's front assembly.
Questions, feel free to contact us directly or comment below. You can also send us an email at service@etradeuspply.com, we'll reply ASAP.
|
|

|
|
|
|
|
|---|


