


How to Assemble the iPhone 5S for Damaged Parts Repair
BY yuki | 十月 8th, 2013 | 0 | 1
Is the iPhone 5S the best smartphone on the market? Did iPhone 5S meet users’ expectation? Did the 5S come as a surprise? Despite the fact that iPhone 5S got a bunch of negative reviews, Apple still reached a new record with 9 million units sold at the weekend of its release, along with the iPhone 5C.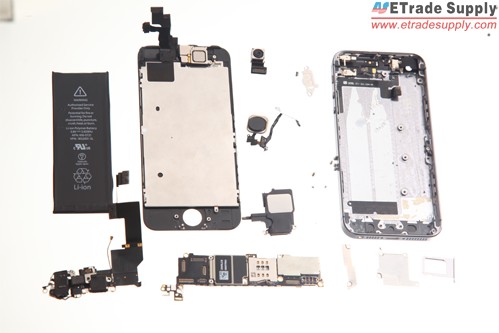
When these iPhone 5S owners unluckily drop their 5S and find the digitizer touch screen, or glass lens cracked, what they can do? Apple’s warranty will not cover the cracked screen repair if the smashed screens problems are caused by human factors. Previous reports confirmed that Apple will charge $149 to fix the broken iPhone screens in its Apple Stores. Users can bring their shattered iPhone to a third-party repair shops to get it repaired. Or to save money, iPhone 5S users with repair experience can opt to replace the damaged 5S displays or other 5S parts themselves following this repair guide iPhone 5S Repair: step-by-step disassembly instruction. Now we offer a complete iPhone 5S reassembly guide to help people finish iPhone 5S reassembly job.
What you’ll need to reassemble/repair the broken iPhone 5S parts
• Small Phillips Screwdrivers
• Pentalobe Screwdrivers
• Flathead Screwdrivers
Step 1 Assemble the iPhone 5S motherboard
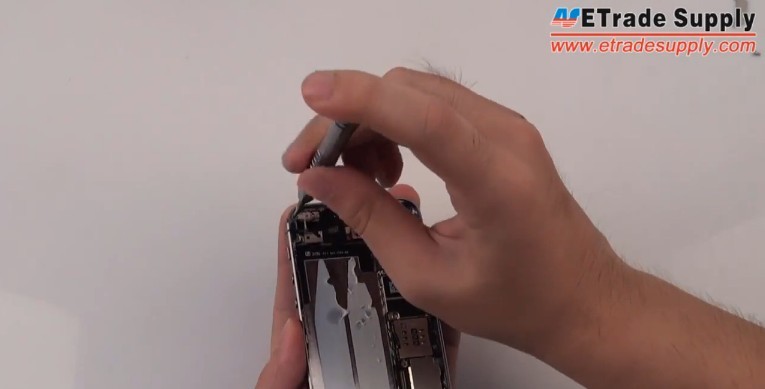
Go to connect the power button flex cable ribbon, then install the motherboard to the rear housing.
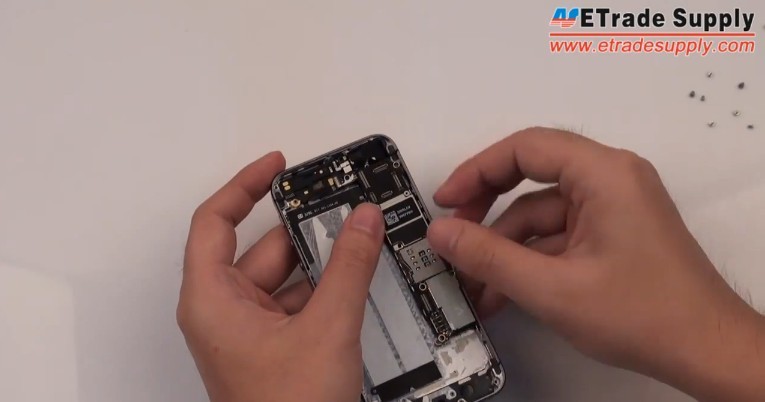
Step 2 Secure the Motherboard
Fasten 7 screws to secure the motherboard to the back plate.
Step 3 Place the Vibrating motor
Secure 3 screws to fasten the 5S Vibrating motor
Step 4 Settle the rear facing camera
Place the 5S rear facing camera by connecting it to the motherboard.
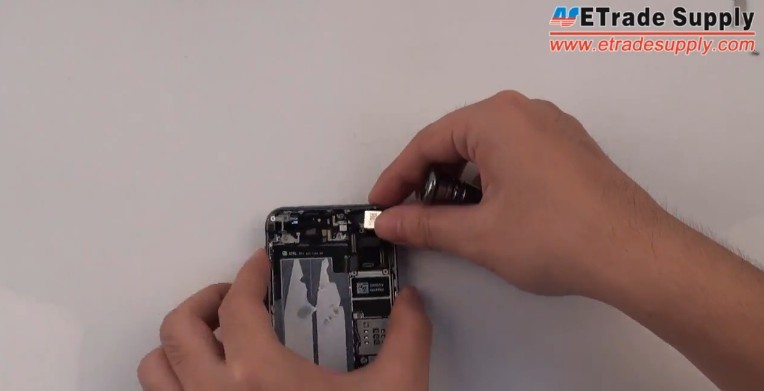
Step 5 Install the charging port flex cable and loud speaker
Go to reassemble 5S by placing the charging port flex cable and loud speaker, and then fasten 7 screws to secure it.
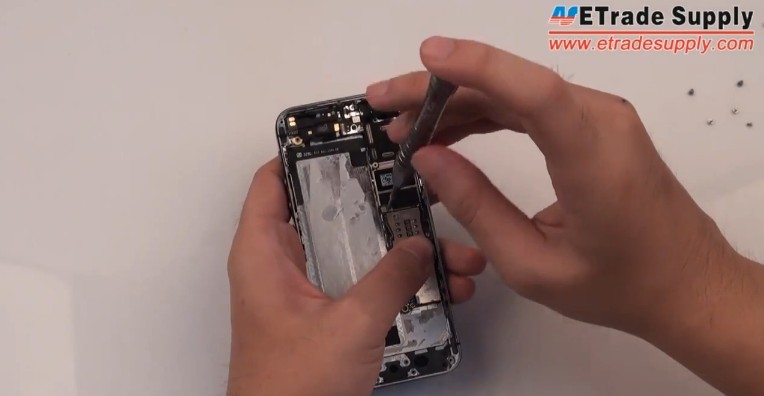
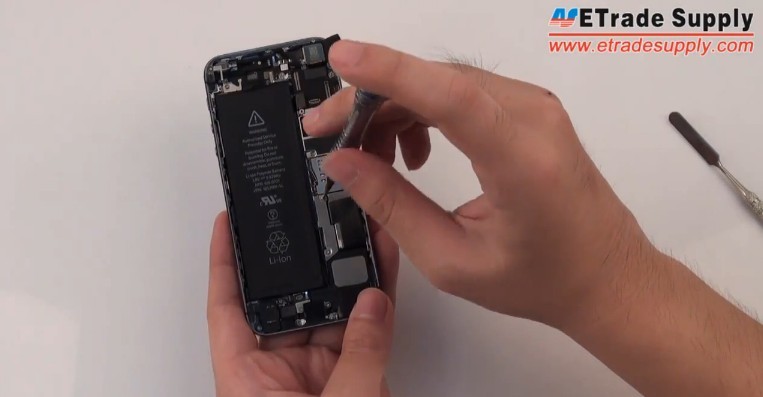
Step 6 Install the 5S battery
Install the battery and connect it to the motherboard.
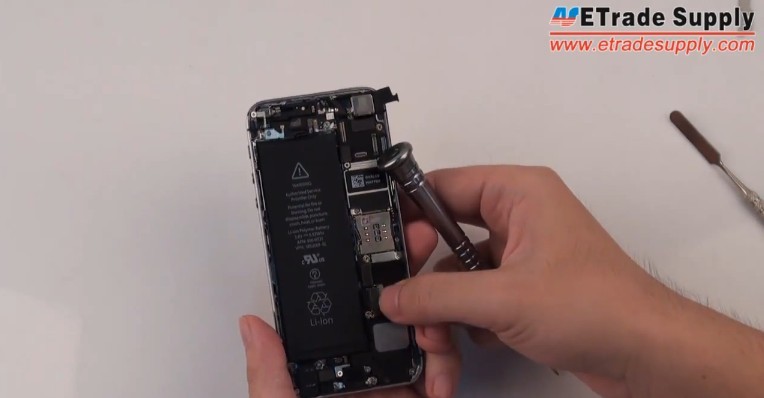
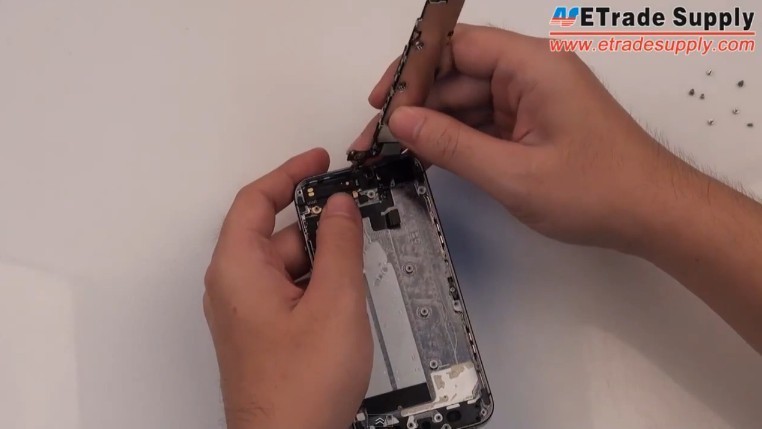
Step 7 Secure retaining bracket
Put on the retaining bracket and fasten it with 2 Phillips screws
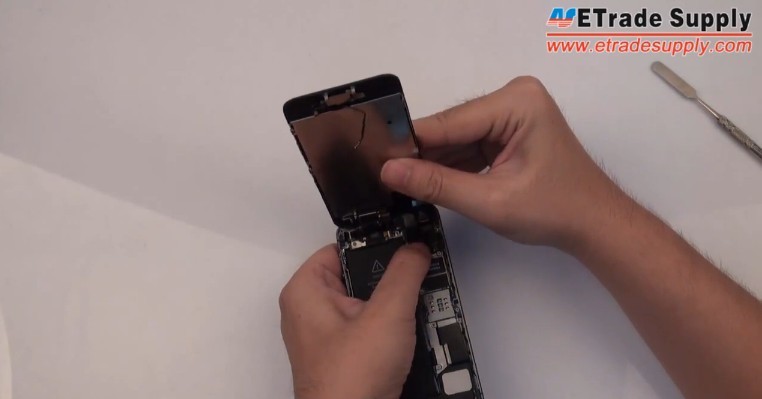
Step 8 Assemble the LCD screen assembly
Install the LCD and touch screen digitizer assembly to the back plate, and connect the three flex cable ribbons of FaceTime camera, digitizer touch screen, and LCD to the motherboard.
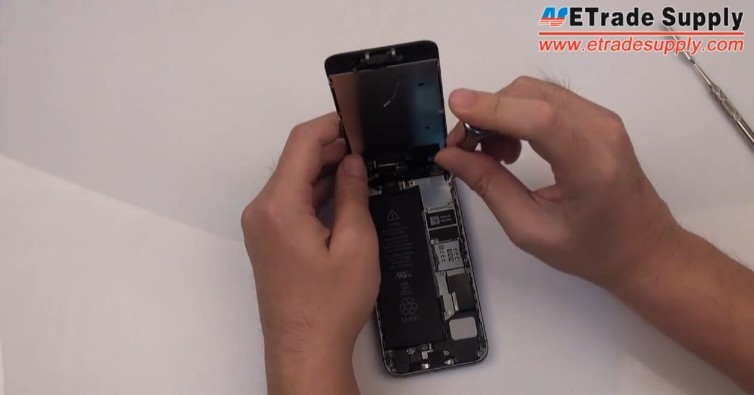
Step 9 Secure the retaining bracket
Put on the retaining bracket and fasten 4 screws to secure it.
Step 10 Assemble the fingerprint sensor part
Connect the flex cable ribbon of the fingerprint sensor in the home button to the Lightning port assembly with the Spudger tool.
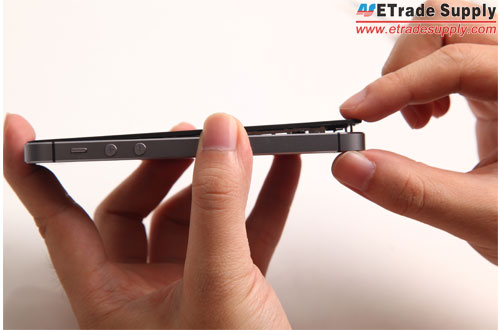
Step 11 Install the 5S front display assembly
Press down the LCD and digitizer touch screen assembly
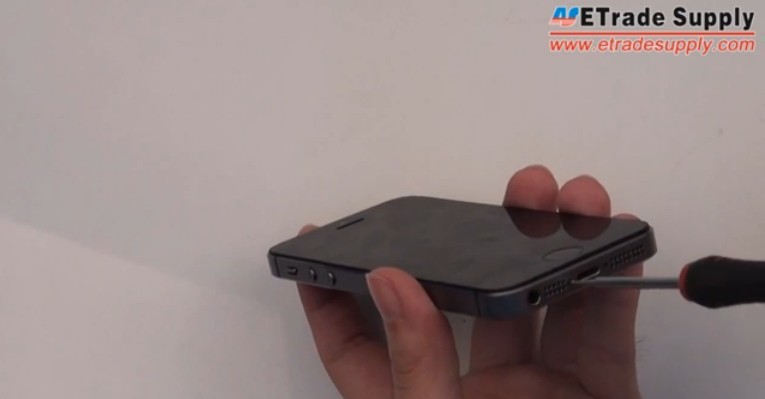
Step 12 Fasten 2 screws to secure the 5S
Use a Pentalobe screwdriver to fasten 2 screws next to the dock connector.
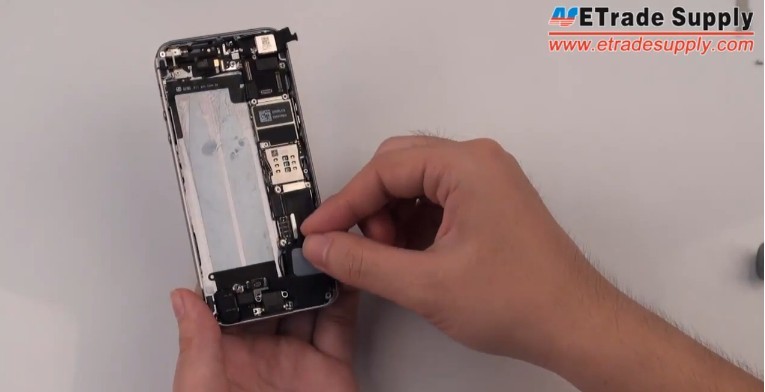
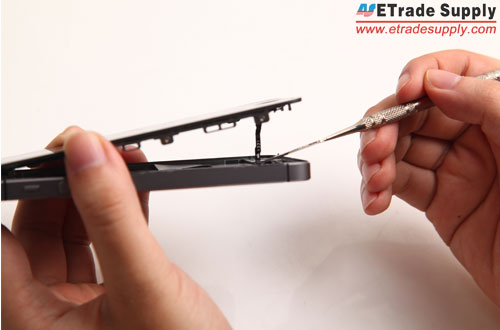
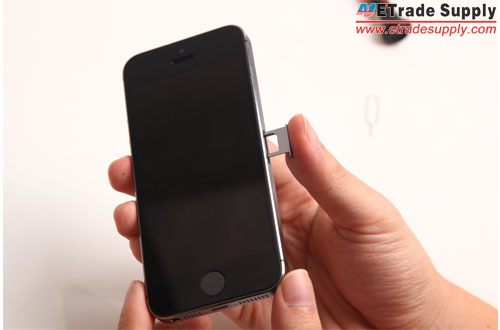
Step 13 Install the SIM card tray
Insert the SIM card tray into the slot on the right side of the 5S body.
Click to learn Apple iPhone 5S Assembly Video and follow it step by step.


 IOS 17.4 official version pushed to block battery vulnerability
  Is the Chinese-made rear case for the iPhone 15 series going on the market?
  New products coming:USB to MFI Lightning Cable
  Big BUG of iPhone 15
  Successfully submitted!