iPhone 5S Repair: Step-by-Step Disassembly Instruction
BY yuki | 九月 30th, 2013 | 10 | 9
Apple's latest flagship iPhone 5S has become the spotlight these days. We managed to get the new smartphone and settled down to disassemble the iPhone 5S. Honestly, it is quite difficult to repair than its predecessor - the iPhone 5. So, we walk you through the entire iPhone 5S take apart instruction here to provide how to repair iPhone 5S. Following the step-by-step iPhone 5S disassembly guide, you can master the repair steps and learn the important notices during the repair process.
According to the iPhone 5S disassembly guide, users not only know the way to tear down iPhone 5s, but also learn how to repair broken iPhone 5S parts: such as, how to replace the damaged iPhone 5S screen. Mastering DIY repair skills, people can also fix these broken 5S parts problems:
• Replace cracked or shattered iPhone 5S screens.
• Repair iPhone 5S broken rear housing.
• Fix iPhone 5S malfunctioned loud speaker.
• Replace damaged iPhone 5S earphone.
• Replace iPhone 5S charging port flex cable ribbon.
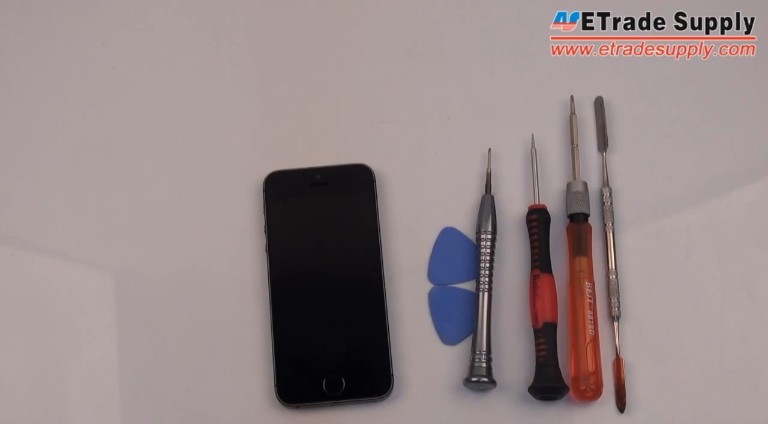
What you'll need to disassemble/repair broken iPhone 5S parts
Recommend follow these details steps below to accomplish the iPhone 5S disassembly job.
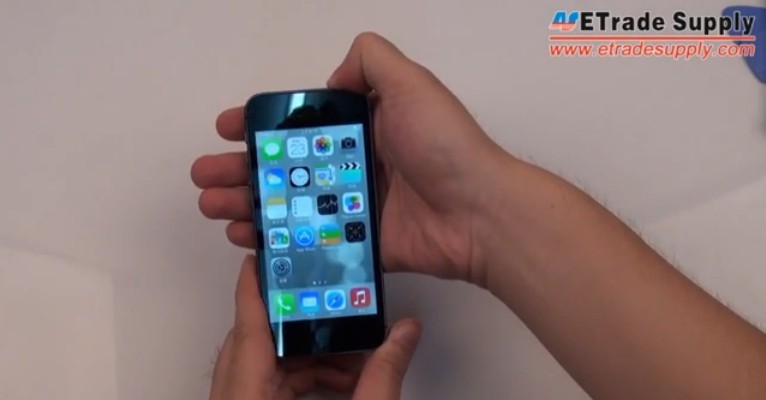
Step 1: Power off the iPhone 5S and remove the SIM card tray
Before performing any 5S components repair, you need to power off the device and take out the SIM card tray before opening up the phone.
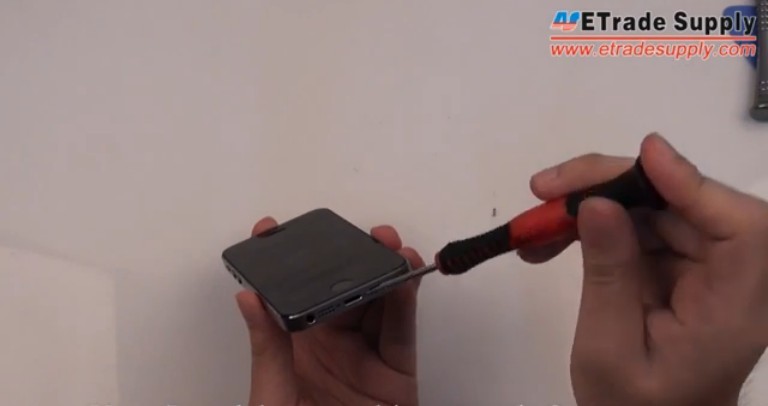
Step 2: Remove the iPhone 5S back plate
Use a Pentalobe screwdriver to undo 2 screws at the bottom of the phone.
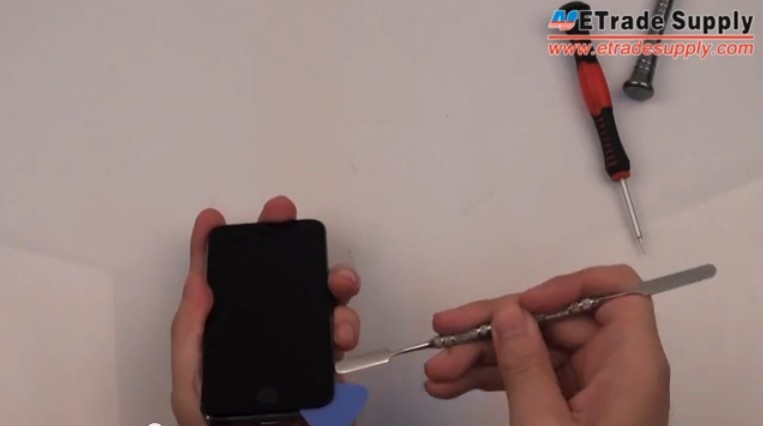
Step 3: Use Metal Spudger Opening Tool to pry up the LCD screen assembly.
Gently pry up the LCD screen assembly to avoid damage on the flex cable ribbon.
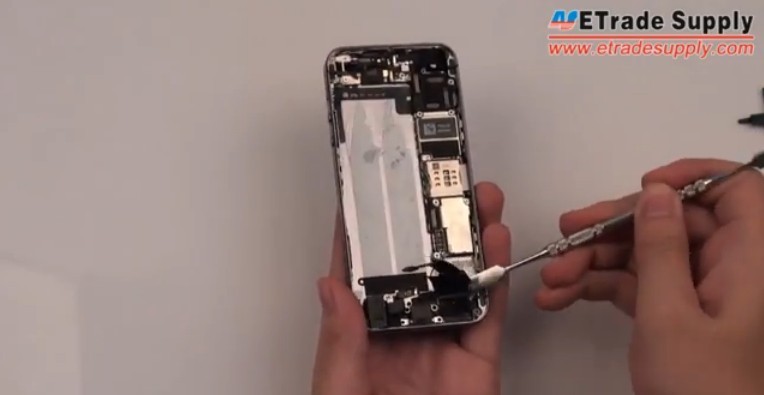
Step 4: Pry up the retaining bracket and home button connector
A flex cable ribbon connecting the fingerprint sensor in the home button to the Lightning port assembly. The flex cable ribbon is fragile. Handle it carefully to disconnect the Touch ID sensor.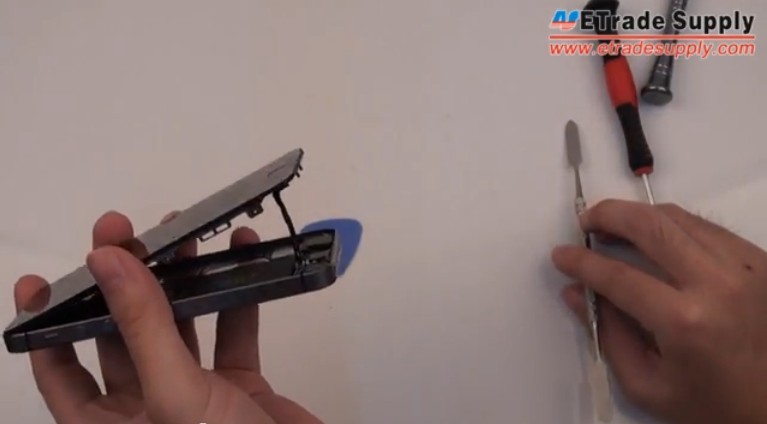
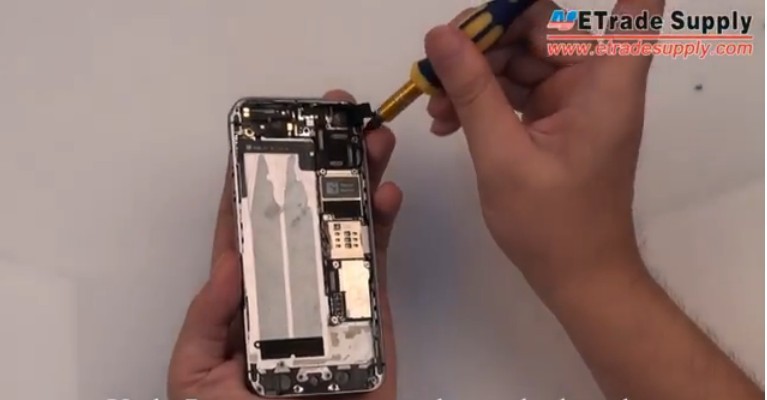
Step 5: Undo 4 Phillips screws to remove the bracket
Step 6: Disconnect 4 connectors to remove the LCD screen assembly. After lifting up the flex cable ribbon connectors of the FaceTime Camera, digitizer touch screen, power flex and LCD screen, the display assembly is free.
Step 7: Disconnect a connector to remove the 5S rear facing camera
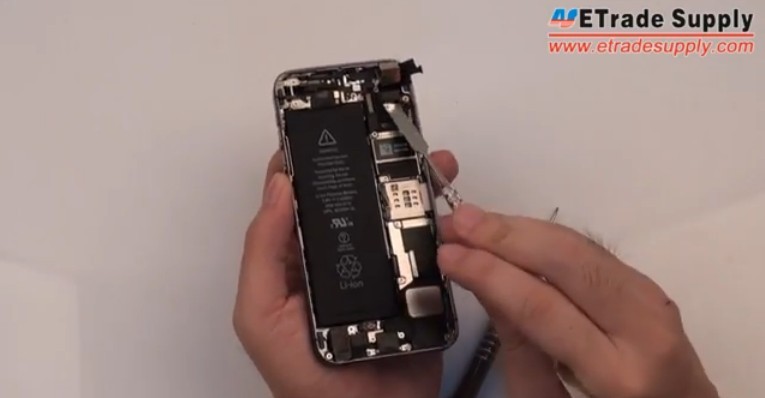
Step 8: Undo 2 screws to remove the retaining bracket.
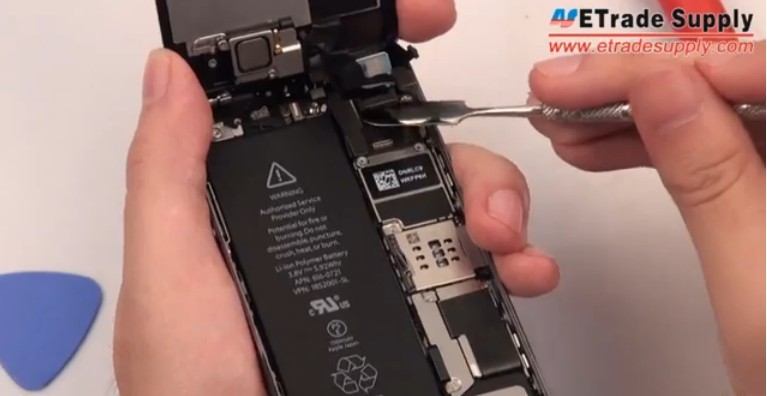
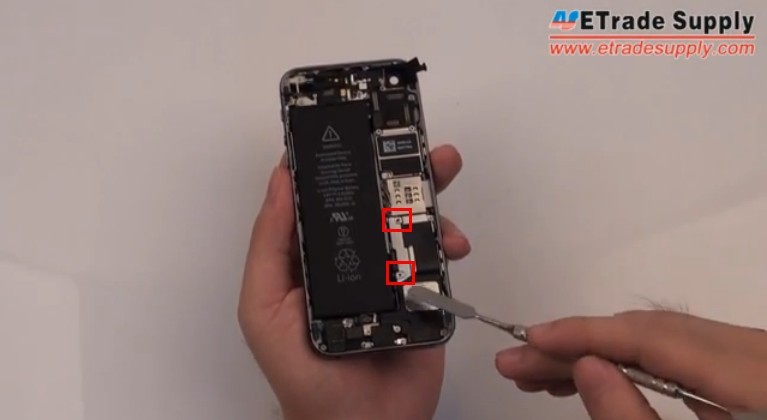
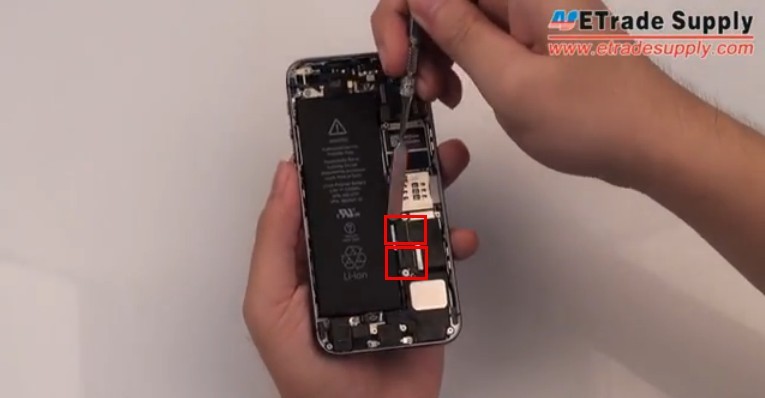
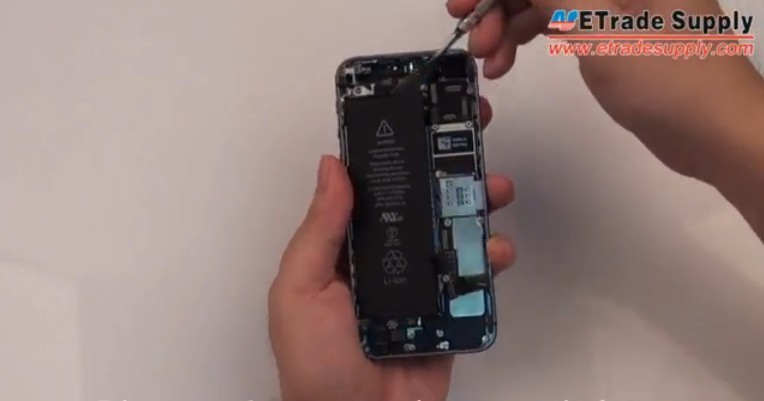
Step 9: Disconnect 2 connectors then pry up the battery.
The battery is stuck firmly on the rear housing by the glue. Use the cellphone spudger tool to carefully pry the battery.
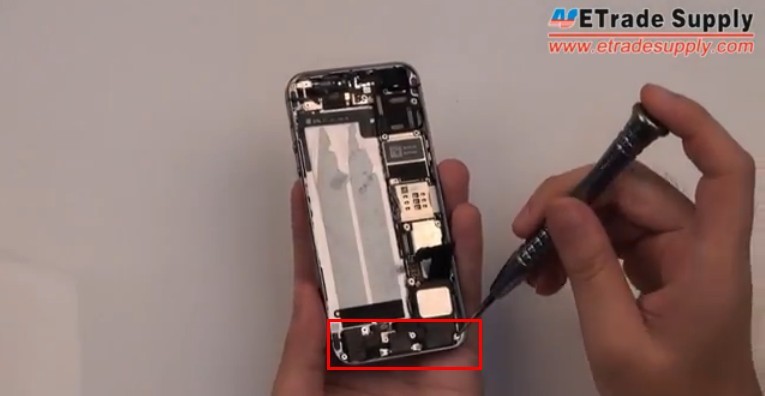
Step 10: Undo 7 screws, then pry up the loud speaker
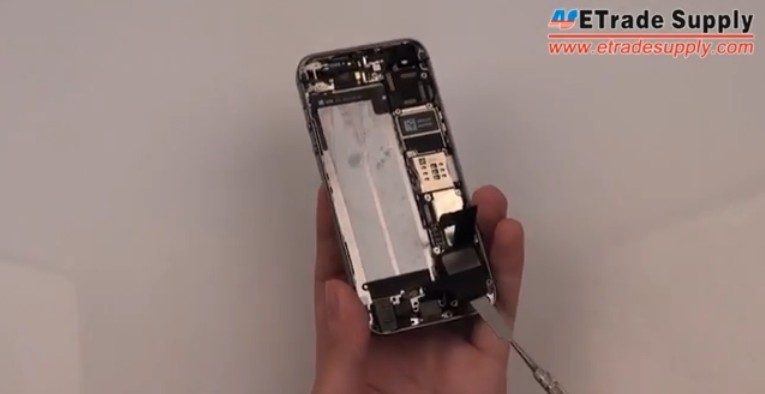
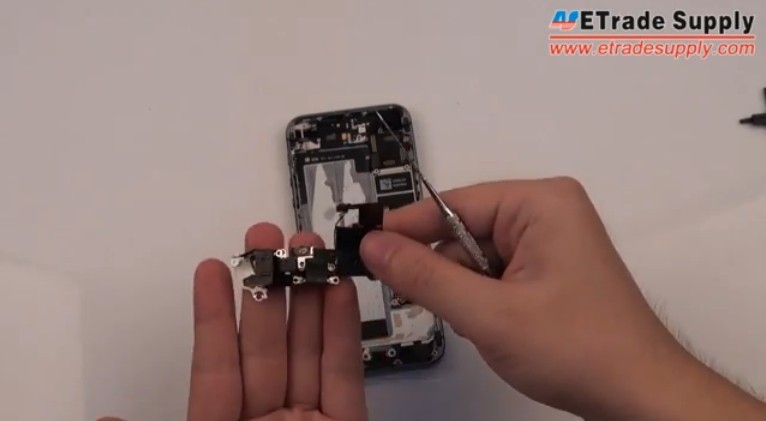
Step 11: Remove the charging port flex cable
Step 12: Undo 7 screws to remove the motherboard
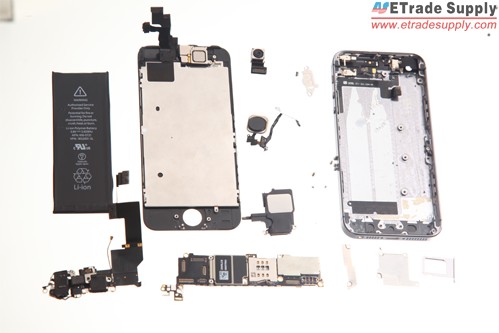
Step 13: iPhone 5S Tear Down Parts
Click to learn iPhone 5S Take Apart Video and follow it step by step.


