

 Loading...
Tools you will need:


LG Nexus 4 Disassemble/Take Apart/Tear Down Tutorial
As Google’s fourth generation smartphone, Nexus 4 has been the spotlight for its special dotted glitter pattern design, fast processor, and Android 4.2.2 operating system etc. However, the device’s etched glass is easy to be broken. Users should pay more attention to their Nexus 4 when hold it on hands. Dropping your new Nexus 4 only takes few second, but the pain of repairing the smashed screen lasts for more moments. If your beloved Nexus 4 is not covered insurance, you have to take it to repair shop to have it fixed. Or if you plan to replace cracked screens on your own, this Nexus 4 teardown infographic is a good tutorial for you.
Tools Needed
2) A Pair of Small Philips Screwdriver
3) Tweezer
4) Case Opening Tool – Triangle
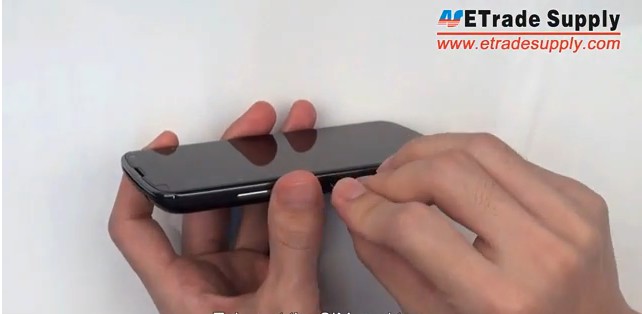
1. Take out the SIM card tray
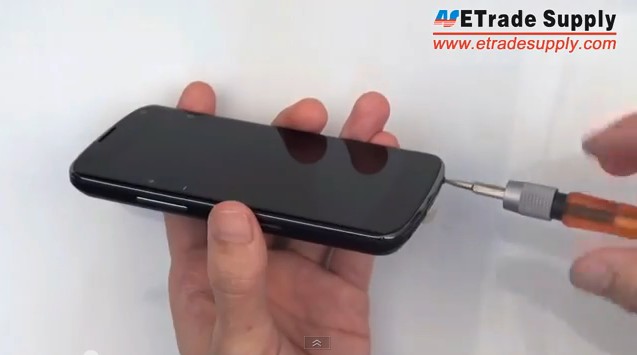
 2. Use Torx 5 screwdriver to undo 2 screws at the bottom of the phone.

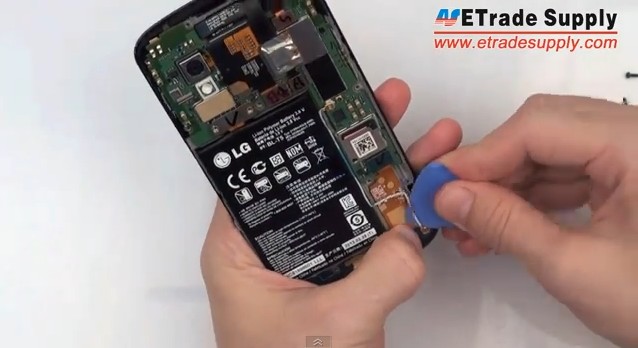
3. Use a case open tool to separate the case from the main part.


4. Use Small Phillips screwdriver to remove 13 screws on the rear housing.
 5. Use case open tool to remove the rear housing

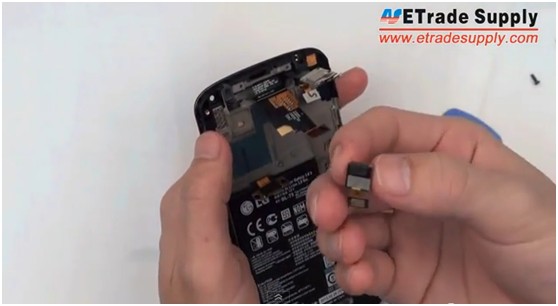
6. Use a Pair of Tweezers to pry out the vibrating motor and ear phone

7. Carefully pry out the loud speaker module

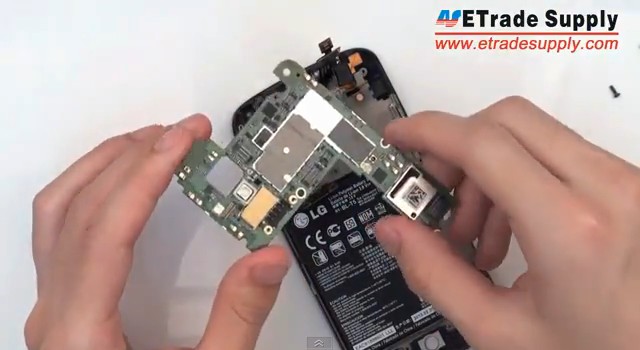
8. Disconnect all connectors on the motherboard
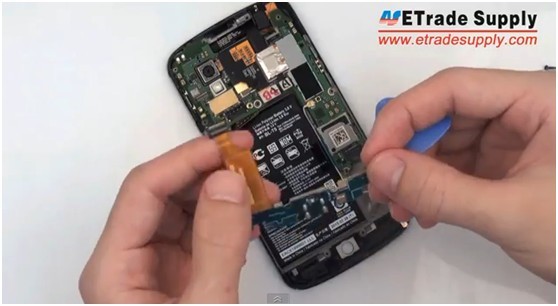
Take out the charging port flex cable
9. Remove the motherboard
10. Remove the front facing camera and rear facing camera
11. Pick out the head phone jack flex cable

12. Take out the antenna and side keys

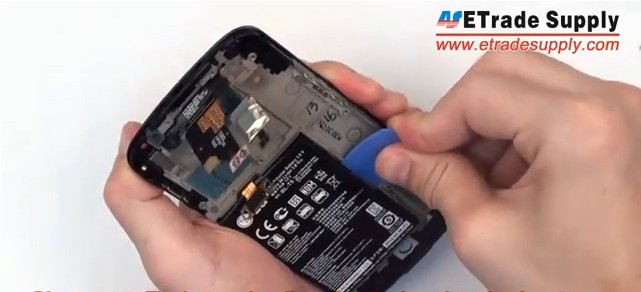
13. Remove Battery
Please note: The battery is adhered to the front housing by strong adhesive. Prying up the battery with too much strength could break it.
14. Tear down Nexus 4 parts

|
|

|
|
|
|
|
|---|


Download and print the repair tutorials here!


