How to Tear Down the iPad Air 3 Display Screen for Earphone Replacement
BY kaye | 九月 15th, 2020 | 0 | 0
Tools Needed:
Screwdrivers-Phillips, Y-type
Hard plastic plectrum
Spudger
Metal prying tool
Tweezers
Hot air gun
Step 1: Tear down the iPad Air 3 LCD Display screen
1.1 Power off the iPad, use hot air gun to blow around the edge and each corner for one or two minutes
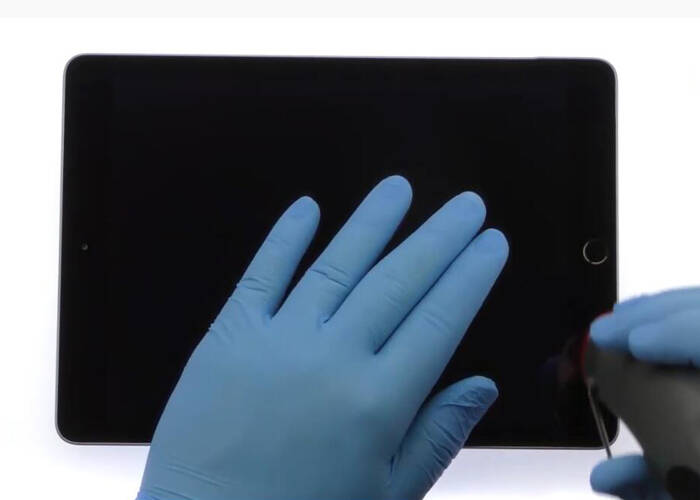
1.2 Use hard plastic plectrums and metal prying tool to slice around and gently pry to separate the display screen. Just be careful and don’t break the screen
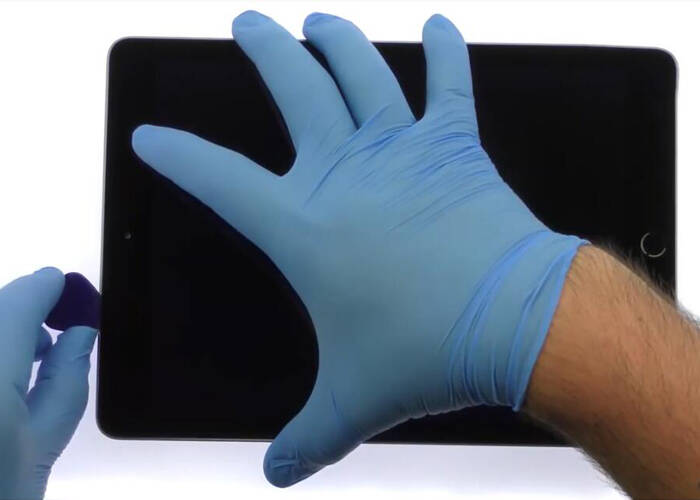
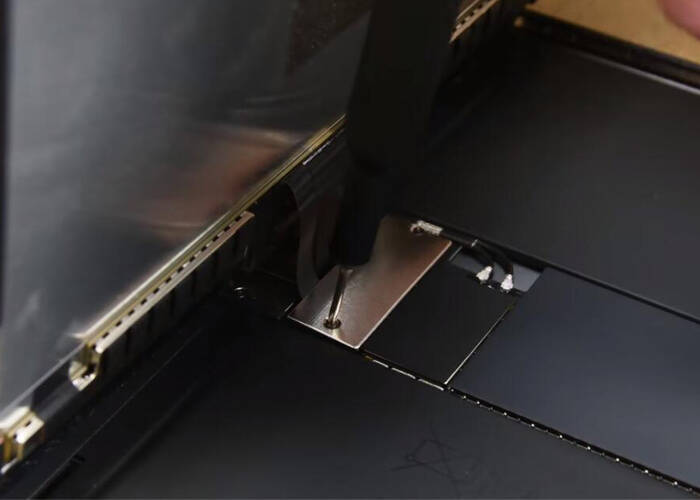
1.3 Carefully pry the display screen after it is separated, unbolt the two Phillips screws, and remove the metal shield for fixing the display flex cables
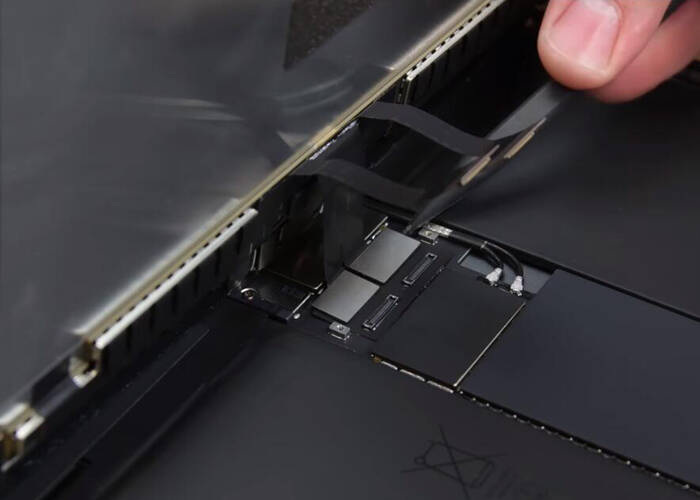
1.4 Disconnect the display flex cables and remove the display
1.5 Twist and remove the four screws and take off the metal shield, here we can see the earphone jack with flex cable on the left side
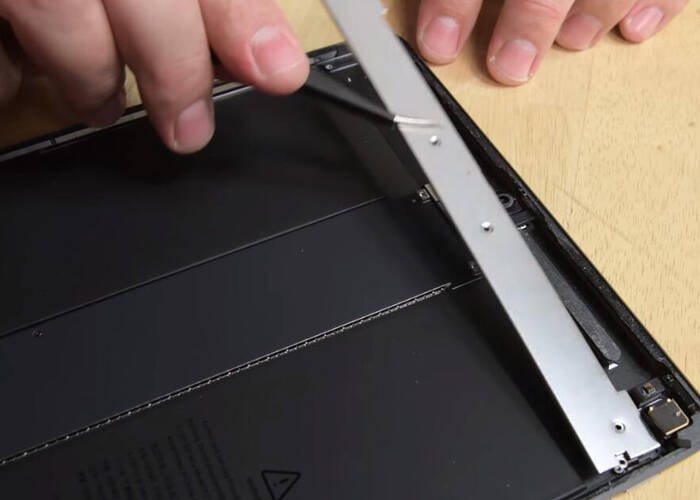
Step 2: Replace the iPad Air 3 headphone jack with flex cable ribbon
2.1 Disconnect the headphone jack flex cable, use spudger to pry and separate the flex ribbon
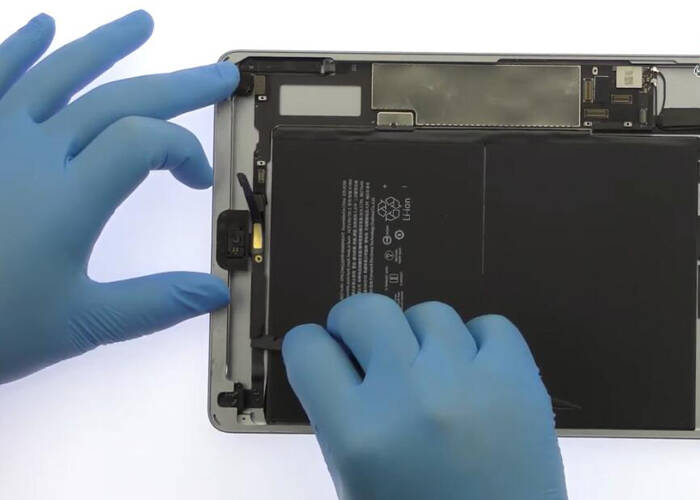
2.2 Unbolt the three screws for fixing the earphone, take off the earphone from the iPad with tweezers carefully
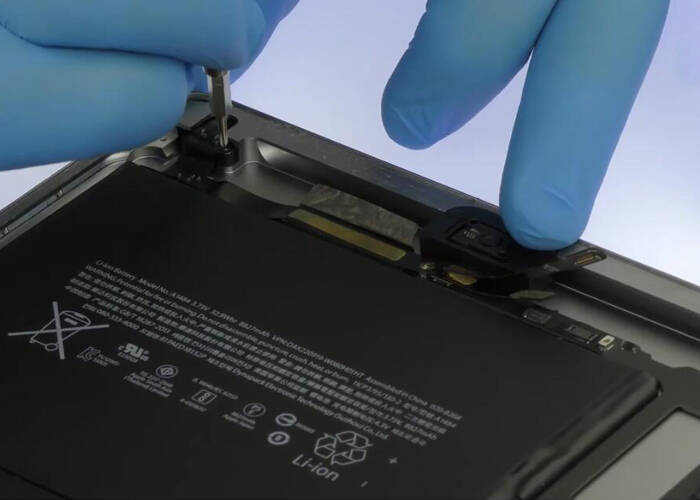
2.3 Install the new iPad Air 3 earphone jack with flex cable ribbon to the iPad and fix it with the screws. Connect the flex cable and press on the flex ribbon to make it smooth
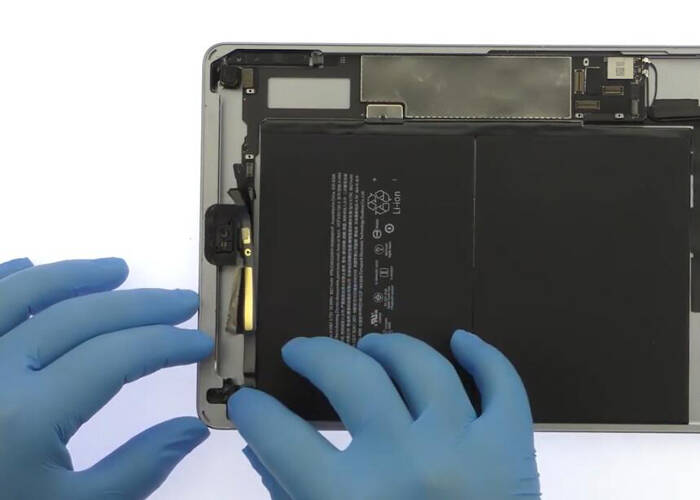
Step 3: Reassemble the iPad Air 3 LCD display screen and digitizer
3.1 Reverse the tear down steps, place the metal shield back, and tighten the four screws back for fixing it
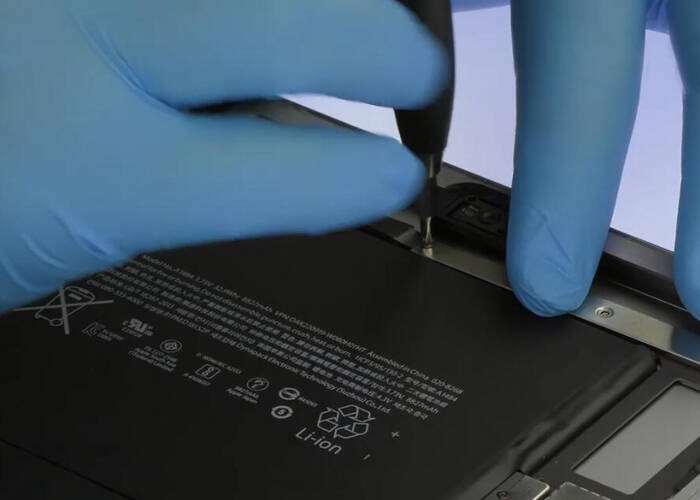
3.2 Connect the display screen back, fixing the flex cable with the metal shield, and tighten the screws
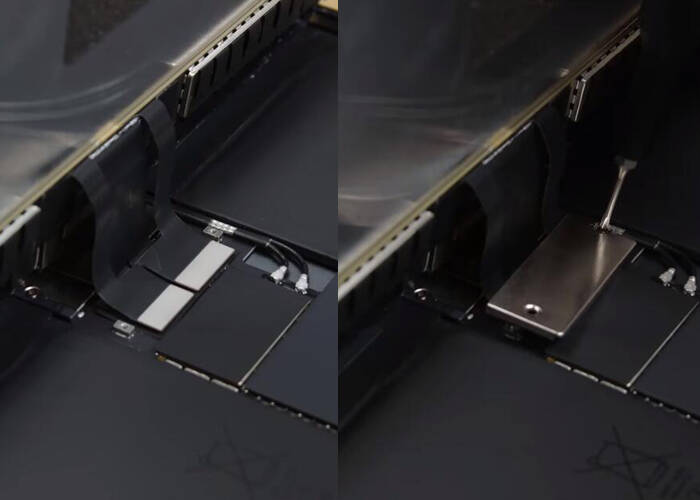
3.3 Assemble the iPad Air 3 LCD display screen back, gently press on the edge and each corner to make sure it is strictly sealed
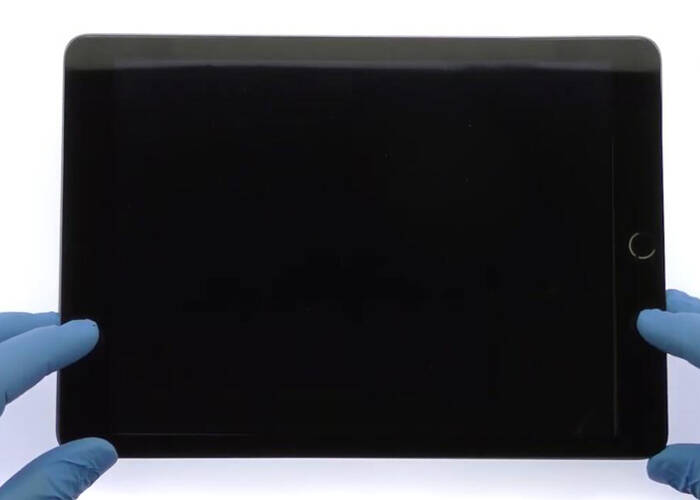
3.4 Turn on the iPad and test the earphone function, make sure it works normally. All procedure is finished
Notice: This iPad repair process is under the hands of our professional repair colleague. You never try to do it to your iPad if you are not familiar with the steps. The iPad screen is easy to be broken, just be careful while tearing down. Etrade Supply has kinds of iPad Air 3 replacement parts for wholesale, you may go to our store if you are looking for iPad parts. You may also leave your comments below if you have any questions about the repair steps above. We are glad here to reply to you.


