


How to Tear Down an Apple iPad 3: Step-by-Step Disassembly Guide
BY Xin | 十月 2nd, 2013 | 0 | 2
It happens to many people that they break the iPad 3 and turn to repair shop, which can cost more than fixing it by yourself. So why not take a time to learn how to repair it? Below is an iPad 3 step-by-step disassembly guide. You can increase your skills and have fun during the process. Just have a try.
Tools Needed:
- A pair of tweezers
- Case open tool
- Small Phillips screwdriver
- Sucking disc
- Relieving tool
- Hair drier
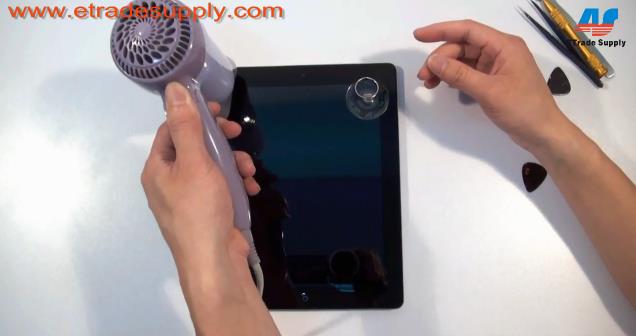
Step 1. Press the Sucking disc on the up right corner of the screen

Step 2. Use the Hair drier to heat up the edge of the screen
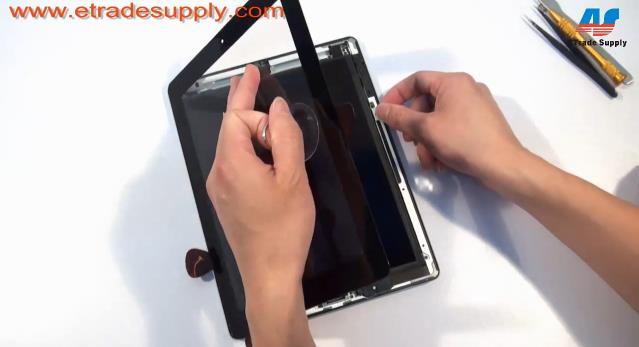
Step 3. Insert the Case open tool into the gap between the digitizer and frame
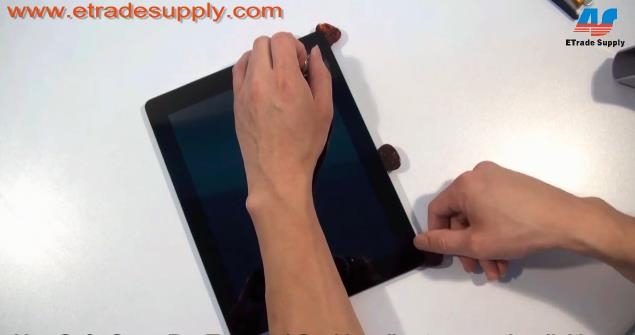
Step 4. Separate the digitizer, watch out for the flex cable behind the down left corner
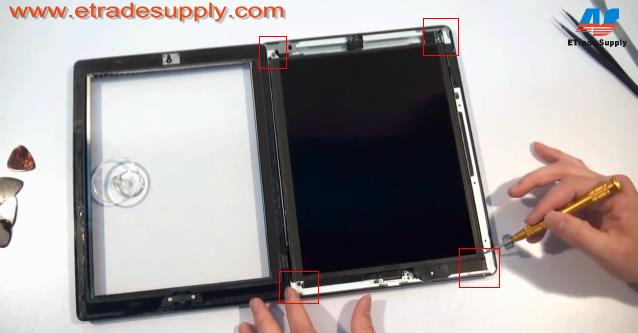
Step 5. Undo 4 screws at four corners of the frame
Step 6. Turn over the LCD screen
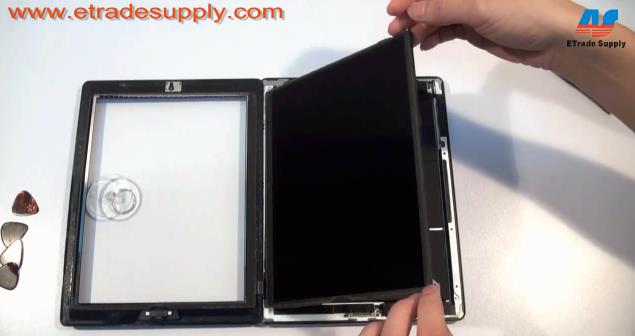
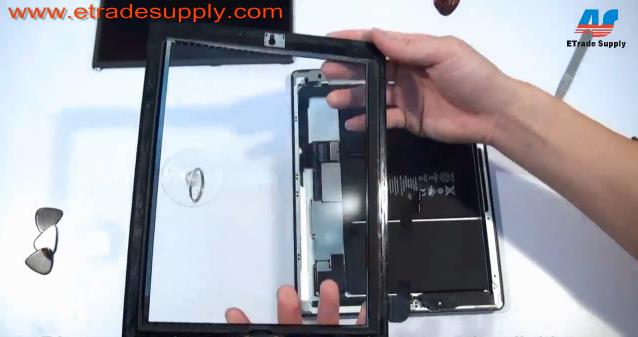
Step 7. Disconnect the LCD screen connector to remove the LCD screen
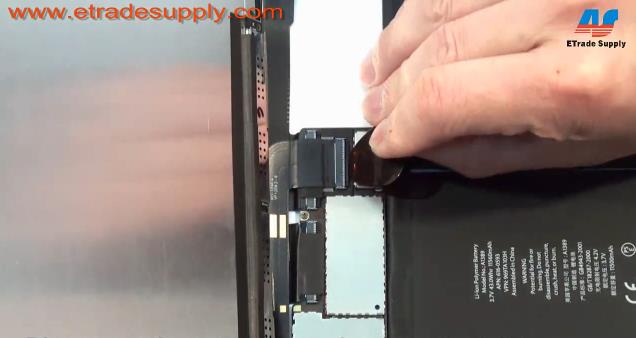
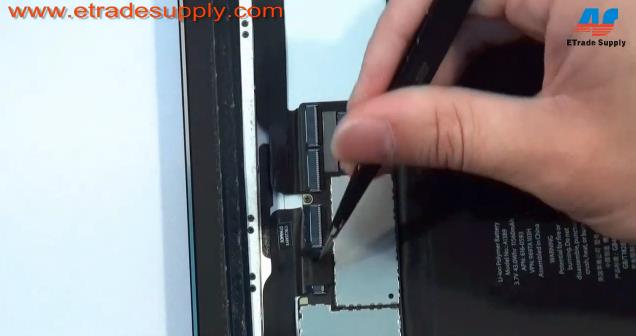
Step 8. Peel off the anti-static tape on the connectors and disconnect them to release the digitizer

Step 9. Peel off the tape
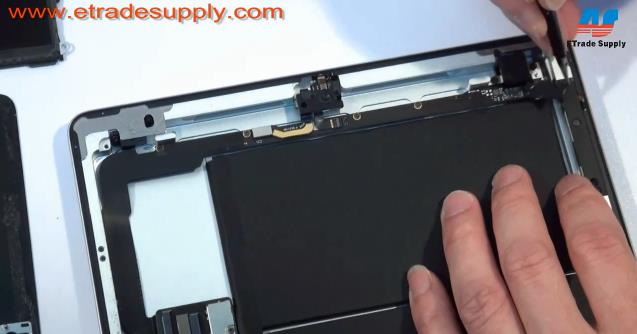
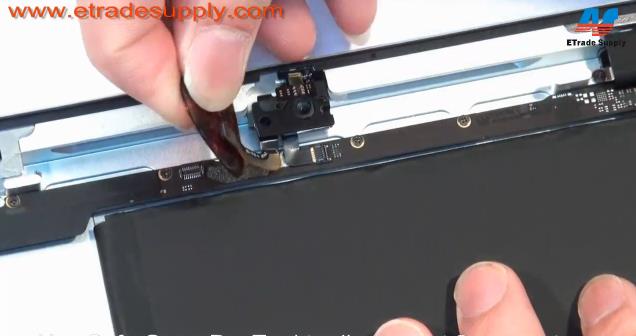
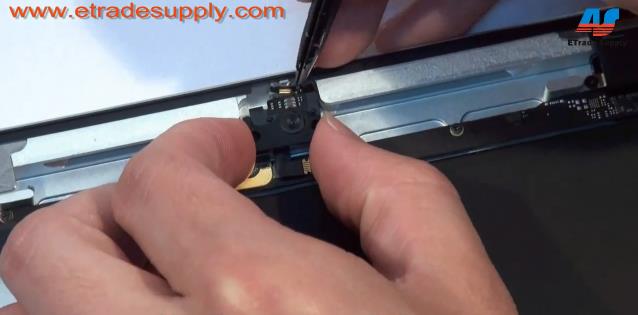
Step 10. Disconnect 2 connectors then use tweezers to remove front camera and microphone
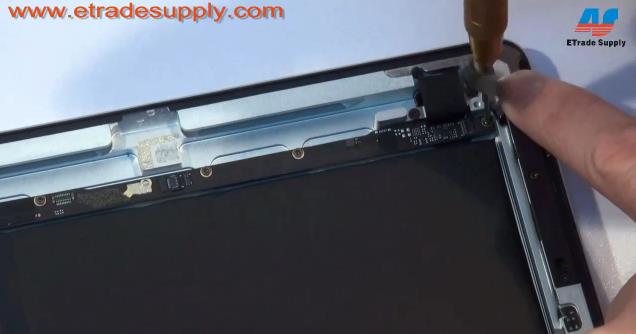
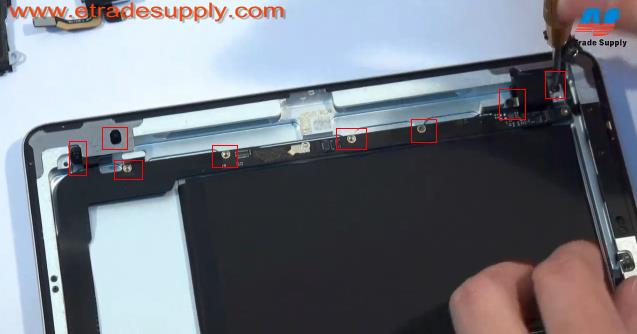
Step 11. Disconnect the connector and undo a screw behind it
Step 12. Undo other 8 screws
Step 13. Remove audio PCB board
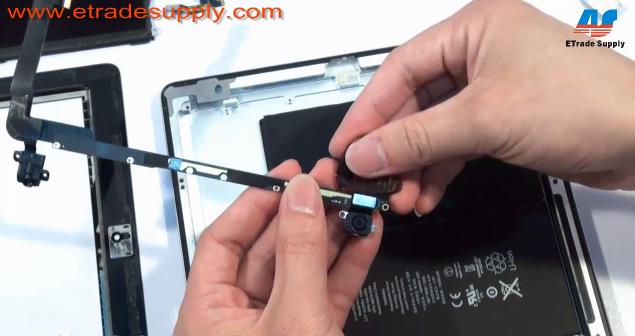
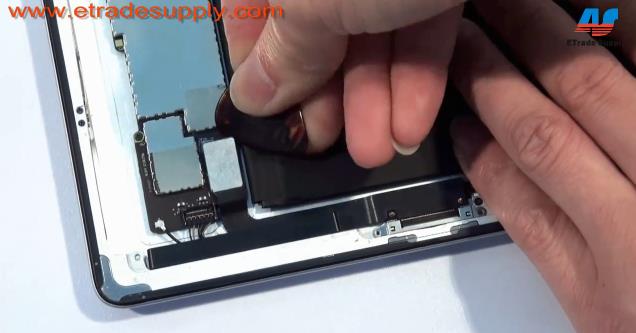
Step 14. Disconnect the rear-facing camera from the PCB board
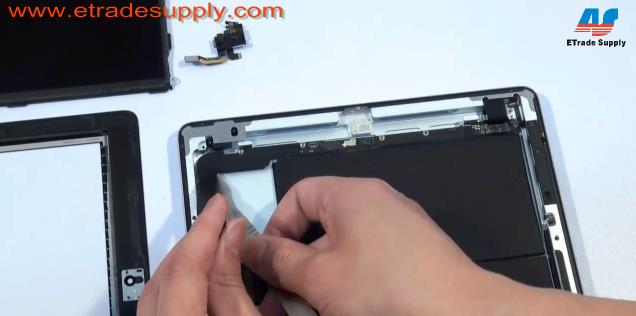
Step 15. Peel off the tape
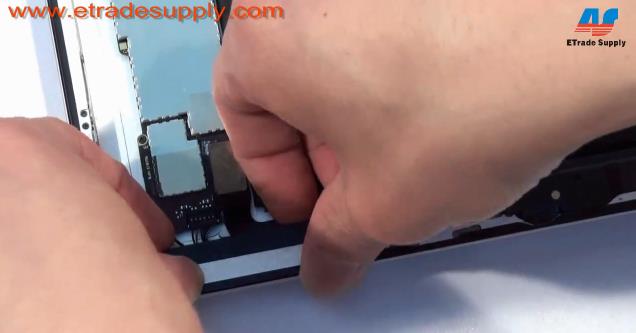
Step 16. Undo 2 screws

Step 17. Disconnect the Charging port connector
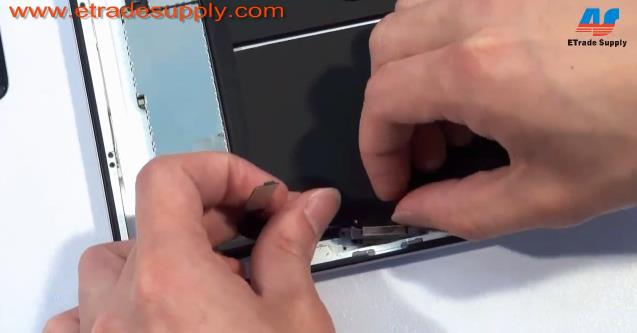
Step 18 Take out a plastic stick then remove the charging port
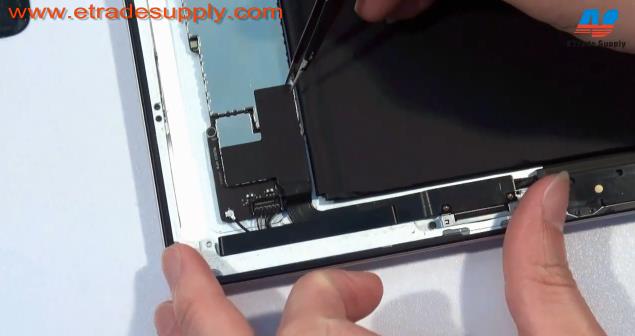
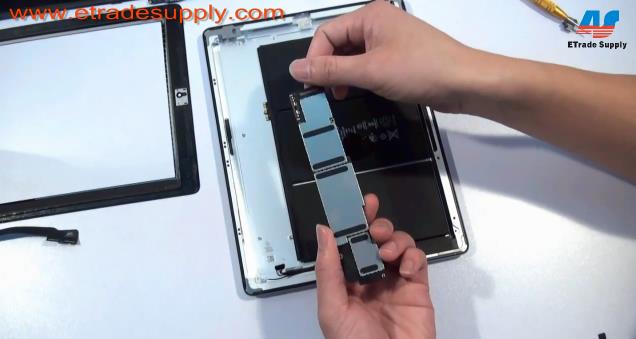
Step 19. Disconnect the antenna and battery connector
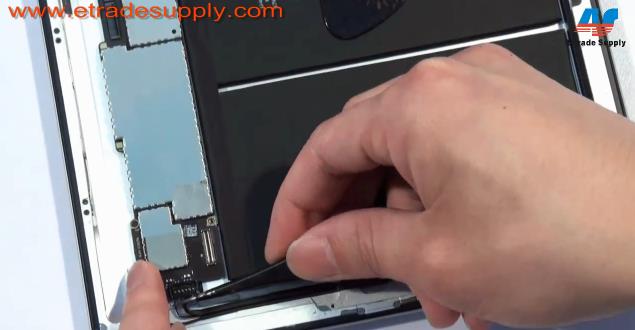
Step 20. Undo 4 screws to take out the motherboard

You can also click here to view the iPad 3 disassembly video.


 IOS 17.4 official version pushed to block battery vulnerability
  Is the Chinese-made rear case for the iPhone 15 series going on the market?
  New products coming:USB to MFI Lightning Cable
  Big BUG of iPhone 15
  Successfully submitted!