


Samsung Galaxy Tab P1000 Repair Tutorial: Step-by-Step Disassembly
BY yuki | 十月 3rd, 2013 | 0 | 2
How to replace or fix a broken Galaxy Tab P1000 screen if it was cracked or shattered? If you are confident in your DIY repair skills, why not purchase the Tab P1000 replacement parts online, and repair the broken parts yourself to save bulk of money? In this step-by-step disassembly guide, we walk you through how to take apart Samsung Galaxy Tab P1000 into LCD screen assembly, battery and back cover. Also, user can learn from this Samsung Tablet Galaxy Tab P1000 teardown guide to acquire the repair skills on these Galaxy Tab P1000 problems.

• Repair damaged Galaxy Tab P1000 LCD screen assembly.
• Repair broken Galaxy Tab P1000 rear housing.
• Fix malfunctioned Galaxy Tab P1000 loud speaker.
• Replace damaged Galaxy Tab P1000 battery.
What tools you’ll need to disassemble/repair broken Samsung Galaxy Tab P1000 parts
• Tweezers • Safe Open Pry Tool • Small Phillips Screwdriver • Triangle Screwdriver
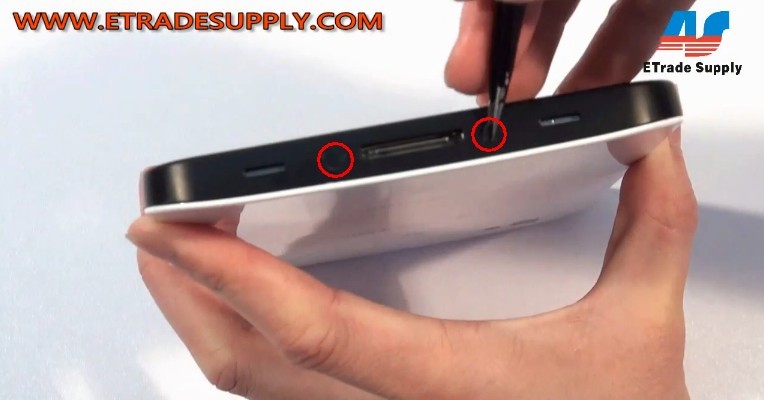
Step 1: Use Tweezers to remove 2 screws cover at the bottom of the Tablet
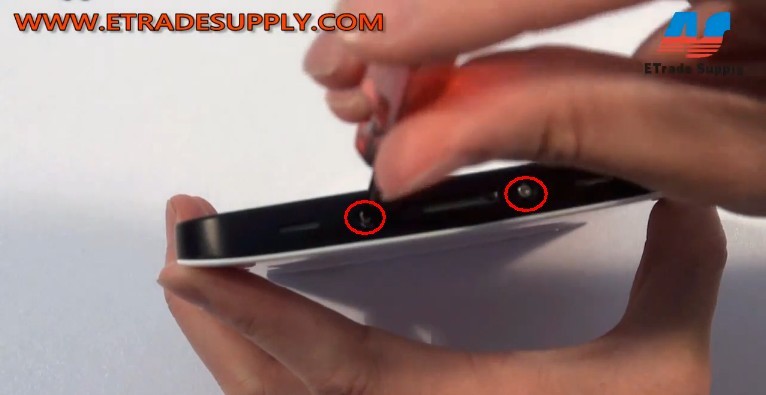
Step 2: Remove 2 screws with the help of Triangle Screwdriver
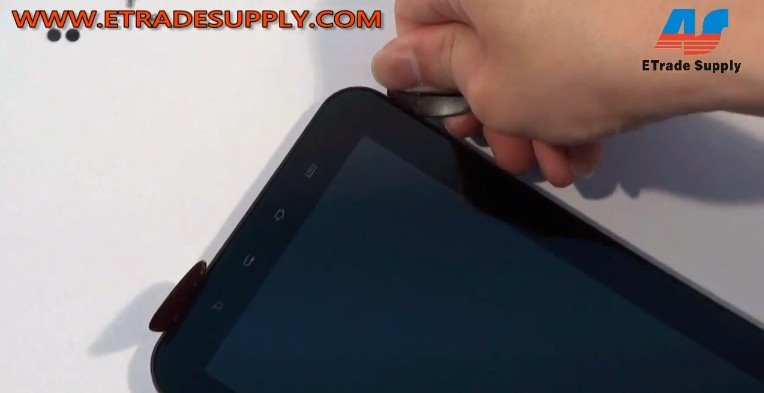
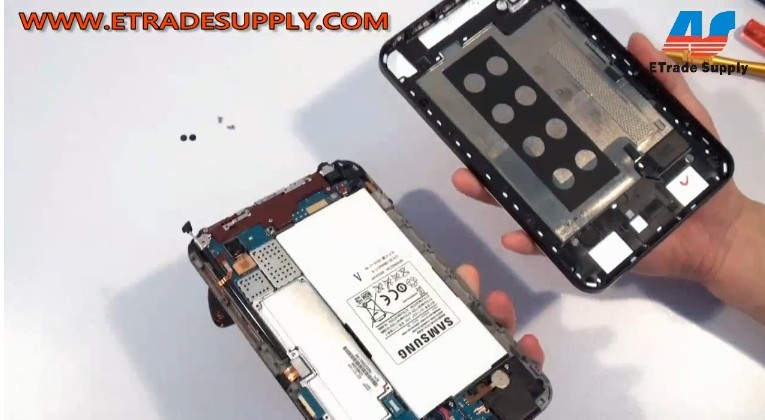
Step 3: Use Safe Open Pry Tool to separate the Galaxy Tab P1000 housing and LCD screen assembly. Watch out for the flex cable ribbon on the right
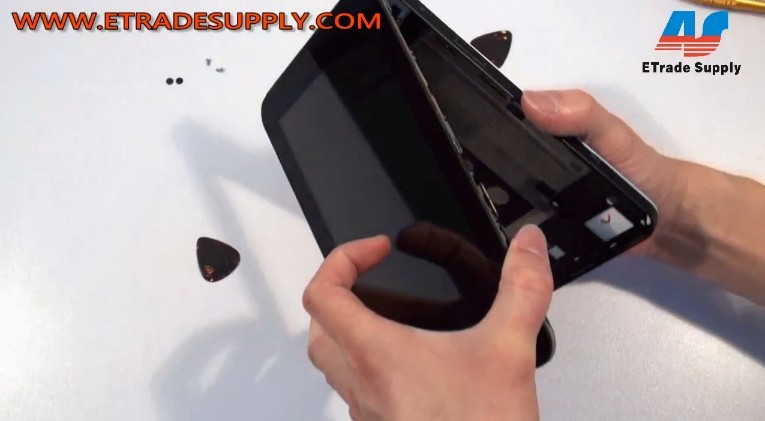
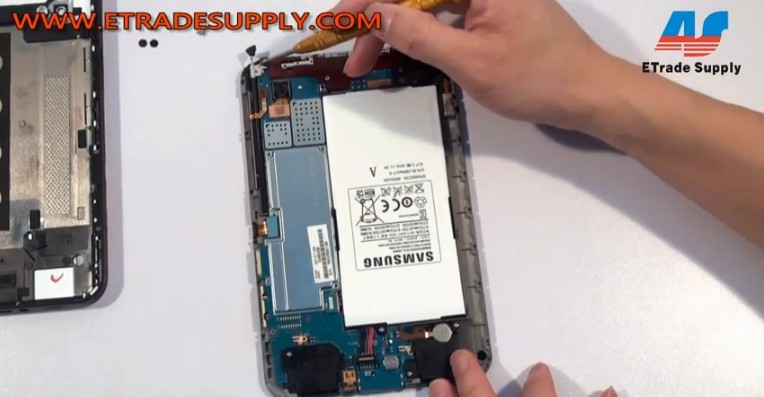
 Step 4: Use Small Phillips Screwdriver to remove the screws on the Tab P1000 housing assembly
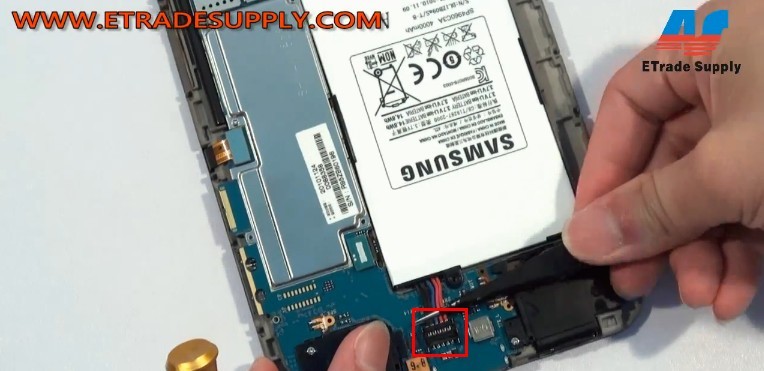
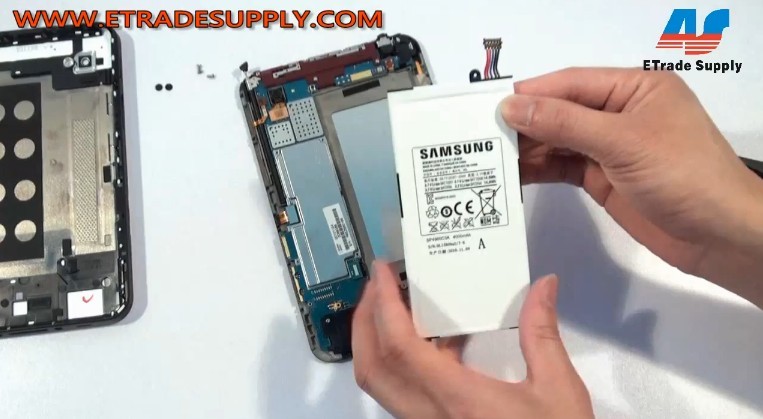
Step 5: Disconnect the connector with Tweezers, then remove the P1000 battery
Step 6: Use Small Phillips Screwdriver to remove 8 screws
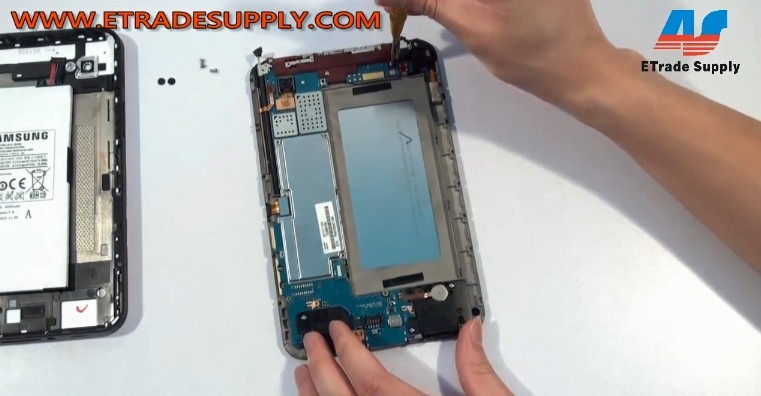
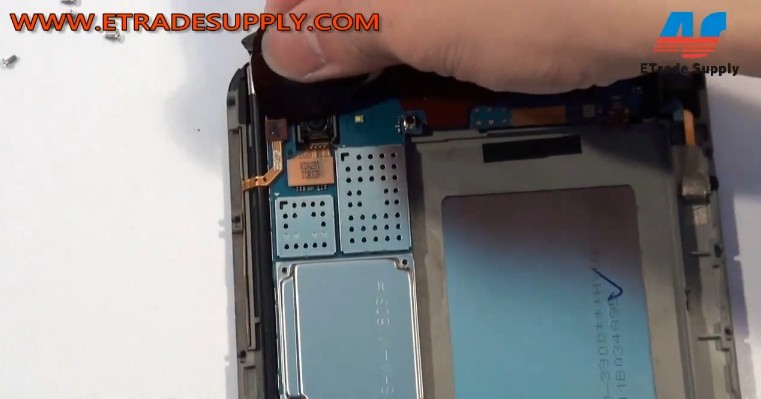
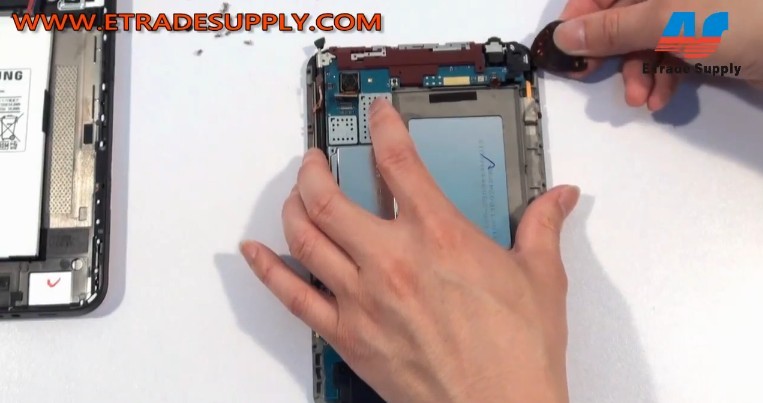
Step 7: Open 6 connectors with the help of Safe Open Pry Tool
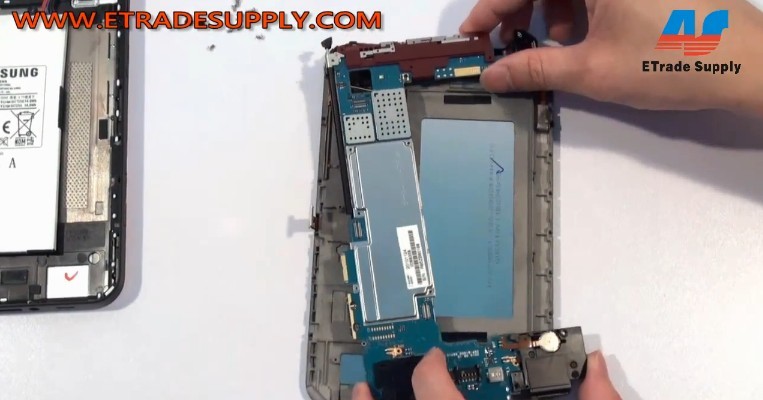
Step 8: Lift up the motherboard of Samsung Galaxy Tab P1000
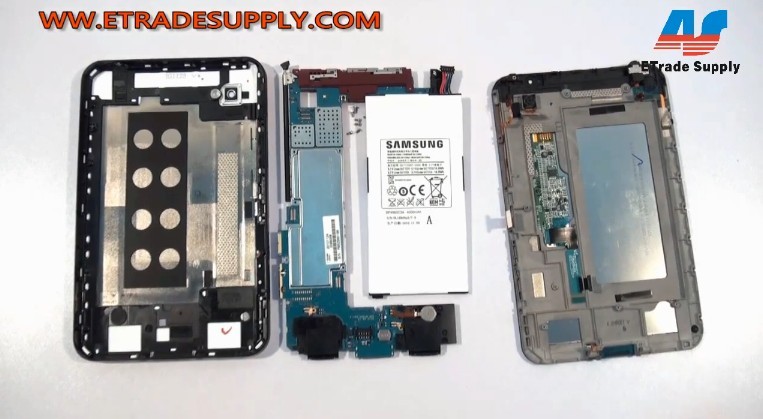
Step 9: These are disassembled Samsung Galaxy Tab P1000 replacement parts
Click to learn How to repair Samsung Galaxy Tab P1000 on Youtube and follow it step by step.


