How to Replace the Dot Projector Flex for Fixing the iPhone X Face ID Issue
BY kaye | 十月 13th, 2020 | 0 | 0
The iPhone face ID module is a complex system. Sometimes we don’t know why the face ID system cannot read our face. Here is a repair case about iPhone X face ID issue we would like to show you here. The face ID system keeps showing the message “move iPhone higher” but cannot read your face. We assume the dot projector may be damaged. We need to separate the dot projector and replace the flex after our test. Here we would specify the details.
1. Tear down the display and take down the front-facing camera module
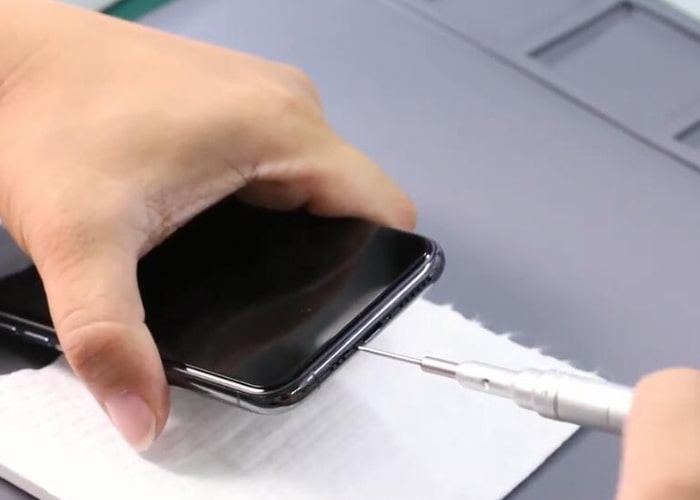
1.1 Power off the iPhone, unbolt and remove the two pentalobe screws on the bottom
1.2 Separate the display screen and flip aside, undo the screws and take off the metal shield. Disconnect the display flexes after that
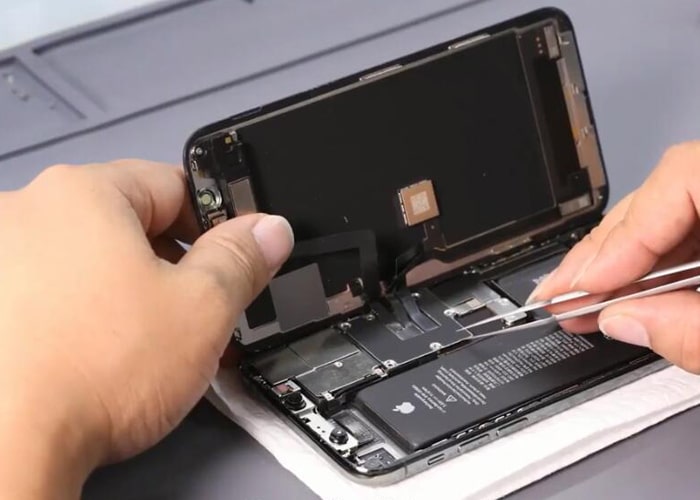
1.3 Disconnect the front-facing camera flex, paste the protective tape on the camera lens in case of damage on the cameras. Gently pry out and take down the camera model
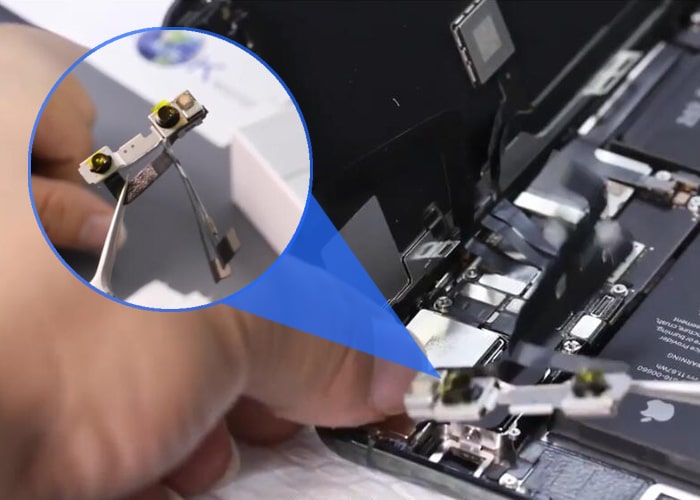
2. Separate the dot projector flex and record the data with programmer tool
2.1 The dot projector is combined with the camera module, connect the dot projector flex to the programmer tool for test, it will shows the flex has been fused on the screen
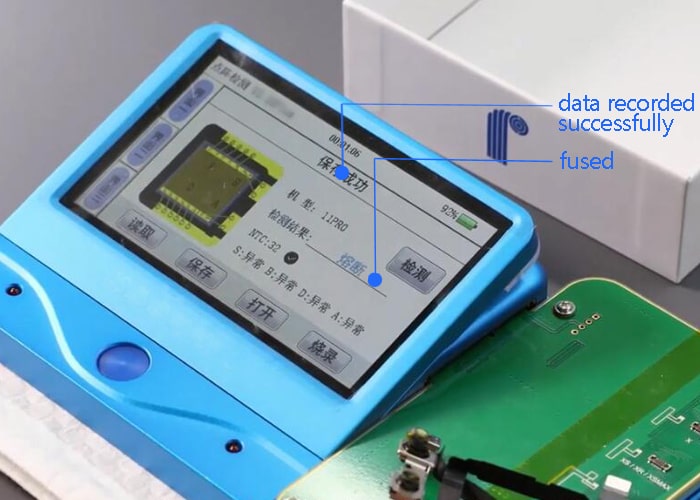
2.2 Record the flex data to the IP Eeprom programmer tool, connect a new dot projector flex to the programmer tool and backup the data
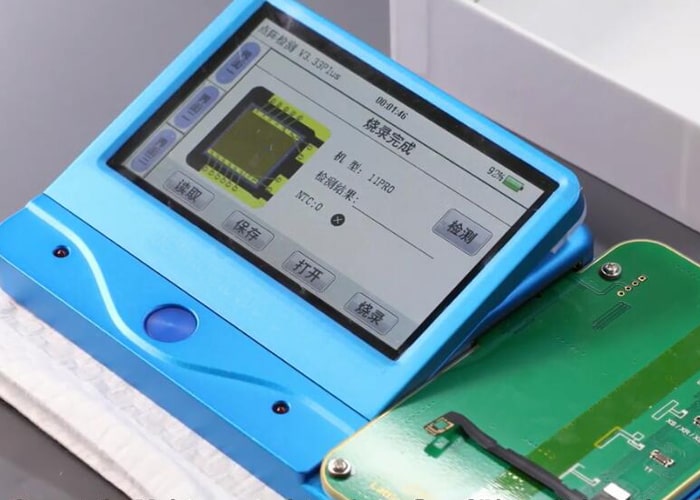
2.3 Install and connect the camera model back to the iPhone, turn on the iPhone to test and see if no “unable to activate Face ID on this iPhone” shows on the screen, that means dot projector data has been backup successfully
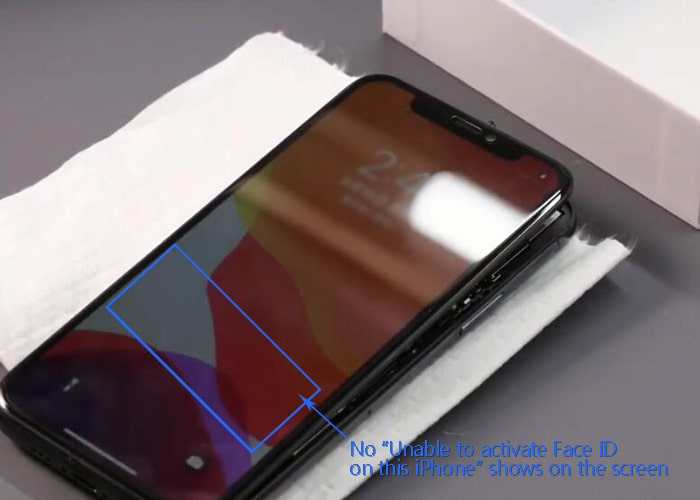
2.4 Power off the iPhone, disconnect and take off the camera module again
3. Tin plating on the new dot projector flex, separate the dot projector and take off the disk
3.1 Plating some tin onto the new dot projector flex, clean it after it is tin-plated
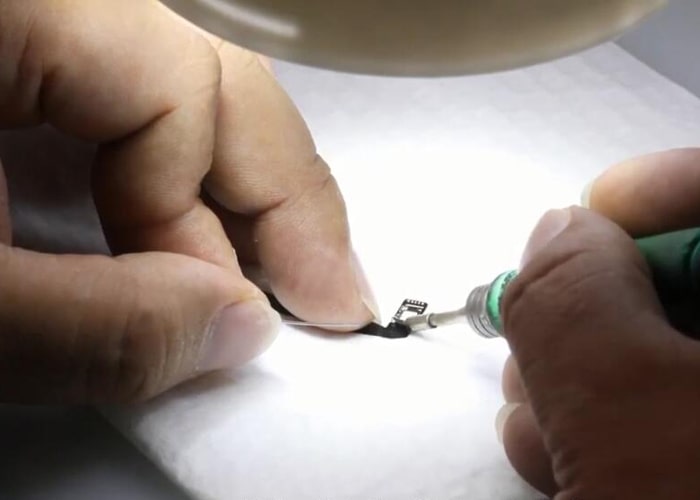
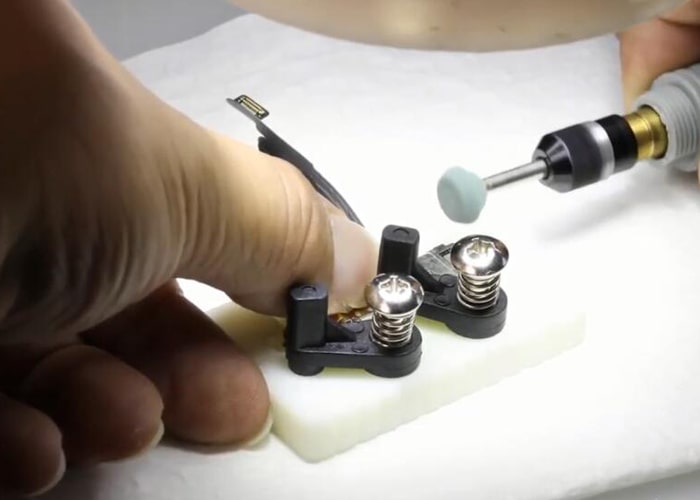
3.2 Tear off the heat-resistant tape on the camera module, use a small grinder to grind on the metal shield on the dot projector
3.3 Use hot air gun to blow on the metal shield, slightly pry, and flip the shield with tweezers. Take off and remove the metal shield
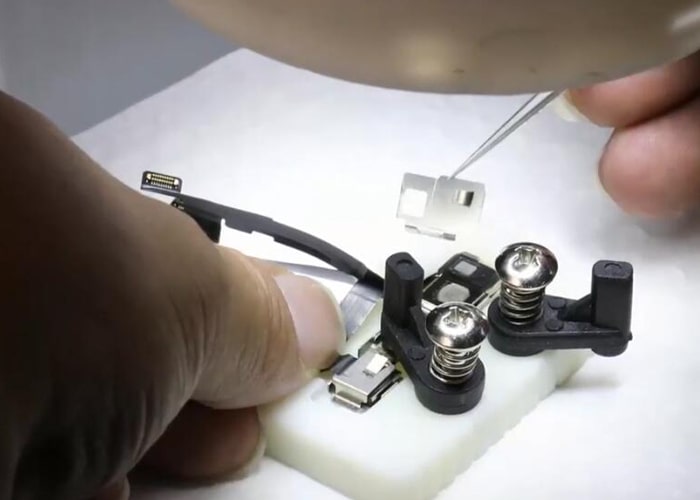
3.4 Keep hot air gun blowing on the dot projector, use a slicer knife to separate and take off the dot projector flex
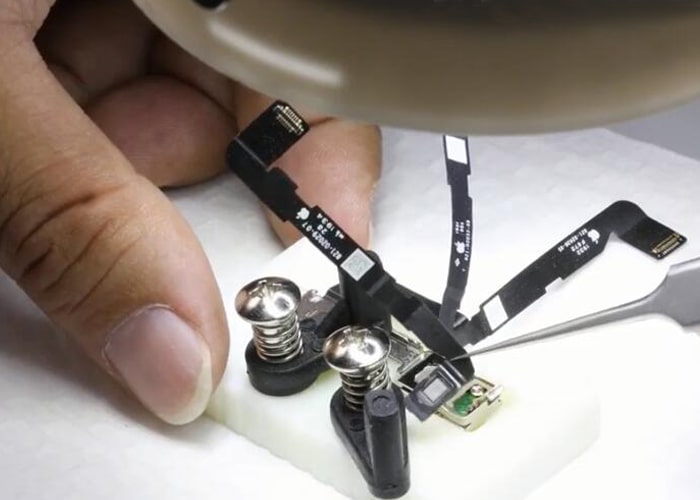
3.5 260℃ hot air gun blows on the flex and separate the disk from the dot projector flex
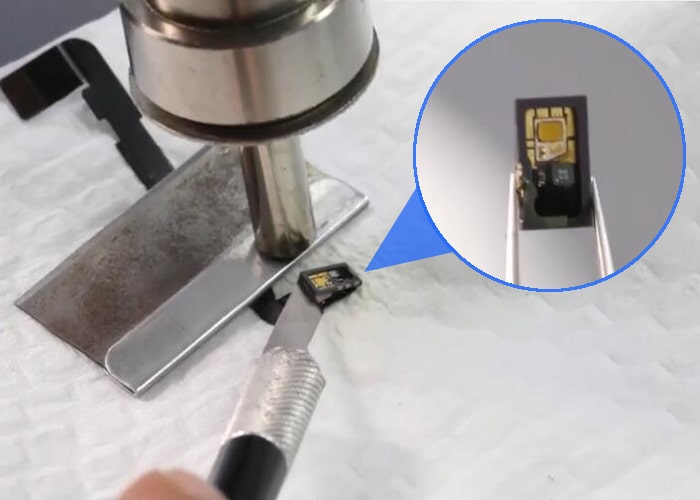
4. Remove the short-circuited power supply diode of the disk and assemble it to the dot projector flex
4.1 260℃ hot air gun blow to hear up and remove the short-circuited power supply diode on the disk, then short-connect the power supply with tin-plated
4.2 Apply some solder glue and assemble the disk onto the new flex under hot air glue blowing
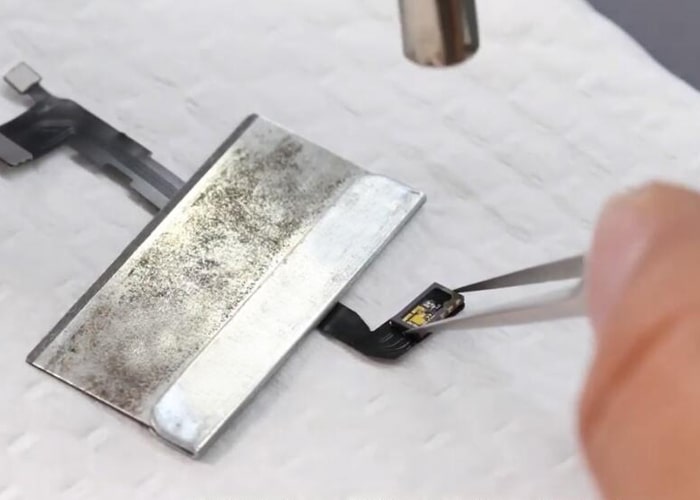
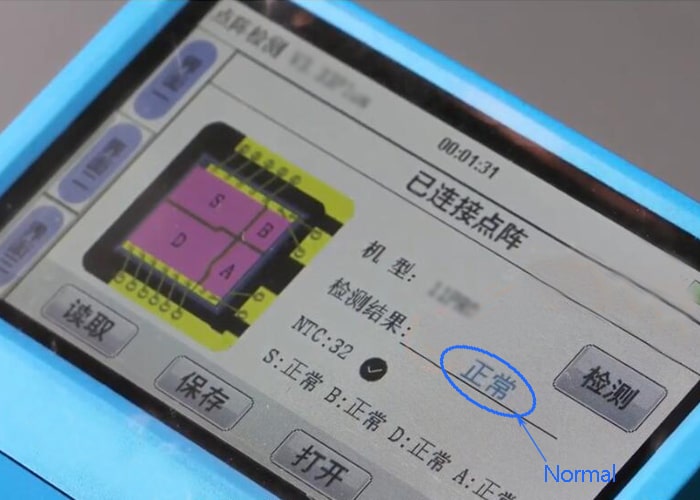
4.3 Connect the new flex to the programmer tool for test, it will show normal on the result
4.4 Assemble the new flex to the dot projector on the camera module with 460 glue, make sure the accuracy of the right position
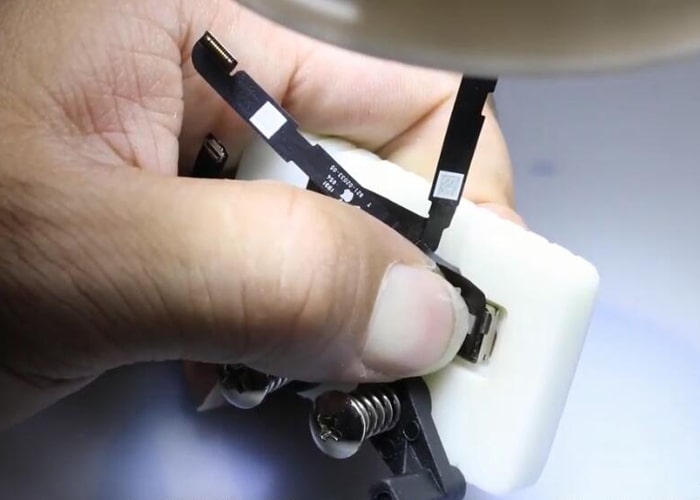
5. Install the new dot projector onto the front-facing camera module and assemble the iPhone
5.1 Install and connect the iPhone X front-facing camera module back to the iPhone, tear off the heat-resistant tape on the lens, connect the display flexes and turn on the iPhone to test the face ID system function. Go to Settings >> Face ID & Passcode >> Set up Face ID to test the face ID
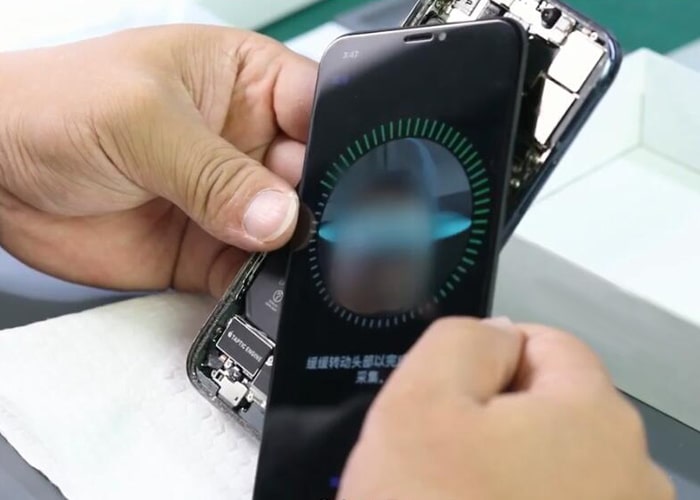
5.2 Face ID is normal, the issue has been fixed. Turn off the iPhone and reassemble the display screen
5.3 Tighten the screws back and assemble the iPhone, all process is completed
As a final advice, the whole repair procedure above requires special tools and equipment with professional repair technology skills. We recommend our iPhone users go to the Apple authority repair shop if you face the same problems on your iPhone X. The iPhone X face ID issue could be many reasons, you need to test the phone and find the reasons before you take the process of repairing. Also, you may check some new iPhone X parts on Etrade Supply here.


