


How to replace an Apple 12 battery?
BY ETrade Supply | 十二月 8th, 2022 | 0 | 0
Step 1: First turn the phone off.
Step 2: Remove the screen
Remove the two pentagonal screws at the bottom with a pentagonal screwdriver, then heat the screen evenly for two minutes all around with a hair drier. Then, using a suction cup, carefully lift up a slit in the screen. Insert a triangular piece into the gap and slide it side to side gently. To split the screen, carefully slide it along the space on both sides of the phone. Remove the suction cup and spin the phone to open the screen on the right side of the phone as the gap widens. This will enable the right-side camera. To avoid injuring the cable, make sure the tension angle is less than 90 degrees.
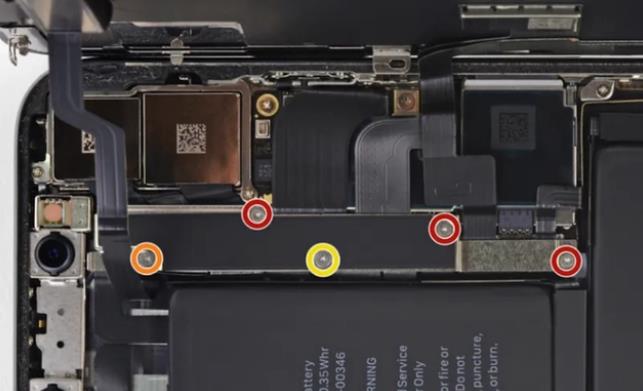
Step 3: Remove the cover and screws
After the screen is opened, use a triangle screwdriver to remove the two screws and cover of the power cover, and then remove the four screwdrivers of the screen cover. First, disconnect the power button with a pry bar for disconnection. Then disconnect the two screen connection buttons next door, followed by disconnecting the top screen button, and then remove the screen.
Step 4: Remove the battery and adhesive.
To lessen the viscosity of the adhesive backing, use a hair dryer to equally heat the bottom of the battery position for one to two minutes. Then, lift the front and rear of the battery adhesive head and use tweezers to gently remove the battery adhesive out. Please fix the battery with your hand after removing the final piece of battery adhesive to prevent it from flying out (please note that please do not press the face sensor on the motherboard when operating). Remove the old battery after removing the battery adhesive.
Step 5: Power on and test
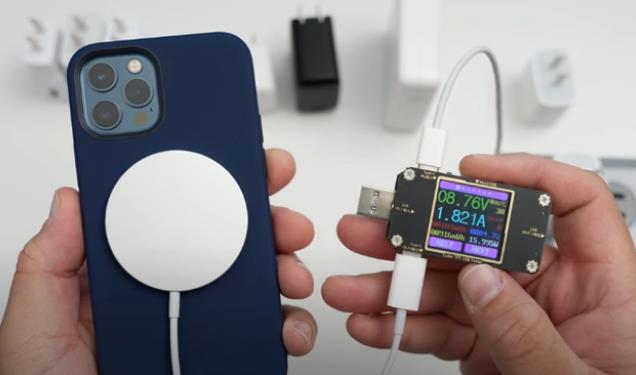
Place the battery into the groove without using adhesive. Snap the snap first, then insert the battery. Finally, attach the battery snap to close the screen and begin the power-on test. First, disconnect the snap to make sure the power is off before installing the screen. Connect the phone to the charger once it has been turned on to see if the charging is proceeding normally. Test the phone's features simultaneously. If the test function is functioning normally, keep turning off the phone and removing the screen and electric button one at a time before moving on to the next step.
Step 6: Install the battery adhesive and battery.
First, turn the new battery back to note the direction and take out the battery adhesive to align the back. First, peel off the blue protective film on both sides of the battery adhesive and stick the battery adhesive to the back of the new battery. Peel off the protective film behind the battery adhesive. Snap the snap first, then put the battery into the slot, then disconnect the snap to prevent damage to the charged installation.
Step 7: Install waterproof adhesive.
First use a pry bar to clean up the waterproof adhesive on the edge of the body, then remove the waterproof adhesive and confirm its position. Tear off the bottom of the blue protective film, align the position, stick around with a pry bar, and finally tear off the blue protective film.
Step 8: Install the screen
Place the screen at a 90-degree angle on the right side of the casing, then secure the screen's three rows of cables to ensure proper alignment. Then, return the cover to its original place after opening the battery power button. Then, using a triangular screwdriver, replace the relevant screws in their original positions before removing the sensor sticker.
Step 9: Turn off the screen.
After installing the phone's internal components, gently press the left side of the phone to the right side at the phone's edge to check that the screen is installed, and then use a pentagonal screwdriver to attach the screws at the phone's bottom so that the battery can be turned on and used.


 IOS 17.4 official version pushed to block battery vulnerability
  Is the Chinese-made rear case for the iPhone 15 series going on the market?
  New products coming:USB to MFI Lightning Cable
  Big BUG of iPhone 15
  Successfully submitted!