How to Repair a Cracked Samsung Galaxy S4 Mini Screen
BY alina | 三月 19th, 2014 | 18 | 7
Although it’s a little more complicated to tear down the Samsung Galaxy S4 Mini than the Galaxy S4, it’s still not much difficult to repair a cracked S4 Mini screen. Follow the steps below and you’ll know how to give your S4 Mini a new look
Tools and new replacement part:
Small Phillips Screwdriver
New Samsung Galaxy S4 Mini Screen Assembly with Frame
Step 1
Power the Galaxy S4 Mini off.
Step 2
Remove the back cover.
Step 3
Remove the Samsung Galaxy S4 mini battery.
Step 4
Use small Phillips screwdriver to undo ten screws securing the rear housing.
Step 5
Use case opening tool to release the clips on rear housing starting at USB port.
Step 6
Remove the Galaxy S4 Mini rear housing.
Step 7
Disconnect the three flex cables.
Step 8
Gently lift up the charging port flex cable and remove it.
Step 9
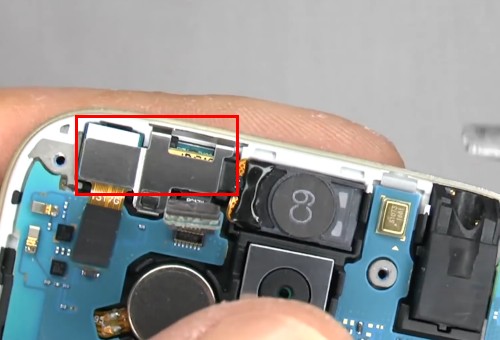
Disconnect the three flex cables connecting the earphone jack, front facing camera and ear speaker & proximity sensor.
Step 10
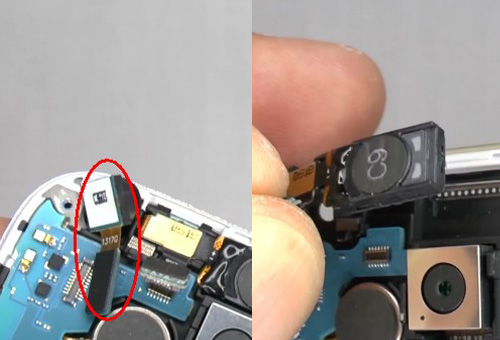
Lift up the silver metal shield to remove the Galaxy S4 Mini front facing camera and ear speaker & proximity sensor.
Step 11
Lift the mainboard around the outside edge carefully.
Step 12
Open the mainboard up gently because there is a flex cable connecting the mainboard with the display.
Step 13
Disconnect the display flex cable to remove the mainboard.
Step 14
Take out the Galaxy S4 Mini earphone jack.
Step 15
Disconnect the flex cable to remove the Galaxy S4 Mini SIM card and SD card reader contact.
Step 16
Use screwdriver to lift up the SIM card and SD card reader contact and remove them.
Step 17
Remove the metal plate securing the display flex cable.
Step 18
Lift the vibrating motor with the help of screwdriver.
Now only the broken Galaxy S4 Mini screen assembly with front housing is left. You can replace it with a new one and reassemble the phone in reverse order above.
Note: If you have a new Galaxy S4 Mini screen assembly without the front housing, you need to heat up the screen to separate the front housing from the screen and transfer the front housing to the new screen.


