How to Repair a Cracked Motorola Moto X Screen
BY yuki | 六月 19th, 2014 | 1 | 0
Assembled in the United States, the Motorola Moto X has a 4.7-inch AMOLED display. When you suffer a cracked, shattered or broken Moto X screen, you can opt in purchasing a new Moto X screen replacement, then DIY repair it. Here we walk you through details on step-by-step repair a cracked Moto X screen.
Tools needed to replace a cracked Moto X screen:
Triangle Plastic Case Opening Tool
T3 Torx Screwdriver
Metal Spudger Opening Tool
Eject pin
A new Motorola Moto X LCD Screen and Digitizer Assembly with Front Housing
Step 1
Power off the Motorola Moto X and take out the SIM card tray with the eject pin.
Step 2
Release clips holding the battery door in place, and then disconnect the connector on the motherboard to peel off the back cover.
Note: There is a flex cable connecting the battery cover and motherboard and the battery door is placed by adhesive. Handle carefully.
Step 3
Unscrew the 9 screws on the top and bottom part of Motorola Moto X.
Step 4
Peel off the bottom cover with case opening tool.
Step 5:
Remove the Moto X headphone jack with loud speaker.
Step 6
Remove the flex cable ribbon of the side keys with spudger tool.
Step 7
Use spudger to remove the Motorola Moto X front facing camera.
Step 8
Undo 2 screws to remove the metal shield securing the motherboard.
Step 9
Separate the battery from the Moto X LCD assembly after disconnecting the 4 connectors.
Note: There is a connector on the LCD assembly. Handle carefully when you disconnect the connector.
Step 10
After the battery with motherboard is free, take out the Moto X rear facing camera from the motherboard.
Step 11
Separate the battery from the motherboard.
Note: There is an adhesive in between, so handle carefully.
Step 12
Use spudger to peel off the Moto X ear speaker on the top of the LCD assembly.
Step 13
Use eject pin to remove 7 pins holding the middle chassis in place.
Note: It needs more patience to remove the 7 pins.
Step 14
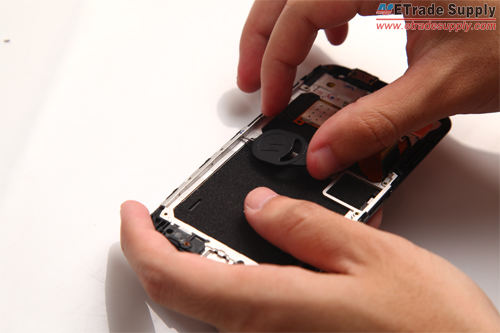
Remove the Moto X middle chassis with plastic case opening tool.
Note: Metal opening tool is not allowed, for it will damage the Moto X LCD screen.
Step 15
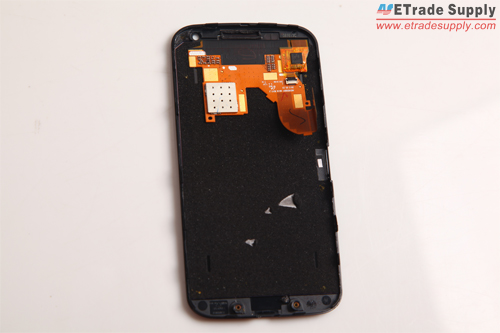
When the middle chassis is released, you can see the Moto X LCD assembly is free now.
Step 15
Take a new Motorola Moto X LCD Screen and Digitizer Assembly with Front Housing and assemble it in reversal order.
You can check the Motorola Moto X Disassembly/ Tear Down video to learn How to Repair Moto X Screen.


