


How to Reassemble HTC One M8 for Parts Replacement
BY yuki | 六月 9th, 2014 | 1 | 0
It is annoying to suffer from a broken HTC One M8 screen. We have walked you through our step-by-step HTC One M8 screen repair guide. From this tutorial, you can also learn how to fix damaged HTC One M8 battery, broken M8 camera and cracked housing, etc. After you tear down the HTC One M8 for broken parts replacement, you can learn from the following instructions to reassemble your HTC One M8.
Tools needed to reassemble the HTC One M8
• Tweezers
• Small Phillips Screwdriver and T5 Screwdriver
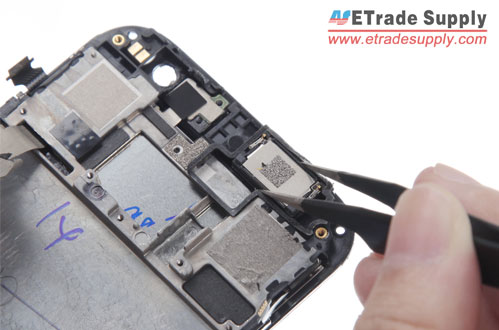
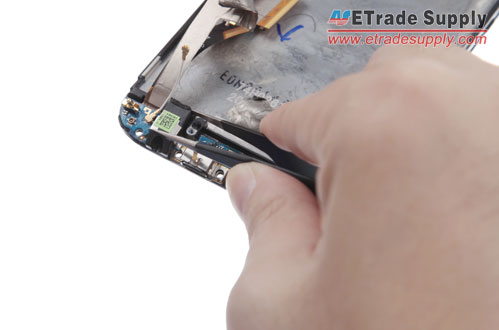
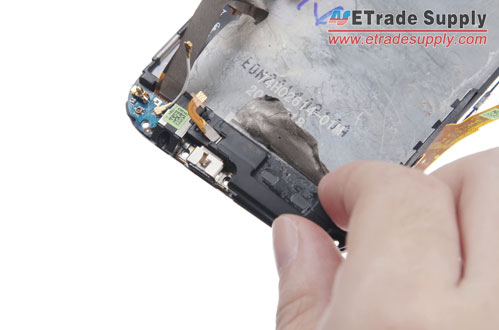
Step 1
Install HTC One M8 ear speaker.
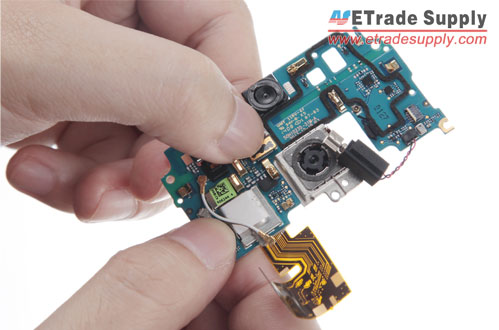
Step 2
Place the M8 dual rear facing camera and connect it to the motherboard flex cable ribbon.
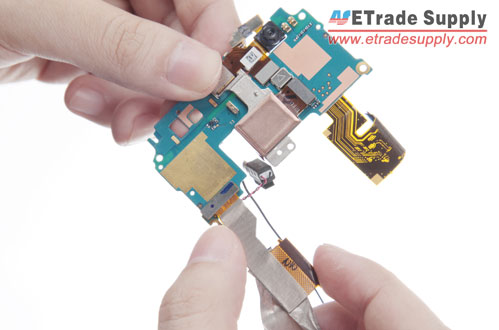
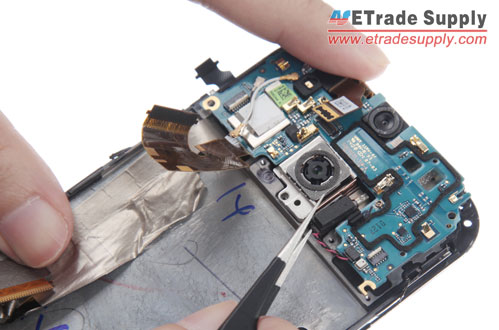
Step 3
Connect the M8 camera connector on the motherboard flex cable.
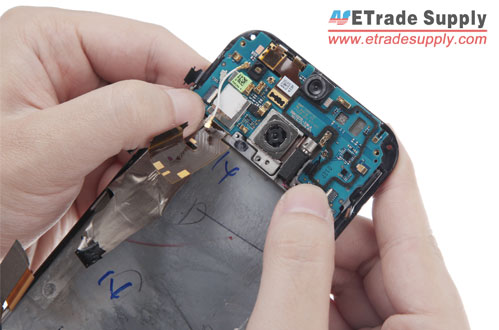
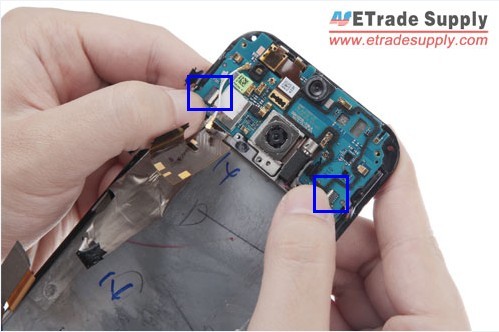
Step 4
Assemble HTC One M8 motherboard flex cable ribbon to the front housing.
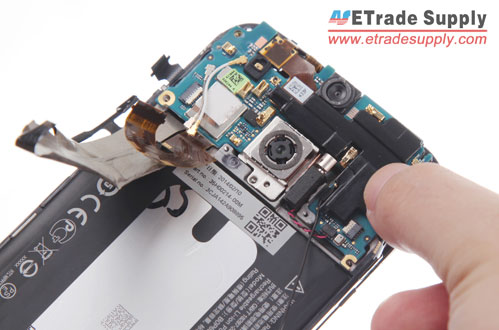
Step 5
Hold the HTC One M8 vibrating motor in place.
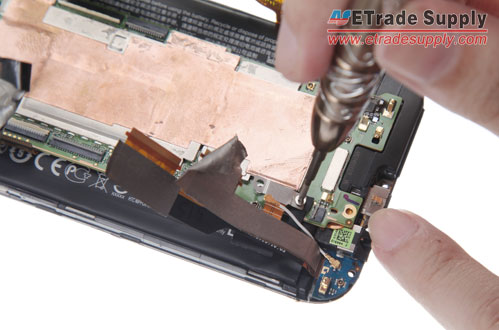
Step 6
Install the two M8 flex cable ribbons.
Step 7
Put the HTC One M8 internal top cover back.
Step 8
Secure the M8 motherboard flex cable ribbon.

Step 9
Install the M8 motherboard and secure it with five screws.
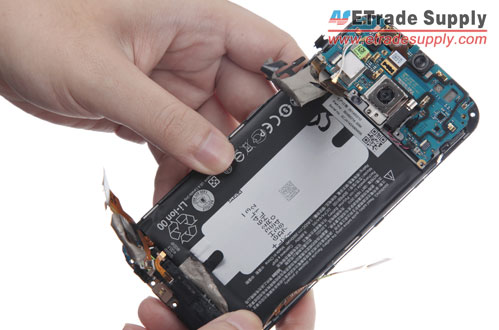
Step 10
Assemble the HTC One M8 battery.
Step 11
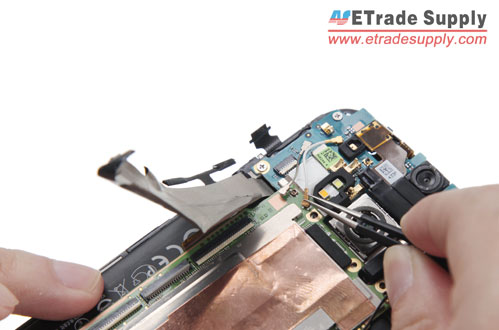
Hold the M8 charging port PCB board in place.
Step 12
Install the M8 loud speaker assembly.
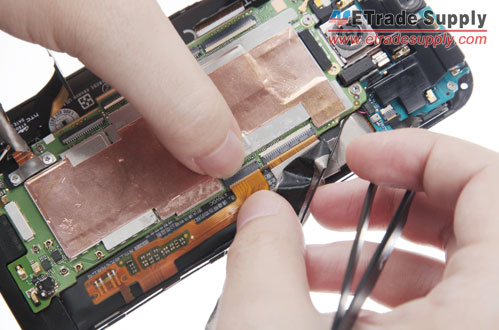
Step 13
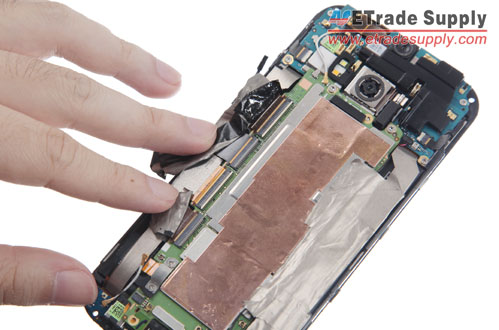
Connect these six flex cable ribbons.
Note: These ribbons are fragile. Handle carefully.
Step 14
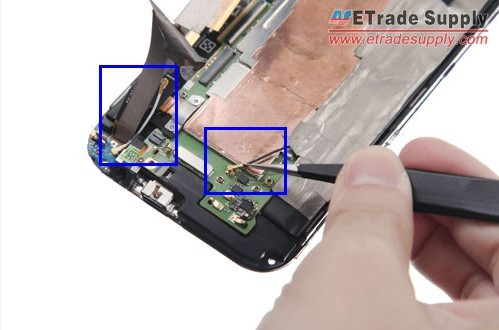
Connect the two antennas on the M8 mainboard.
Step 15
Stick these tapes to cover the M8 mainboard and antennas.
Step 16
Connect the two antennas.
Step 17
Assemble M8 LCD screen assembly and rear housing.
Step 18
Fasten four screws on the bottom cover part and two screws on the upper part.

Step 19
Install the M8 top and bottom cover.

Step 20
Put the M8 card tray and SD card tray in place.
You can watch our YouTube video of the HTC One M8 disassembly to learn how to tear down HTC One M8 for screen or other parts repair. And follow the HTC One M8 reassembly video to assemble M8 components.


 IOS 17.4 official version pushed to block battery vulnerability
  Is the Chinese-made rear case for the iPhone 15 series going on the market?
  New products coming:USB to MFI Lightning Cable
  Big BUG of iPhone 15
  Successfully submitted!
ok