


Google Nexus 4 Repair Guide: Step-by-Step Reassembly Instructions
BY yuki | 八月 8th, 2013 | 0 | 0
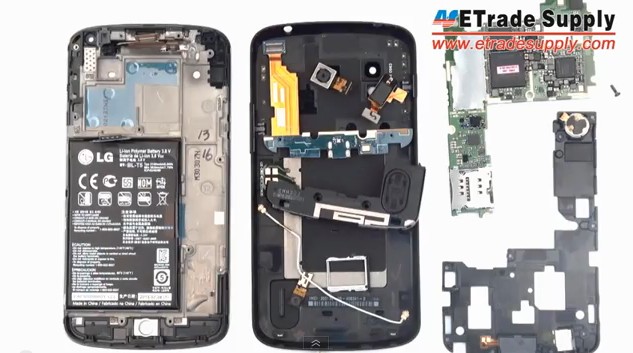
Running Android 4.2.2 operation system, Nexus 4 is designed by Google and produced by LG Electronics. Google’s fourth smartphone of its Nexus series has attracted a plenty of young groups by its fashionable design of special dotted glitter pattern. However, it is also named an easy-broken handset. When you unfortunately have your Nexus 4 broken, you can repair it by yourself following Nexus 4 Teardown Tutorial. Also, this Nexus 4 reassembly tutorial will be helpful for you.
Tools Needed
2) A Pair of Small Philips Screwdriver
3) Tweezer

1) Assemble the side keys to the Nexus 4 LCD screen and digitizer assembly.
 2) Install the rear facing camera and head phone jack of Nexus 4.
 3) Install the front facing camera on the motherboard.
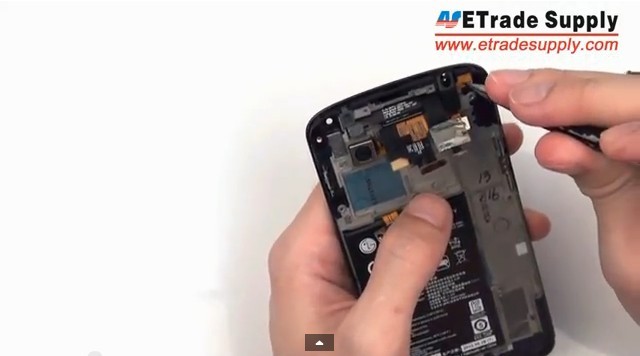
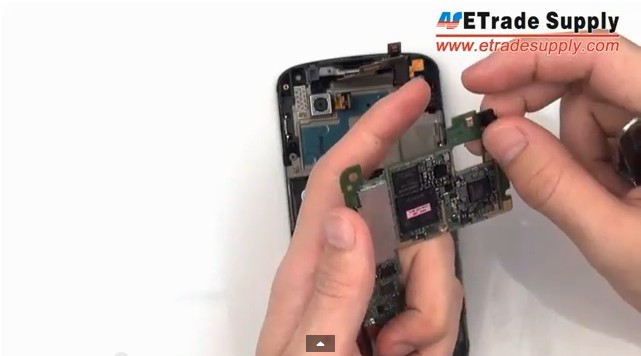 4) Reinstall the antenna and motherboard and connect all connectors.

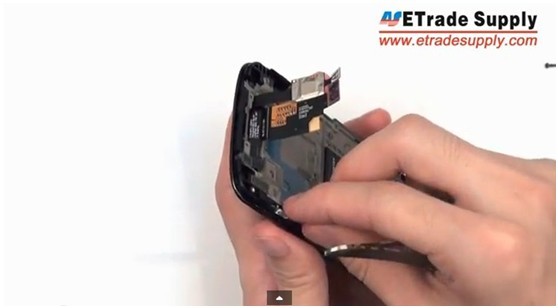
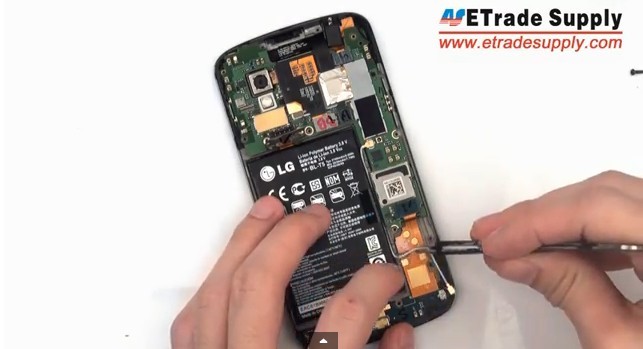
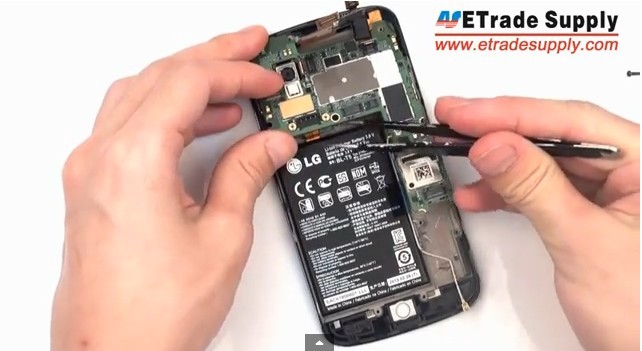 5) Assemble the charging port flex cable.
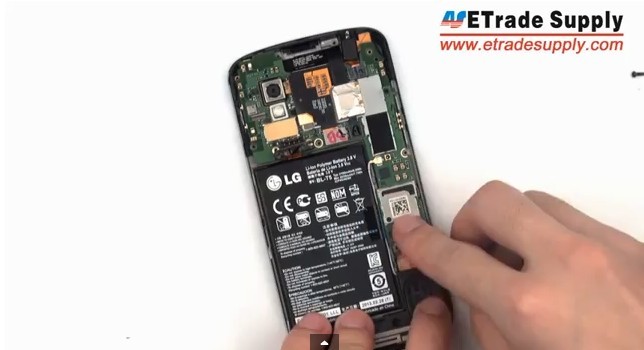
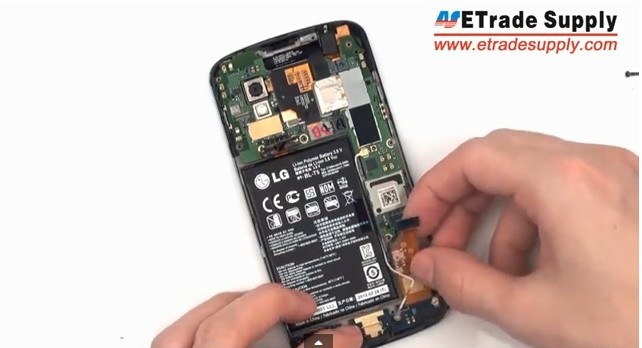 6) Connect the antenna.
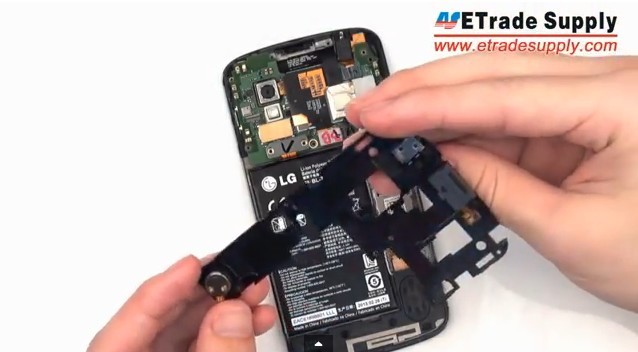
 7) Install the Nexus 4 loud speaker module and rear housing.
 8) Fasten the Nexus 4 rear housing with 13 screws.
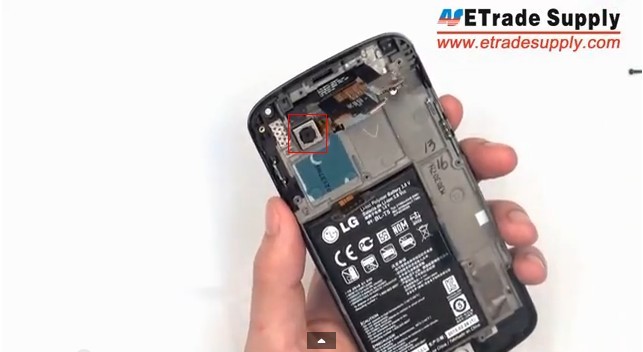
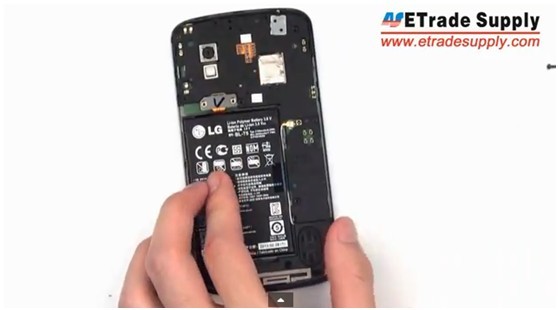
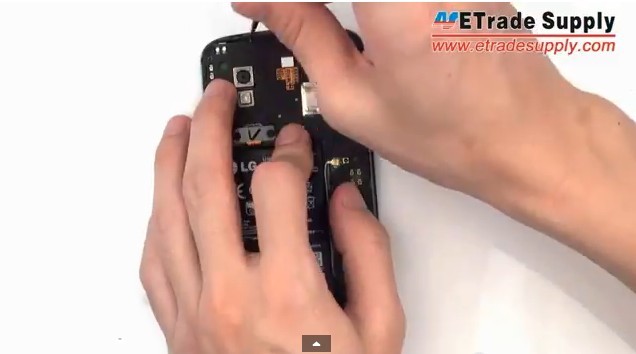 9) Reinstall the battery door and fasten it with 2 screws.
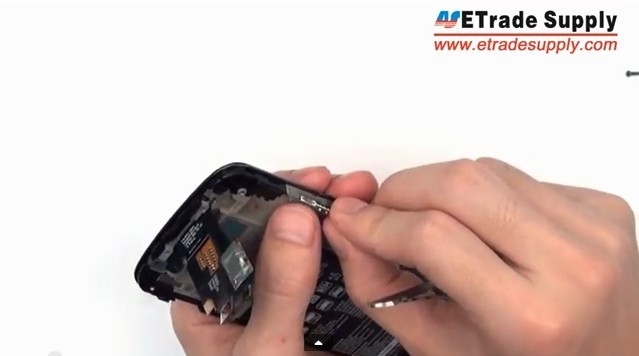
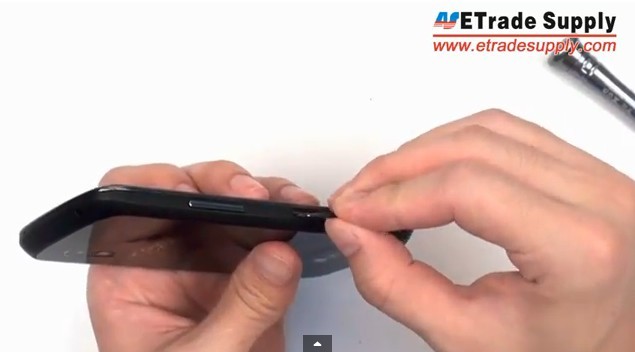
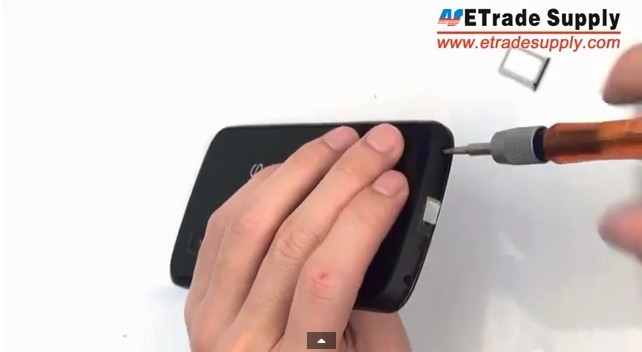 10) Insert Nexus 4 SIM Card.
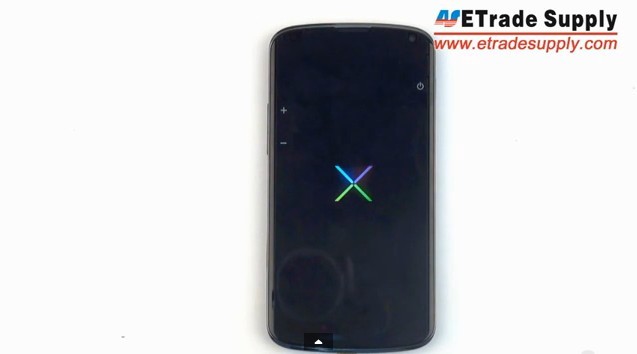
11) Turn on Nexus 4.
Please follow Nexus 4 Reassembly Video step by step to finish the job.


 IOS 17.4 official version pushed to block battery vulnerability
  Is the Chinese-made rear case for the iPhone 15 series going on the market?
  New products coming:USB to MFI Lightning Cable
  Big BUG of iPhone 15
  Successfully submitted!