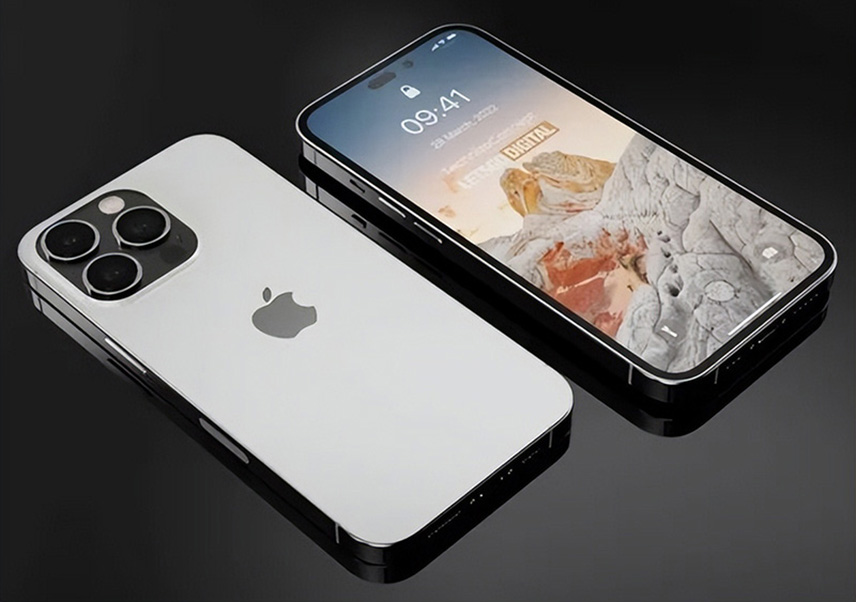
iPhone 14 Pro glass replacement tutorial
BY ETrade Supply | 八月 8th, 2023 | 0 | 0
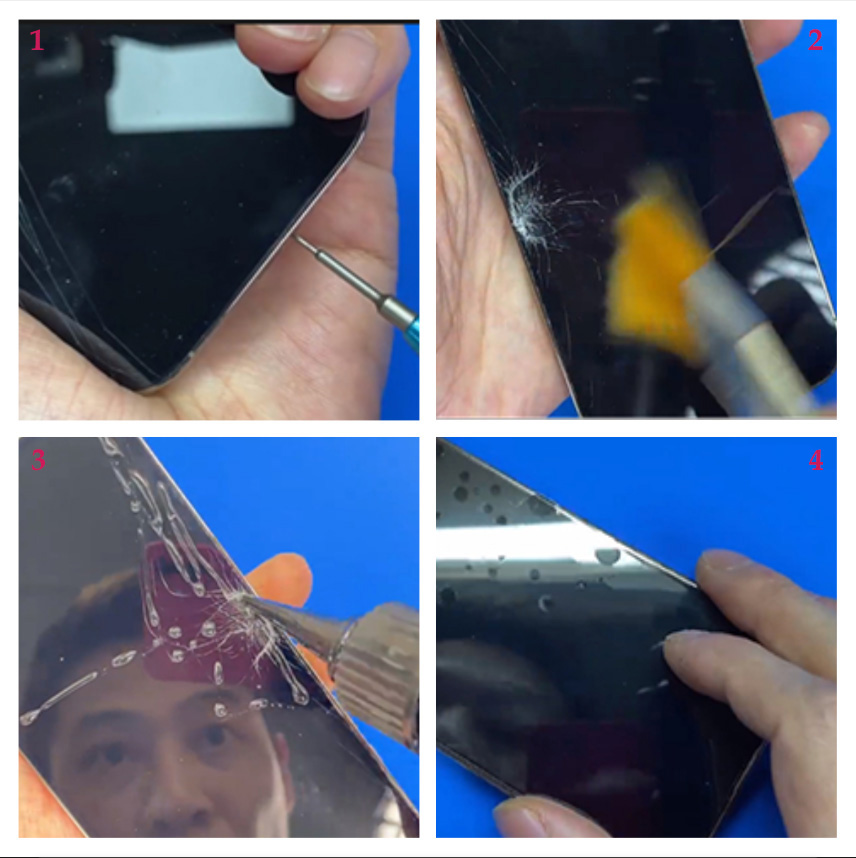
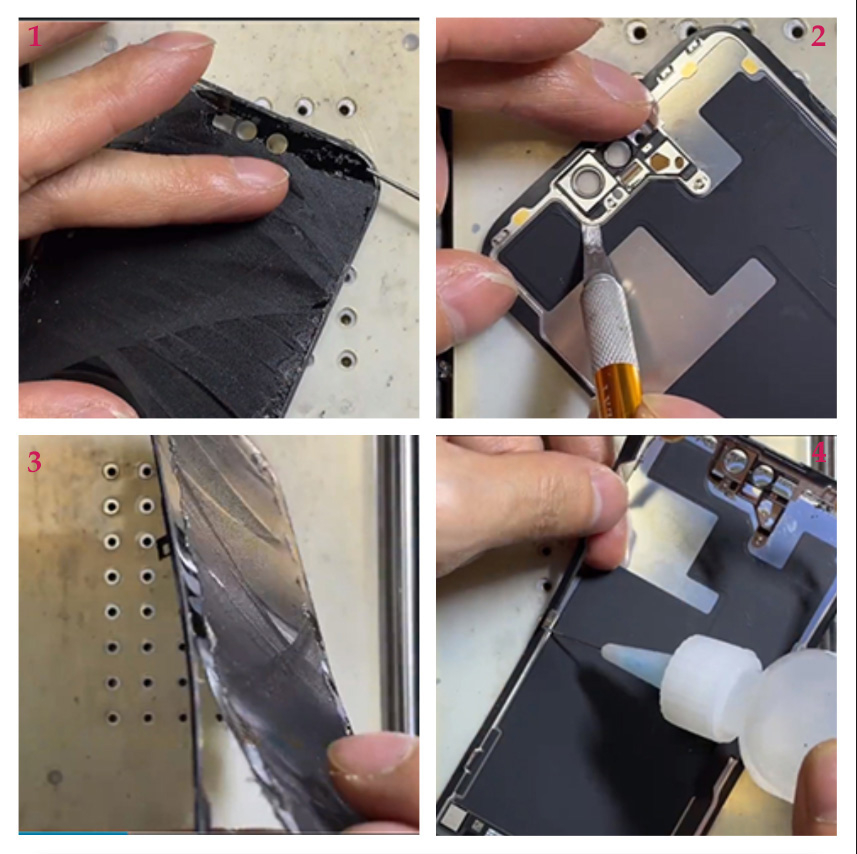
2.Use a purple lamp to cure the glue, so as to prevent the glass slag from jumping when the screen is removed. Insert the sheet into the gap of the frame, introduce alcohol softening waterproof glue, scratch the screen, loosen the bezel screw, disassemble the baffle, power off, disconnect the screen cable and the induction cable.
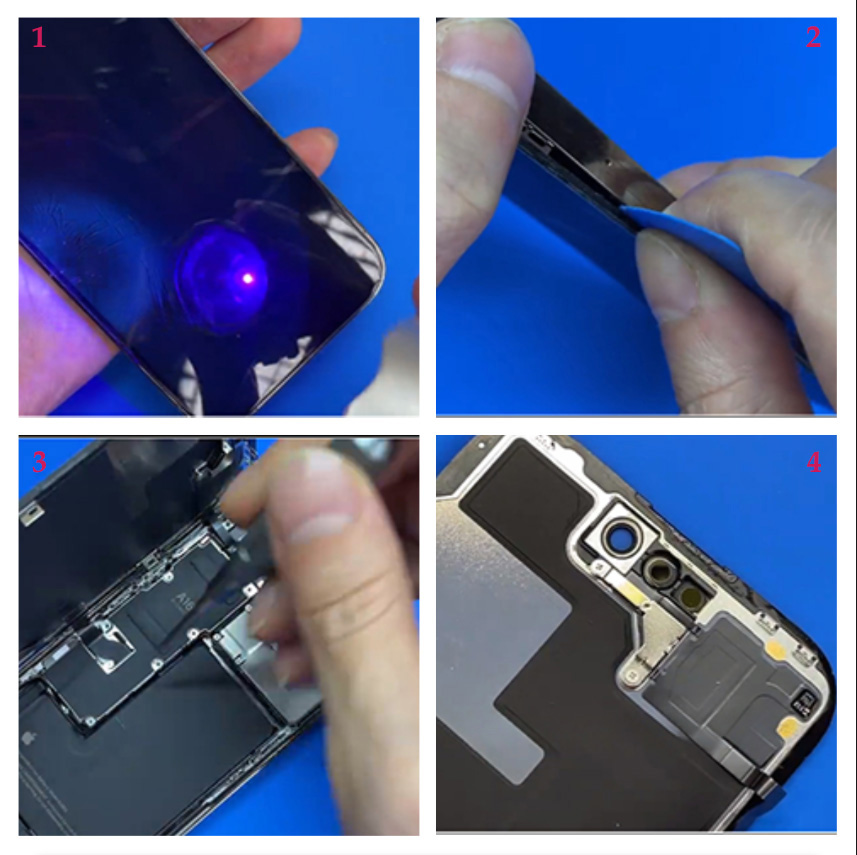
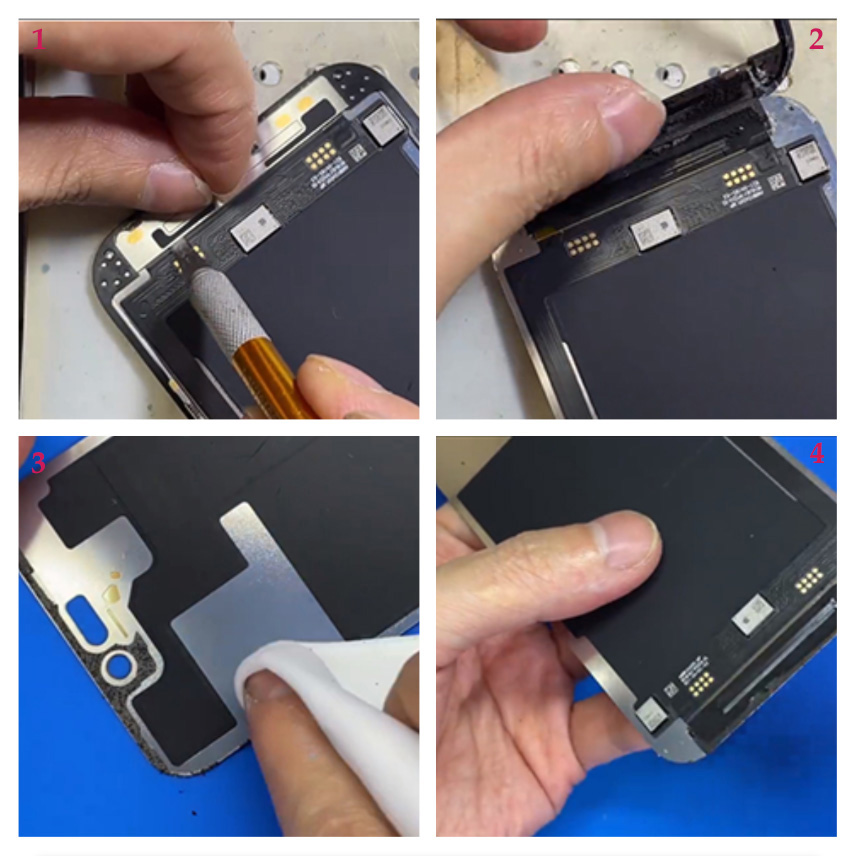
3.Place the screen on the heating table and carefully lift the induction IC. Take advantage of the residual temperature to tear off the cable with bare hands and separate the liquid crystal.
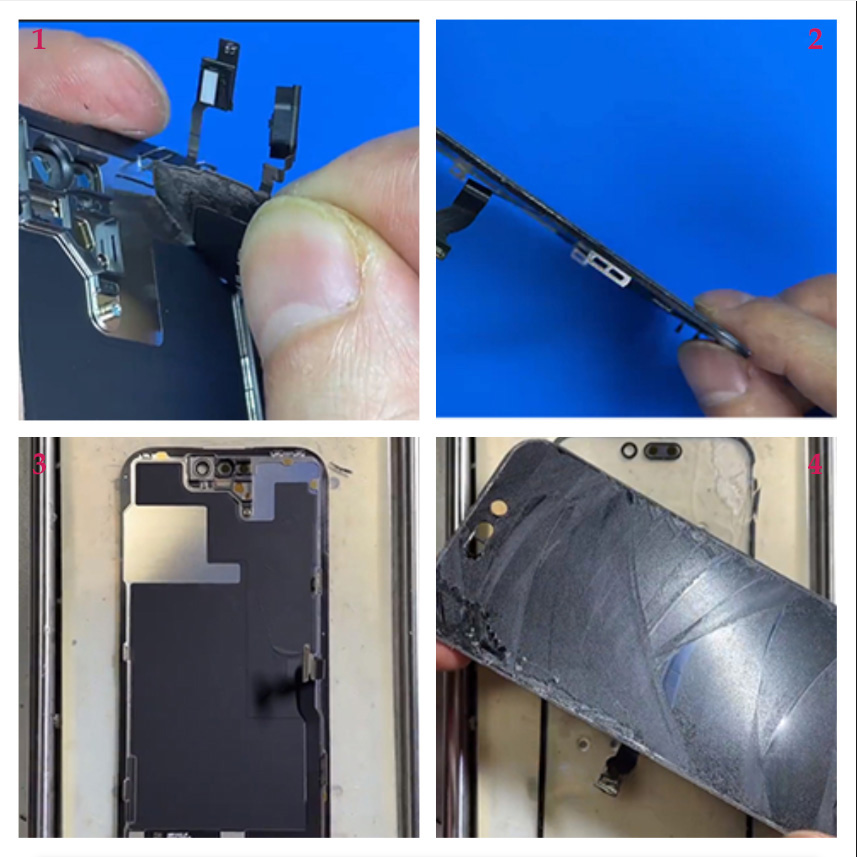
4.Shovel off the OCA around the screen and open the upper half of the bracket with the help of alcohol sheets; The lower part of the bracket has a double-sided adhesive strip on the inside, which needs to be heated with alcohol and slowly disassembled.
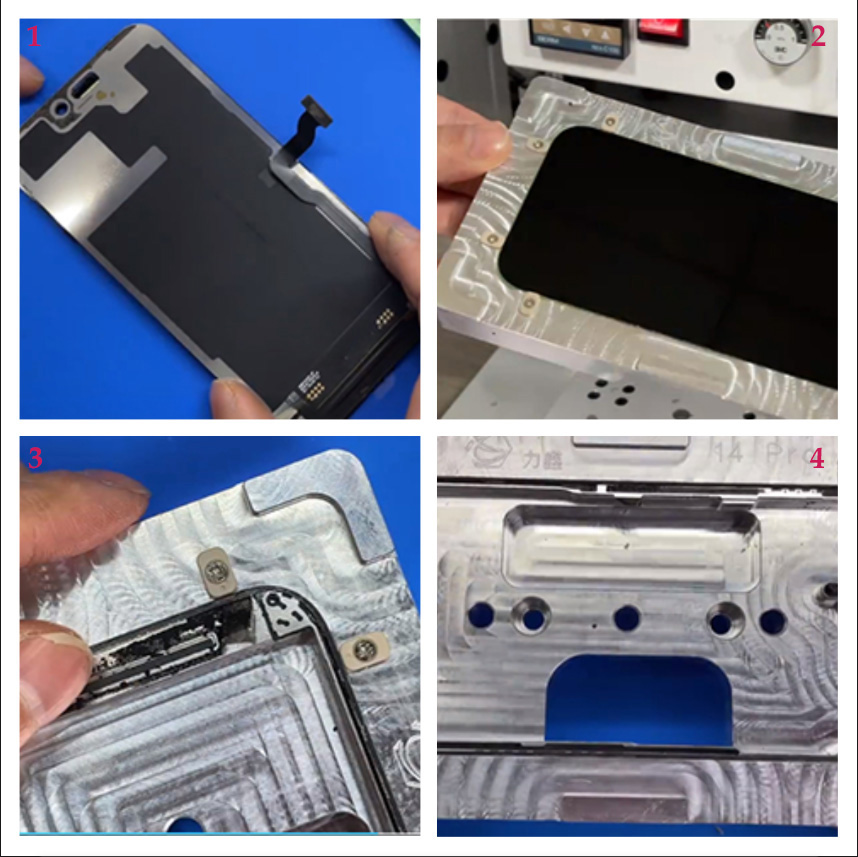
5.The bottom of the bracket has both double-sided adhesive and bracket glue to fix the liquid crystal, and use a thin sheet with alcohol to disassemble, because it is hard glue or it is recommended to put it on the heating table to drop alcohol and open it with clever force.
6.Remove the residual glue on the back of the screen, and then clean all the screen surfaces, do a comprehensive cleaning of the separated liquid crystal, and also remove the residual glue on the edges.
7.Ensure that there is no dust and glue after attaching a new glass plate, put it into the bonding machine vacuum bonding, defoaming.
8.Clean the bracket, remove the bracket glue, light the glue for the bracket, install the screen and put it into the hot press machine to hold the pressure for 2 minutes.
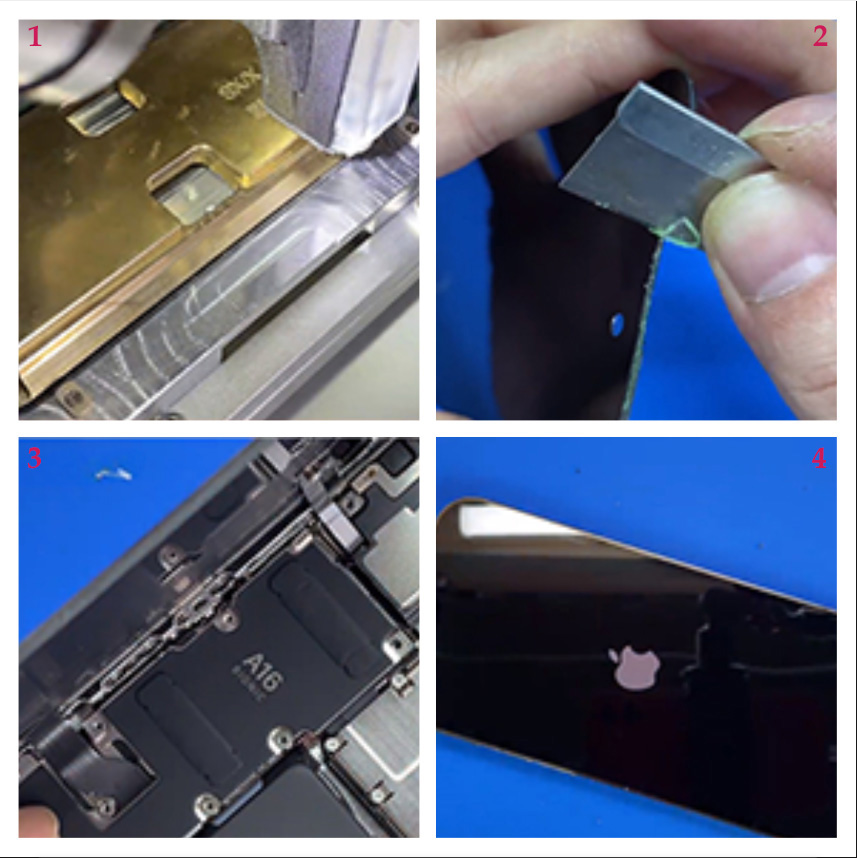
9. Scrape off the overflowing bracket glue, install the induction cable, button the screen to install the machine, and test all functions. Put the phone on the heating table for a few minutes and replace the tail screw.