


How to tear down Huawei Ascend P7
BY Davi | 十月 10th, 2014 | 0 | 1
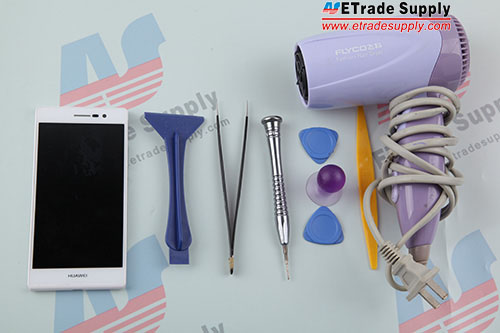
Tools needed:
Philips Screwdriver (1.5*25 mm)
Tweezers
Suction cup tool
Spudger Tools
Heat gun or Electronic Hair Drier
Case Opening Tool
Pry up Tool
Here we show you how to disassemble Huawei Ascend P7 step by step.
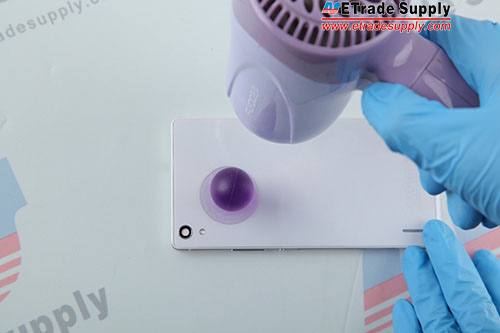
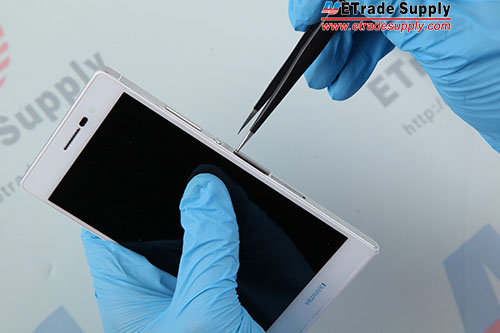
1.Heat the glass panel edge on the back for several minutes, so the adhesive loosens. (Notice: keep heating for a while for the adhesive on the panel is very strong. Otherwise, it’s very easy to be crushed.)
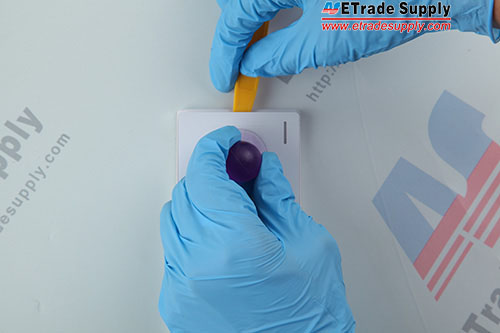
2.Use a plastic spudger and opening tool to gently pry up the glass, then use the suction cup to remove the back panel.
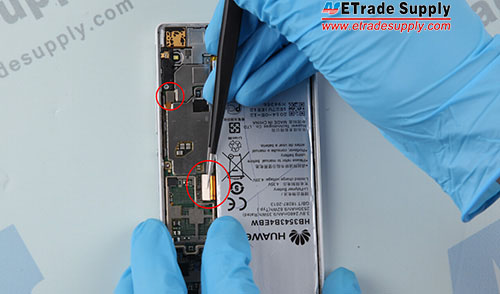
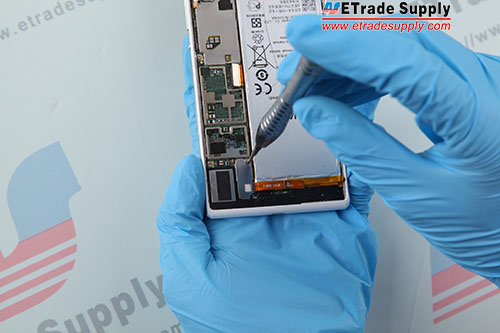
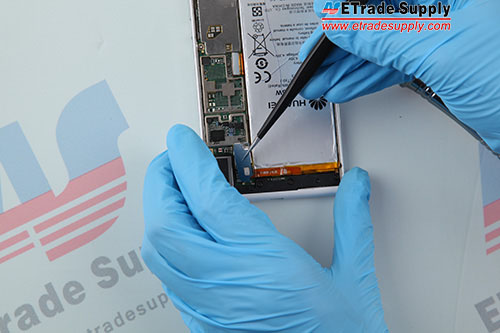
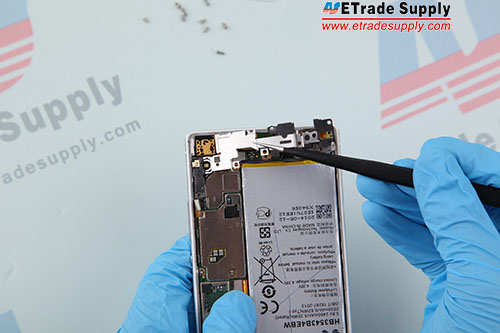
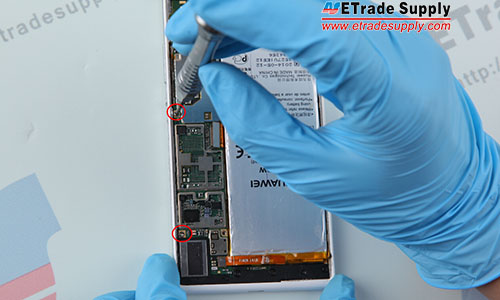
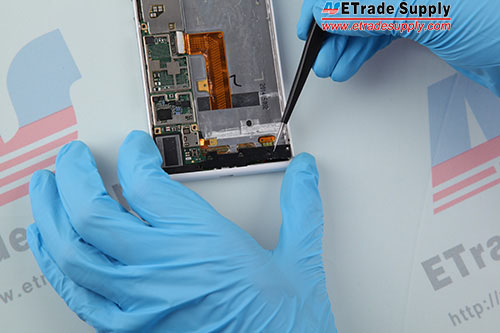
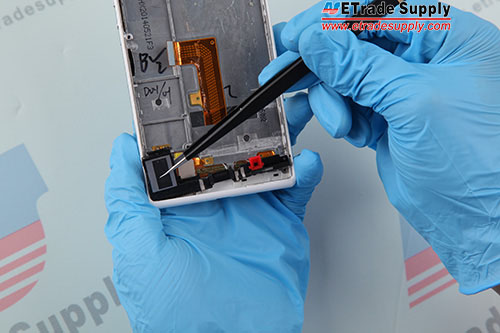
3.Disconnect the volume button flex cable and LCD screen and digitizer assembly flex cable.
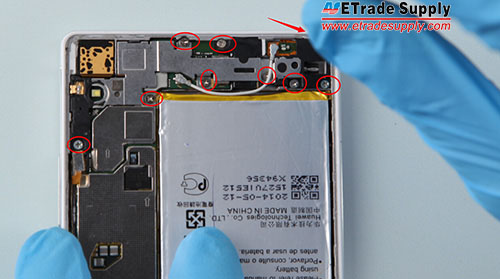
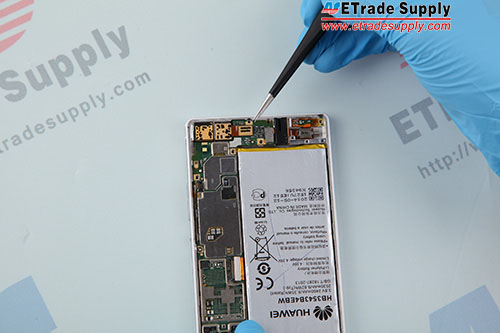
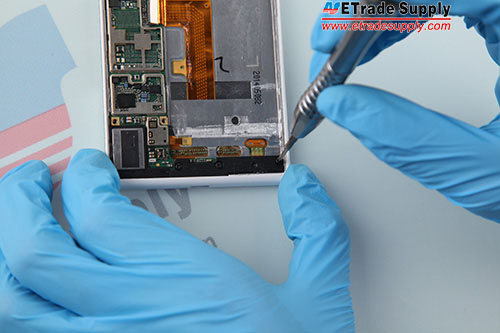
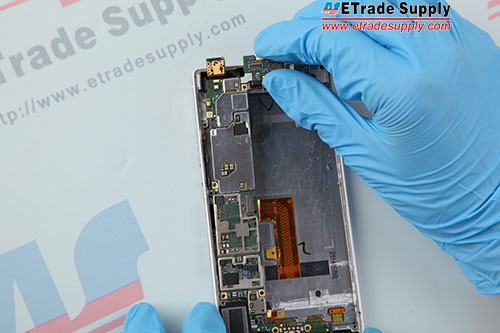
4.Undo 1 screw in the logic board, then Remove the metal retaining bracket.
5.Undo 9 screws in the top of the phone.
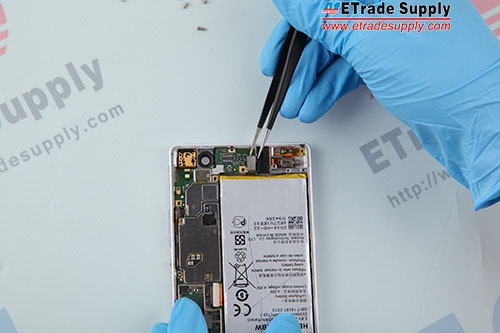
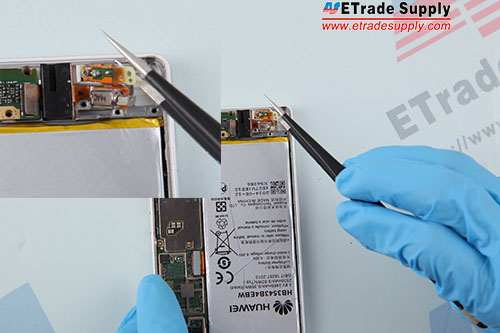
6.Remove the antenna.
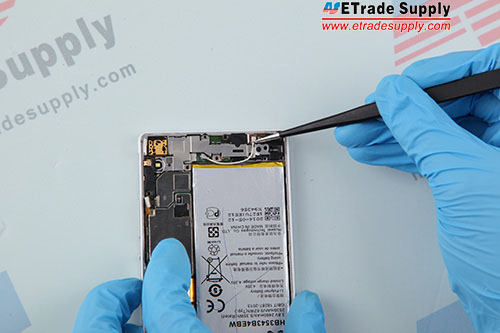
7.Remove the metal retaining bracket.(Notice: the metal piece can be stuck in the gap )
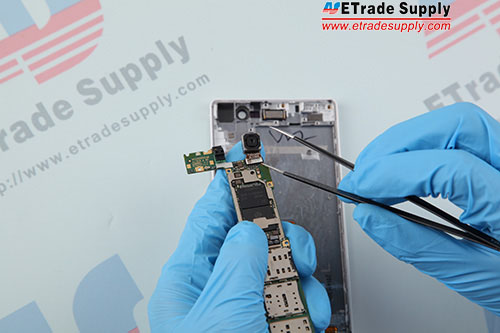
8.Disconnect the front camera flex cable and remove the front camera.
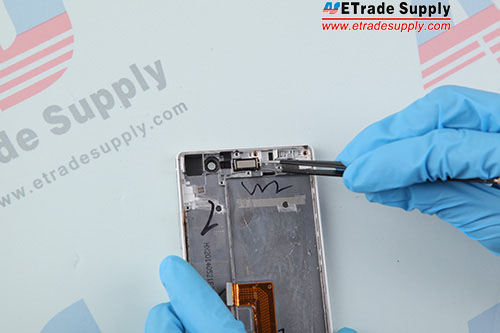
9.Disconnect the headphone jack flex cable.
10.Pry up the vibrating motor, then remove them all.
11.Undo 2 screws in the logic board.
12.Remove the SIM-card trays.
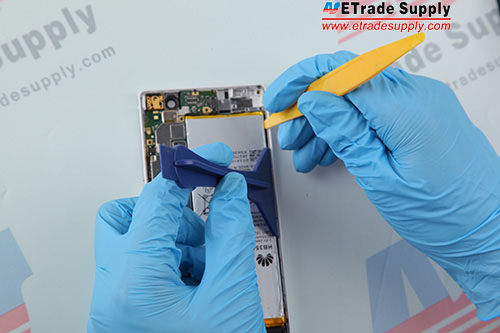
13.Use the strong plastic spudgers to pry the battery off its adhesive.(Notice: Keep patient and handle carefully for the LCD screen and digitizer assembly flex cable attached between the battery and housing)
14.Undo 3 screws in the bottom of the phone and remove the black plastic retaining bracket.
15.Remove the logic board. (Notice: the rear facing camera is still connected to the motherboard. Handle carefully!)
16.Disconnect the rear facing camera flex cable.
17.Remove the ear speaker.
18.Remove the loud speaker in the bottom of the phone.
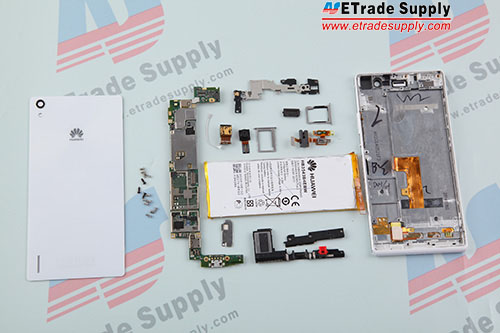
19.The Huawei Ascend P7 teardown is finished.
Cell phone repair tools:cell phone repair tools
Get replacement parts here:Huawei Ascend P7 repair parts
Related: Huawei Ascend P7 reassemble


