


How to Fix the Cracked Screen on HTC One
BY Junior | 十一月 7th, 2013 | 21 | 1
If you have the cracked screen on HTC One and you don’t want to send it back to Samsung’s flagship store, you can try to DIY fix it yourself if you can deal with the challenge. Whether you have broken the HTC One’s touch screen digitizer or LCD display isn't functioning normally, changing the whole screen assembly on the HTC One will resolve both problems. Now we will show you how to disassemble the new HTC One, and replace a shattered or cracked screen if you're somehow not covered by warranty, now or in the future. Also, this step by step tutorial will teach you how to replace the damaged HTC One’s front housing, charging port PCB board, front or rear facing camera, battery and etc.

What You Need to DIY Repair the Cracked HTC One screen: You'll need some special phone repair tools and replacement parts for HTC One so that fix the device successfully, including the replacement screen for HTC One. If you don’t know where can buy the excellent original HTC One replacement parts, we highly recommend checking out ETrade Supply’s online store as ETS offers 100% OEM brand new replacement HTC One parts. All the links below will route you to the direct product on the site.
• HTC One Replacement screen Assembly - Buy black screen now, Buy white screen now
• Small Phillips Screwdriver
• Case Opening Tool - Buy now
• Tweezers - Buy now
HTC One Screen Step by Step Repair Instruction:
Power the cracked HTC One off.
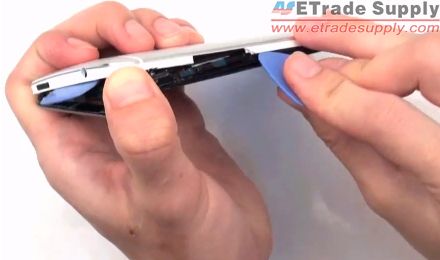
2. Insert the case opening tools into the gap between the rear housing and the motherboard, and then separate them.
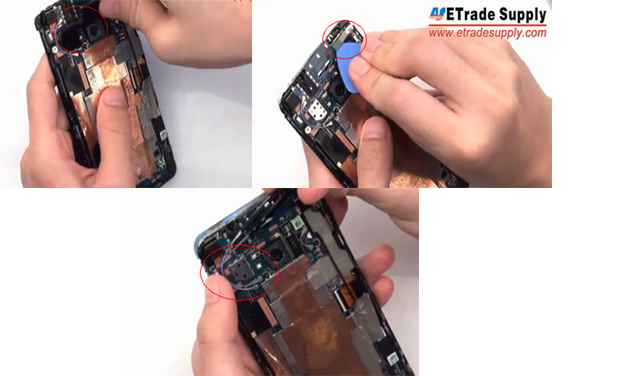
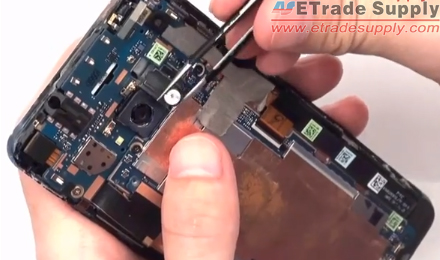
3. Take out the black retaining bracket, open 5 connectors, and then remove 2 antennas.
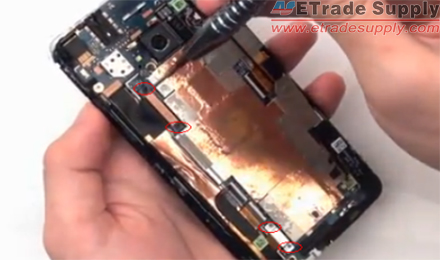
4. Remove 4 screws with the Small Philip Screwdriver.
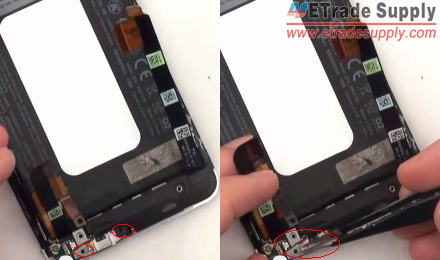
5. Use tweezers to disconnect 2 antennas.
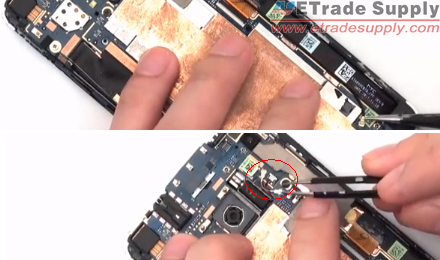
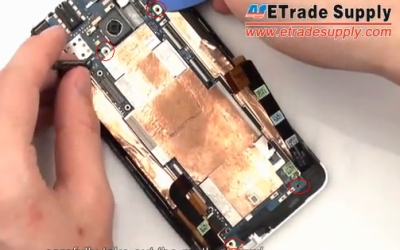
6. Use Tweezers to pry up the vibrating motor.
7. Disconnect the flex cables on the motherboard, take out the flex cables.
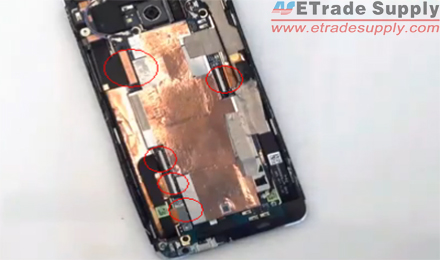
8. Remove 4 screws on the motherboard.
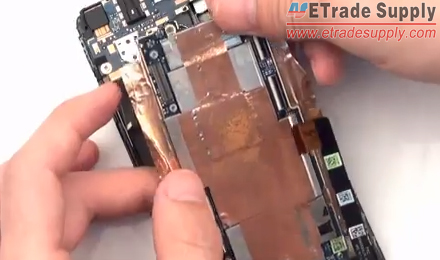
9. Take out the motherboard carefully.
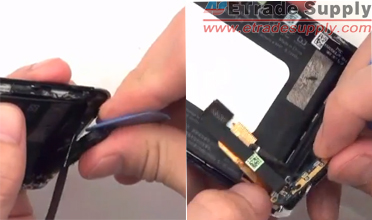
10. Remove 2 screws, and then remove the USB metal shield.
11. Remove the screw so that take out the loud speaker assembly and charging port flex cable.
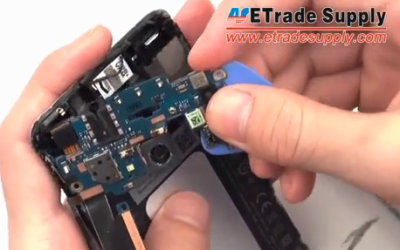
12. Remove 3 screws and take out the PCB board.
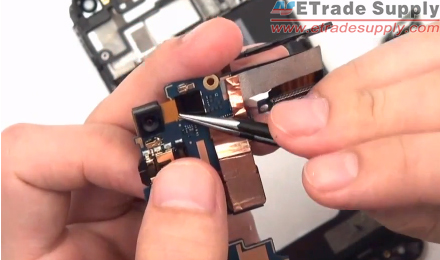
13. Peel off tapes, disconnect connectors and then remove the front facing camera and rear facing camera.
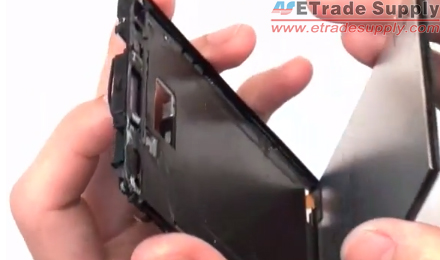
14. Use case opening tools to pry up the HTC One battery.
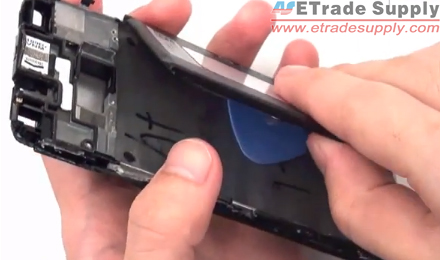
15. Finally, separate the cracked screen assembly from the front housing, and replace an OEM brand new HTC One screen.
If your screen is cracked but still able to use it or see it, your LCD (picture displaying unit) is fine, then you will need a digitizer replaced only. LCD is the part displays the picture. If the device can’t display the picture and the touch screen was damaged, you have to replace the digitizer and the LCD together which will costs more. Welcome to visit ETrade Supply’s official Twitter, Facebook and YouTube. We will publish more DIY repair tutorials and the latest news of upcoming smartphones on these social media platforms.


