


How to Reassemble Nexus 6
BY Davi | 一月 9th, 2015 | 0 | 0
After disassembled the Nexus 6, we found that some parts are integrated orderly. Some parts such as the vibrator and the loudspeaker can’t be torn down, and the Nexus 6 LCD screen and digitizer flex cables are connected in a totally different way, compared to other Android phones. Pay attention to the flex cables, they need to be clipped. Though the whole teardown process is not difficult, we still recommend people who have related DIY skill and experience to do it.
Tools Needed:
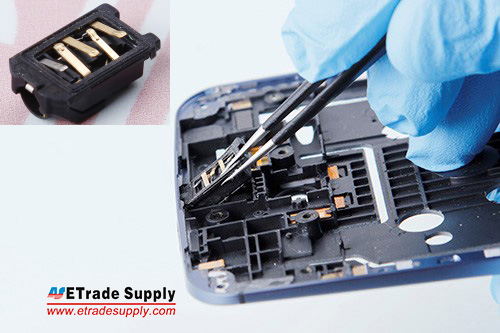
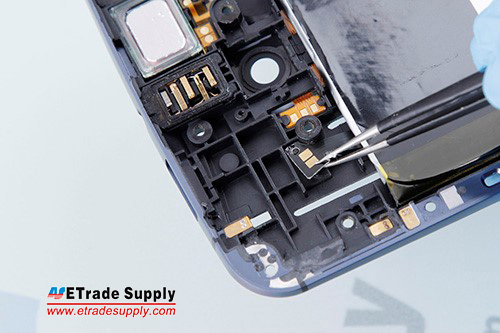
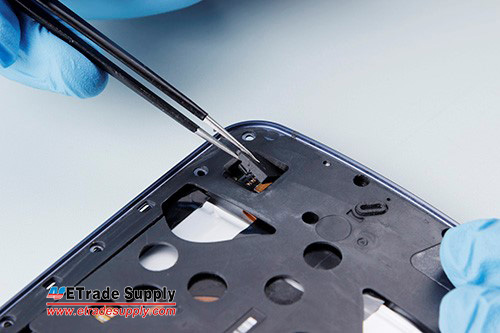
1. Insert the earphone jack and ear speaker. (Notice: Don’t scratch the flex ribbon underneath.)
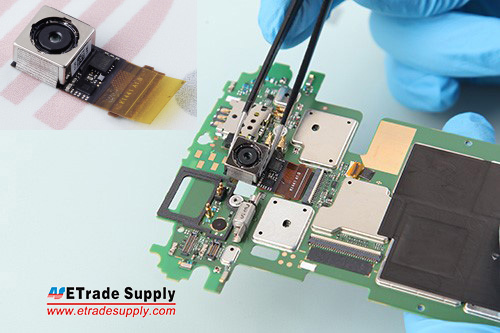
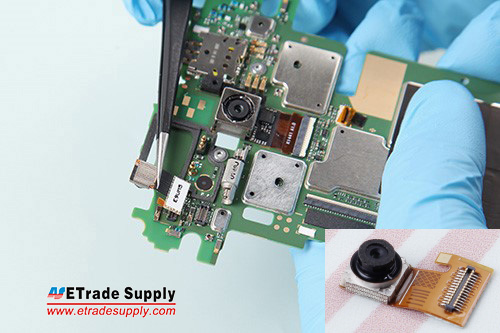
2. Assemble the rear-facing camera and front-facing camera to the motherboard, then connect the camera flex cables.
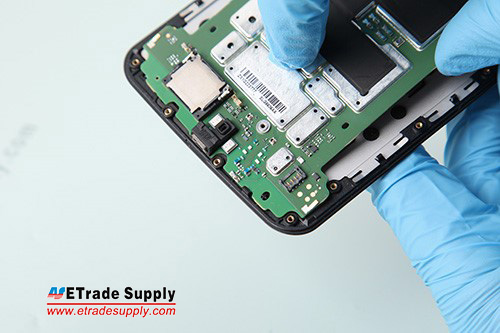
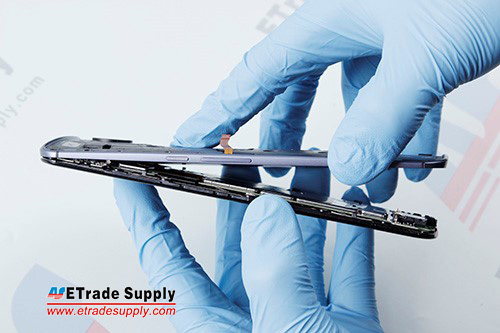
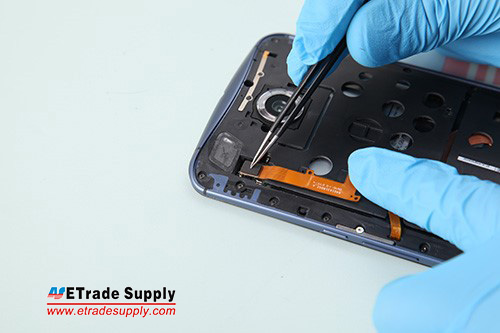
3. Assemble the logic board and LCD screen assembly.
You need to put the logic board on the LCD screen and digitizer assembly, then connect the LCD flex cable and digitizer flex cable to the logic board. Fasten 1 screw in the metal bracket on the motherboard. (Notice: flex cables are sensitive and fragile. Handle carefully.)
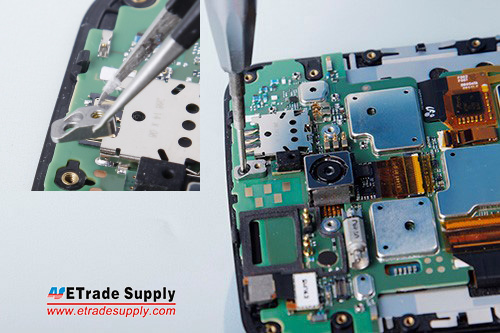
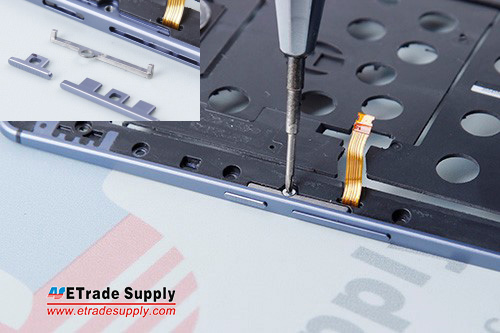
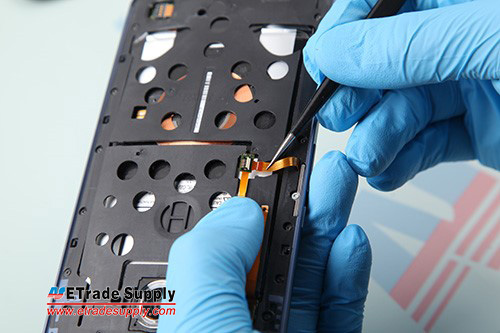
4. Install the side keys.
Insert the side keys flex cable and keys into the opening, then fasten 1 screw in the metal bracket.
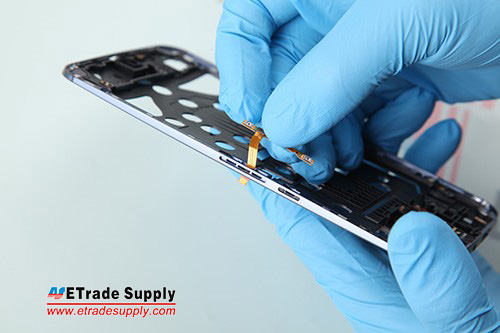
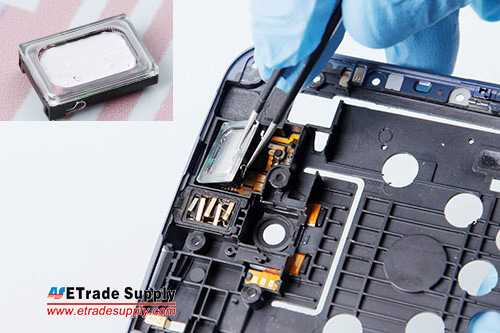
5. Adhere the battery on the rear housing with the 3M adhesive.
Also, you need to adhere the flex cable on the right place.
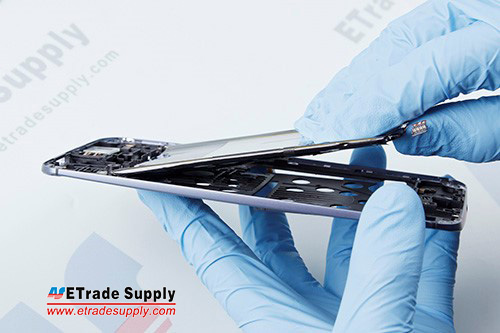
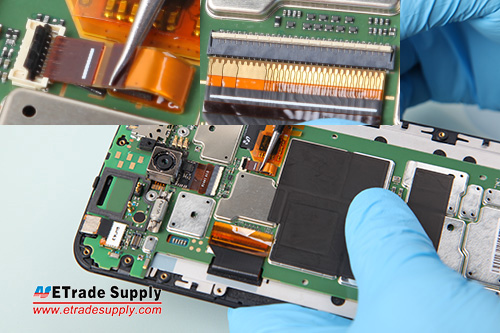
6. Assemble the rear housing, battery, main board, and LCD screen assembly.
Then connect the flex cable at the bottom of the battery to the motherboard and connect the extension flex cable ribbon with the side key flex cable and logic board.
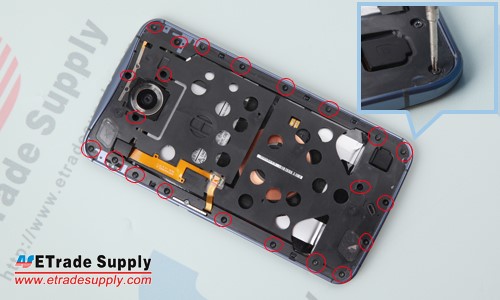
7. Cover 2 gasket on the rear housing, then fasten 22 screws to the rear housing.

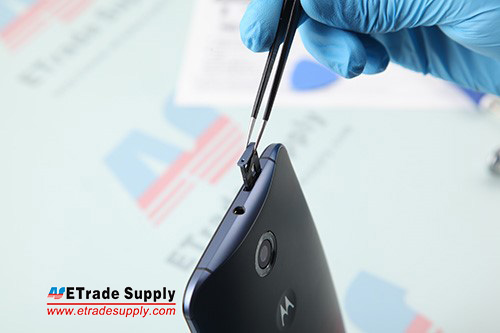
8. Adhere the battery door with 3M adhesive, then insert the SIM card tray.
The Motorola Nexus 6 reassembly is finished.
|
|

|
|
|
|
|
|---|


