


How to reassemble iPad mini 3
BY Davi | 一月 6th, 2015 | 0 | 0
After tearing down the iPad mini 3, we have known that it is easy to replace iPad mini 3 broken screens. Here we show you how to reassemble iPad mini 3 step by step.

Tools Needed:
- A pair of Tweezers
- PH00 Philips Screwdriver
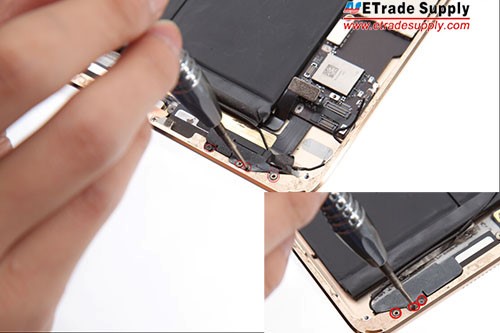
1. Insert the side key and power button, then fasten 2 screws into the bracket separately.
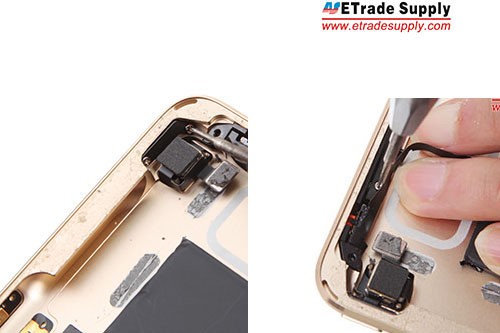
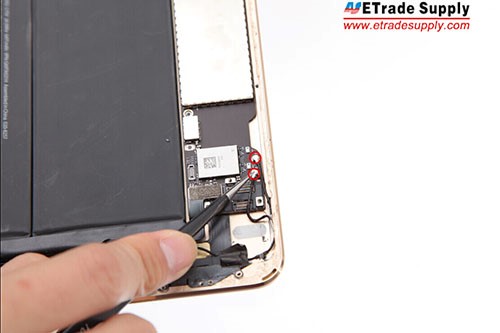
2. Insert the earphone jack.
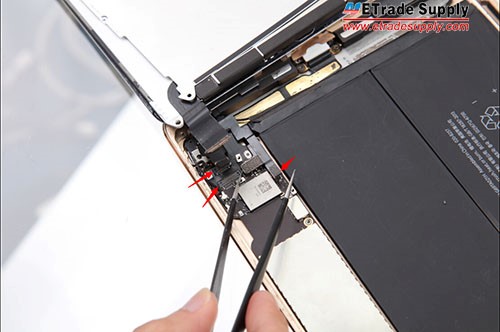
3. Insert the charging port and put the logic board on the back housing.
(Notice: pay attention to the side key flex cable, earphone jack flex cable and the battery flex cable.)
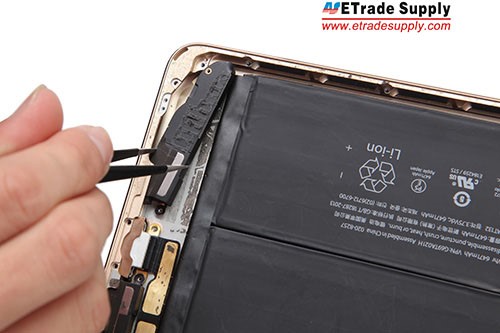
4. Insert the 2 loudspeaker modules to the bottom of the back housing.
5.Tweeze 6 screws to fix the charging port.
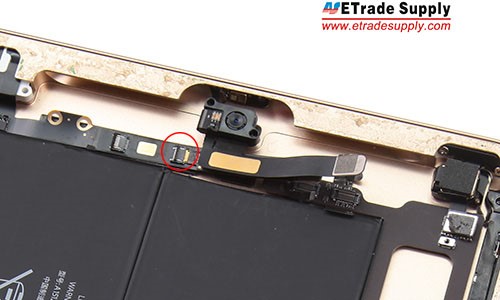
6. Connect the sensor flex cable to the earphone jack flex cable.
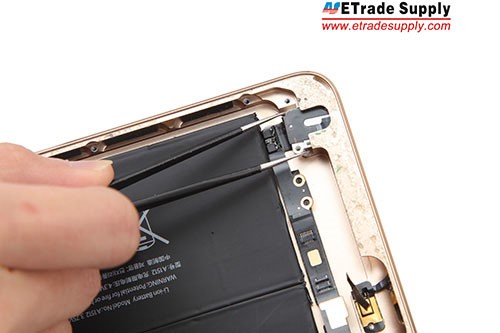
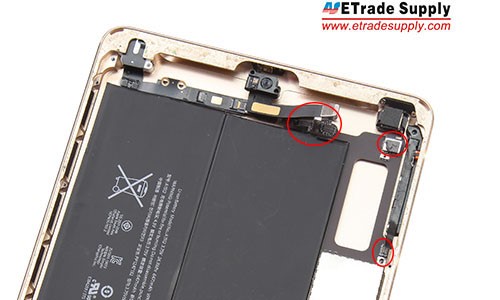
7. Connect the earphone jack flex cable, side key flex cable and battery flex cable to the motherboard. Adhere the front-facing camera to the back housing and connect it to the motherboard.
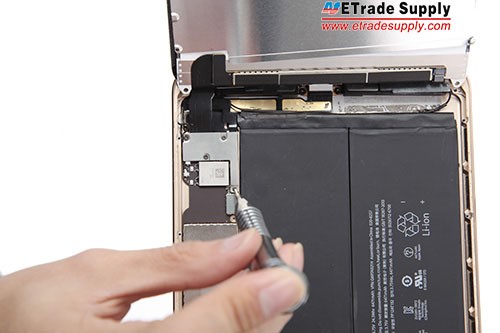
8. Fasten the motherboard with a screw into the back housing.
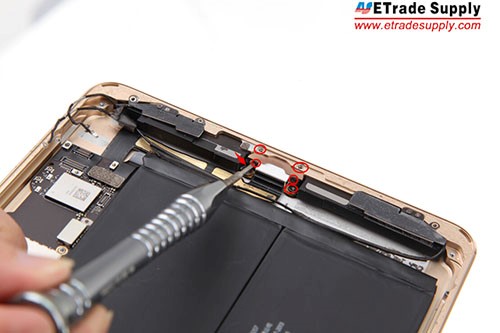
9. Put the antenna bracket on loudspeaker module and fix them with 7 screws.
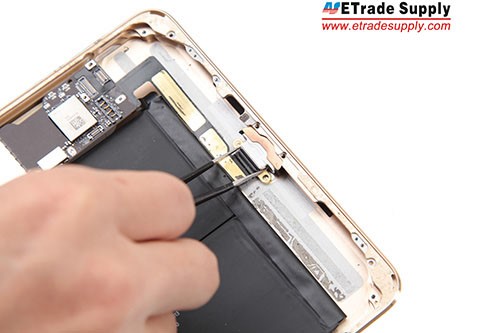
10. Connect the antennas to the motherboard.
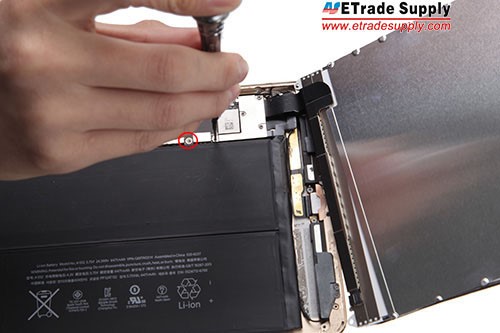
11. Connect the digitizer flex cable, LCD flex cable and home button flex cable to the motherboard.
12. Put the metal bracket on the motherboard and fasten 4 screws to fix it.
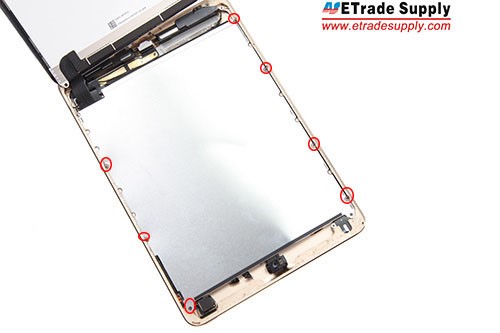
13. Fasten 7 screws to fix the metal bracket.
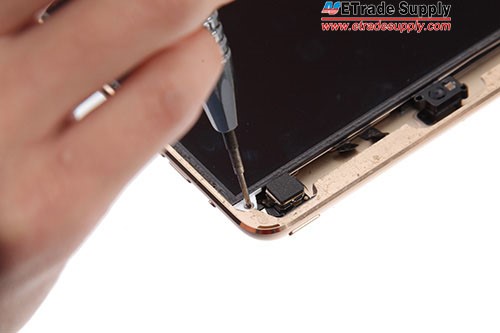
14. Fasten 4 screws to fix the LCD bracket.
15. Adhere the iPad mini 3 glass lens to the rear housing with a strong adhesive. Then the reassembly is done.
Summary
Reviewer
Hester
Review Date
Reviewed Item
The guide is very detail, thank you.
Author Rating
|
|

|
|
|
|
|
|---|
Share:


 IOS 17.4 official version pushed to block battery vulnerability
  Is the Chinese-made rear case for the iPhone 15 series going on the market?
  New products coming:USB to MFI Lightning Cable
  Big BUG of iPhone 15
  Successfully submitted!