


How to Fix the iPhone Face ID Issue by Replacing the Front Camera Blue Lenses
BY ETrade Supply | 二月 2nd, 2021 | 0 | 2
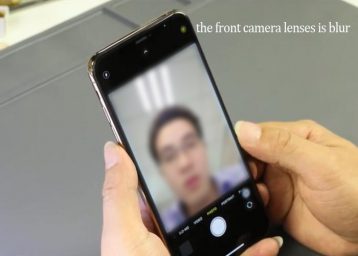
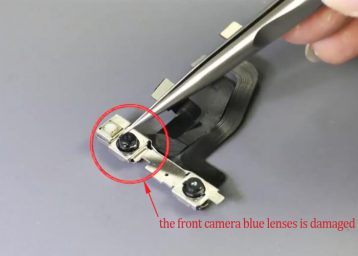
The iPhone face ID is a complex secure system. Most of the repair cases showed that the face ID issue always occurred after the iPhone screen or other small parts replacement. This is a repair case we received, the iPhone XS face ID failed for recognition because of the blur face image on the camera. We’ve checked the face ID settings on the system and all have no problems. We teared down the iPhone screen and took off the front camera. We fond the front camera blue lenses was broken. That is the reason why the face ID system is not working. The face ID was fixed after we replaced the front camera blue lenses. Here is the repair process we noted. Check this out below.
1. Tear down the iPhone and check the face ID module
1.1 Test the Face ID function, we can see the image on the camera is blur
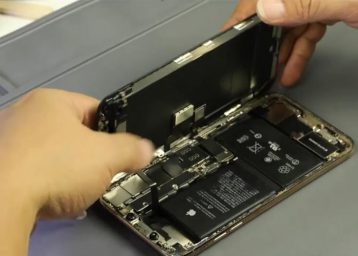
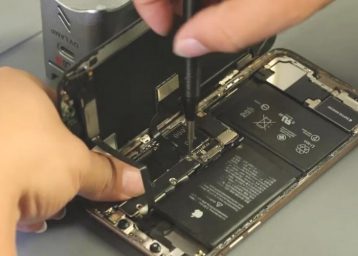
1.2 Turn off the iPhone and tear down the screen and digitizer
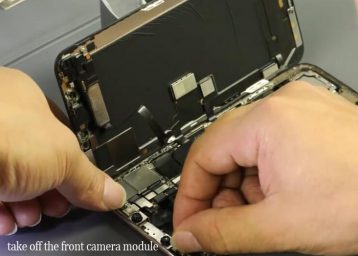
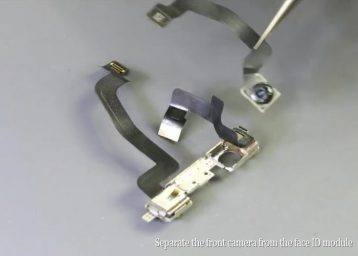
1.3 Disconnect the camera flex cables and take down the front camera module
1.4 We can see the camera blue lenses is damaged, apply the anti-heat adhesive on the infrared camera and dot matrix IC
2.Disassemble the front camera module and place the blue lenses
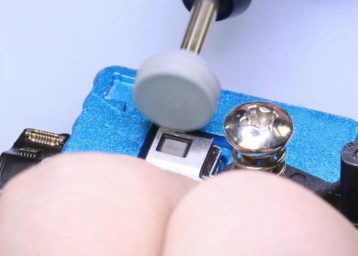
2.1 Fix the camera module on the repairing fixture, grind the upper metal shield with grinder tool
2.2 Remove the metal shield cover and peel off the camera flex
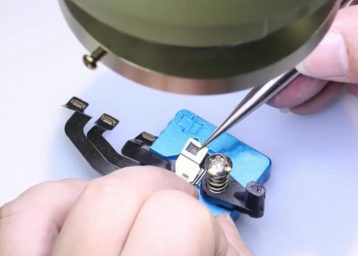
2.3 Hot air gun on the camera module and separate off the front camera
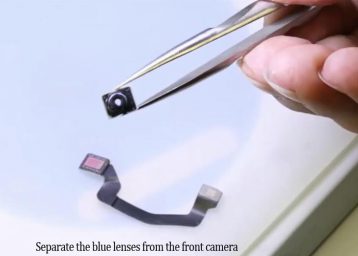
2.4 Fix the front camera on the holder to separate the blue lenses
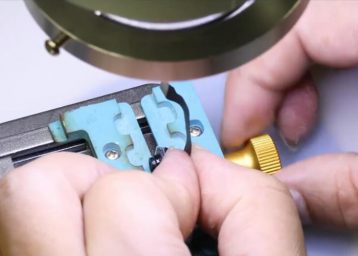
2.5 Use 200℃ hot air gun to blow, separate the camera blue lenses carefully
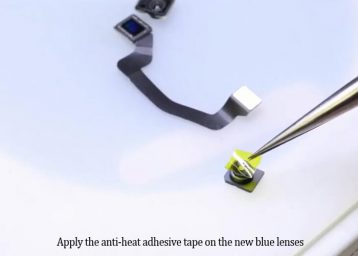
2.6 Apply the anti-heat adhesive on the new camera lenses, just be careful and don’t pollute the glass at the same time
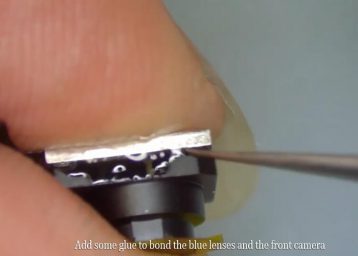
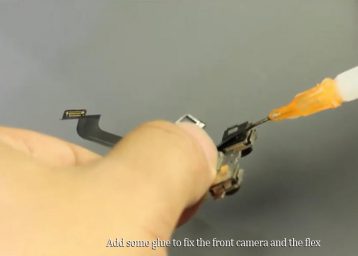
2.7 Install the new blue lenses to the iPhone XS front camera, add some glue to bond it
2.8 Install the front camera to the face ID module after the glue is solid
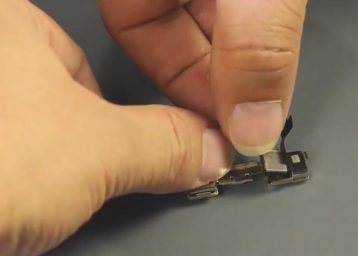
2.9 Add dome glue around the front camera to make sure it is closely bonded on the face ID module, and so as the dot projector flex
2.10 Stick the metal shield back to the camera module and adjust the position

3.Assemble the iPhone and check the face ID function
3.1 Install the repaired camera module on to the iPhone
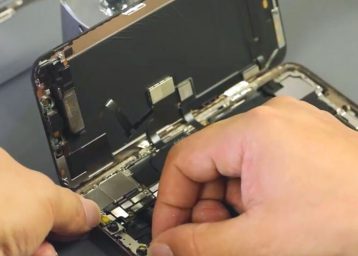
3.2 Connect the screen flex cables and assemble the iPhone XS screen and digitizer back to iPhone
3.3 Turn on the iPhone and check the face ID function. The camera image is clear and the face ID is function is back to normal

The whole process was operated by our professional repair technician. We suggest your go to the repair shop if you are not familiar with iPhone repair. Also, we should be careful on the camera lenses when take down the camera module or replace the camera. Don’t leave any oil dirt, dust or fingerprint on the lenses, or it will cause the camera image blur and the face ID system failed for recognition. At last, we suggest you come to Etrade Supply if you need any iPhone X series replacement parts. Here we provide good quality iPhone LCD screen and small parts for sale. Leave us your message or contact us if you are interested.


 How to Fix iPhone X Ear Speaker Not Working Problem
  IOS 17.4 official version pushed to block battery vulnerability
  Is the Chinese-made rear case for the iPhone 15 series going on the market?
  New products coming:USB to MFI Lightning Cable
  Successfully submitted!