How to Change Samsung Galaxy S6 Charging Port–Easiest Way
BY ETrade Supply | 四月 24th, 2015 | 8 | 13
It’s very annoying that your beloved Samsung Galaxy S6 works just fine but can’t be charged any more. Tough there may be many causes for the problems, the most possible one is the malfunctioned charging port. However, the USB charging port of Galaxy S6 is built together with the navigation key flex cable which you need to separate the screen assembly and the front housing to replace. This is a very risky procedure, so don’t try this unless you’re well prepared.
In this article, we’ll explain to you how to replace the broken Samsung Galaxy S6 charging port, check our tutorial up!
Tools Needed:
▪ Repair Tools BST-8921 (38 pcs/set)
▪ Heat Gun/Hair Dryer
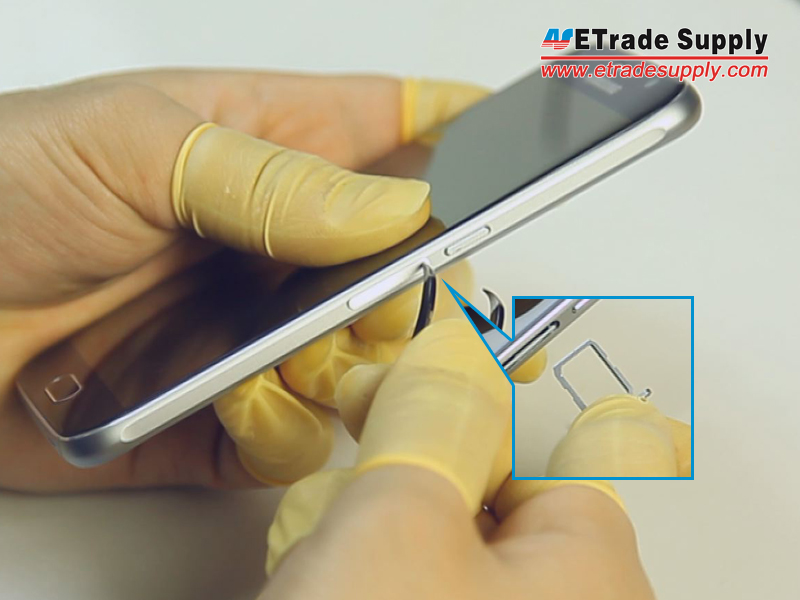
Step 1: Take Out The SIM Card Tray.
▪ Power off the Samsung Galaxy S6.
▪ Use an ejector pin or tweezers to take out the SIM Card Tray.
Step 2: Take Apart The Battery Door.
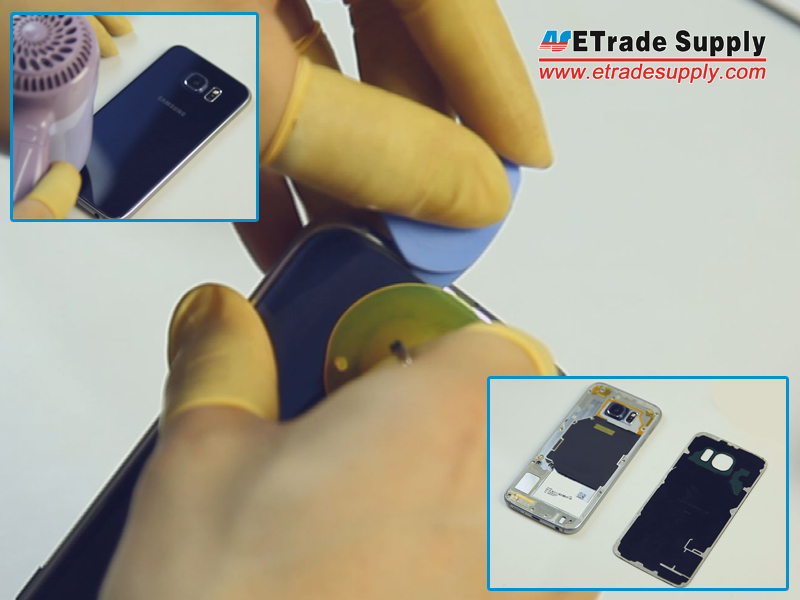
▪ Heat up the Samsung Galaxy S6's Battery Door.
▪ Pull the battery cover up with a screen suction cup tool. (The battery door is stuck to the middle plate with some really strong adhesive, take your time to remove it)
▪ Separate the battery door with a case opening tool.
Step 3: Release The Rear Housing.
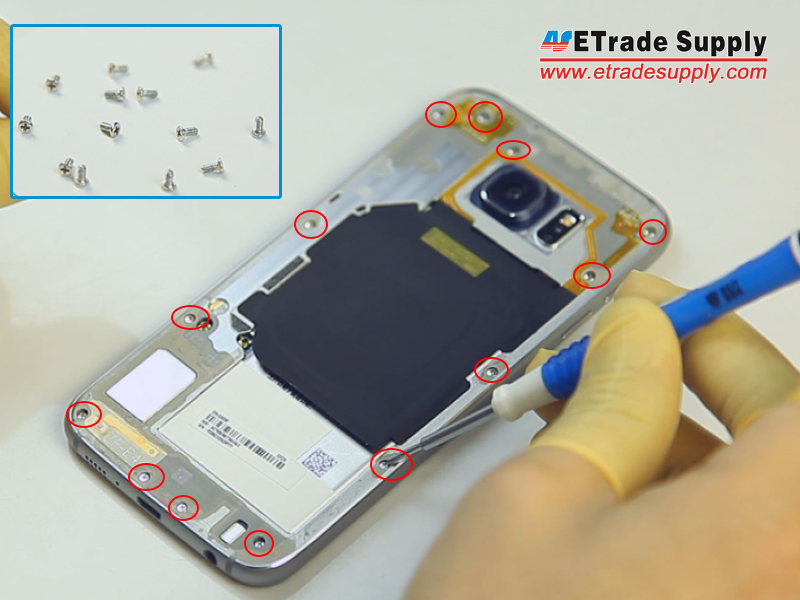
▪ Undo the 13 screws in the rear housing.
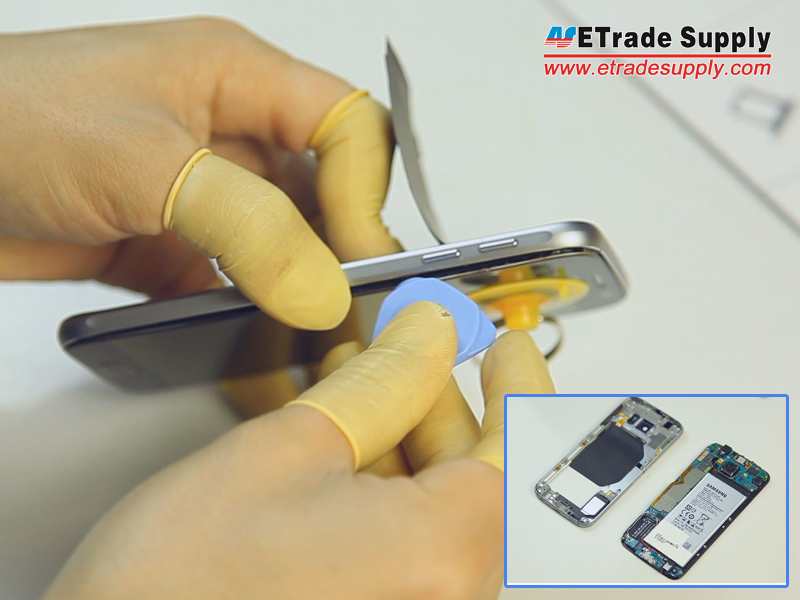
▪ Heat up the LCD Assembly.
▪ Separate the rear housing from the LCD Assembly with the help of a suction cup tool and case opening tool.
(Notice: be careful not to damage the wireless charging chip attached to the battery.)
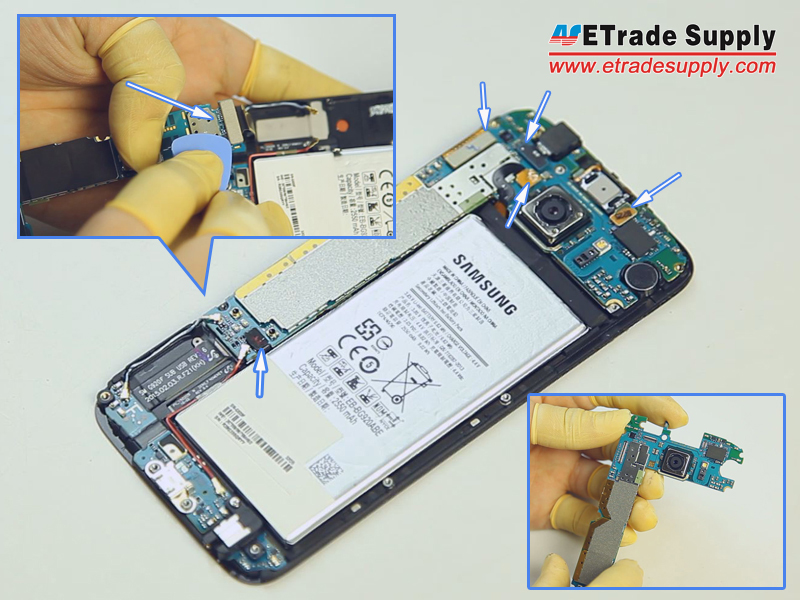
Step 4: Remove The Motherboard.
▪ Pry up the LCD assembly connector, front facing camera connector, battery connector, ear speaker connector and home button flex ribbon connector.
▪ Turn over the motherboard and pry up the connector.
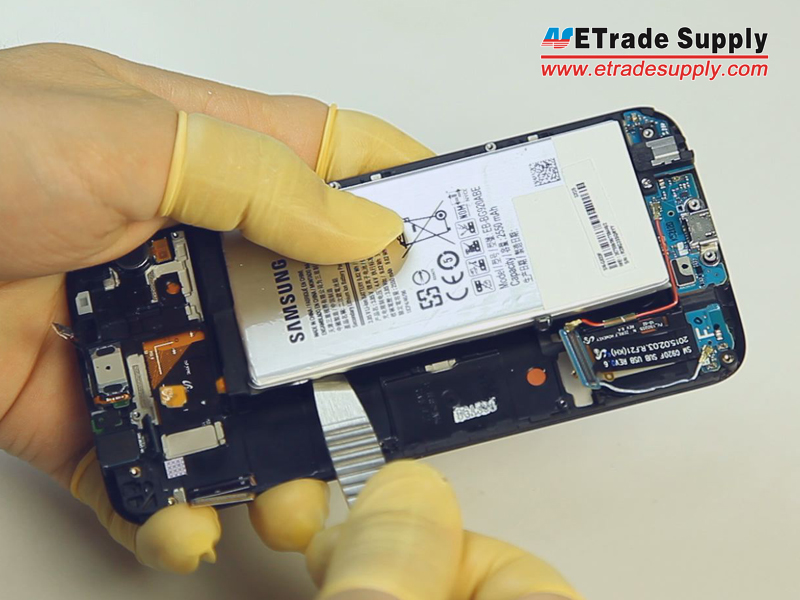
Step 5: Remove The Battery.
▪ Gently pry up the battery with a spudger tool.
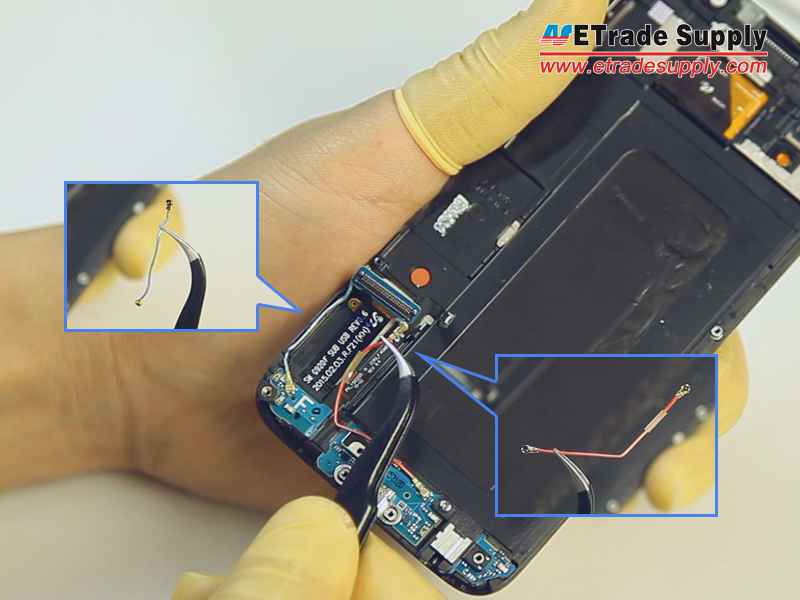
Step 6: Release The Charging Port Assembly.
▪ Remove the Bluetooth and Wi-Fi cables.
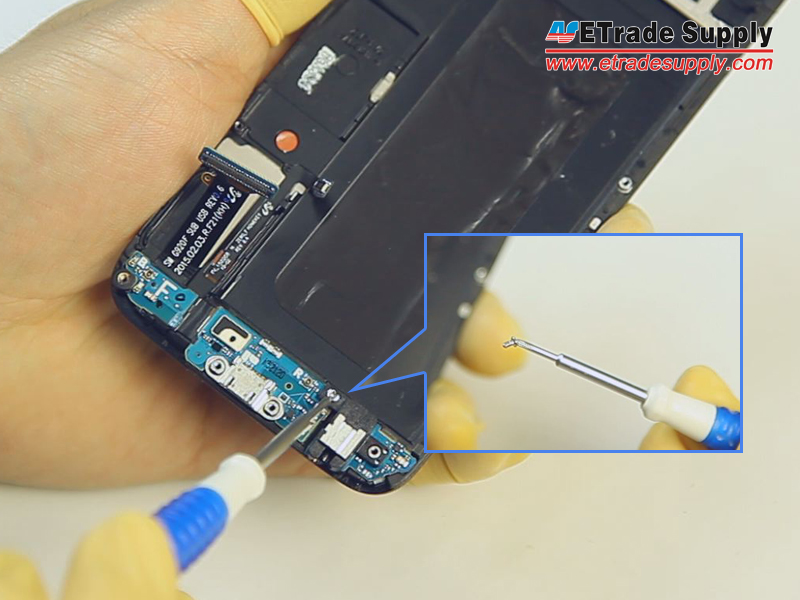
▪ Undo the earphone jack screw. (Notice: the screw is different than the rear housing screws.)
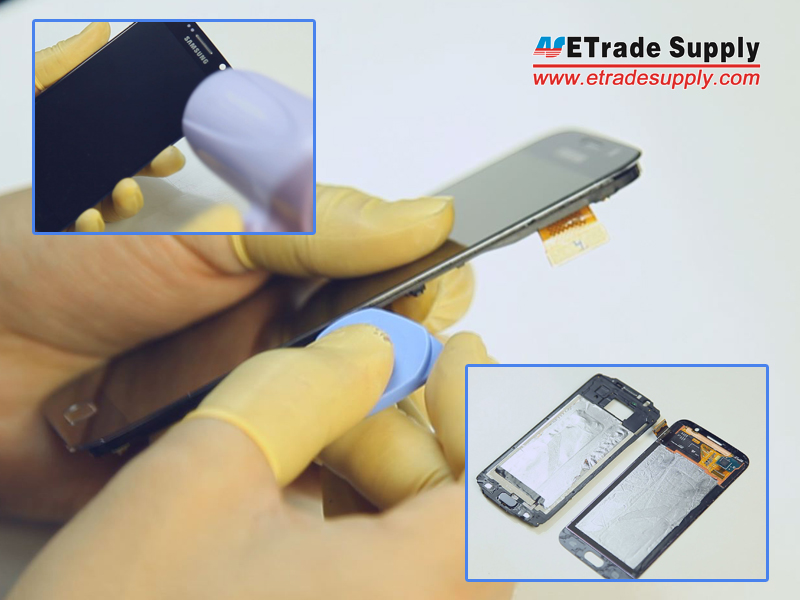
▪ Heat up the LCD Assembly to release the front housing.
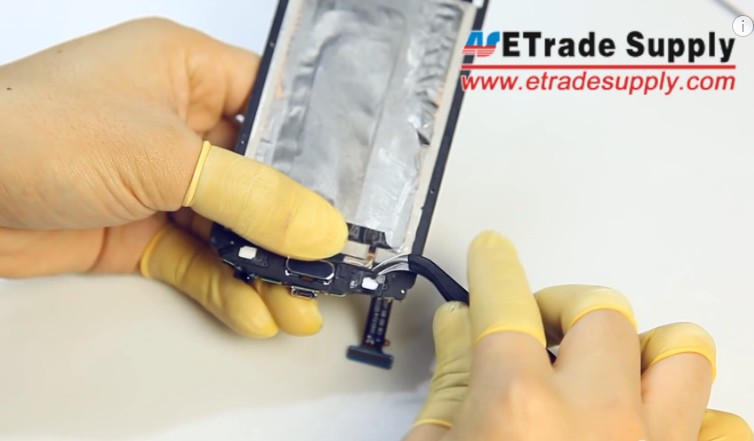
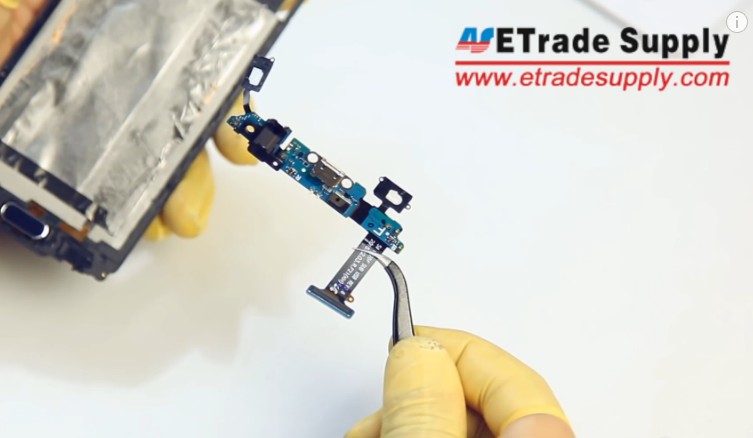
▪ Pry up the navigation light stickers with charging port.
If you have any questions about how to replace the Samsung Galaxy S6 charging port, do not hesitate to leave us a comment below.
|
|

|

|

|

|

|
|---|


