5 Steps to DIY Make a Cellphone Waterproof Bag
BY May | 六月 14th, 2014 | 0 | 4
Summer has arrived, can’t wait to get a cool shower or throw yourself into the beach or a swimming pool to drive away the scorching heat? Good idea! But what if you want to carry along your iPhone or an Android phone that’s not waterproof? Well, forget your concerns, here is a pretty easy way to DIY make cellphone waterproof bags.
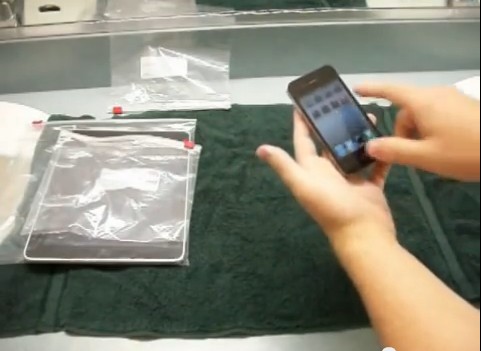
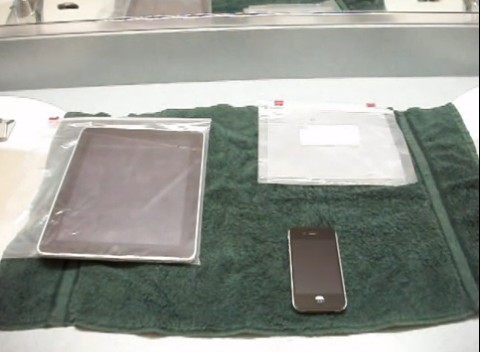
Step 1: Preparation. Buy two ziplock bags or more if you need in a supermarket or retail store.
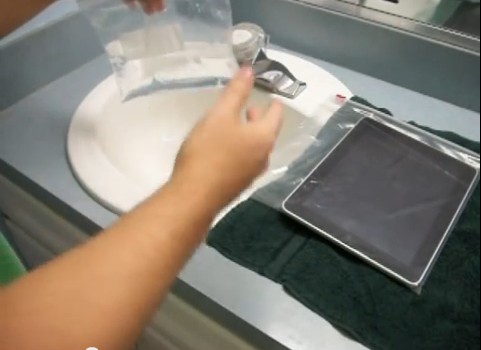
Step 2: Check the sealability of ziplock bags. Fill up the bag with water and seal it. Then turn it upside down to see if any water spills. If there’s any spill, throw it and check the others until getting a qualified one.
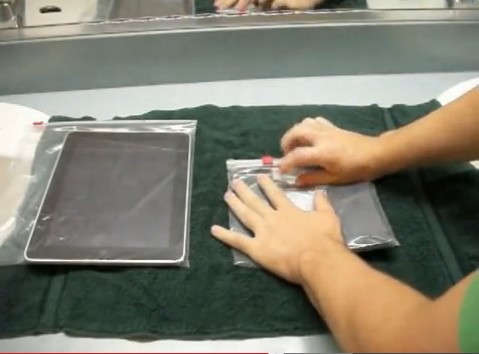
Step 3: Put the cellphone in one ziplock bag. Dry the bag with a towel or tissues. Place your cellphone in the corner of the bag. Flatten the rest space of the bag to remove air and allow the normal usage of the touch screen. Seal it.

Step 4: Put the first ziplock bag inside another one. Repeat the step 3, remember to flip the first bag with your cellphone upside down so that the two zippers are not in the same place. This prevents whatever water that might leak into the outer bag from easily getting into the inner bag.
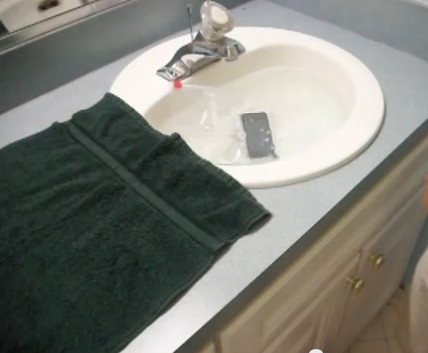
Step 5: Check your cellphone with the DIY waterproof bag. You can throw your cellphone into the water now. See? It works! This DIY waterproof bag only can prevent your cellphone from water spray temporarily, however, if you want to dive into the water for a long time, please cover your cellphone with professional waterproof case or waterproof bag.